
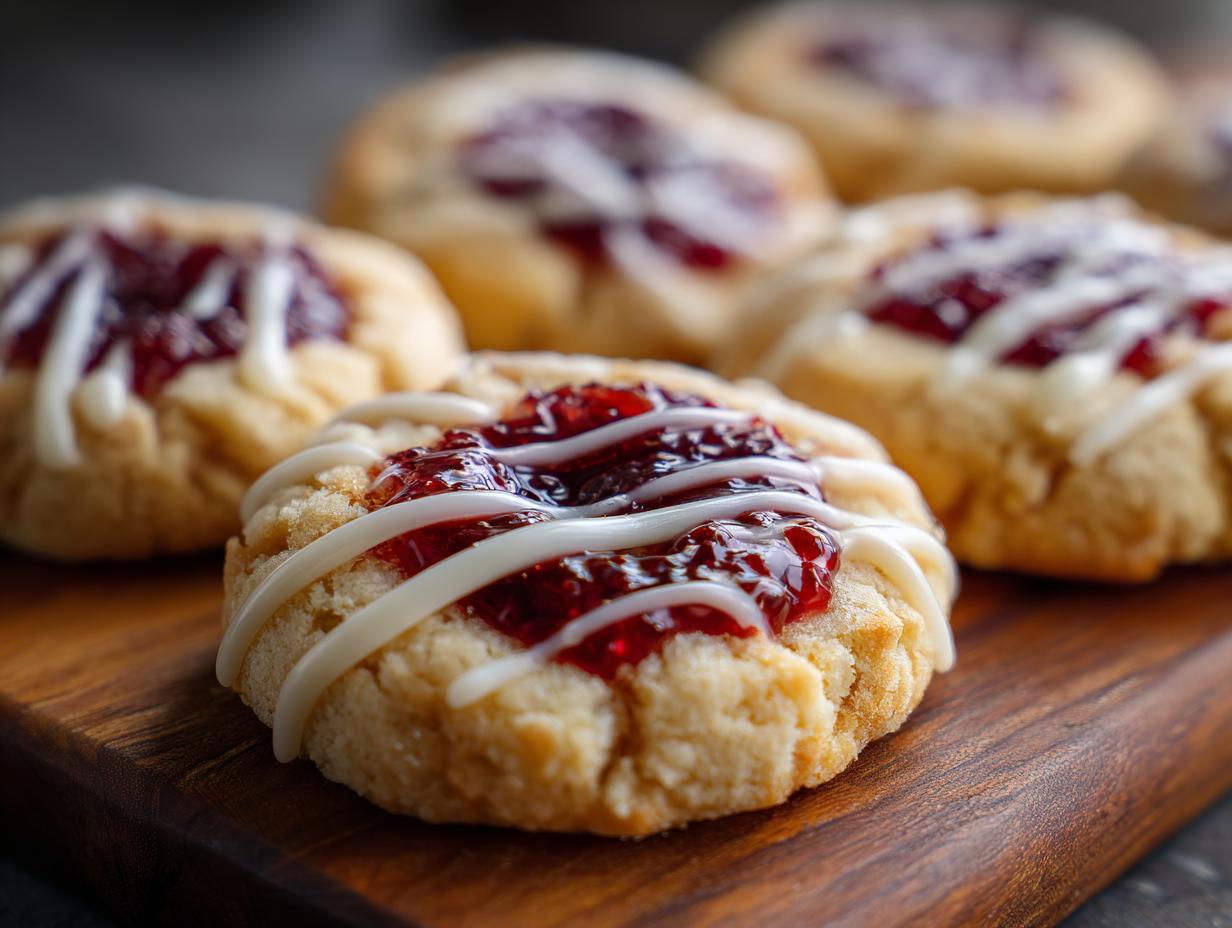
Oh my goodness, let me tell you about my absolute favorite treat: White Chocolate Raspberry Thumbprint Cookies! If you’re looking for that perfect balance of sweet and tart, with a cookie that’s just melt-in-your-mouth delightful, then you’ve found it. I remember the first time I made these, and the smell of baking cookies mixed with simmering raspberries just filled my whole house with happiness. It’s the kind of cookie that makes everyone ask for the recipe. They’re not just cookies; they’re little bites of pure joy that always disappear way too fast!
Why You’ll Love These White Chocolate Raspberry Thumbprint Cookies
Seriously, these cookies are a winner for so many reasons:
- Taste Sensation: That tangy raspberry jam cuts through the sweet white chocolate like a dream.
- So Easy!: Honestly, even if you’re new to baking, you can totally nail these. They’re surprisingly simple to whip up.
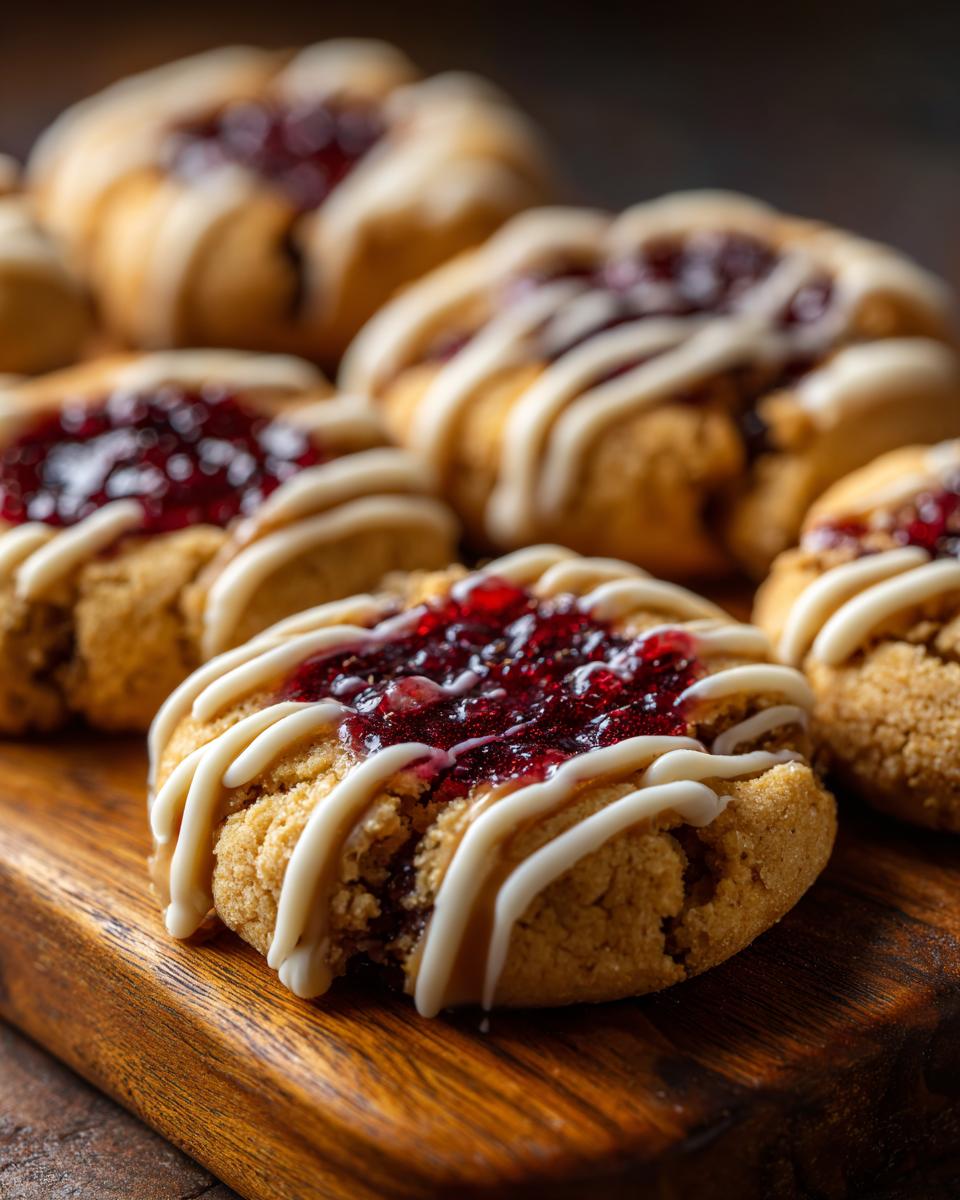
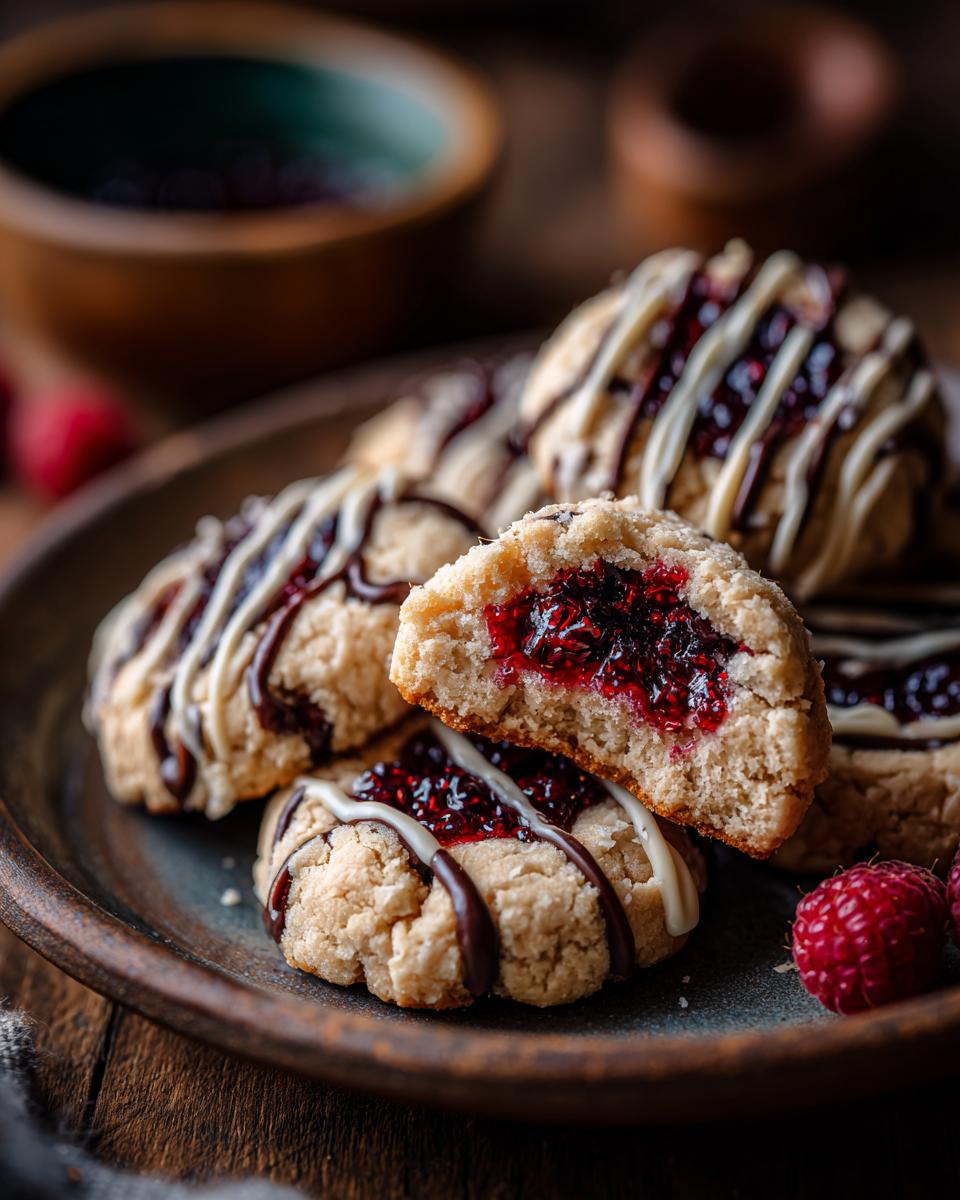
- Gorgeous Looking: The creamy white chocolate drizzle over the bright red jam? Stunning! Perfect for any occasion.
- Kid-Approved: My kiddos gobble these up like there’s no tomorrow.
Gather Your Ingredients for White Chocolate Raspberry Thumbprint Cookies
Alright, let’s get our game faces on and gather everything we need for these show-stopping White Chocolate Raspberry Thumbprint Cookies! The secret to delicious cookies really lies in the quality of your ingredients, so try to use the good stuff!
First up, we need 1 cup of unsalted butter that’s been softened. This is super important! Softened butter creams much better with sugar, giving us that lovely, fluffy cookie base. Next, grab 1/2 cup of granulated sugar and 1/4 cup of powdered sugar. That mix of sugars is what gives these cookies their tender texture and just the right amount of sweetness. Don’t skip the powdered sugar, it makes a difference!
For richness and binding, we’ll need 1 large egg and 1 teaspoon of vanilla extract. A good quality vanilla really makes the flavors pop! For the cookie structure, get 2 1/4 cups of all-purpose flour and 1/2 teaspoon of salt. The salt is key; it balances out all the sweetness. And of course, the stars of the show: 1/2 cup of raspberry jam – use a nice quality one that’s not too runny. For the drizzle, you’ll want about 4 ounces of white chocolate, chopped. I always go for a good baking white chocolate, not the candy melts, because it melts so much smoother and tastes way better. Trust me on this one!
Essential Equipment for Baking White Chocolate Raspberry Thumbprint Cookies
To make these delicious cookies a breeze, you’ll want a few basic kitchen tools handy. You’ll need mixing bowls for combining your ingredients, a whisk and a mixer (handheld or stand mixer works fine!) to get that dough perfectly creamy. Make sure you have baking sheets ready, with parchment paper for easy cleanup. And of course, a way to make those cute little thumbprint dips – your thumb or the back of a small spoon works great! For the drizzle, a microwave-safe bowl and a small spatula will do the trick. Easy peasy!
Step-by-Step Guide to Making White Chocolate Raspberry Thumbprint Cookies
Alright, let’s get our hands doughy and make some magic happen! This is where all those lovely ingredients come together. It seems like a lot of steps, but trust me, it’s super straightforward once you start. And don’t worry if your first few don’t look *exactly* like the picture – they’ll still taste amazing! If you’re curious about other variations, check out these chocolate thumbprint cookies for some more festive ideas!
Preparing the Cookie Dough
First things first, let’s get that cookie dough ready. Grab your biggest mixing bowl and beat together that softened butter, granulated sugar, and powdered sugar until it’s nice and fluffy. It should look light yellow and airy, almost like whipped cream! This is called creaming, and it adds lovely air pockets that make the cookies tender. Then, beat in your egg and that teaspoon of vanilla extract. In another bowl, give your flour and salt a quick whisk. Gradually add the dry stuff to the wet stuff, mixing until it’s *just* combined. Seriously, don’t overmix here! Overmixing makes cookies tough. Now, the crucial step: wrap up that dough and pop it in the fridge for about 30 minutes. Chilling makes it way easier to handle and stops the cookies from spreading too much when they bake.
Shaping and Filling the Thumbprints
Once the dough is nice and chilled, it’s time to roll! Preheat your oven to 350°F (175°C) and line your baking sheets with parchment paper – it’s a lifesaver for cleanup! Roll the dough into 1-inch balls. I like to use a cookie scoop for this so they’re all the same size, but your hands work perfectly too. Place them on the prepared sheets, leaving a little space between them. Now for the fun part – the thumbprint! Gently press your thumb into the top of each cookie to make an indentation. Don’t push all the way through! Then, take about a teaspoon of that gorgeous raspberry jam and spoon it right into each little well. Try not to overfill, or it’ll bubble over!
Baking and Cooling Your White Chocolate Raspberry Thumbprint Cookies
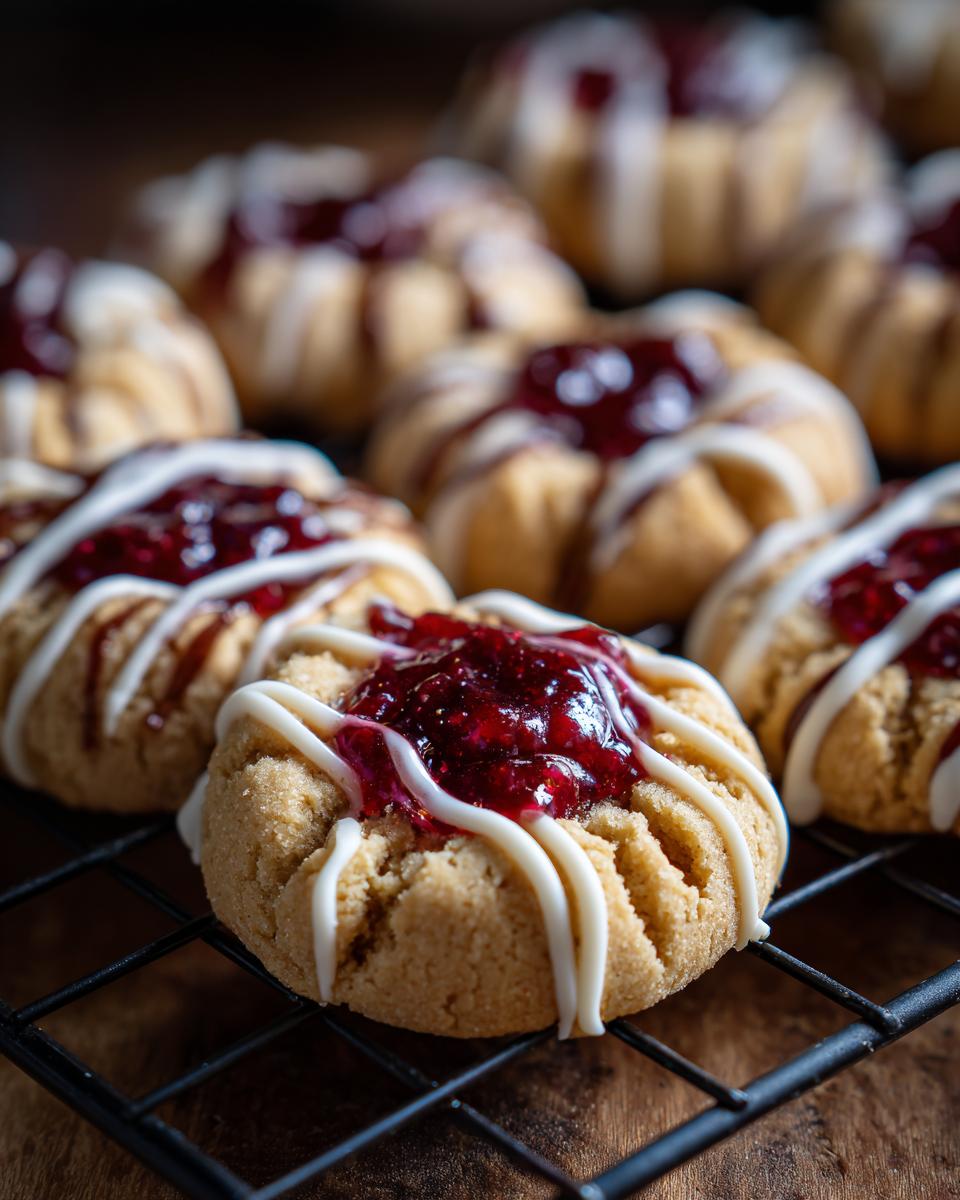
Into the oven they go! Bake them for about 12 to 15 minutes. You’re looking for the edges to be just lightly golden. They might still look a little soft in the center, but that’s okay! They’ll continue to set up as they cool. Speaking of cooling, this is important: let them hang out on the baking sheets for about 5 minutes. This helps them firm up so they don’t fall apart when you move them. Then, carefully transfer them to a wire rack to cool completely. Patience is key here – we don’t want our white chocolate melting into a puddle just yet!
Adding the White Chocolate Drizzle
Last but not least, the showstopper! Melt your chopped white chocolate. I usually do this in a microwave-safe bowl in 30-second bursts, stirring really well in between. White chocolate can be a bit fussy, so go slow! Once it’s smooth and luscious, grab a fork or a spoon and drizzle it all over your cooled cookies. For an extra smooth drizzle that’s easier to work with, I sometimes add just a tiny splash—like a teaspoon—of neutral vegetable oil to the melted chocolate before drizzling. Let that beautiful white chocolate set up a bit before you dive in, or you’ll have gooey fingers!
Tips for Perfect White Chocolate Raspberry Thumbprint Cookies
You know, sometimes even with the best intentions, things can be a little tricky in the kitchen! But don’t you worry, I’ve got a few little secrets up my sleeve to make sure your White Chocolate Raspberry Thumbprint Cookies turn out absolutely perfect every single time. These little gems from my kitchen come with a few tried-and-true tips!
- Dough Got Sticky? If your dough feels too soft to roll, don’t be afraid to pop it back in the fridge for another 15-20 minutes. It makes all the difference!
- Jam Leaking Out? Make sure your thumbprint indentation is deep enough to hold the jam, but not so deep that you press through the bottom. Also, try not to overstuff it! Sometimes using a jam that’s a bit thicker helps too.
- White Chocolate Woes: Mine can be fussy sometimes! Melt it slowly, stirring often. If it seems too thick to drizzle, that teaspoon of oil really does the trick to make it pourable without sacrificing flavor.
- For Extra Zest: Want to step it up? Add a tiny bit of lemon or orange zest to the cookie dough itself for a little extra brightness! Or, try different jams like strawberry or apricot! For more fun cookie ideas, check out these easy 3-ingredient Christmas cookies!
Ingredient Notes and Substitutions
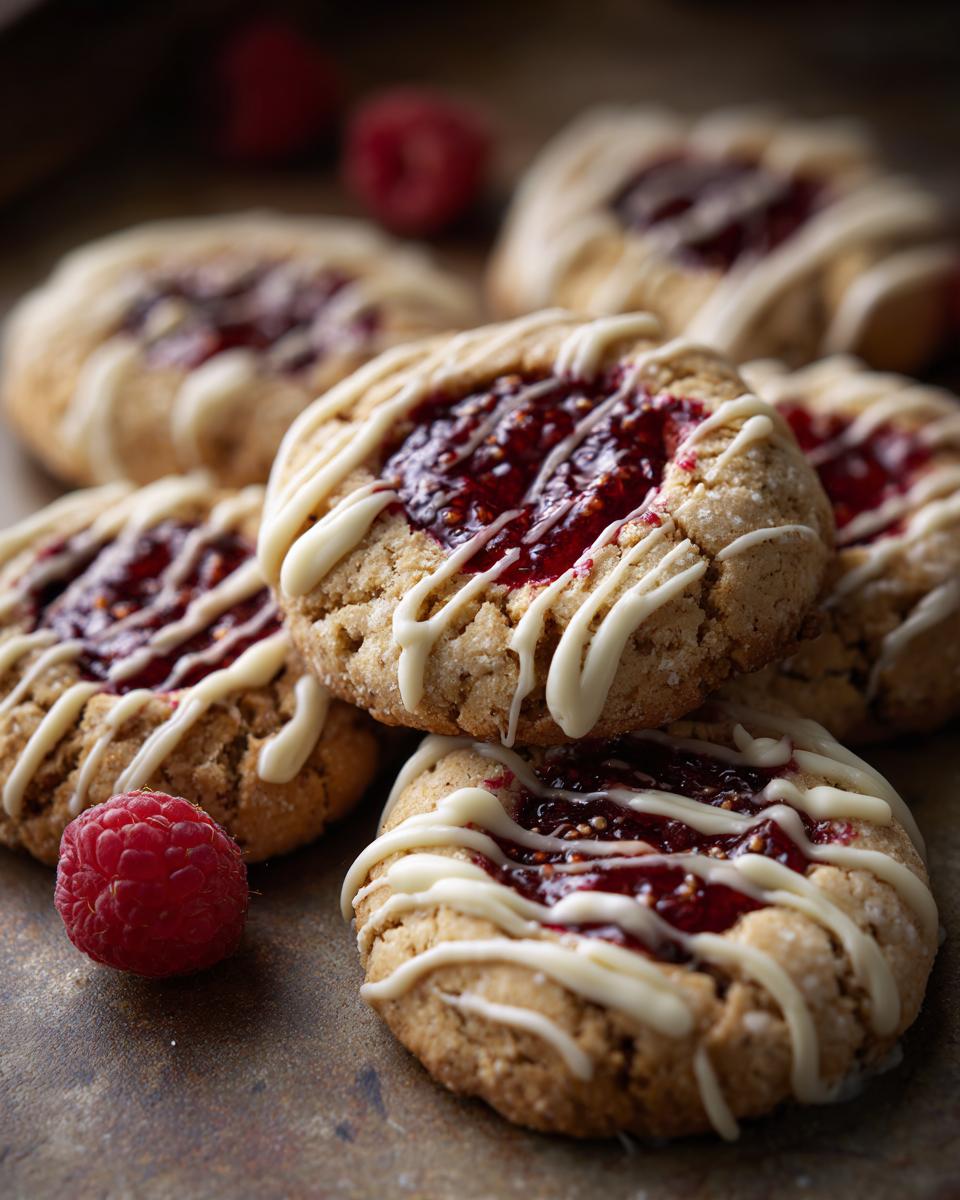
Let’s talk ingredients for these yummy White Chocolate Raspberry Thumbprint Cookies! When it comes to the white chocolate, I really prefer using a good quality baking white chocolate bar that you chop yourself. It just melts so much smoother and tastes way better than candy melts. If you can’t find it, a good quality white chocolate chip *might* work, but melt it very carefully. For the jam, raspberry is classic, but honestly? Any tart fruit jam is fantastic here! Think strawberry, cherry, or even apricot. It’s all about that sweet-tart contrast!
Storing and Serving Your White Chocolate Raspberry Thumbprint Cookies
Okay, so you’ve made these gorgeous White Chocolate Raspberry Thumbprint Cookies and you want them to stay perfect, right? Easy peasy! Once they’re completely cool and the white chocolate has set, just pop them into an airtight container. They’ll stay wonderfully fresh at room temperature for about 3 to 5 days. They’re perfect for packing in lunchboxes, sharing with friends, or just grabbing one (or two!) with your afternoon coffee. These also look absolutely stunning on a holiday cookie platter – that pop of red jam with the creamy white chocolate is just irresistible! Want more festive baking ideas? Check out these Christmas morning cinnamon rolls!
Frequently Asked Questions About White Chocolate Raspberry Thumbprint Cookies
Can I use a different type of chocolate for the drizzle?
Oh yes! You can absolutely use milk chocolate or dark chocolate for the drizzle. They’ll give the cookies a slightly different flavor profile, but they’ll still be delicious! Just melt and drizzle the same way.
My jam leaked out during baking. What went wrong?
Sometimes this happens if the thumbprint wasn’t deep enough, or maybe you overfilled it. Try making a slightly deeper well in the dough and don’t be shy with packing the jam in there, but don’t let it overflow the sides before baking!
How long do these cookies stay fresh?
These White Chocolate Raspberry Thumbprint Cookies are best when they’re still pretty fresh! Store them in an airtight container at room temperature, and they’ll be lovely for about 3 to 5 days. The cookie stays soft and the jam stays yummy.
Can I make the dough ahead of time?
You sure can! The dough for these cookies actually gets *better* with a little chill time. You can wrap it up tightly and keep it in the fridge for up to 3 days before you’re ready to roll and bake!
Nutritional Information (Estimated)
Just so you know, the nutritional info for these White Chocolate Raspberry Thumbprint Cookies is just an estimate per cookie, okay? It can totally change based on the brands you use and how much jam you smoosh in there. But generally, you’re looking at around 180 calories, 10g of fat, 20g of carbs, and 2g of protein. Enjoy responsibly!
Print
White Chocolate Raspberry Thumbprint Cookies
- Total Time: 40 min
- Yield: 24 cookies 1x
- Diet: Vegetarian
Description
Sweet and tart thumbprint cookies with a white chocolate drizzle.
Ingredients
- 1 cup unsalted butter, softened
- 1/2 cup granulated sugar
- 1/4 cup powdered sugar
- 1 large egg
- 1 teaspoon vanilla extract
- 2 1/4 cups all-purpose flour
- 1/2 teaspoon salt
- 1/2 cup raspberry jam
- 4 ounces white chocolate, chopped
Instructions
- Cream together the softened butter, granulated sugar, and powdered sugar until light and fluffy.
- Beat in the egg and vanilla extract.
- In a separate bowl, whisk together the flour and salt.
- Gradually add the dry ingredients to the wet ingredients, mixing until just combined.
- Chill the dough for 30 minutes.
- Preheat your oven to 350°F (175°C). Line baking sheets with parchment paper.
- Roll the dough into 1-inch balls and place them on the prepared baking sheets.
- Use your thumb or the back of a small spoon to create an indentation in the center of each cookie.
- Fill each indentation with about 1 teaspoon of raspberry jam.
- Bake for 12-15 minutes, or until the edges are lightly golden.
- Let the cookies cool on the baking sheets for a few minutes before transferring them to a wire rack to cool completely.
- Melt the chopped white chocolate in a microwave-safe bowl in 30-second intervals, stirring between each, until smooth.
- Drizzle the melted white chocolate over the cooled cookies.
- Allow the white chocolate to set before serving.
Notes
- For a smoother drizzle, add a teaspoon of vegetable oil to the melted white chocolate.
- You can substitute other fruit jams for the raspberry jam.
- Store cookies in an airtight container at room temperature.
- Prep Time: 25 min
- Cook Time: 15 min
- Category: Dessert
- Method: Baking
- Cuisine: American
Nutrition
- Serving Size: 1 cookie
- Calories: 180
- Sugar: 15g
- Sodium: 30mg
- Fat: 10g
- Saturated Fat: 6g
- Unsaturated Fat: 4g
- Trans Fat: 0g
- Carbohydrates: 20g
- Fiber: 1g
- Protein: 2g
- Cholesterol: 25mg
Keywords: white chocolate, raspberry, thumbprint cookies, cookies, dessert, baking, holiday cookies, sweet treats