
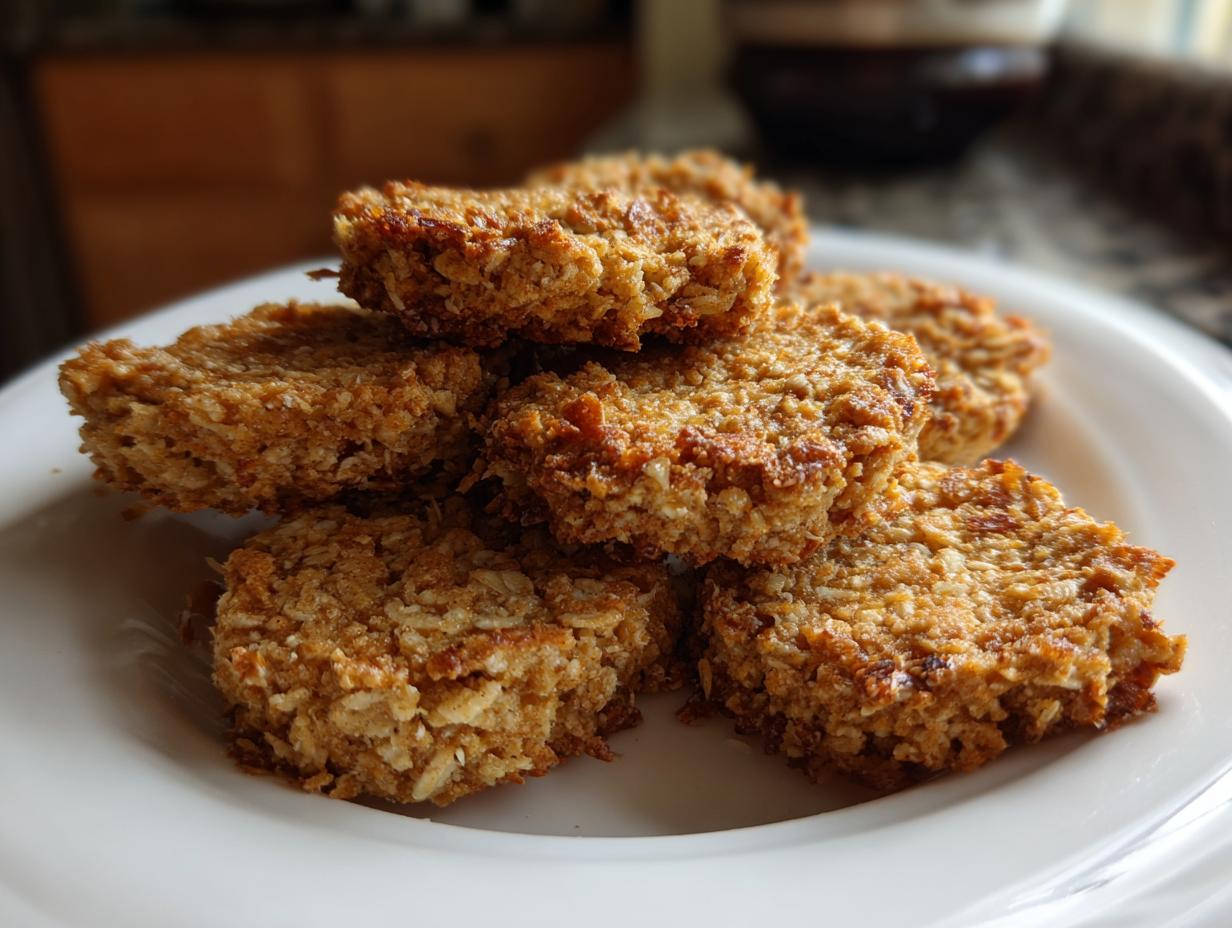
Okay, so you know how sometimes you just want to spoil your furry best friend with something special, but you want to make sure it’s actually *good* for them? That’s exactly how I felt, and it led me to whip up these amazing Tuna & Oat Cat Crunchies! Seriously, they’re ridiculously easy to make and my kitties go absolutely bonkers for them. It’s such a relief knowing I’m giving them wholesome goodness without all the weird stuff you sometimes find in store-bought treats. I’ve been tinkering with pet recipes for years, always trying to find that perfect balance of healthy and irresistible, and trust me, these crunchies hit the mark every single time. Watching my own picky eater, Mr. Fluffernutter, absolutely demolish one of these is pure joy!
Why Your Cat Will Love These Tuna & Oat Cat Crunchies
Honestly, your cat is going to go wild for these little guys! It’s not just about the convenience for you; it’s about treating your feline friend to something truly special and genuinely good for them. Think of it as a gourmet snack that you made with your own two hands!
- Irresistible Flavor: The star here is tuna, and cats pretty much lose their minds for anything fishy. I mean, who can blame them? It’s packed with that savory goodness they can’t resist.
- Wholesome Ingredients: We’re skipping all the artificial stuff. Oats provide a good source of fiber, and olive oil adds a little healthy fat that’s great for their coat. It’s simple, clean eating for your kitty.
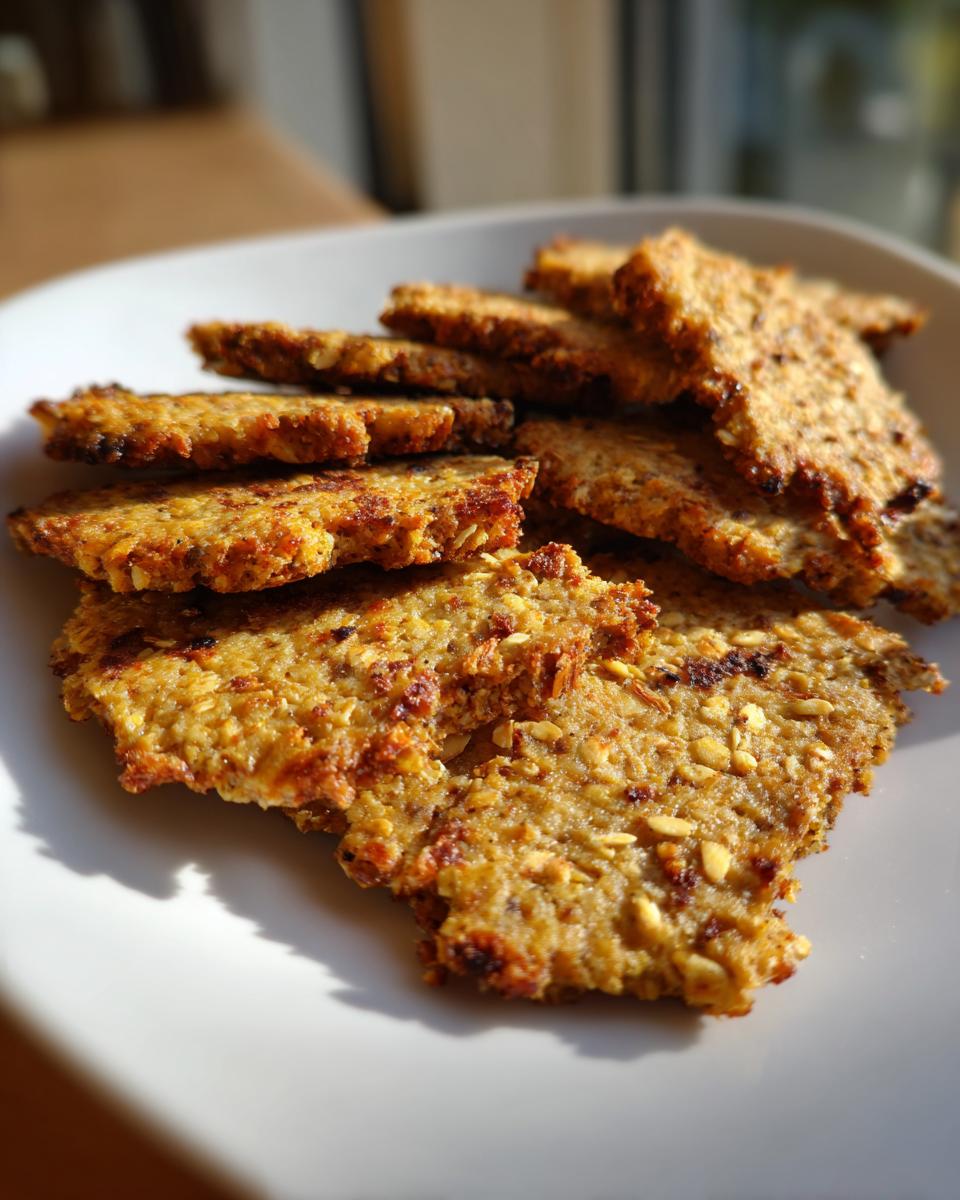
- Satisfying Crunch: Cats love a good crunch! These treats have just the right texture to make mealtime or snack time fun and engaging for them, which is good for their dental health too.
Basically, you’re giving them a healthy, tasty, and fun treat all in one package. It’s a win-win!
Gather Your Ingredients for Tuna & Oat Cat Crunchies
Alright, let’s get this party started! Making these Tuna & Oat Cat Crunchies is super simple because we only need a few things. You probably have most of them lurking in your pantry already. Grab these:
- 1 can of tuna in water, drained: This is the main star! Make sure it’s packed in water, not oil, because that’s a much healthier choice for your kitty.
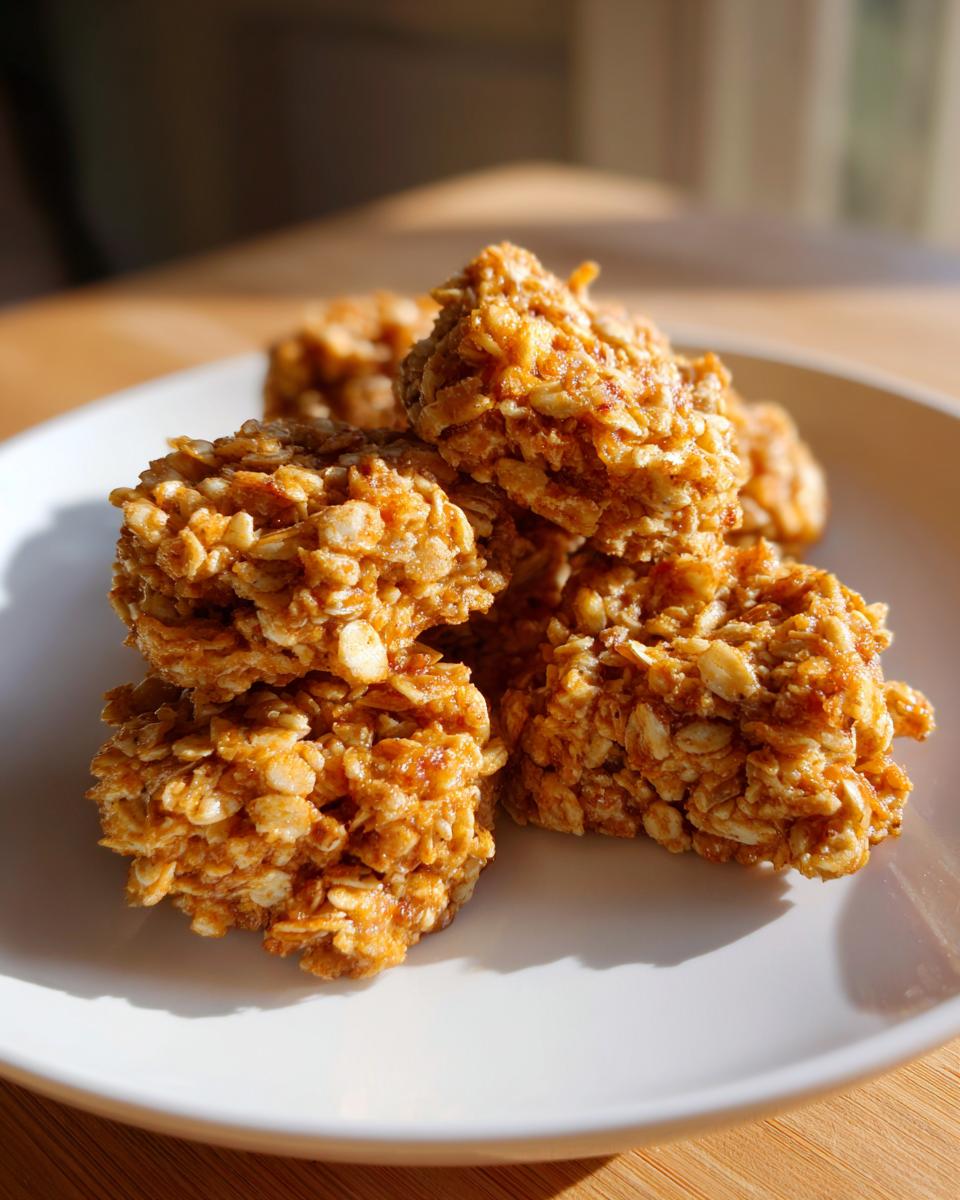
- 1 cup of rolled oats: Unflavored, plain rolled oats are best here. Don’t go grabbing the instant stuff; the rolled oats give them that perfect texture.
- 1 large egg: This acts as our binder to hold everything together.
- 1 tablespoon of olive oil: Just a touch for good measure and a little sheen.
See? Told you it was easy! Now we’re ready to mix up some magic.
Step-by-Step Guide to Making Tuna & Oat Cat Crunchies
Alright, buckle up, because this is where the magic happens! Making these Tuna & Oat Cat Crunchies is honestly a breeze. You don’t need to be a gourmet chef or anything; just follow these few simple steps and your cat will be thanking you (probably with extra purrs!).
Preheating and Mixing the Dough
First things first, let’s get that oven warmed up to 350°F (that’s 175°C for my friends with the fancy ovens!). While it’s heating, grab a medium-sized bowl. Dump in all your goodies: the drained tuna, those lovely rolled oats, the egg, and the olive oil. Now, get your hands in there (or use a sturdy spoon if you’re feeling less adventurous!) and mix it all up until it forms a nice, doughy consistency. Make sure everything is well combined – no one likes a surprise bite of plain oat!
Shaping Your Tuna & Oat Cat Crunchies
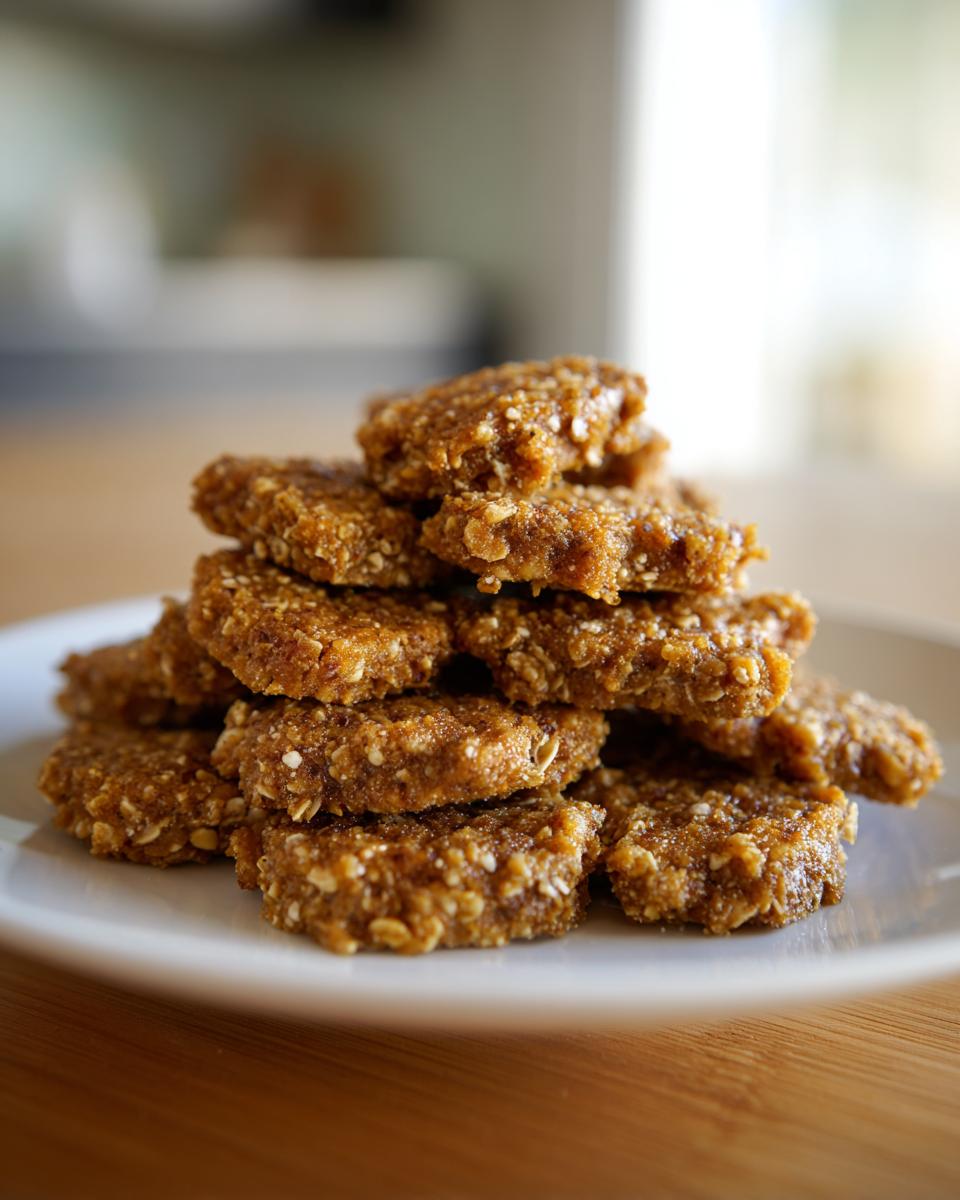
Now for the fun part – shaping! You want these to be bite-sized for your little feline friend, so think about the size of a regular cat treat. I usually grab about a tablespoon of the mixture and roll it into a little ball between my palms. Then, I just flatten it slightly. It doesn’t have to be perfect – cats are pretty forgiving when tuna is involved! You can use a fork to make little patterns on top if you’re feeling fancy, but honestly, they’ll eat them no matter what they look like.
Baking to Perfection
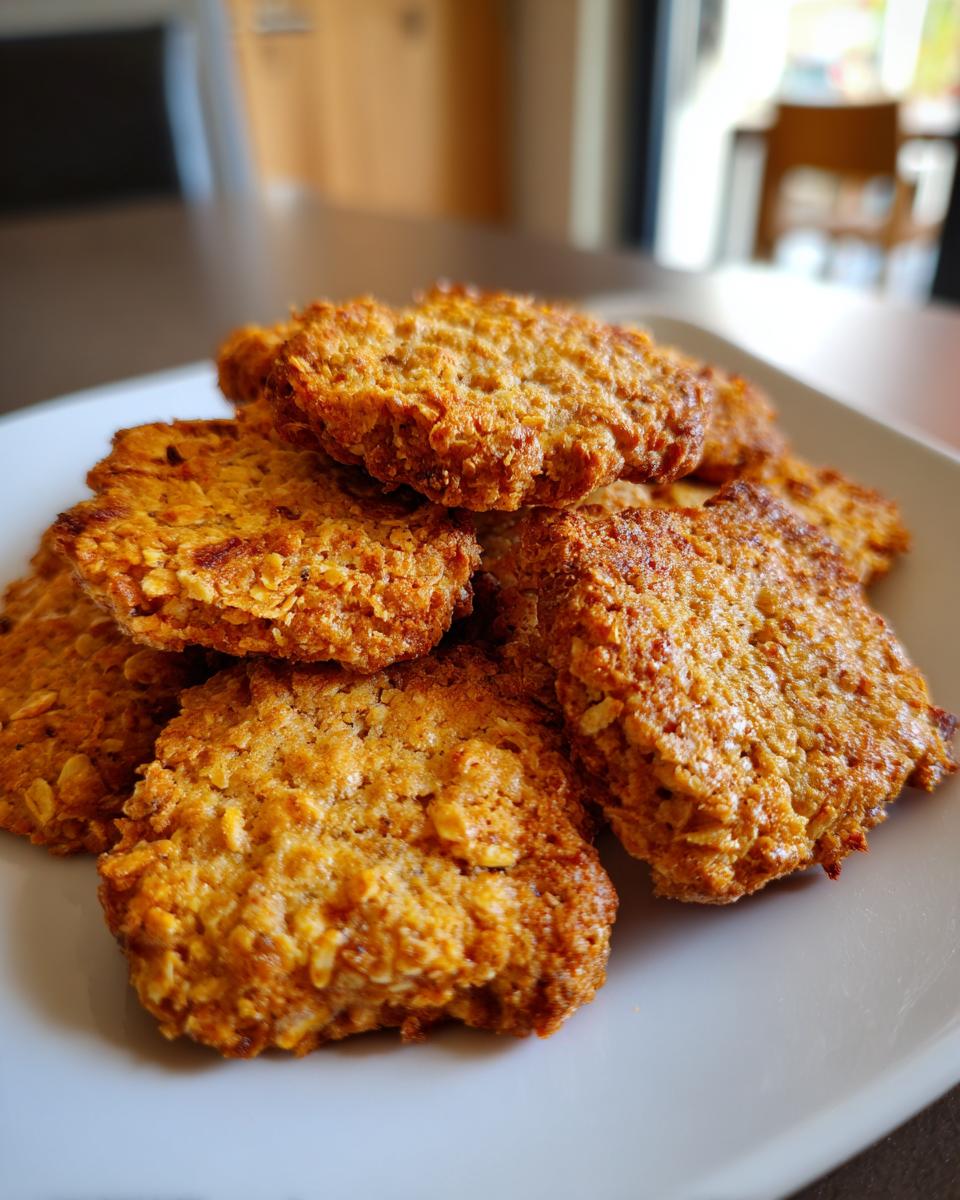
Grab a baking sheet and line it with parchment paper – trust me, this saves so much cleanup! Arrange your little tuna ovals on the sheet, leaving a little space between them. Pop them into that preheated oven and let them bake for about 15 minutes. You’ll know they’re ready when the edges start to look a bit golden brown and they feel firm. If you’re using a darker baking sheet, they might cook a tad faster, so keep an eye on them. You can even rotate the pan halfway through if your oven tends to bake unevenly.
Cooling and Serving
This is super important: let them cool *completely* before you serve them. Seriously, you don’t want to burn your kitty’s tongue! They’ll feel hard and crunchy once they’re fully cooled. Once they’re no longer warm, you can hand one over to your very grateful cat. Enjoy the show!
Tips for the Best Tuna & Oat Cat Crunchies
Okay, so you’ve got the basics down, but here are a few of my favorite little tricks to make sure your Tuna & Oat Cat Crunchies are an absolute home run every single time. Trust me, these little tips make a big difference, and they’re things I’ve learned over the years from baking everything from doughnuts to sloppy joe melts for my crew!
First off, quality ingredients really do matter. While we’re keeping this super simple, using tuna packed in plain water and unflavored rolled oats is key. If you splurge on those fancier “gourmet” cat treats, you’re often paying for stuff that’s not much better than what you can whip up at home. Also, don’t be afraid to adjust the size based on your kitty! If you have a tiny little kitten or a big ol’ Maine Coon, you might want to make the crunchies smaller or a bit larger, respectively. Just remember to adjust that baking time a bit – smaller ones cook faster, bigger ones might need a few extra minutes.
If your dough feels a little too sticky to handle, just pop it in the fridge for about 10-15 minutes. It makes shaping so much easier! And if you’re worried about them sticking, a good layer of parchment paper on your baking sheet is your best friend. You’ll thank me later when you’re not scrubbing burnt-on tuna!
Ingredient Notes and Substitutions
You know, the beauty of these Tuna & Oat Cat Crunchies is how straightforward they are. The ingredients aren’t just random; there’s a little bit of thought behind each one, and thankfully, they’re pretty forgiving if you need to make a tiny tweak. For instance, the oats are fantastic for adding fiber, which is great for your kitty’s digestion, and I love using rolled oats because they give a nice, chewy texture that bakes up perfectly. You could try using quick oats in a pinch, but they might make the treats a little softer, which isn’t quite a “crunchie” anymore, is it? It’s a bit like when you’re making something like a banana oat smoothie; different oats yield slightly different results, but it’s still yummy!
When it comes to the tuna, I always stress the “in water” part. Tuna packed in oil can be too fatty for cats and might upset their tummies. If you can’t find plain canned tuna, just make sure to drain off as much oil as possible! As for the olive oil, it’s a healthy fat that’s good for their skin and coat, but if you absolutely don’t have any, a tiny bit of coconut oil (melted, of course!) could work too. Just keep it super minimal. We’re not making tuna casserole here, just tiny, tasty treats!
Storing Your Tuna & Oat Cat Crunchies
Alright, now that you’ve made these fabulous Tuna & Oat Cat Crunchies, you’ll want to keep them fresh so your kitty can enjoy them for a while. The best way to do this is to pop them into an airtight container. Seriously, just seal them up tight! They’ll stay good at room temperature for about a week. If your kitchen tends to be a bit warm or humid, or if you just want to be extra sure, popping them in the fridge is a great idea. Either way, proper storage keeps them from getting stale or yucky, and you know you’re always giving your cat a tasty, fresh treat!
Frequently Asked Questions About Tuna & Oat Cat Crunchies
Got questions about these little feline delights? I totally get it! It’s always best to be sure when you’re whipping up treats for your furball. Here are a few things people often ask me about these Tuna & Oat Cat Crunchies, and hopefully, this helps! It’s kind of like when folks ask about the best way to make a classic tuna melt – you want to make sure you’re doing it right!
Are these Tuna & Oat Cat Crunchies safe for all cats?
For most cats, absolutely! These treats are made with simple, generally safe ingredients. However, just like people, some kitties can have sensitivities or allergies. If your cat has a specific dietary restriction or you’re unsure, it’s always a smart move to chat with your veterinarian before introducing any new treats.
Can I add other ingredients to the Tuna & Oat Cat Crunchies?
While the base recipe is purr-fectly balanced, you can get creative! A tiny bit of cooked, plain salmon or sardines (also in water, drained!) can be a nice addition. Just a pinch of dried catnip or cat grass is usually okay too. However, steer clear of things like onions, garlic, or excessive spices, as those can be harmful to cats. Always double-check if an ingredient is cat-safe before adding it!
How many of these treats can I give my cat per day?
Moderation is key! These treats are, well, treats! They shouldn’t replace your cat’s balanced diet. I usually give my cats just one or two a day, especially if they’re playing extra well or just being super cute. Think of them as a little reward, not a meal. If you’re really curious about the right amount for your specific cat, your vet is the best person to ask!
Nutritional Information (Estimated)
Now, I’m no registered dietitian for kitties, but based on the super simple ingredients we used, here’s a rough idea of what’s in each of these yummy Tuna & Oat Cat Crunchies. Keep in mind this is an estimate, as it can change a bit depending on the exact tuna and oats you use! Each little treat is about 25 calories, with around 1 gram of fat and 2 grams of protein. There are also a couple of grams of carbs. It’s a nice, small boost for your furry friend!
Print
Tuna & Oat Cat Crunchies
- Total Time: 25 min
- Yield: 20 treats 1x
- Diet: Low Lactose
Description
Simple homemade cat treats with tuna and oats.
Ingredients
- 1 can tuna in water, drained
- 1 cup oats
- 1 egg
- 1 tbsp olive oil
Instructions
- Preheat your oven to 350°F (175°C).
- Mix the tuna, oats, egg, and olive oil in a bowl.
- Roll the mixture into small balls and flatten them slightly.
- Place on a baking sheet and bake for 15 minutes.
- Let cool before serving to your cat.
Notes
- Store in an airtight container for up to a week.
- Adjust the size based on your cat’s preference.
- Prep Time: 10 min
- Cook Time: 15 min
- Category: Pet Food
- Method: Baking
- Cuisine: N/A
Nutrition
- Serving Size: 1 treat
- Calories: 25
- Sugar: 0 g
- Sodium: 10 mg
- Fat: 1 g
- Saturated Fat: 0.2 g
- Unsaturated Fat: 0.8 g
- Trans Fat: 0 g
- Carbohydrates: 2 g
- Fiber: 0.3 g
- Protein: 2 g
- Cholesterol: 5 mg
Keywords: homemade cat treats, tuna cat snacks, oat cat food, easy pet recipes