

Okay, so you know how our cats can be super picky? Mine, Bartholomew, is the king of picky eaters! He’ll turn his nose up at the fanciest store-bought treats faster than you can say “meow.” That’s why I started whipping up my own little joys, and trust me, these Tuna Cat Snack Bites are a game-changer. Forget those mystery ingredients in commercial snacks; this recipe is ridiculously simple, super healthy, and Bartholomew goes absolutely bonkers for them! Seriously, his little tail does a happy dance every single time he hears me open that can of tuna. It’s the best feeling knowing exactly what goes into making my furball happy and healthy.

Why Your Cat Will Love These Tuna Cat Snack Bites
Let’s be real, cats can be *so* discerning when it comes to snacks. Bartholomew, my resident food critic, usually needs some serious convincing. But these Tuna Cat Snack Bites? Total winners, every single time! The smell of tuna alone is like catnip for them, honestly. And the texture – it’s got this perfect little chewiness that’s not too hard and not too soft. It’s just… *satisfying* for their little jaws.
Plus, you know exactly what you’re feeding them. No weird fillers, no artificial yuck. Just simple, wholesome goodness that’s actually good for them. They get that super-satisfying tuna flavor they crave, you get peace of mind knowing you’re giving them a healthy treat. It’s a total win-win, and I haven’t found a cat yet who can resist these!
Simple Ingredients for Delicious Tuna Cat Snack Bites
The beauty of these little bites is honestly in how darn simple the ingredient list is! You probably have everything you need in your pantry right now. Here’s what goes into making these purrfectly tasty treats:
- 1 can tuna in water, drained: Make sure it’s packed in water, not oil, and drain it really, really well. Tuna is like sushi for cats – a total flavor explosion they can’t resist!
- 1 egg: This is our binder, keeping all that yummy tuna together. It also adds a bit of extra protein for your energetic feline friend.
- 1/4 cup whole wheat flour: This gives our bites a little structure. Whole wheat flour is great because it’s a nice, accessible carb for them.
That’s it! See? So easy and so good for your kitty.
How to Make Tuna Cat Snack Bites: Step-by-Step
Alright, get ready to become your cat’s favorite chef! Making these Tuna Cat Snack Bites is super easy and honestly, kind of fun. Bartholomew always supervises from a safe distance, practically vibrating with excitement. Just follow these simple steps and you’ll have a batch of happy-cat-approved treats in no time. Want to see how we make other quick bites? Check out this easy veggie fried rice with egg for inspiration!
Prepping Your Tuna Cat Snack Bites
First things first, let’s get your oven ready! Preheat it to 350°F (175°C). While that’s warming up, grab a baking sheet. I *highly* recommend lining it with parchment paper. Trust me on this one – it makes cleanup an absolute breeze and prevents any sticky tuna situations. You want to get to the fun part (baking!) without any hassle.
Mixing the Tuna Cat Snack Bites Dough
Now for the mixing! Grab a medium bowl. Make sure that tuna is thoroughly drained – we don’t want any extra water messing with our dough. Toss in the drained tuna, the egg, and the whole wheat flour. Now, gently mix everything together with a fork or a spoon. You’re looking for a consistency that’s like a thick, slightly sticky paste. Don’t go crazy overmixing it; just combine until it’s all incorporated.
Shaping and Baking Your Tuna Cat Snack Bites
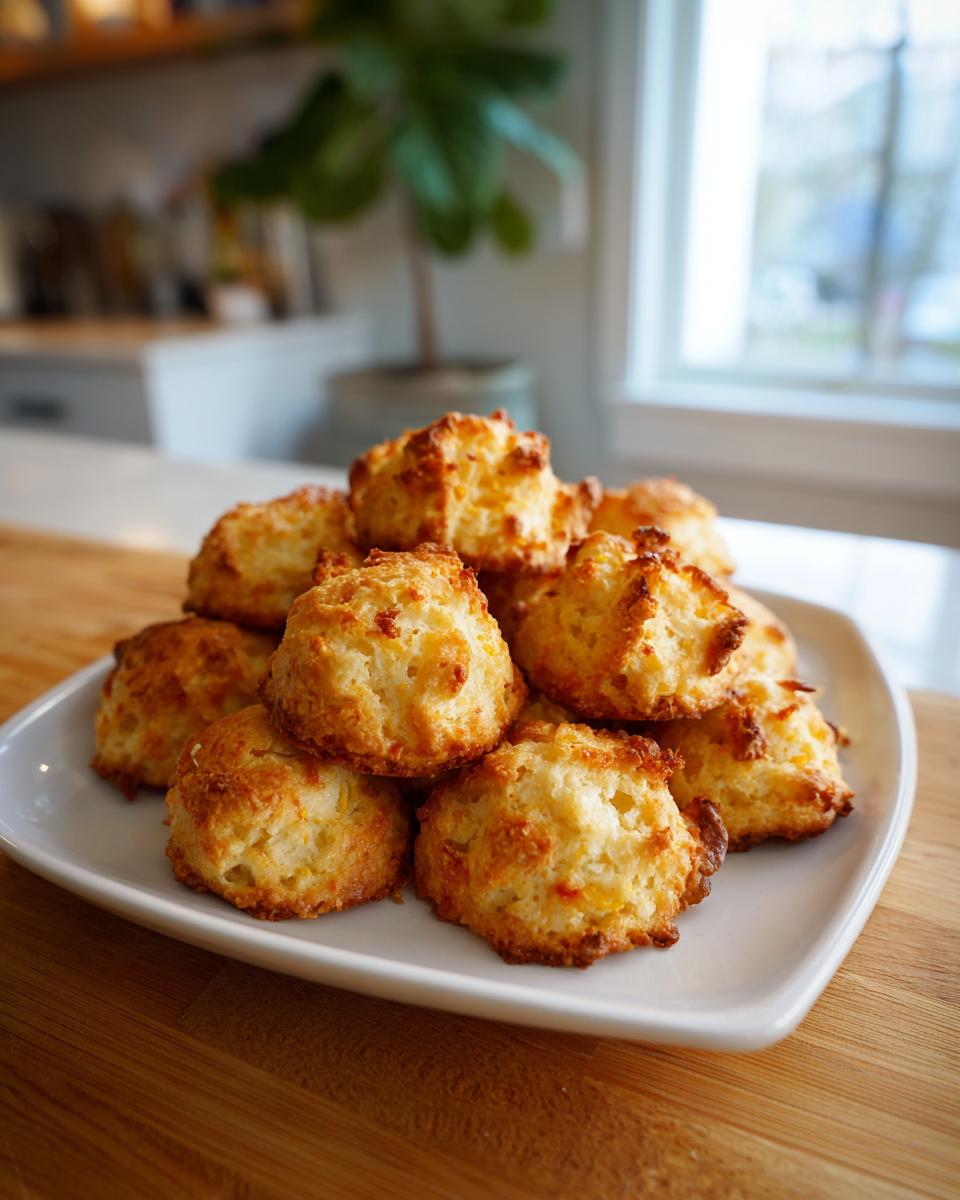
Once your dough is mixed, it’s time to get your hands a little messy! Take small spoonfuls of the mixture and roll them into little bite-sized balls. Think about how big Bartholomew likes his treats – you want them to be easy for your cat to pop into their mouth. Place these balls onto your prepared baking sheet, leaving a little space between each one. Pop them into the preheated oven and bake for about 10-12 minutes. You’ll know they’re ready when they feel firm to the touch – not squishy, but not rock hard either.
Cooling and Serving
This is super important: let them cool COMPLETELY before you give them to your furball. Seriously, I’ve had Bartholomew try to sneak one when they’re still warm and it’s not worth the risk of a burnt nose! Once they’re totally cool, you can serve one or two as a special treat.
Tips for Perfect Tuna Cat Snack Bites Every Time
Alright, let’s talk about making these Tuna Cat Snack Bites absolutely purrfect, every single time. I’ve made batches that were… well, let’s just say Bartholomew gave me *that look*. But I’ve learned a few tricks along the way that make all the difference. First off, draining that tuna is *crucial*. I usually give it a good squeeze with a fork against the side of the can, then maybe even blot it with a paper towel if it still looks watery. Nobody wants a soggy treat, right? It’s the biggest culprit for treats that don’t hold their shape!
Now, about that flour – whole wheat is my go-to because it’s simple, but you *could* try using oat flour or even a little bit of gluten-free all-purpose flour if your kitty has sensitivities. Just be aware you might need to tweak the amount slightly; you’re looking for that sticky-but-rollable dough. Also, ovens can be quirky! If yours tends to run hot, keep an eye on these bites near the end of the baking time. You want them firm, but not browned or hard. Oh, and if they seem to be crumbling a bit after cooling, it might mean they needed just another minute or two in the oven. You can check out this banana bread recipe for tips on achieving the perfect texture in baking, which often applies here too!
Storing Your Homemade Tuna Cat Snack Bites
So, you’ve made these amazing Tuna Cat Snack Bites and your cat absolutely adores them! Don’t let all that hard work go to waste. Because they’re made with fresh ingredients and no preservatives, these little treasures don’t last forever on the counter. The best way to store them is in an airtight container in the refrigerator. This keeps them nice and fresh for up to 3 days. You’ll know they’re still good if they smell fresh like tuna and feel slightly firm, not mushy or funky. If they start to look dried out or smell a little off, it’s definitely time to toss them and whip up another batch for your demanding feline overlord!
Frequently Asked Questions About Tuna Cat Snack Bites
Got questions about these yummy little tuna treats? I totally get it! It’s always good to know the little details when you’re whipping something up for your furbaby. Here are a few things people often ask me, and for more ideas on tuna favorites, you might like this classic tuna melt recipe!
Can I Substitute the Flour in Tuna Cat Snack Bites?
You sure can! While whole wheat flour is my go-to for these Tuna Cat Snack Bites because it’s easy and cats tend to do well with it, you can experiment. Oat flour works pretty well, and if your kitty has sensitivities, a gluten-free blend might do the trick. Just remember, you’re aiming for a dough that’s sticky enough to hold together but firm enough to roll. You may need to add a tiny bit more or less flour depending on the type you use!
How Long Do Tuna Cat Snack Bites Last?
Because we’re keeping these treats all-natural with no yucky preservatives, they don’t last forever on the counter. For the best freshness and safety, store these Tuna Cat Snack Bites in an airtight container right in the fridge. They should stay good and delicious for up to 3 days. After that, it’s best to whip up a new batch!
Are These Treats Safe for All Cats?
Generally, yes! These Tuna Cat Snack Bites are made with super simple ingredients that most cats tolerate well. However, if your kitty is a kitten, elderly, or has any specific health conditions or dietary restrictions, it’s always a smart idea to have a quick chat with your veterinarian. They can help you figure out if these, or any homemade treat, are the perfect fit for your unique feline friend!
Nutritional Information (Estimated)
Okay, so we’re not exactly making these for a five-star human restaurant here, but it’s always good to have a rough idea of what your little buddy is munching on! These numbers are just estimates, of course, since tuna brands and flour types can vary a bit. But for each Tuna Cat Snack Bite, you’re looking at roughly:
- Calories: About 15
- Fat: Around 0.5g
- Protein: A good chunk, about 2g!
- Carbohydrates: Just a little, around 1g
See? Pretty simple stuff, mostly protein from that yummy tuna. Perfect for a healthy little treat!
Share Your Tuna Cat Snack Bites Creations!
Alright, my fellow cat parents, I’d absolutely LOVE to hear how your Tuna Cat Snack Bites turned out! Did your furball go wild for them? Did they try to steal the whole batch? Spill the beans in the comments below – I love reading your stories and seeing those happy kitty faces. And hey, if you snapped any super cute photos of your cat enjoying their homemade treats, tag me on social media! For more fun dessert ideas, you can always check out this awesome dessert category!
Print
Tuna Cat Snack Bites
- Total Time: 17 min
- Yield: 10 bites 1x
- Diet: Low Lactose
Description
Simple homemade tuna bites for your cat.
Ingredients
- 1 can tuna in water
- 1 egg
- 1/4 cup whole wheat flour
Instructions
- Preheat your oven to 350°F (175°C).
- Drain the tuna and mix it with the egg and flour in a bowl.
- Form small bite-sized balls from the mixture.
- Place the balls on a baking sheet lined with parchment paper.
- Bake for 10-12 minutes or until firm.
- Let cool completely before serving to your cat.
Notes
- Store in an airtight container in the refrigerator for up to 3 days.
- Prep Time: 5 min
- Cook Time: 12 min
- Category: Pet Food
- Method: Baking
- Cuisine: Pet
Nutrition
- Serving Size: 1 bite
- Calories: 15
- Sugar: 0
- Sodium: 10
- Fat: 0.5
- Saturated Fat: 0.1
- Unsaturated Fat: 0.3
- Trans Fat: 0
- Carbohydrates: 1
- Fiber: 0.1
- Protein: 2
- Cholesterol: 5
Keywords: tuna, cat, snack, homemade, pet food