
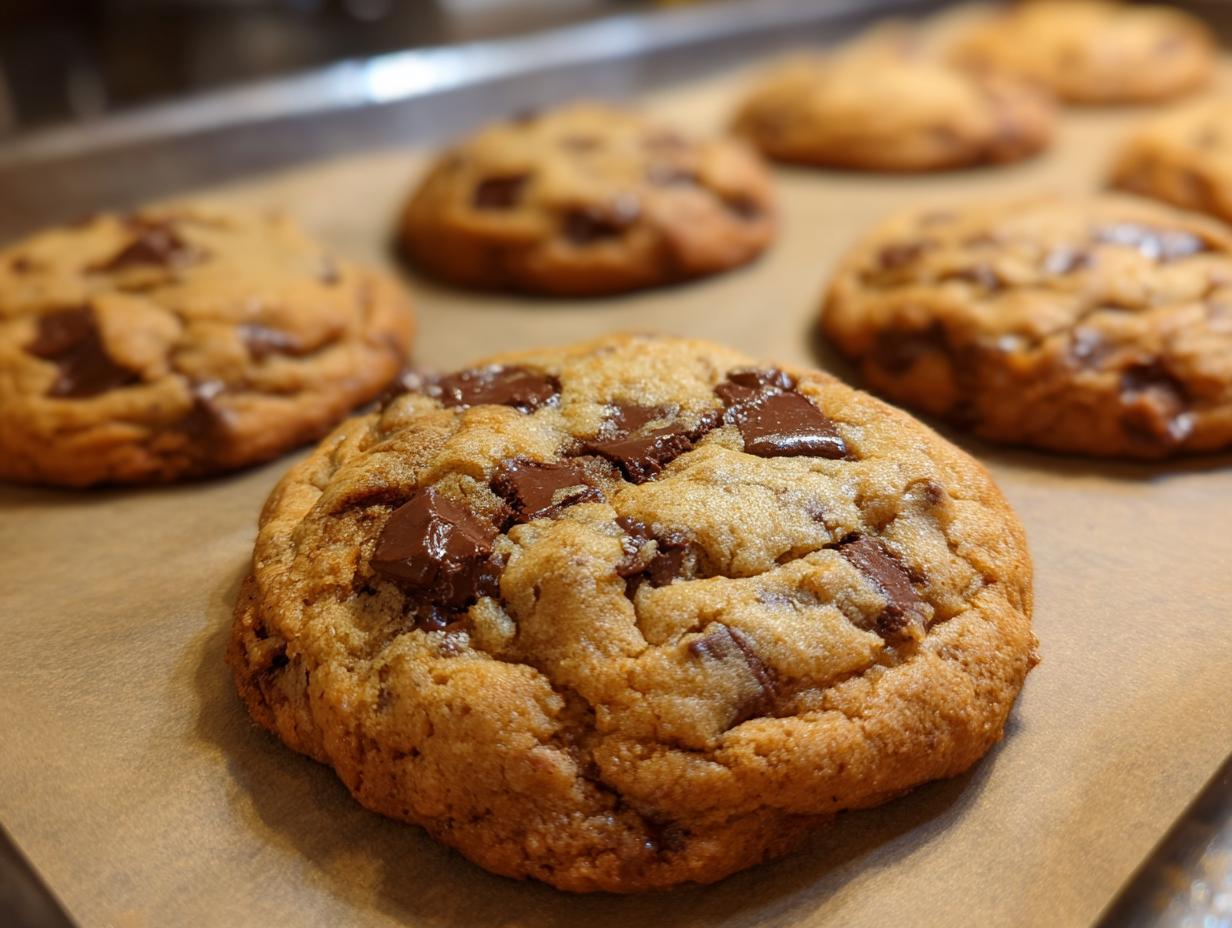
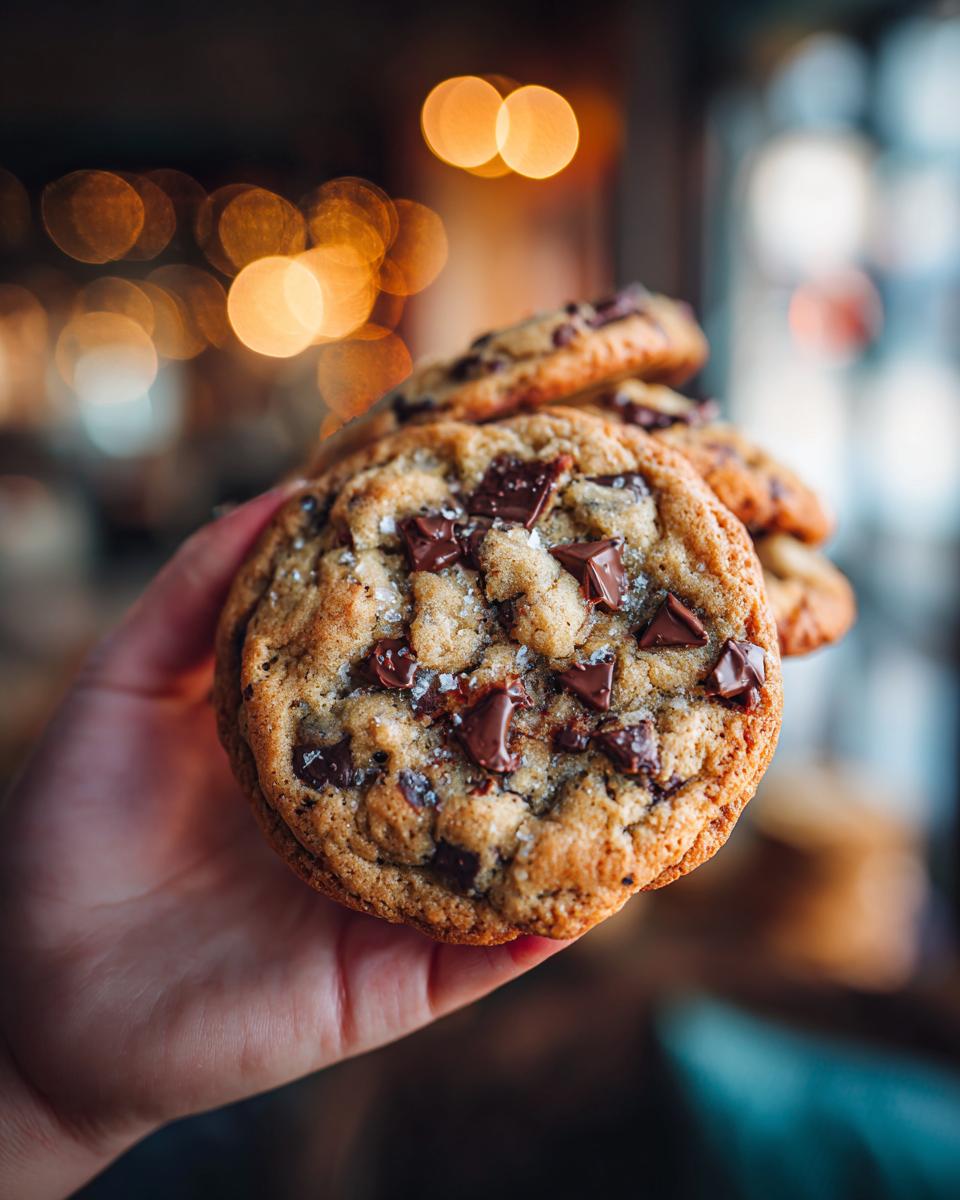
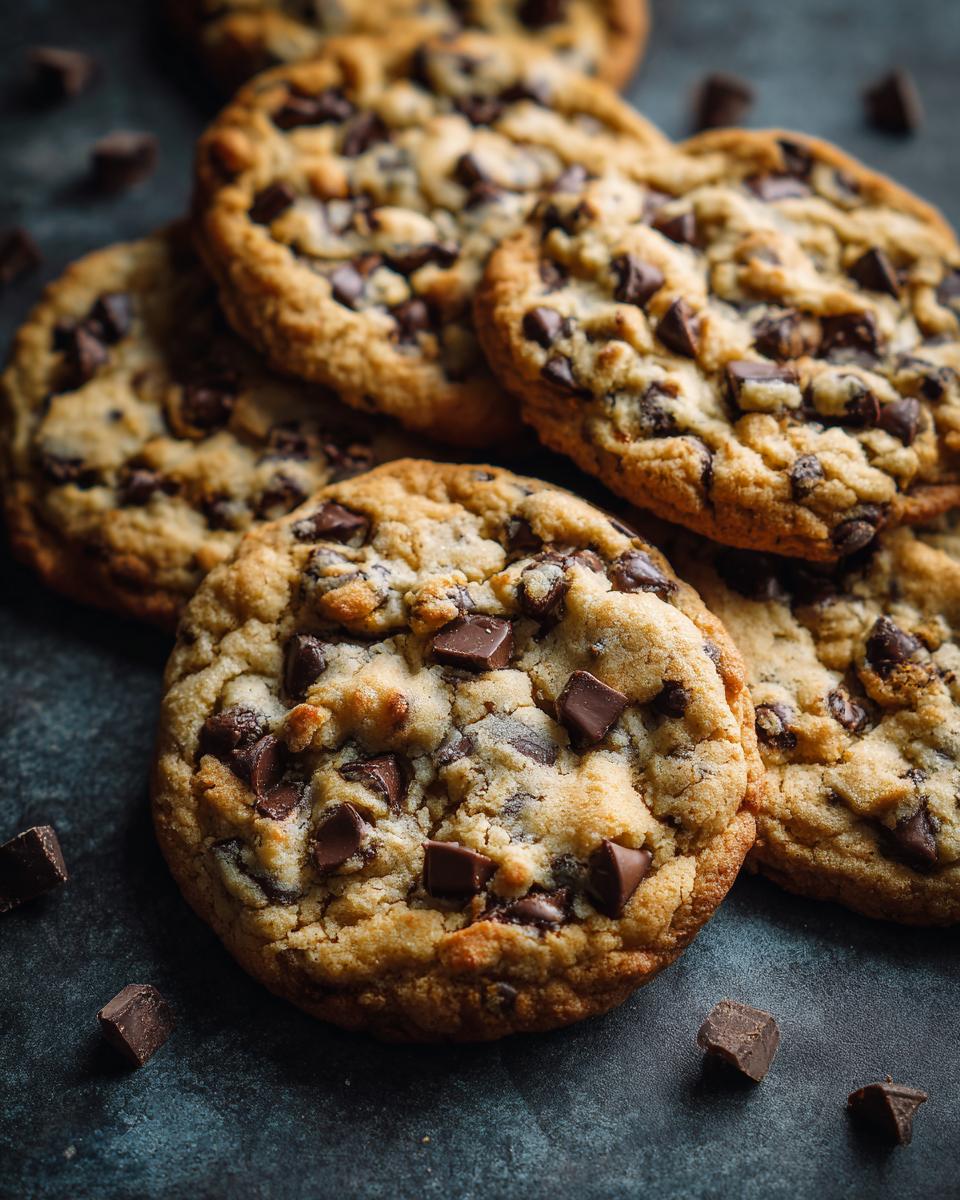
Oh, you know that feeling, right? That moment you bite into a cookie from a fancy bakery and it’s just… *perfect*? Chewy in the middle, golden crispy edges, and that deep, buttery flavor? I swear, this tastes like it came from a bakery, but the best part is, you can make it right in your own kitchen! I’m so excited to share my go-to recipe for Bakery-Style Chocolate Chip Cookies. Trust me, once you try these, you’ll never go back to store-bought again. They’re ridiculously easy and taste like pure magic.
Why This Recipe Tastes Like It Came from a Bakery
So, what makes these cookies so special that they honestly taste like they came straight from a bustling bakery? It’s all about a few key players and how we treat them! First off, the sugar ratio is crucial. We’re using a mix of granulated and brown sugar. The brown sugar, with its molasses, gives us that deep, caramel-y goodness and that wonderfully chewy texture. It’s what makes the cookie spread just right and gives it that signature flavor.
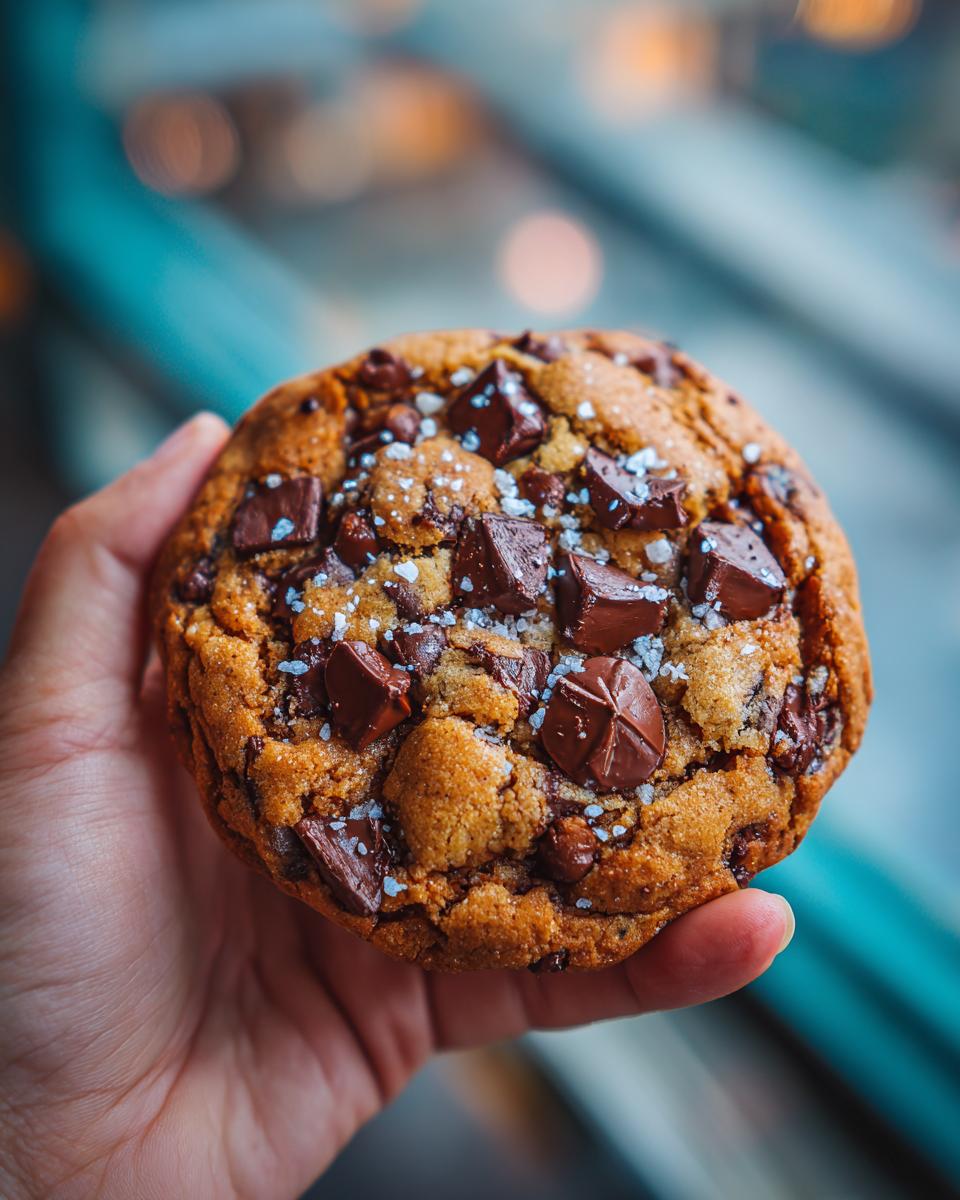
Also, don’t skimp on the butter! Make sure it’s softened, not melted – that’s how we get that perfect creaming action that creates little air pockets for a tender crumb. And for the chocolate chips? I always go for a mix of semi-sweet and dark chocolate for the best flavor depth. Oh, and a little secret? Letting the dough chill for a bit before baking can really enhance that bakery-quality taste too. It lets all those flavors meld together. You can read more about achieving perfect chocolate chip cookie textures over here!
Gather Your Ingredients for Bakery-Style Chocolate Chip Cookies
Alright, let’s get our mise en place ready! Having everything measured out before you start makes baking so much smoother, and honestly, it feels way more professional. For these amazing cookies that taste like they came straight from a bakery, you’ll need:
Two sticks (that’s one cup!) of unsalted butter, just softened – not melted, mind you! We need it to be pliable. Then, we’ll grab ¾ cup of granulated sugar and ¾ cup of packed brown sugar. Make sure that brown sugar is nice and firm in the cup when you measure it. You’ll also need two large eggs and a teaspoon of pure vanilla extract – the good stuff always makes a difference!
For the dry ingredients, we’re going with 2 ¼ cups of all-purpose flour, which you’ll want to spoon and level, not scoop. Then, 1 teaspoon each of baking soda and salt to get that perfect rise and flavor balance. And, of course, the star of the show: 2 generous cups of your favorite chocolate chips! I usually go for a mix of semi-sweet and milk chocolate, but you do you!
Step-by-Step Guide to Making Cookies That Taste Like They Came from a Bakery
Alright, buckle up, because we’re about to create some magic! Follow these steps and you’ll have cookies that truly taste like they came from a bakery. First thing’s first, gotta get that oven preheated to 375°F (190°C). It’s important for the cookies to hit that hot oven right away so they bake up beautifully. While it’s heating, grab your mixing bowls.
Creaming the Butter and Sugars
In a big bowl, plop in that softened butter. Now, add both the granulated sugar and the packed brown sugar. This is where my trusty electric mixer comes in handy, but you can totally do this by hand if you’re feeling adventurous (and strong!). Beat them together until the mixture is nice and smooth and looks almost creamy, like pale yellow clouds. This usually takes about 2-3 minutes with a mixer. It’s crucial for getting that perfect texture!
Adding the Wet Ingredients
Once your butter and sugar are all happy and combined, it’s time for the eggs. Crack them in one at a time, beating well after each addition. This helps them incorporate smoothly. Then, stir in that teaspoon of vanilla extract. Smell that? Pure happiness already! Make sure everything is mixed in well.
Combining the Dry Ingredients
Now, in a separate, medium-sized bowl, let’s get our dry stuff ready. Whisk together the all-purpose flour, the baking soda, and the salt. Whisking them helps to distribute everything evenly, which prevents those dreaded pockets of baking soda or salt in your cookies. We want consistency!
Bringing It All Together
Here comes the fun part! Gradually add the dry ingredients to your wet ingredients. I like to do this in about three additions, mixing until *just* combined after each one. Don’t go crazy overmixing here! Overmixing can make your cookies tough, and we want that tender, bakery-style bite. Seriously, stop mixing once you don’t see any more flour streaks. It’s okay if there are a few little stragglers; the chocolate chips will help disguise them.
The Grand Finale: Chocolate Chips!
Now, pour in those 2 cups of chocolate chips. Gently stir them into the dough with a spatula or wooden spoon until they’re evenly distributed. Don’t be shy – more chocolate chips are always a good idea in my book! If you’re feeling extra fancy, you can even stir in some chopped nuts or a different kind of chip.
Baking Your Bakery-Worthy Cookies
Time to bake! Drop rounded tablespoons of dough onto ungreased baking sheets. I like to use a cookie scoop for perfectly uniform cookies, but two spoons work just fine. Leave about 2 inches between them so they have room to spread. Pop them into your preheated oven and bake for 9 to 11 minutes. You’re looking for the edges to be golden brown, but the centers should still look a little soft. Trust me on this! They’ll continue to bake a bit on the hot pan. For more tips on achieving the perfect chocolate chip cookie, check this out!
Cooling is Key!
This is super important for that bakery texture. Let the cookies cool on the baking sheets for about 5 minutes. They need that time to firm up so they don’t fall apart. Then, carefully transfer them to a wire rack to cool completely. That’s it! Now you have cookies that taste like they came straight from a bakery!
Tips for Achieving That Perfect Bakery Texture
Okay, so you’ve made the cookies, but how do you get that signature bakery texture that’s just *chef’s kiss*? It’s in the little things! My biggest tip? Chill that dough! Seriously, popping the dough in the fridge for at least 30 minutes (or even overnight!) before baking makes a WORLD of difference. It lets the flour absorb the moisture better and the fats firm up, which means less spreading and a thicker, chewier cookie. You can find more secrets for chewy cookies over here at this chewy oatmeal raisin recipe.
Also, watch your baking time closely! We want those edges golden, but the center should still look a little soft and underdone when you pull them out. They finish baking on the hot sheet! And don’t rush the cooling process on the wire rack; that’s when they set up perfectly, giving you that ideal contrast between crispy edges and a gooey center. It’s all about patience!
Frequently Asked Questions About Bakery-Style Chocolate Chip Cookies
Got questions about making your cookies taste like they came straight from your favorite bakery? I’ve got answers!
Can I freeze the chocolate chip cookie dough?
Absolutely! Freezing the dough is one of my favorite tricks. Just scoop your dough balls onto a parchment-lined baking sheet, freeze them until solid, then transfer them to a freezer bag or container. You can bake them straight from frozen – just add a couple of extra minutes to the baking time. They’ll still taste amazing!
What kind of chocolate chips are best for that bakery flavor?
Honestly, use what you love! I find a mix of semi-sweet and milk chocolate chips gives a great balance of flavor. For an even richer taste that screams “bakery,” try using a combination of high-quality chips and even some chopped chocolate bars. It makes a real difference!
How do I make my cookies chewier or crispier?
It’s all about the bake time! For chewier cookies, pull them out when the edges are golden brown but the centers still look slightly soft and underdone. They’ll finish setting up on the hot pan. If you prefer them crispier, bake them a few minutes longer until they look more uniformly golden all over. Don’t overbake, though, or they can become too hard!
Storage and Reheating for Your Bakery-Quality Cookies
Okay, so you’ve baked up a storm and have these incredible cookies that taste *exactly* like they came from a bakery. Bravo! Now, to keep that deliciousness going, storage is key. The best way to keep them fresh is in an airtight container at room temperature. They’ll stay wonderfully chewy and soft for about 3-4 days this way. Honestly, they disappear so fast, I rarely have to worry about keeping them longer!
If you want to recapture that just-baked warmth and gooeyness, just pop a cookie (or two!) in the microwave for about 10-15 seconds. It brings them right back to life, making them taste like they just came out of the oven. Seriously, it’s a game-changer for late-night cookie cravings!
Nutritional Information (Estimated)
Just a heads-up, these numbers are estimates, okay? What you get can totally depend on the brands of ingredients you use and, well, how generously you ‘drop’ those dough balls! But generally, each of these amazing cookies, which taste like they came right from a bakery, packs about 180 calories. You’re looking at around 9g of fat, 23g of carbs, and 2g of protein per cookie. Enjoy them guilt-free (mostly!).