

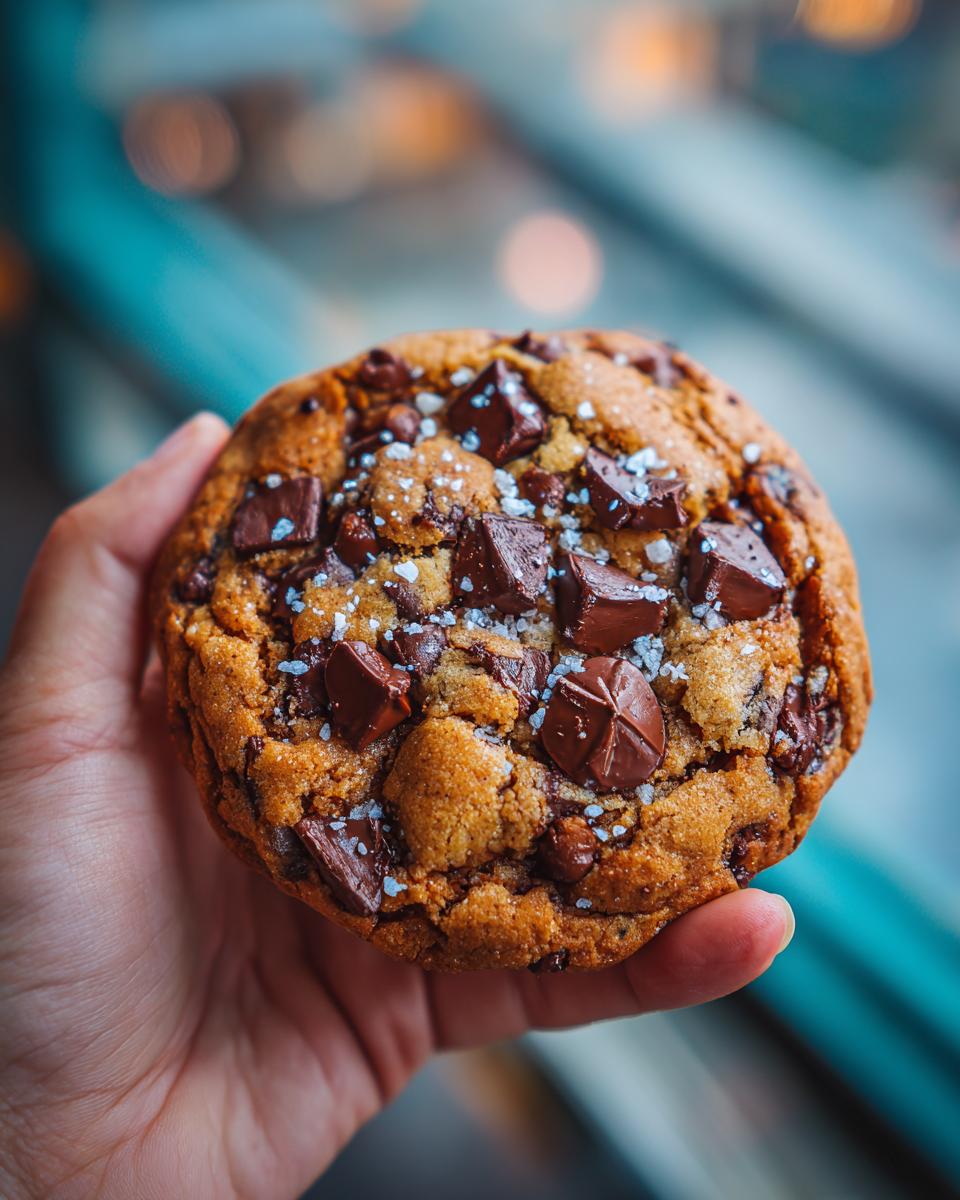
Okay, let’s talk chocolate chip cookies. You know that feeling when you walk into a bakery and that incredible wave of warm, sweet, buttery goodness hits you? That’s exactly what you’ll get with these. Seriously, they’re so good, they’ll make you say, “Wow, this tastes like it came from a bakery!” I remember struggling for ages to get that perfect balance of chewy inside and slightly crisp edge, you know? Like, why were mine always too flat or too cakey? But after a bit of tweaking, I finally cracked the code. These cookies are my go-to because they’re not just easy, they’re wonderfully reliable and taste absolutely phenomenal every single time. For more simple cookie recipes, check out this chocolate chip cookie recipe I love. I even won third place at the county fair with them one year!
Why This Recipe Tastes Like It Came from a Bakery
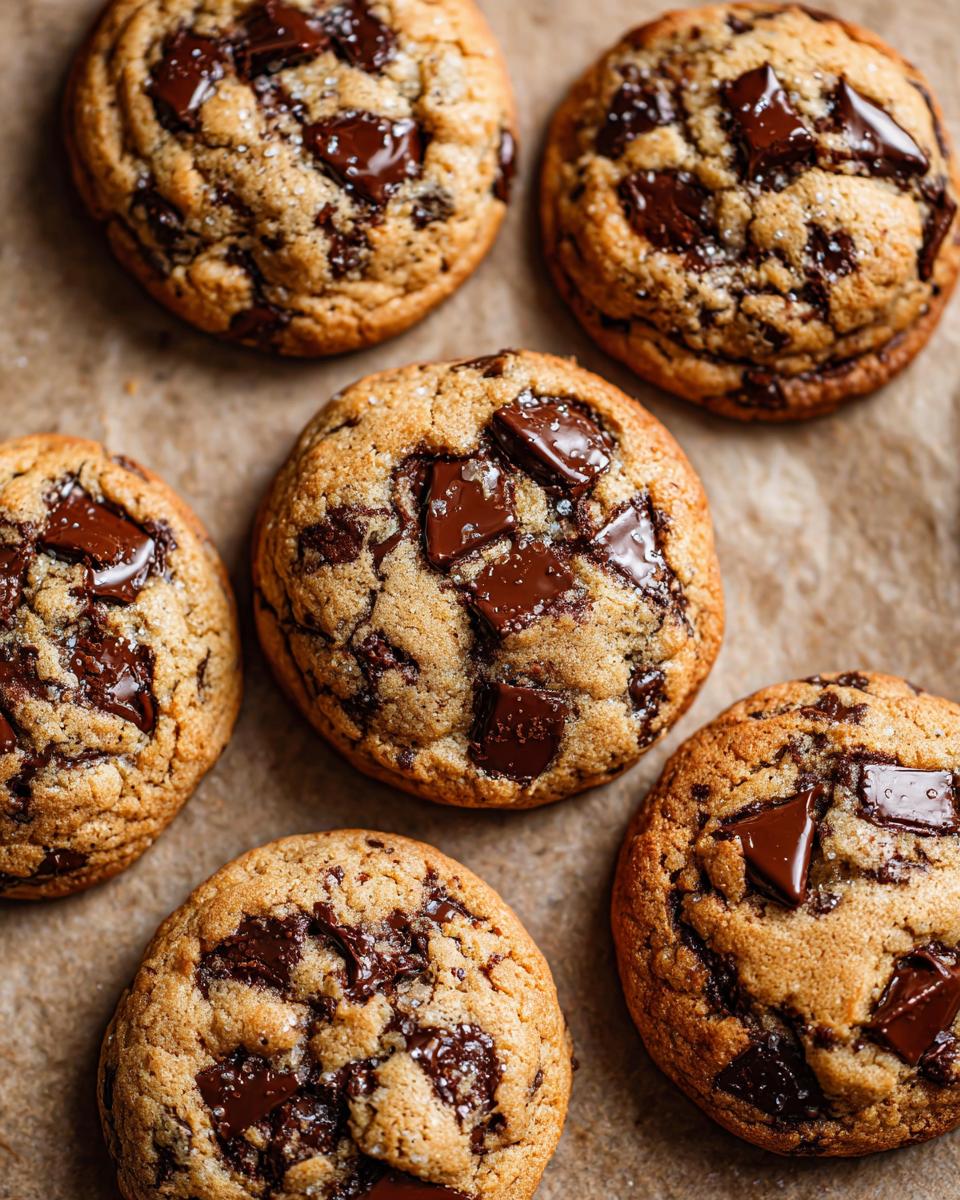
So, what makes these cookies taste like they just came from your favorite little bakery down the street? It’s all about a few key players and how they work together. We’re going for that perfect bite that’s gooey in the middle and just slightly crisp around the edges, without being burnt or too cakey. It’s a delicate balance, but trust me, these simple tips make all the difference!
The Secret to Chewy Centers
The magic for that wonderfully chewy center really starts with the sugar ratio. See, brown sugar has molasses in it, and that keeps cookies soft and moist. Combined with softened butter, it creates a base that just screams “chewy goodness.” We’re not skimping on the butter either; it adds that rich flavor and helps make the cookie tender.
Achieving Golden-Brown Edges
Getting those perfectly golden edges is all about the bake! We want a good, hot oven – 375°F (190°C) is the sweet spot. You bake them just long enough for the edges to turn a beautiful golden brown, but the center still looks a little underdone. That’s exactly what you want! They continue to bake on the hot cookie sheet for a few minutes after you pull them out, setting up perfectly.
Ingredients You’ll Need for Bakery-Style Chocolate Chip Cookies
Alright, let’s get down to business! To make cookies that will have everyone asking for the recipe, you’ll need a few simple things you probably already have in your pantry. Having everything measured out and ready to go makes baking so much more enjoyable, trust me! Here’s what you’ll need:
- 1 cup (2 sticks) unsalted butter, softened – make sure it’s softened, not melted!
- ¾ cup granulated sugar
- ¾ cup packed brown sugar (this is key for chewiness!)
- 2 large eggs
- 1 teaspoon vanilla extract
- 2 ¼ cups all-purpose flour
- 1 teaspoon baking soda
- 1 teaspoon salt
- 2 cups chocolate chips (milk, semi-sweet, dark – your call!)
Ingredient Notes and Substitutions
Let’s chat ingredients for a sec. Using unsalted butter is my go-to because it lets me control the salt level in the recipe. If you only have salted butter, just cut back a little on the recipe’s salt. For the brown sugar, light or dark both work, but dark brown sugar gives you a richer flavor. If you’re out of brown sugar, you can try mixing ¾ cup granulated sugar with 1 tablespoon of molasses, but it’s not quite the same! Vegans can try a flax egg (1 tablespoon ground flaxseed mixed with 3 tablespoons water, let sit for 5 mins) and a dairy-free butter substitute. Just know that substitutions can change the texture a bit! For more recipe ideas, check out this chocolate chip cookie recipe I love.
How to Make Cookies That Taste Like They Came from a Bakery
Alright, let’s get baking! Making these cookies is super straightforward, and honestly, half the fun is the smell that fills your kitchen. First things first, get that oven preheating to 375°F (190°C). While it’s warming up, grab your mixing bowls. It’s important to get the timing right, especially with the cooling. For more sweet treat inspiration, don’t forget to check out how to make these homemade Krispy Kreme donuts or these even tastier homemade Krispy Kreme donuts!
Mixing the Dough: Tips for the Perfect Texture
This is where the magic really starts to happen. In a big bowl, cream your softened butter with both the granulated and brown sugars until it’s light and fluffy. Seriously, give it a good few minutes! Then, beat in your eggs one at a time, followed by the vanilla. In another bowl, give your flour, baking soda, and salt a quick whisk together. Now, slowly add those dry ingredients to your wet mixture, mixing *just* until it’s combined. Overmixing is the enemy here – it can make your cookies tough. So, keep it gentle!
Baking and Cooling for Bakery-Quality Results
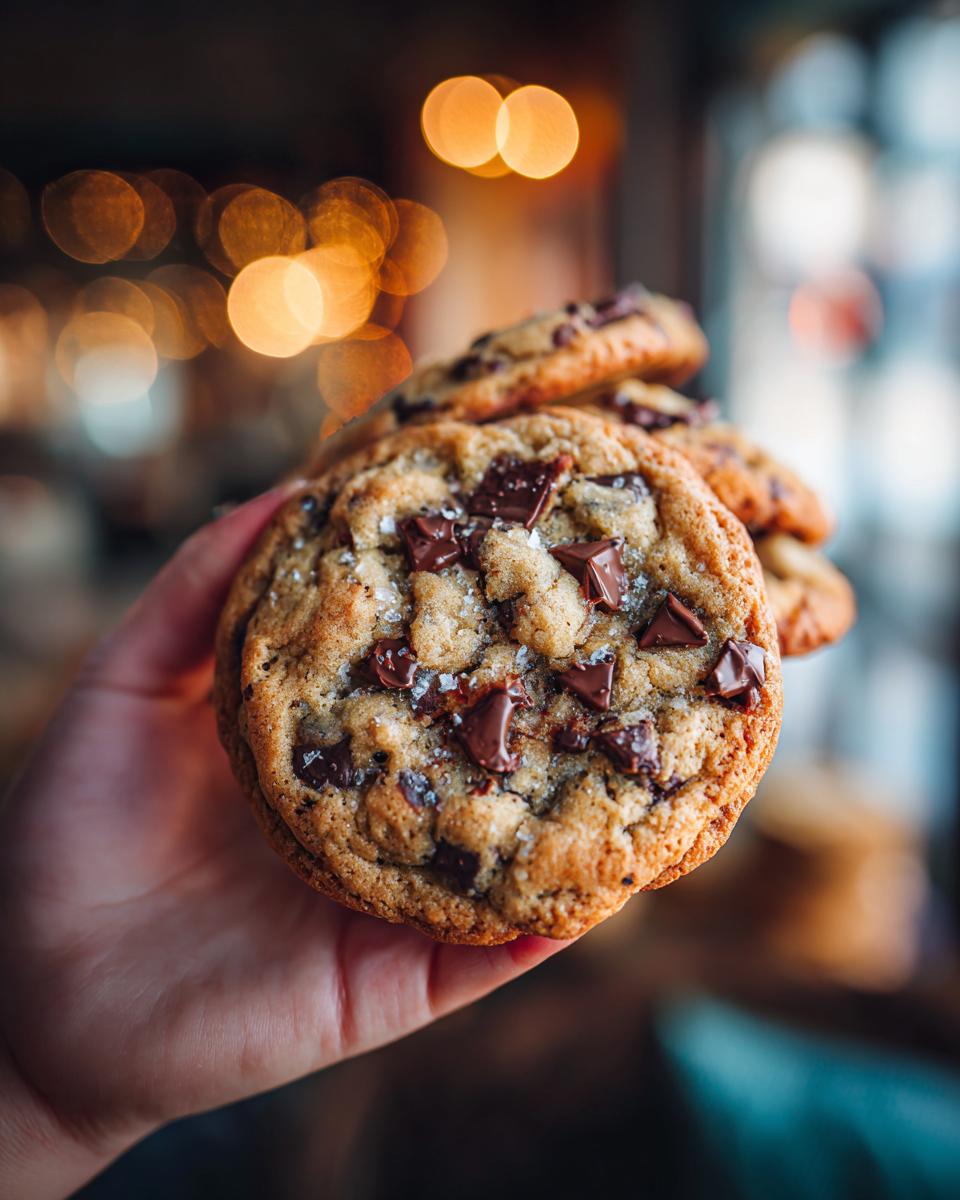
Once your dough is ready, stir in those glorious chocolate chips! Then, drop rounded tablespoons of dough onto your baking sheets. Don’t crowd them too much – give them a little space to spread out. Bake for about 9 to 11 minutes. You’re looking for the edges to be golden brown, but the centers should still look a little soft. This is crucial! Let them cool on the baking sheets for at least 5 minutes before carefully moving them to a wire rack to cool completely. This is when they finish setting up and get that perfect texture.
Tips for Making Your Cookies Taste Like They Came from a Bakery
Okay, so you’ve got the basic recipe down, but you want to take these cookies from “really good” to “OMG, I *need* the recipe!” right now? I’ve got you! Here are a few of my tried-and-true tricks that really make a difference. These little tweaks are what I think separate a home-baked cookie from one you’d grab at a fancy patisserie.
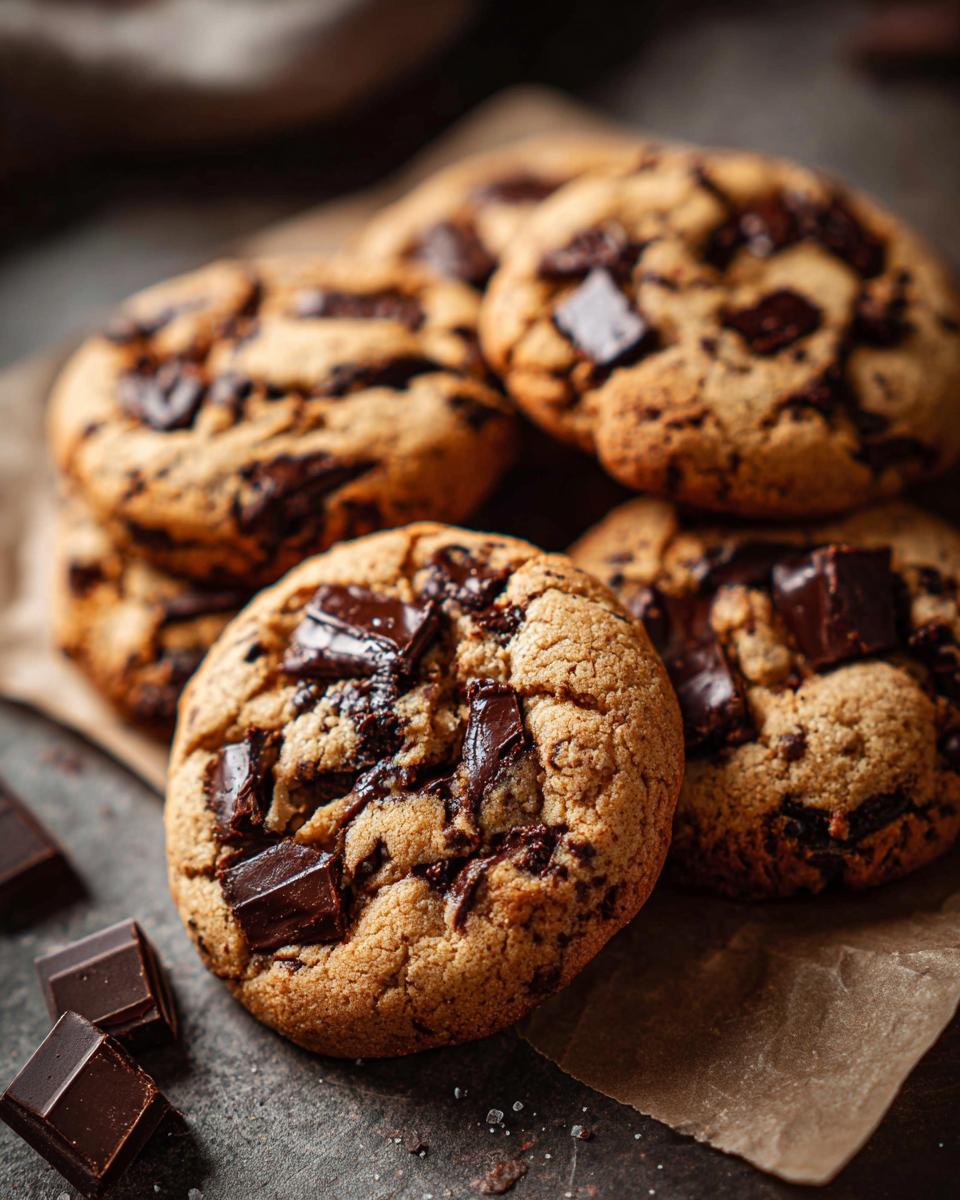
First off, don’t be afraid of the dough chilling! I know, I know, it’s an extra step, but if you can resist the urge to bake them immediately, let the dough hang out in the fridge for at least 30 minutes, or even overnight. This lets the flour hydrate and the flavors meld together, resulting in a richer, more complex taste and a better texture. For serious chocolate lovers, try using a mix of chocolate chips – semi-sweet for that classic flavor and some dark chocolate chunks for meltier pockets. And speaking of chocolate, check out this gooey chocolate recipe or this amazing double chocolate recipe if you’re feeling extra indulgent! And for perfectly browned, not burnt, cookies, I always bake them on parchment paper. It gives you a little buffer and makes cleanup a breeze!
Storage and Make-Ahead Tips
Want to keep these bakery-worthy treats fresh? Store them in an airtight container at room temperature. They’re usually best within 3-5 days, but honestly, they never last that long in my house! If you want to get ahead, you can totally make the dough ahead of time. Just cover the bowl tightly and pop it in the fridge for up to 3 days. Or, roll them into balls and freeze them on a baking sheet, then transfer to a freezer bag. When you’re ready for a warm cookie, just pop a frozen ball onto a baking sheet and bake a couple of extra minutes!
Frequently Asked Questions About Bakery-Style Cookies
Got questions? I’ve got answers! Baking is all about practice, and sometimes you just need a little nudge in the right direction. Here are some things people often ask me about making these cookies. For more cookie wonders, don’t forget to check out this chocolate chip cookie recipe I love!
Can I freeze the cookie dough?
Oh, absolutely! That’s a fantastic make-ahead tip. Just scoop your cookie dough into balls, place them on a baking sheet to freeze until solid, then transfer them to a freezer bag. You can bake them straight from frozen, just add a couple of extra minutes to the baking time!
Why are my cookies spreading too much?
This is a common one! It usually happens if your butter is too soft or melted, or if your oven isn’t hot enough. Make sure your butter is just softened, not gooey. Also, using parchment paper can help control spread a bit, and chilling that dough really does wonders!
How can I make my cookies chewier?
For maximum chewiness, really lean into the brown sugar – it’s your best friend for moisture! Also, don’t overbake them. Pull them out when the edges look golden but the center still seems a little soft. They’ll finish setting up on the hot pan. You can even try adding an extra yolk to the dough for even more chew!
Estimated Nutritional Information
Just a heads-up, these nutrition numbers are estimates and can vary depending on the exact ingredients you use, especially the chocolate chips! This info is based on one cookie, so enjoy responsibly!
- Serving Size: 1 cookie
- Calories: 180
- Fat: 9g
- Carbohydrates: 23g
- Protein: 2g