
Oh, hello there, fellow chocolate fanatics! If your heart beats a little faster at the thought of a rich, fudgy, melt-in-your-mouth chocolate dessert, then you’ve found your happy place. I’m absolutely thrilled to share this recipe with you because, trust me, This Is What Chocolate Lovers Dream Of. It’s the kind of cake that doesn’t just satisfy a craving; it feels like a warm hug from the inside out. I still remember the first time I made this for my family – my dad, who’s usually pretty reserved about sweets, literally asked for a second piece before the first was even finished! It’s that good.
Why This Chocolate Cake Is What Chocolate Lovers Dream Of
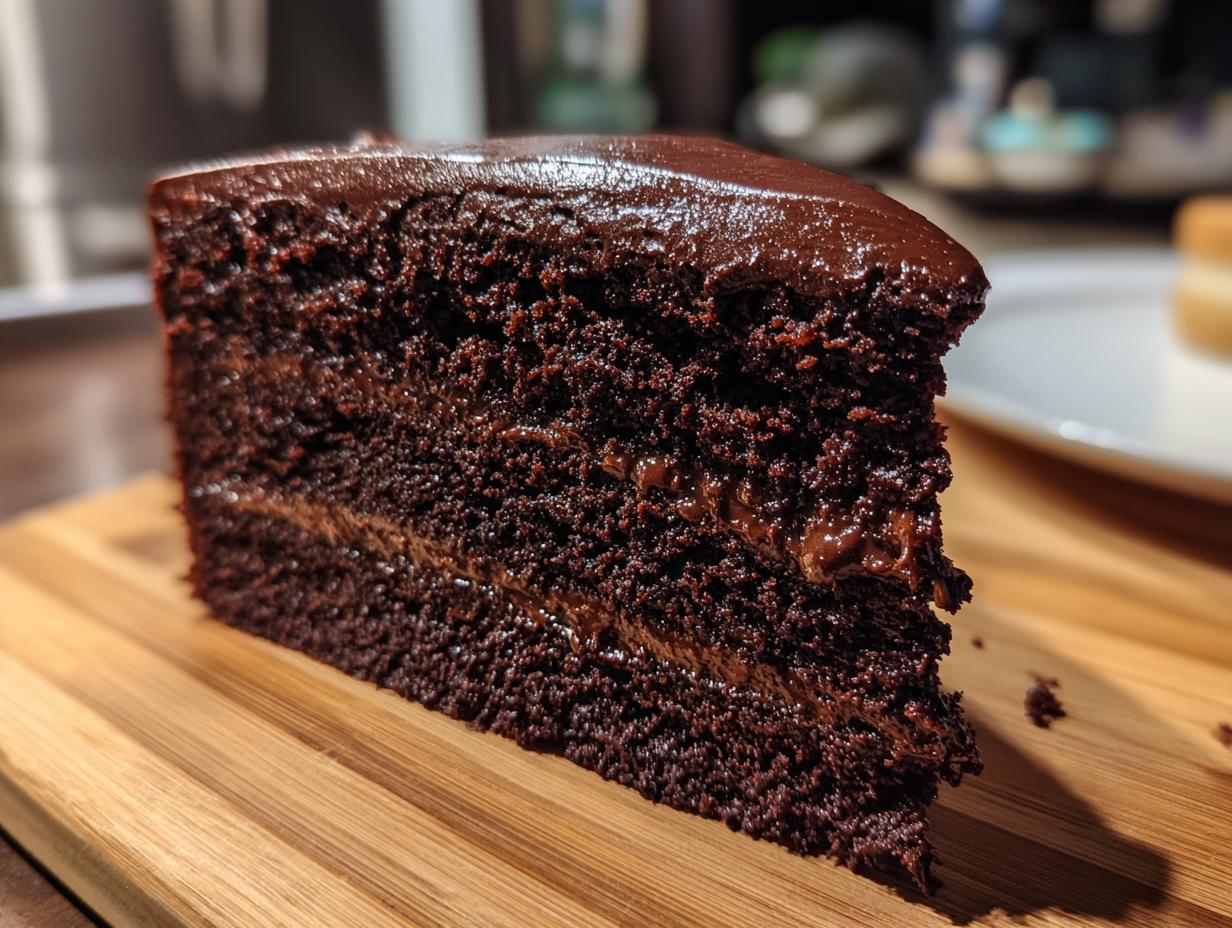
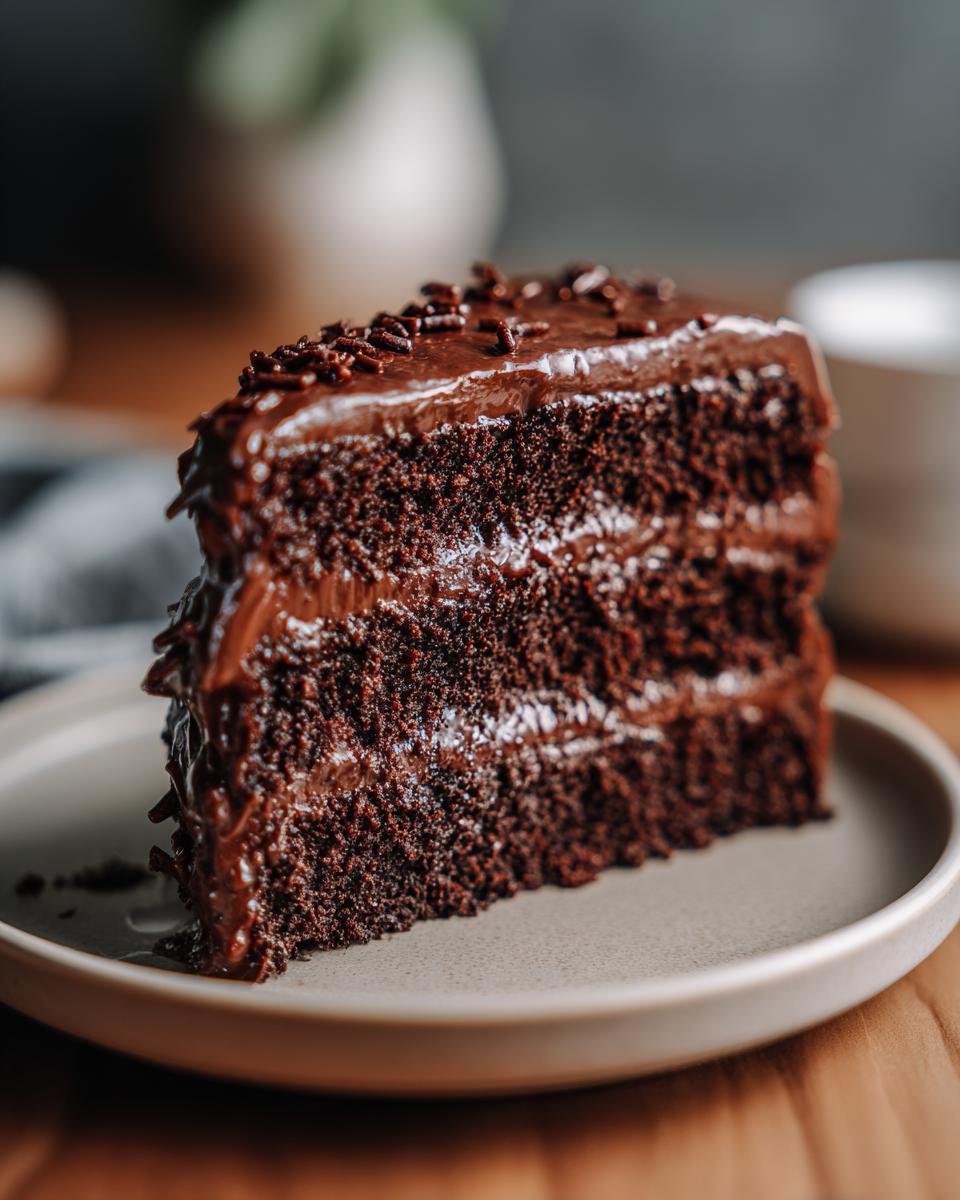
So, what makes this cake truly special? It’s the incredible depth of chocolate flavor you get from using both unsweetened cocoa powder AND, gasp, hot water! That boiling water blooms the cocoa, making it taste so much richer, almost like you’ve got melted chocolate bars in there. And the texture? Oh, the texture! It’s this perfect balance – incredibly moist and tender, never dry, but still has a lovely bit of structure that holds up beautifully to a generous swirl of frosting. Honestly, it’s the kind of cake that makes you close your eyes with the first bite. If you’re looking for an intensely chocolaty experience that’s surprisingly easy to whip up, this truly is This Is What Chocolate Lovers Dream Of. It’s like my double chocolate obsession met its match in pure, unadulterated, cakey heaven. And don’t even get me started on how well it pairs with a good cup of coffee or even some gooey chocolate toppings!
Gather Your Ingredients for This Chocolate Lover’s Dream
Alright, before we dive into the magic, let’s get our ducks in a row! Having all your ingredients prepped makes this cake a breeze. For this masterpiece, you’ll want:
- 1 cup all-purpose flour – make sure it’s measured correctly!
- 1/2 cup unsweetened cocoa powder – I like to sift mine to avoid lumps. It really makes a difference!
- 1 teaspoon baking soda
- 1/2 teaspoon baking powder
- 1/4 teaspoon salt – just a pinch to balance everything out.
- 1 cup granulated sugar
- 1/2 cup packed brown sugar – for that extra depth and moisture.
- 1 cup buttermilk – at room temperature is best!
- 1/2 cup vegetable oil – or any neutral oil works great.
- 2 large eggs – again, room temperature is key for binding.
- 1 teaspoon vanilla extract – the good stuff, if you have it!
- 1 cup boiling water – this is our secret weapon for intense chocolate flavor!
Using good quality cocoa powder really makes this cake sing. It’s these simple building blocks that turn into something truly spectacular, just like how a perfect chocolate chip cookie needs the right ingredients too!
Step-by-Step Guide to Creating This Chocolate Masterpiece
Alright, let’s get this party started! Making this cake is honestly so straightforward, you’ll be amazed. It’s all about following a few simple steps, and trust me, the payoff is HUGE. Imagine pulling this out of the oven – pure chocolate bliss! It’s almost as satisfying as whipping up a batch of homemade doughnuts, like these amazing Krispy Kreme copycats or even these other fun doughnut variations!
Preparing the Chocolate Batter
First things first, let’s get that oven preheated to 350°F (175°C). While it’s warming up, grab your favorite baking pan – a 9×13 inch one works perfectly, or you can even do cupcakes if you’re feeling adventurous. Give it a good grease and flour so nothing sticks. Now, in one bowl, whisk together all your dry ingredients: the flour, that lovely cocoa powder, baking soda, baking powder, and salt. Just give them a good swirl to combine. In a separate, bigger bowl, toss in your sugars, the buttermilk, oil, those gorgeous eggs, and that splash of vanilla. Whisk that all together until it’s nicely blended. Then, introduce your dry ingredients to the wet ones. Mix them just until they’re combined – don’t go crazy overmixing, or it can get tough! The batter might look a little thick right now, but don’t worry, the next step is the magic.
Baking Your Chocolate Lover’s Dream Cake
Here comes the secret weapon: pour in that cup of boiling water. Stir it gently until everything is smooth. Yes, the batter will look *super* thin, almost like soup, but that’s exactly what we want! It’s what makes this cake unbelievably moist. Pour all that thin, chocolatey goodness into your prepared pan. Pop it into your preheated oven and let it bake for about 30 to 35 minutes. How do you know it’s ready? The best way is the toothpick test! Stick a toothpick into the center of the cake. If it comes out clean, with maybe just a few moist crumbs clinging to it, it’s done. If there’s wet batter, give it a few more minutes and test again. You don’t want to overbake this beauty!
Cooling and Frosting
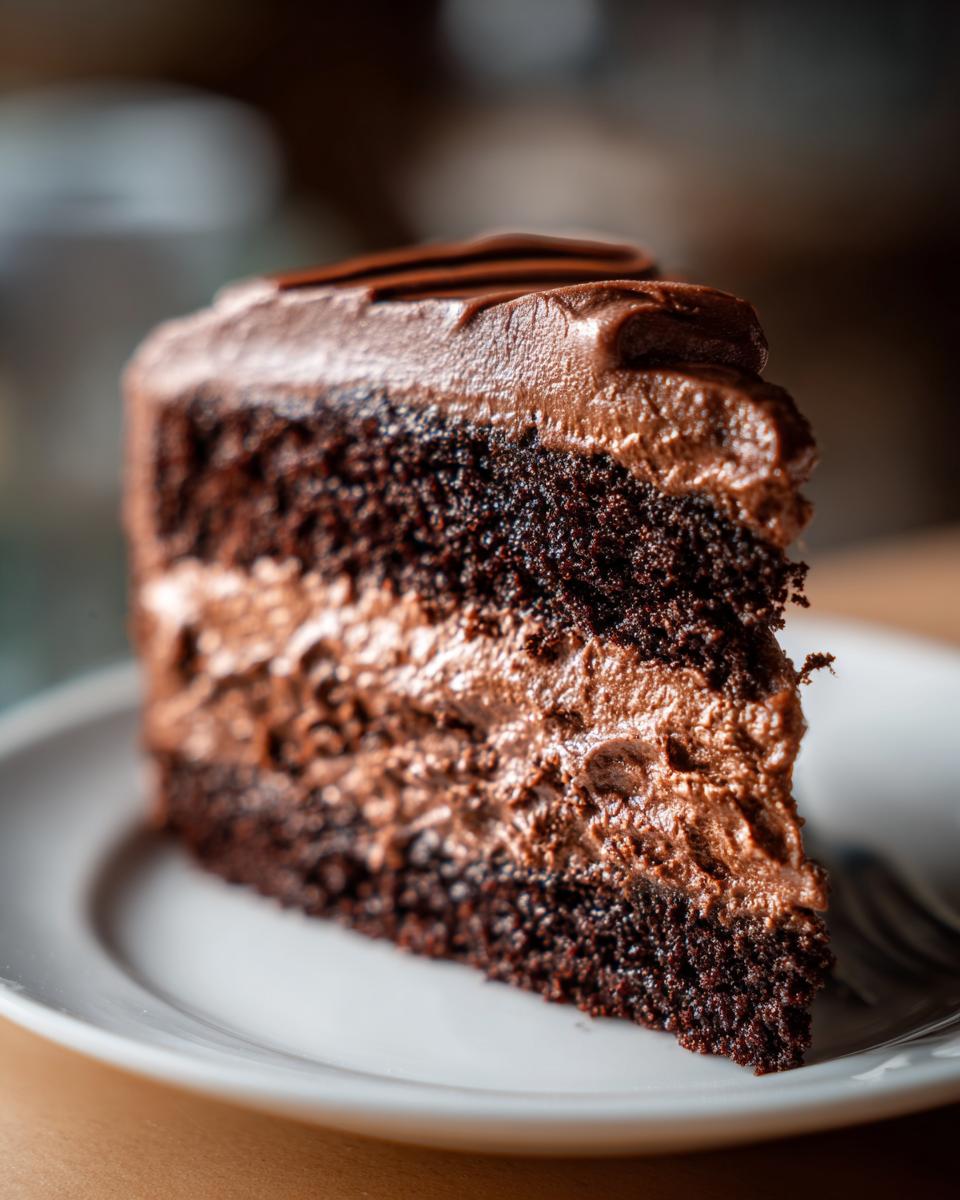
Once it’s baked to perfection, carefully take the pan out of the oven. You absolutely *must* let this cake cool completely before you even think about frosting. Seriously, I know it’s tempting, but frosting a warm cake is a recipe for a melted mess! Let it cool in the pan for about 10-15 minutes, then gently flip it out onto a wire rack to cool down the rest of the way. Once it’s totally cool (like, you can touch it without it feeling warm at all), it’s frosting time! Spread your favorite chocolate frosting all over the top. This step is pretty much the best part, right? It’s like decorating a masterpiece, and soon enough, you’ll have your very own slice of chocolate heaven, ready to devour.
Tips for Achieving Chocolate Perfection
You know, getting this chocolate cake just right is all about a few little tricks that make a world of difference. First off, let’s talk ingredient temperature. For the eggs and buttermilk, always try to have them at room temperature. It helps everything emulsify so much better, creating a smoother batter and a more uniform crumb. You don’t want pockets of cold butter or yogurt in there, right? It’s like when you’re making banana bread; room temperature ingredients just bind better.
And about that mixing? Resist the urge to go wild! When you combine the dry and wet ingredients, just mix until everything is *barely* combined. A few little streaks of flour are totally fine; they’ll disappear when you add that boiling water. Overmixing develops the gluten too much, and that can make your cake tough instead of tender. Patience here really pays off! Also, ovens can be tricky, so know yours. If you find your cakes often bake too quickly on the edges, consider lowering the temperature by about 25 degrees and baking a little longer.
Ingredient Notes and Substitutions
This cake is pretty forgiving, but a few notes can help make it even better! For that deep chocolate flavor, using a good quality unsweetened cocoa powder is key. If you can get your hands on Dutch-processed cocoa, go for it! It gives a darker color and a smoother, less bitter taste. If you don’t have buttermilk on hand, no sweat! Just pop a tablespoon of white vinegar or lemon juice into a measuring cup and fill it up with regular milk. Let it sit for about five minutes, and voilà, you’ve got a perfect buttermilk substitute. This little trick works wonders in recipes like our rich banana bread too!
Frequently Asked Questions About This Chocolate Dream
Got questions about our chocolate dream cake? I get it! It’s a pretty special dessert, and you want to make sure it’s just right. Let’s dive into some common ones and get you all sorted.
Can I make this cake ahead of time?
Oh, absolutely! This is one of the best things about this recipe. You can bake the cake a day or two in advance and store it at room temperature, well-wrapped, or in an airtight container. The frosting really helps seal in the moisture, and honestly, it often tastes even better the next day when the flavors have had a chance to meld. It makes party prep so much easier!
What is the best way to store leftovers?
Proper storage is key to keeping this cake delicious! Once it’s frosted, keep it in an airtight container at room temperature for up to 3 days. If your kitchen is super warm, you might want to pop it in the fridge, but be aware that refrigeration can sometimes make the cake a *tad* firmer. If it does end up in the fridge, just let it sit out on the counter for about 20-30 minutes before serving to let it come back to its most delightful texture.
Can I use a different type of pan?
You sure can! While a 9×13 inch pan is my go-to because it bakes evenly and is easy to frost, this batter is pretty versatile. You could bake it in two 8-inch or 9-inch round pans for a layer cake, but you’ll need to adjust the baking time – probably closer to 25-30 minutes. Cupcakes are also a fantastic option! Fill liners about two-thirds full and bake for around 18-22 minutes. Just remember that smaller batches bake faster! It’s all about adapting the recipe for your needs, kind of like how you might adapt my triple chocolate mousse cake.
Will using oil instead of butter affect the texture?
Not at all, in fact, it’s one of the secrets to this cake’s amazing moistness! Oil is liquid at room temperature, which means it stays liquid in the baked cake, giving it that incredibly tender, almost fudgy texture that butter sometimes struggles to achieve in chocolate cakes. So, stick with the oil; it’s here for a delicious reason!
Nutritional Information (Estimated)
Okay, so let’s talk numbers for a second. Keep in mind that this is an estimate, because the exact nutritional values can bounce around a bit depending on the specific brands you use and, you know, how heavy-handed you are with that frosting! But generally, for one serving of this glorious chocolate dream, here’s what you can expect:
- Serving Size: 1 slice
- Calories: About 350
- Fat: Around 18g (with about 9g of that being saturated fat)
- Carbohydrates: Roughly 45g
- Sugar: About 35g (yep, it’s a treat!)
- Protein: Around 4g
- Cholesterol: Approximately 50mg
- Sodium: Around 200mg
This gives you a good idea of what you’re indulging in. Even with the numbers, this cake is totally worth it for a special occasion or just when you need a serious chocolate fix!
Share Your Chocolate Creations!
Okay, now it’s your turn! I’ve poured my heart (and a whole lot of chocolate) into this recipe, and I truly can’t wait to hear what YOU think. Did you try it for a birthday? A cozy night in? Did it become your go-to for impressing guests?
Seriously, drop a comment below and tell me all about it! Your feedback helps me make this blog even better, and honestly, I just love seeing your baking adventures. If you made this cake, how did it turn out? Were there any fun twists you added? Don’t be shy – share your stories and let’s chat chocolate! Oh, and if you’re sharing photos, tag me on social media! Seeing your finished dessert is honestly the highlight of my day. It’s like getting to taste your delicious creations through your pictures! If you loved this cake, you might also adore my famous chocolate chip cookies; I’d love to hear about those too!
Print
Loaded Baked Potato Soup (Lightened Up)
- Total Time: 45 min
- Yield: 6 servings 1x
- Diet: Vegetarian
Description
A lighter version of classic loaded baked potato soup, with reduced fat and calories.
Ingredients
- 1 tablespoon olive oil
- 1 large onion, chopped
- 2 cloves garlic, minced
- 4 cups low-sodium chicken broth
- 4 medium potatoes, peeled and diced
- 1 cup skim milk
- 1/2 cup plain non-fat Greek yogurt
- 1/4 cup chopped fresh chives
- Salt and black pepper to taste
- Optional toppings: reduced-fat shredded cheddar cheese, cooked turkey bacon bits
Instructions
- Heat olive oil in a large pot or Dutch oven over medium heat. Add onion and cook until softened, about 5-7 minutes. Add garlic and cook for 1 minute more until fragrant.
- Pour in chicken broth and add diced potatoes. Bring to a boil, then reduce heat and simmer until potatoes are tender, about 15-20 minutes.
- Carefully transfer about half of the soup to a blender or use an immersion blender to blend until smooth. Return the blended soup to the pot.
- Stir in skim milk and Greek yogurt until well combined. Heat gently over low heat, do not boil.
- Stir in chives. Season with salt and pepper to taste.
- Serve hot, with optional toppings if desired.
Notes
- For a thicker soup, use more potatoes or blend a larger portion of the soup.
- You can substitute vegetable broth for chicken broth for a vegetarian option.
- Prep Time: 15 min
- Cook Time: 30 min
- Category: Soup
- Method: Stovetop
- Cuisine: American
Nutrition
- Serving Size: 1.5 cups
- Calories: 250
- Sugar: 8g
- Sodium: 400mg
- Fat: 5g
- Saturated Fat: 1g
- Unsaturated Fat: 4g
- Trans Fat: 0g
- Carbohydrates: 40g
- Fiber: 5g
- Protein: 12g
- Cholesterol: 5mg
Keywords: baked potato soup, loaded potato soup, lightened up soup, healthy soup, low calorie soup, potato soup recipe