
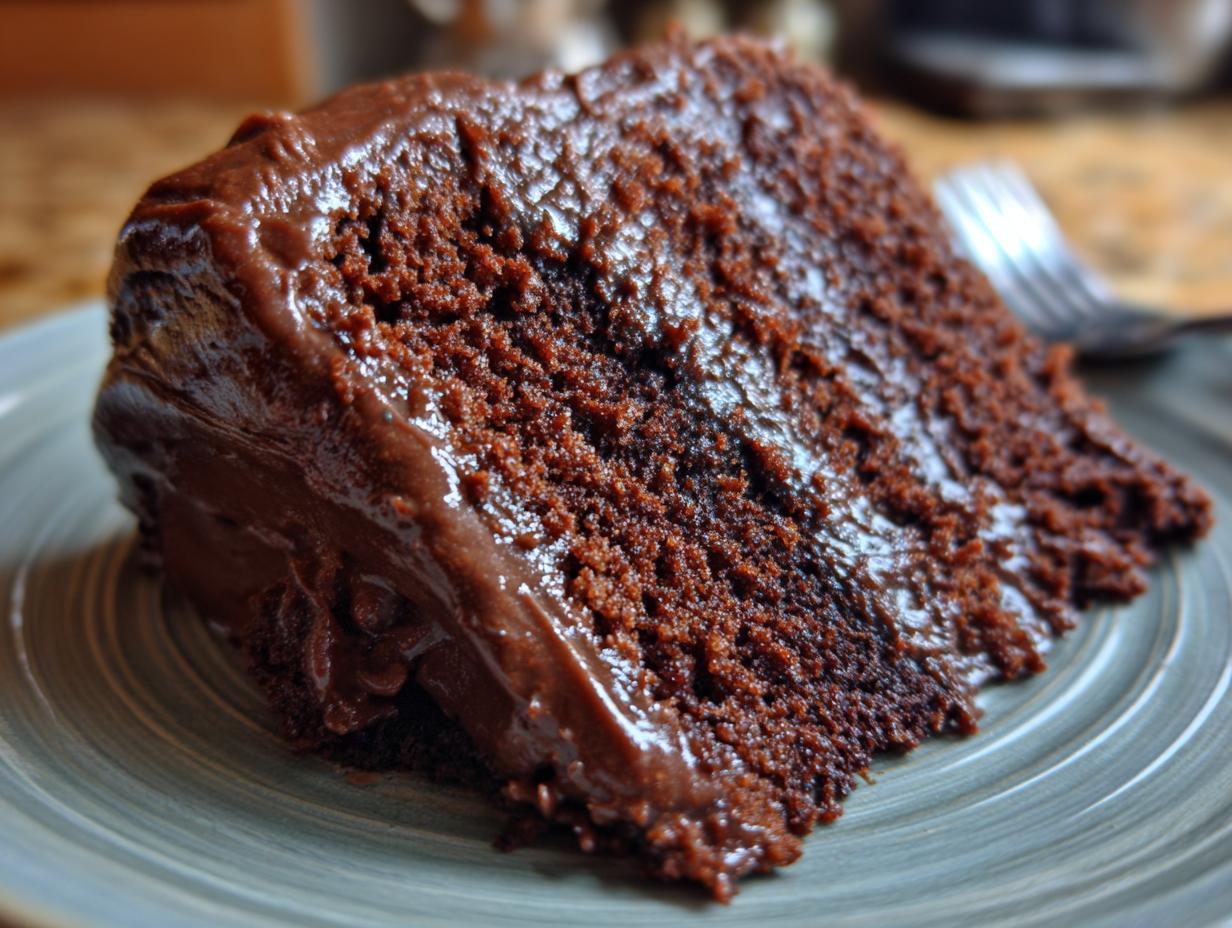
Okay, chocolate lovers, gather ’round! If you’re anything like me, a perfectly rich and decadent chocolate dessert is pure bliss. Well, get ready because I’ve got a recipe that truly is This Is What Chocolate Lovers Dream Of. It’s not just a cake; it’s an experience! I developed this one after a marathon baking session where I just craved that deep, dark, fudgy chocolate flavor without a fuss. Trust me, this recipe hits all the right notes and makes you feel like a total star in the kitchen. You’ve gotta try it!
Why This Chocolate Cake is What Chocolate Lovers Dream Of
So, why is this cake a must-have for anyone who adores chocolate? Let me tell you!
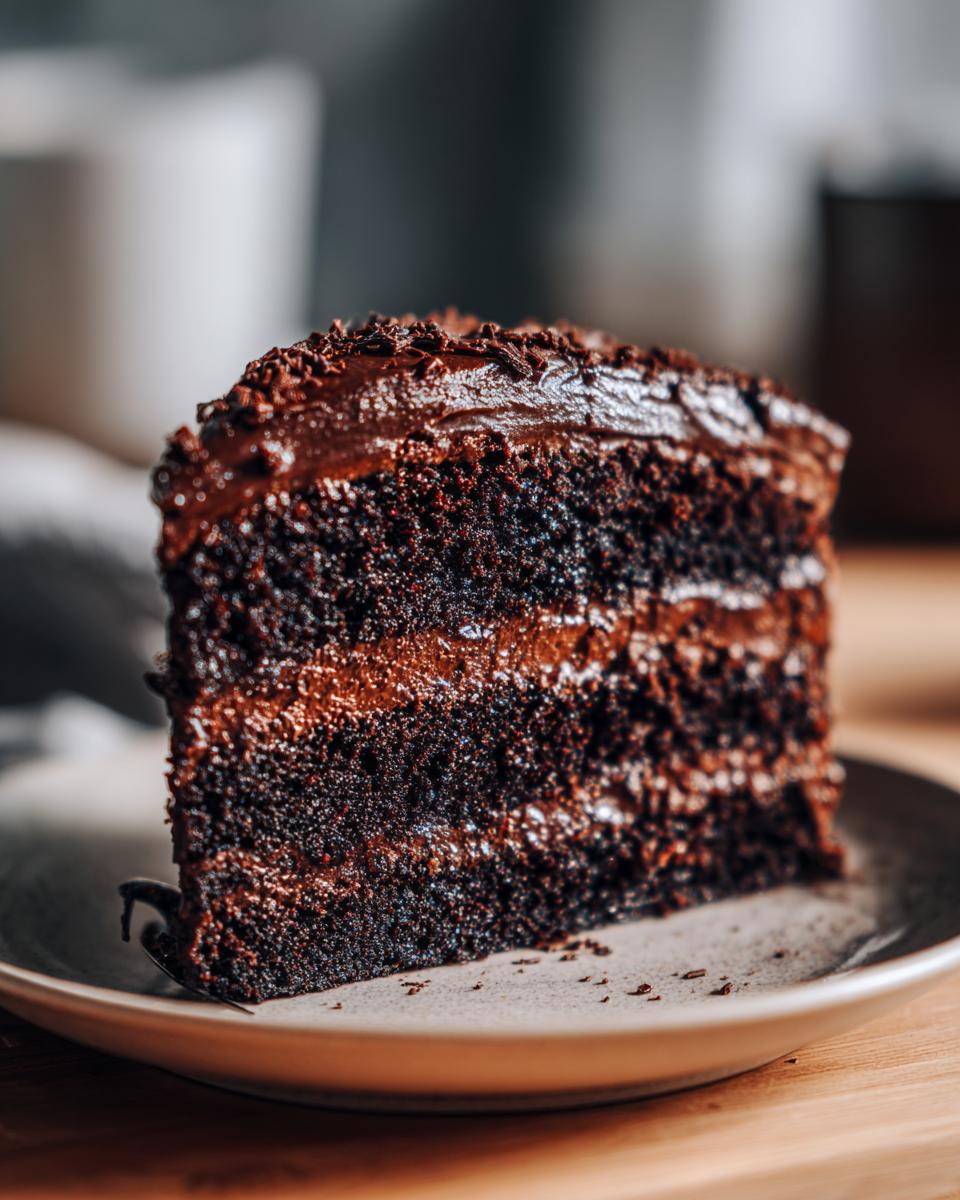
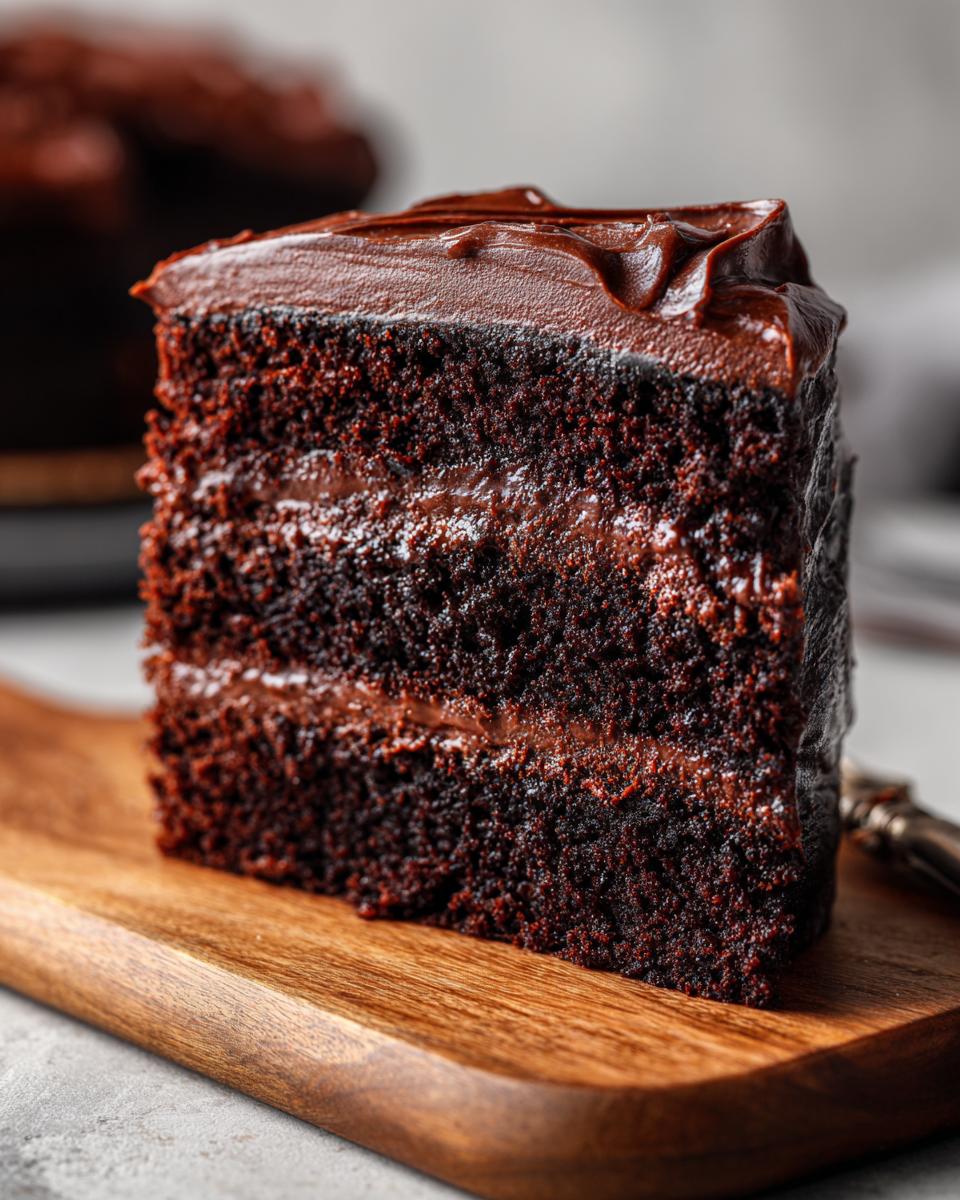
- Intense Chocolate Flavor: We’re talking deep, rich, unapologetic chocolate in every single bite. It’s not shy, and that’s exactly how we like it!
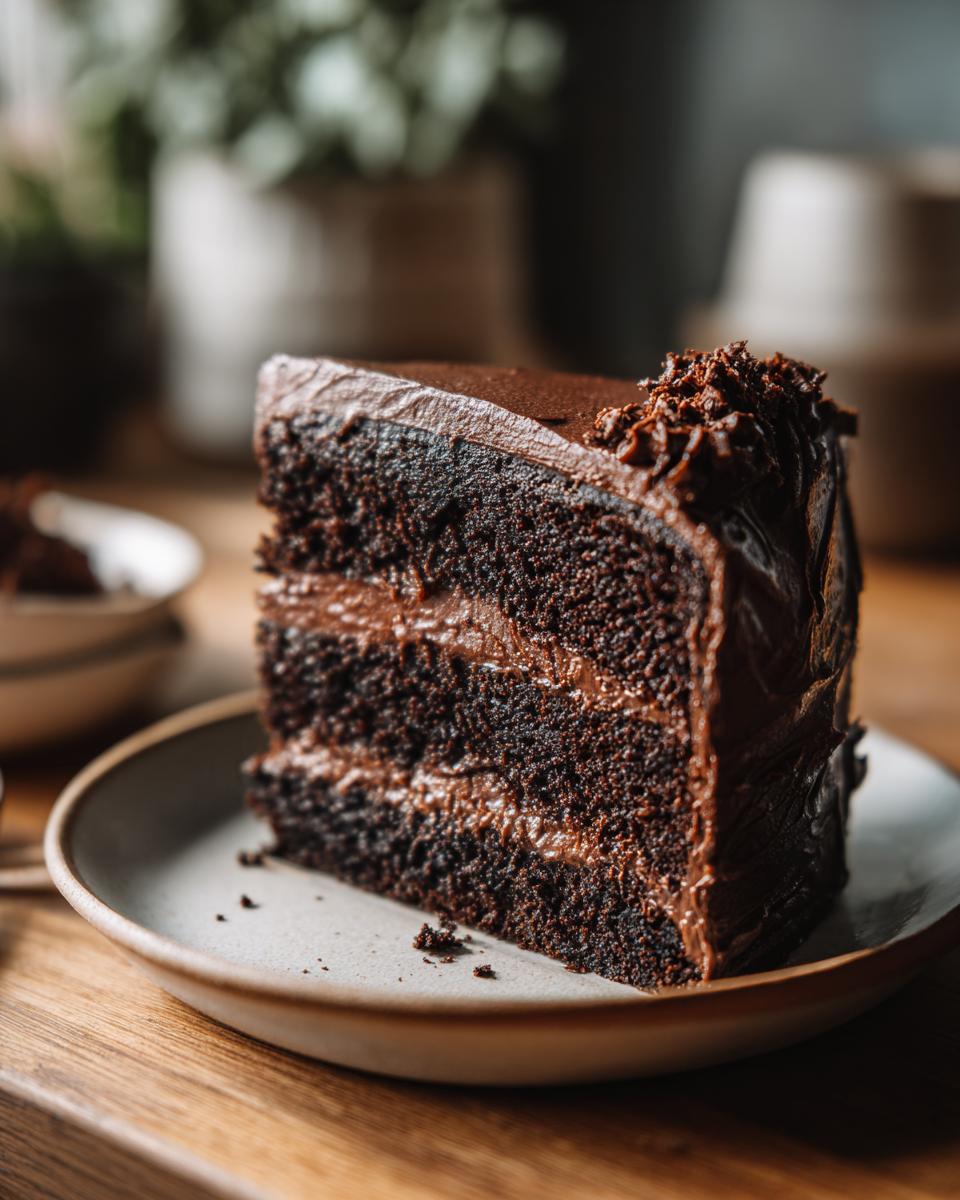
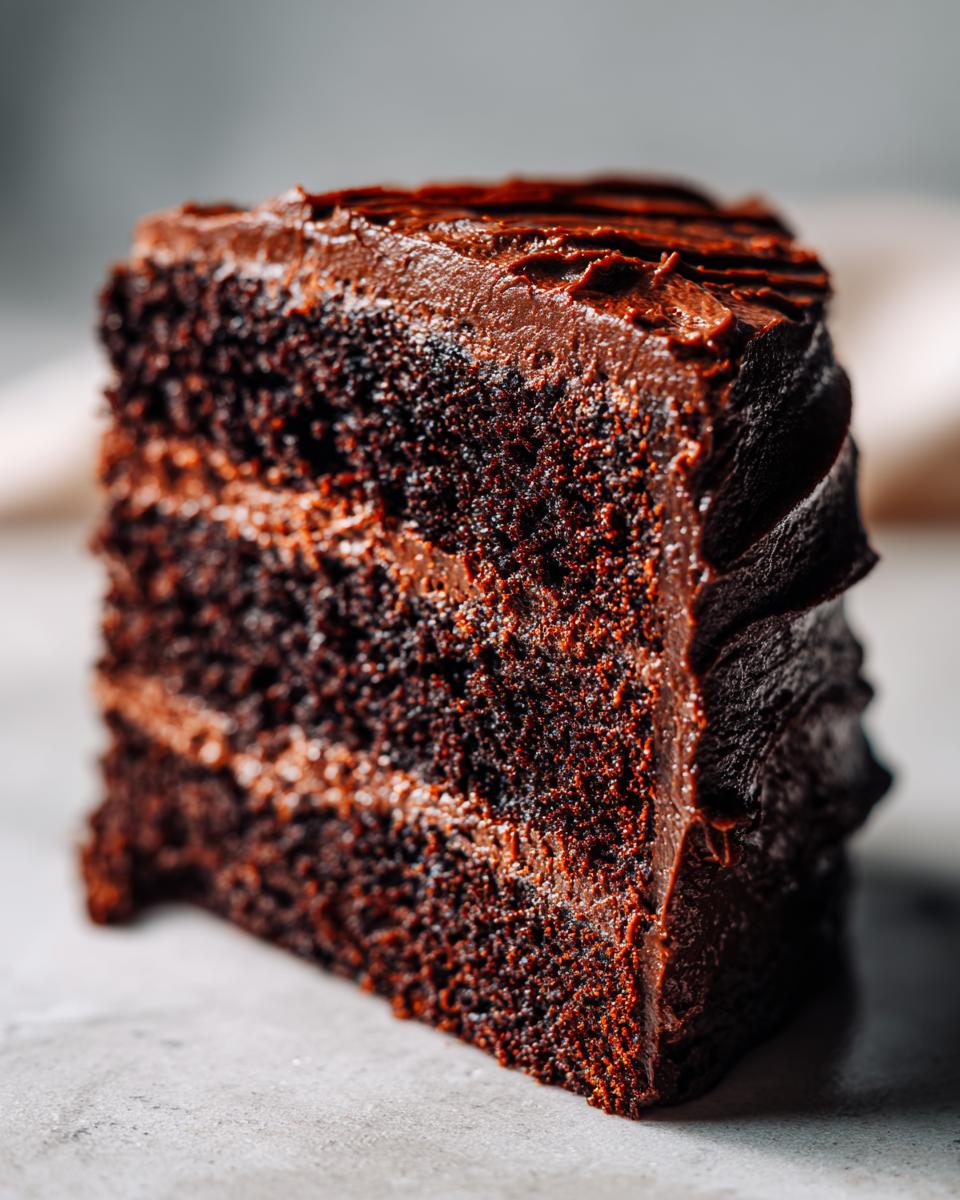
- Unbelievably Moist: Seriously, this cake stays wonderfully moist. The secret’s in the batter – it’s designed for ultimate fudgy goodness.
- Super Easy to Make: Don’t let the decadent flavor fool you. This recipe is surprisingly straightforward, even for beginner bakers. Just a few simple steps!
- Crowd-Pleaser Extraordinaire: Whether it’s a birthday, a holiday, or just a Tuesday, serve this cake and watch everyone’s eyes light up. It’s a guaranteed hit.
Gather Your Ingredients for This Chocolate Lover’s Dream
Alright, let’s get our ducks in a row, or rather, our ingredients for this dreamy chocolate cake! Having everything ready makes the actual baking part a total breeze. I like to pull out my eggs and buttermilk a little bit before so they aren’t straight from the fridge, but honestly, this recipe is pretty forgiving, so don’t stress too much if you forget.
Here’s what you’ll need:
- 1 cup all-purpose flour – I usually just spoon it into the measuring cup and level it off.
- 1/2 cup unsweetened cocoa powder – For a super rich flavor, grab some dark cocoa powder if you have it!
- 1 teaspoon baking soda
- 1/2 teaspoon baking powder
- 1/4 teaspoon salt – Just a pinch to bring out all that chocolatey goodness.
- 1 cup granulated sugar
- 1/2 cup packed brown sugar – The brown sugar really adds to that moist, fudgy texture.
- 1 cup buttermilk – If you don’t have buttermilk, no worries! Just add a tablespoon of vinegar or lemon juice to a cup of regular milk and let it sit for 5 minutes. Magic!
- 1/2 cup vegetable oil – Or any neutral oil you have on hand.
- 2 large eggs – Room temperature is best, but not a deal-breaker!
- 1 teaspoon vanilla extract – Our little flavor enhancer!
- 1 cup boiling water – Yep, really! This is part of the magic for the texture. Careful when you add it!
- Your favorite chocolate frosting – Because no chocolate cake is complete without it!
Step-by-Step Guide to Creating This Chocolate Lover’s Dream
Okay, so you’ve got your ingredients? Awesome! Making this chocolate cake is honestly super straightforward. It’s one of those recipes where you just mix stuff together and magic happens. Let’s get this dream cake baked!
- Prep your oven and pan: First things first, crank that oven up to 350°F (that’s 175°C for those of you using Celsius). While it’s heating, grab your baking pan – a 9×13 inch pan works great, but you could use round ones too. Now, give it a good grease and flour. This is super important to prevent any sticking disasters. I like to use some butter or baking spray, then a sprinkle of flour, and tap it all around to coat the bottom and sides. You can even use a bit of cake goop if you have it!
- Mix the dry stuff: Grab a decent-sized bowl. Toss in your flour, unsweetened cocoa powder (dark is best for that super rich flavor, remember!), baking soda, baking powder, and salt. Give it all a good whisk together until it’s nice and uniform. This helps make sure everything is evenly distributed, so you don’t get weird pockets of baking soda or something.
- Combine the wet ingredients: In a separate, larger bowl – this is where your main batter will come together – whisk together your granulated sugar and brown sugar. Then, pour in the buttermilk, vegetable oil, your eggs, and that splash of vanilla extract. Mix this until it’s all combined and looks nice and smooth.
- Marry the wet and dry: Now, it’s time for them to meet! Gradually add those dry ingredients you mixed up in step 2 into the wet ingredients in the big bowl. Mix it all together with your whisk or a spatula until it’s just combined. Seriously, don’t go overboard here! Overmixing can make the cake tough. A few little streaks of flour are okay at this stage.
- The boiling water surprise: Okay, this is where it gets interesting! Carefully stir in the cup of boiling water. I know, it seems weird, but trust me on this one. The batter will become really thin, almost watery. Don’t panic! This is exactly what you want. It’s a key part of what makes this cake so incredibly moist and fudgy.
- Bake it ’til it’s done: Pour that thin batter into your prepared pan. Slide it carefully into the preheated oven. Now, let it bake for about 30 to 35 minutes. The best way to tell if it’s ready is the classic toothpick test. Stick a toothpick (or a thin knife) right into the center of the cake. If it comes out clean, with maybe just a few moist crumbs attached, it’s perfect! If there’s wet batter on it, give it a few more minutes and check again.
- Cool it down: Once it’s done, take the cake out of the oven and let it cool in the pan for about 10-15 minutes. Then, carefully flip it out onto a wire rack to cool COMPLETELY. I cannot stress this enough – if you try to frost a warm cake, you’ll end up with a melty, gooey mess. Patience, my friend!
- Frost and enjoy! Once your cake is totally cool, it’s time for the best part: frosting! Spread your favorite chocolate frosting all over the top. Slice it up and dive in. You just made something absolutely amazing!
Expert Tips for the Ultimate Chocolate Lover’s Dream Cake
Now that you’ve got the basics down, let’s talk about taking this chocolate cake from “really good” to “absolutely legendary.” A few little tricks can make all the difference, trust me!
Ingredient Temperature Matters
I know I mentioned it briefly, but seriously, room temperature eggs and buttermilk are your friends here. They blend into the batter so much more smoothly, creating a more even texture without a ton of mixing. If you forget to take them out early, no biggie! Just pop the eggs in a bowl of warm water for a few minutes, and warm up the buttermilk gently in the microwave (just a few seconds!).
Don’t Overmix!
This is probably the most important tip for a super moist cake. Once you add the dry ingredients to the wet, mix *just* until you don’t see any more dry flour. A few little lumps are totally fine! Overmixing develops the gluten too much, which can lead to a tough, dry cake. We want this cake to be tender and fudgy, remember?
Oven Quirks and Baking Times
Every oven is a little different, right? Mine runs a bit hot sometimes. So, keep an eye on your cake around the 30-minute mark. If it’s browning too fast, you can always loosely tent it with foil. And remember that toothpick test – it’s your best friend for knowing when it’s perfectly done, not over or underbaked. For a really intense chocolate experience, check out other double chocolate recipes that use similar techniques!
That Thin Batter is Key
Don’t freak out when you add that boiling water and the batter turns super thin. I promise, it’s supposed to do that! It’s the secret to that incredibly moist, almost brownie-like texture that makes this cake unforgettable. Just pour it in and let the oven work its magic.
Serving and Storing Your Chocolate Lover’s Dream
Once your masterpiece is frosted and cooled, it’s ready to be devoured! This cake is divine just as it is, but I love serving it with a scoop of vanilla bean ice cream or some fresh raspberries to cut through the richness. A light dusting of powdered sugar also looks super elegant if you’re going for a simpler vibe. When it comes to storing leftovers, cover the cake tightly with plastic wrap or pop it into an airtight container. It’ll stay wonderfully moist at room temperature for a couple of days. If you need to keep it longer, just pop it in the fridge!
Frequently Asked Questions about This Chocolate Dream
Got questions about this dreamy chocolate cake? I’ve got answers! Baking should be fun, not frustrating, so let’s clear up anything that might be on your mind.
Can I use a different type of cocoa powder?
Absolutely! While I adore using natural unsweetened cocoa powder for its classic chocolate flavor and its interaction with the baking soda, you can totally use Dutch-process cocoa for a darker, smoother taste. Just know that Dutch-process cocoa is less acidic, so the cake might not rise quite as much, but the flavor will still be incredible. If you’re using a sweetener specifically labeled “Dutch-process cocoa,” you might also want to add an extra 1/4 teaspoon of baking soda. For a truly intense color and flavor, check out recipes that lean into that deep, dark chocolate goodness!
How do I make this cake dairy-free?
Making this cake dairy-free is super simple! The only dairy ingredient is the buttermilk. You can easily substitute it with a dairy-free milk like almond milk, soy milk, or oat milk. Just add 1 tablespoon of apple cider vinegar or lemon juice to 1 cup of your chosen dairy-free milk and let it sit for about 5-10 minutes until it looks a bit curdled. That’s your dairy-free buttermilk! Easy peasy! You’ll also want to use a dairy-free frosting, of course.
Can I bake this in a different pan size?
You sure can! A 9×13 inch pan is what I usually use, but this batter also works great in two 8-inch or 9-inch round cake pans for a layer cake. Just keep in mind that round pans might bake a little faster, so start checking for doneness around the 25-30 minute mark. If you want to make cupcakes, fill the liners about two-thirds full and bake for around 18-22 minutes. Just remember, whatever pan you choose, always grease and flour it well (or use that cake goop!) to prevent sticking.
Nutritional Information (Estimated)
Just a little heads-up, these numbers are estimates and can totally change depending on the exact brands you use and if you add anything extra. But for a typical slice of this glorious chocolate cake, you’re looking at roughly:
- Serving Size: 1 slice
- Calories: Around 350 kcal
- Fat: About 18g (with 9g saturated)
- Carbohydrates: Roughly 45g (about 35g of that is sugar!)
- Protein: Around 4g
It’s definitely a treat, but oh-so-worth-it!
Print
Loaded Baked Potato Soup (Lightened Up)
- Total Time: 45 min
- Yield: 6 servings 1x
- Diet: Vegetarian
Description
A lighter version of classic loaded baked potato soup, with reduced fat and calories.
Ingredients
- 1 tablespoon olive oil
- 1 large onion, chopped
- 2 cloves garlic, minced
- 4 cups low-sodium chicken broth
- 4 medium potatoes, peeled and diced
- 1 cup skim milk
- 1/2 cup plain non-fat Greek yogurt
- 1/4 cup chopped fresh chives
- Salt and black pepper to taste
- Optional toppings: reduced-fat shredded cheddar cheese, cooked turkey bacon bits
Instructions
- Heat olive oil in a large pot or Dutch oven over medium heat. Add onion and cook until softened, about 5-7 minutes. Add garlic and cook for 1 minute more until fragrant.
- Pour in chicken broth and add diced potatoes. Bring to a boil, then reduce heat and simmer until potatoes are tender, about 15-20 minutes.
- Carefully transfer about half of the soup to a blender or use an immersion blender to blend until smooth. Return the blended soup to the pot.
- Stir in skim milk and Greek yogurt until well combined. Heat gently over low heat, do not boil.
- Stir in chives. Season with salt and pepper to taste.
- Serve hot, with optional toppings if desired.
Notes
- For a thicker soup, use more potatoes or blend a larger portion of the soup.
- You can substitute vegetable broth for chicken broth for a vegetarian option.
- Prep Time: 15 min
- Cook Time: 30 min
- Category: Soup
- Method: Stovetop
- Cuisine: American
Nutrition
- Serving Size: 1.5 cups
- Calories: 250
- Sugar: 8g
- Sodium: 400mg
- Fat: 5g
- Saturated Fat: 1g
- Unsaturated Fat: 4g
- Trans Fat: 0g
- Carbohydrates: 40g
- Fiber: 5g
- Protein: 12g
- Cholesterol: 5mg
Keywords: baked potato soup, loaded potato soup, lightened up soup, healthy soup, low calorie soup, potato soup recipe