
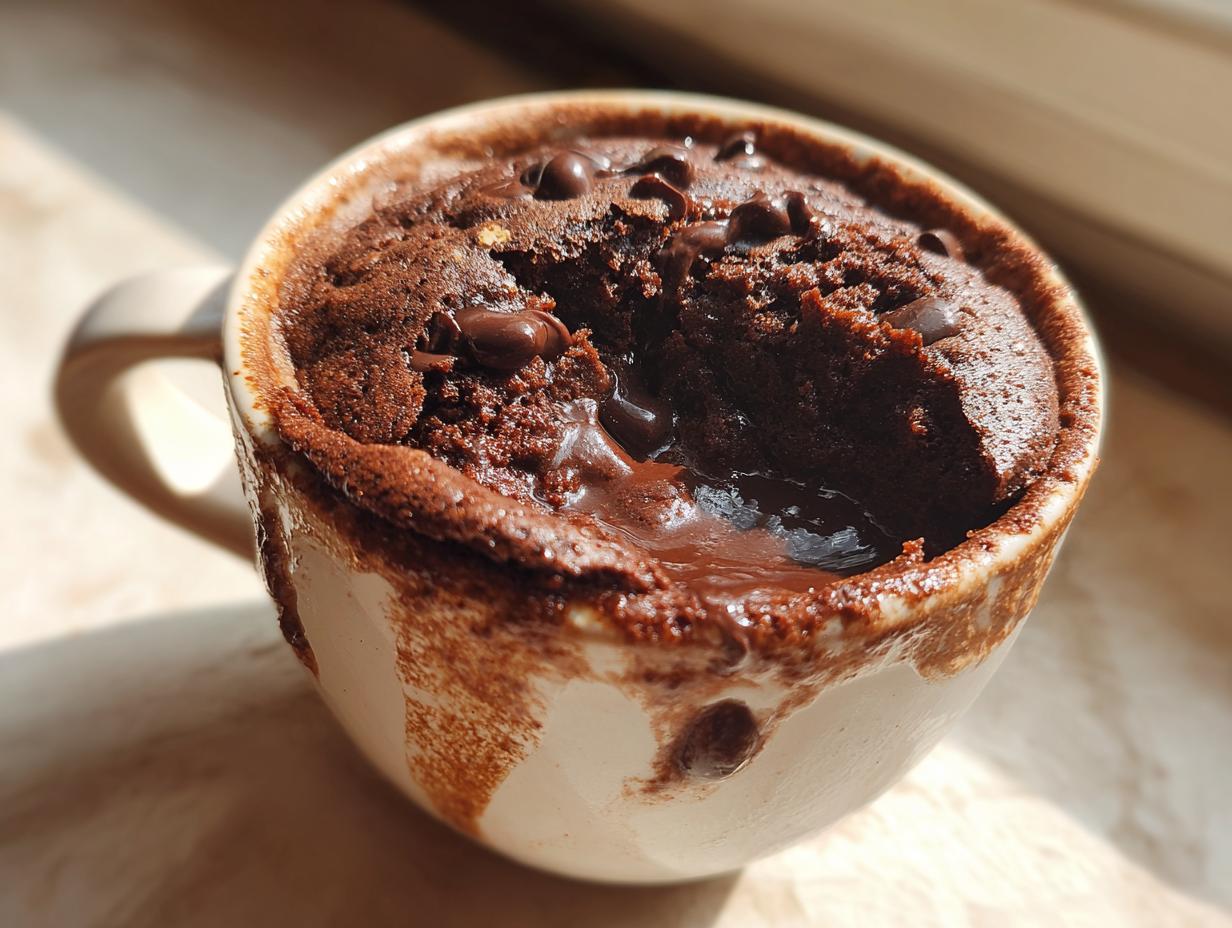
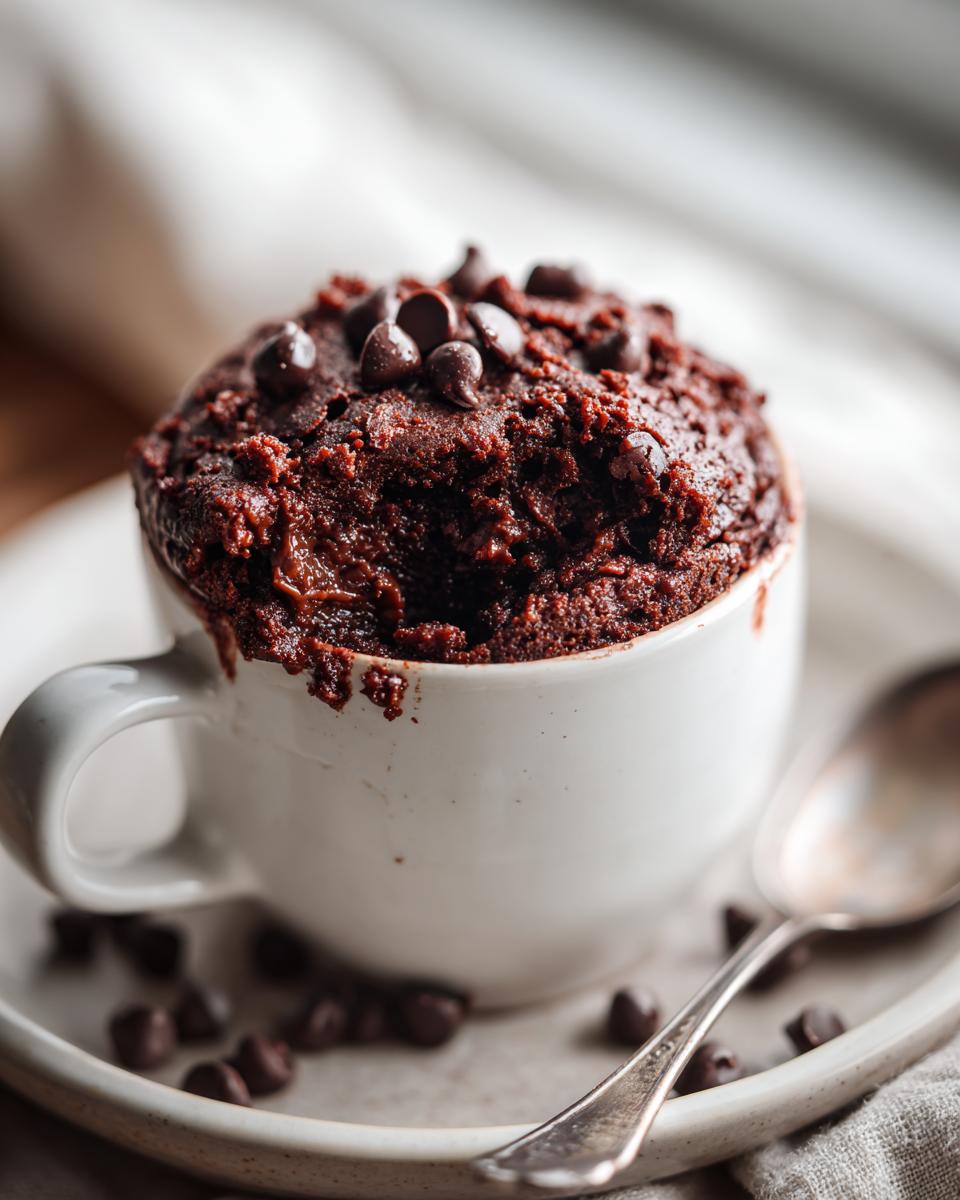
You know those moments? When a craving hits, and you need chocolate, like, *yesterday*? Or maybe company’s unexpectedly coming over, and you just don’t have the energy (or the ingredients) for anything fancy. Trust me, I’ve been there more times than I can count! That’s exactly why I fell head-over-heels for this Quick Chocolate Mug Cake. Honestly, This Is My Go To Dessert When I’m Short on Time. I stumbled upon a basic version years ago and have tweaked it just enough to make it my own. It’s ridiculously easy and turns out perfectly moist and chocolatey in just a few minutes. It’s my secret weapon!
Why This Quick Chocolate Mug Cake Is Your Go-To Dessert
If you’re anything like me, you need desserts that are as fast as they are delicious. This mug cake is an absolute lifesaver!
- It’s ready in under 3 minutes – seriously, faster than brewing coffee!
- Minimal ingredients, usually things you already have in your pantry.
- Clean-up is a breeze; just one mug!
- Perfectly portioned so you don’t end up with a whole cake you feel guilty about.
- Satisfies even the most intense chocolate craving instantly.
- It’s incredibly customizable; drizzle, top, or mix in anything you like!
Gather Your Ingredients for This Is My Go To Dessert When I’m Short on Time
Alright, let’s get our handy mug ready! For this super-speedy treat, you’ll want to grab these pantry staples. Trust me, it’s all pretty standard stuff:
- 4 tablespoons all-purpose flour
- 4 tablespoons granulated sugar
- 2 tablespoons unsweetened cocoa powder
- 1/4 teaspoon baking powder
- 1/8 teaspoon salt
- 3 tablespoons milk (any kind works!)
- 3 tablespoons vegetable oil
- 1/4 teaspoon vanilla extract
- A handful of chocolate chips (optional, but highly recommended!)
Mastering the Quick Chocolate Mug Cake: Step-by-Step Instructions
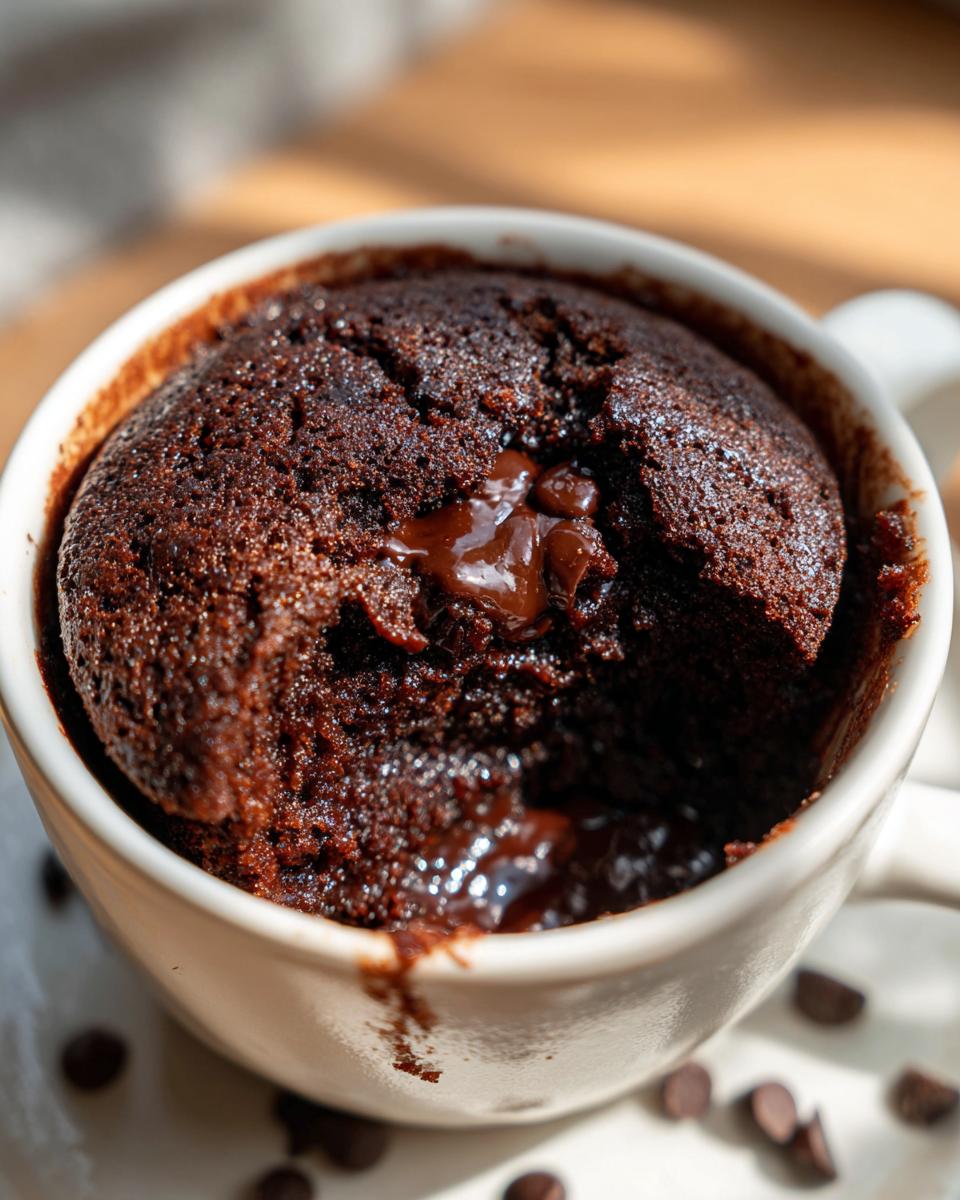
Okay, here’s where the magic happens, and it’s seriously so, so fast. You’ll be digging into warm, gooey chocolate goodness in just a couple of minutes. This is why it’s my absolute favorite when I need a treat *now*!
Mixing the Batter for Your Quick Chocolate Mug Cake
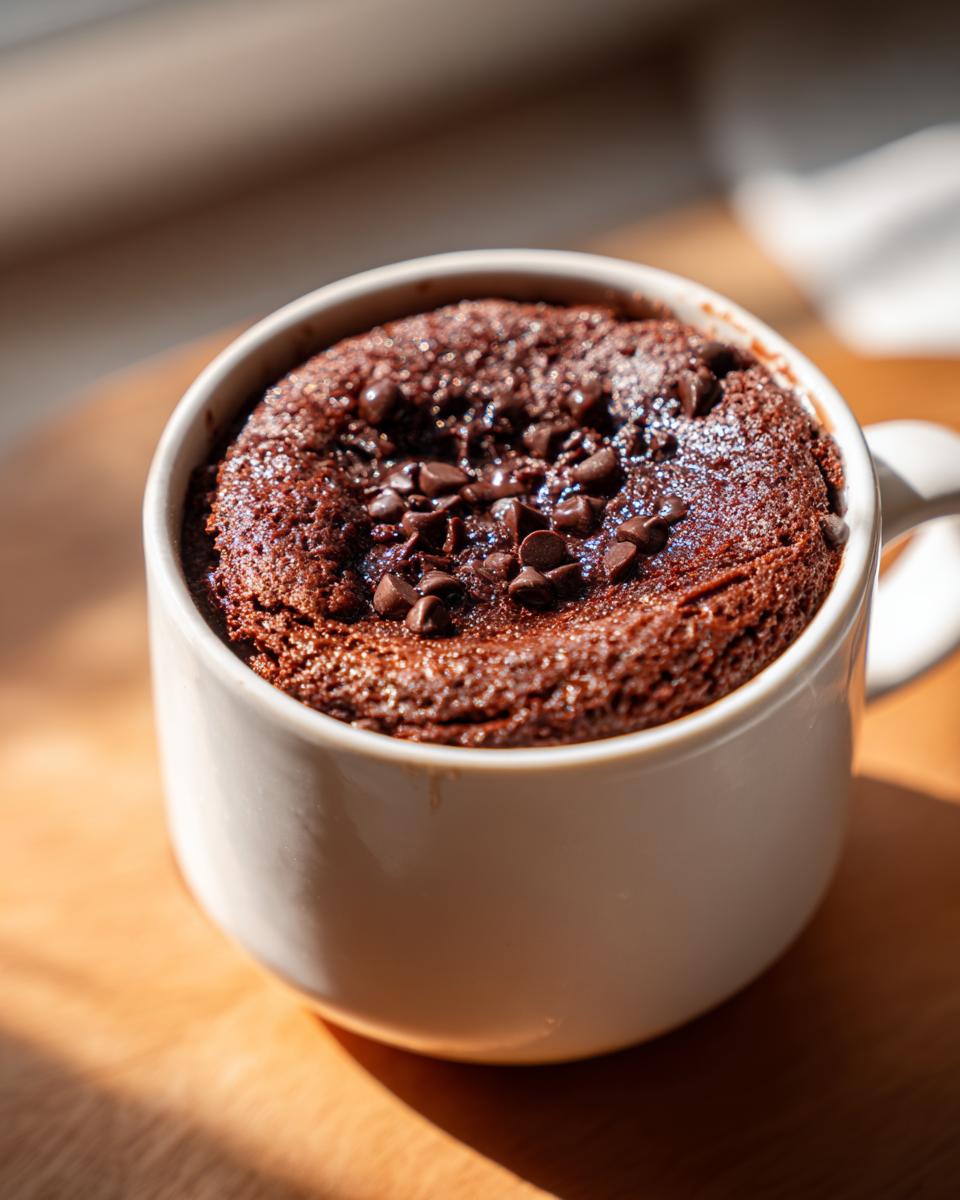
Grab your favorite mug – make sure it’s microwave-safe! Dump in the flour, sugar, cocoa powder, baking powder, and salt. Give it a quick whisk to get rid of any lumps. Then, pour in the milk, oil, and vanilla. Stir it all up until it’s just combined and smooth. Don’t go crazy mixing it; a few little lumps are totally fine and can even make it more tender! If you’re feeling extra, now’s the time to stir in some extra goodies like chocolate chips to make it even more like a mini chocolate chip cookie. For an extra special treat, try adding a spoonful of a gooey chocolate filling!
Microwave Magic: Cooking Your Mug Cake
Now for my personal trick: I always pop in a tablespoon or two of chocolate chips. They melt into these gooey pockets! Place your mug in the microwave and cook on high for about 60 to 90 seconds. Every microwave is different, so start with 60 seconds. It should look mostly set but still a little wet on top. If it looks too gooey, give it another 10-15 seconds. Be careful not to overcook it, or you’ll end up with a dry little hockey puck (trust me, I’ve made that mistake!). For a gooey center, I aim for that slightly damp look.
Tips for the Perfect Quick Chocolate Mug Cake
Okay, so this mug cake is already pretty amazing, right? But let me tell you, it’s super forgiving and easy to tweak. It’s truly my go-to, and I’ve learned a few tricks over the years to make it even better. Think of it as your perfect emergency dessert!
Ingredient Substitutions for Your Go-To Dessert
If you’re out of something or have a dietary need, don’t sweat it! You can totally swap things out. Use almond milk or oat milk for a dairy-free version – it works great. For gluten-free, a good 1:1 gluten-free flour blend usually does the trick, though it might be a *tiny* bit denser. Just remember, any changes could slightly alter the texture, but it’ll still be delicious! It’s almost as easy as making a chocolate chip cookie from scratch!
Elevating Your Mug Cake Experience
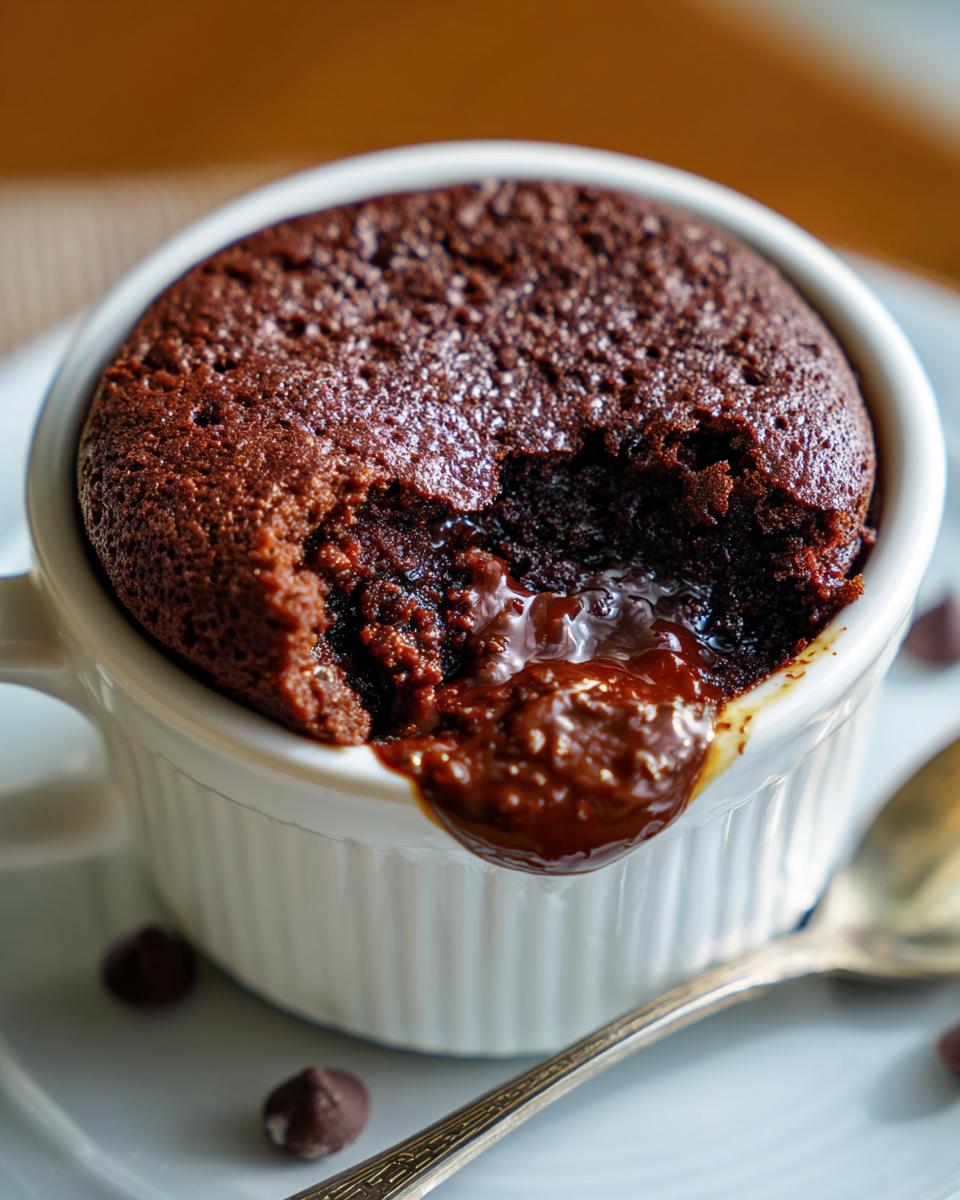
Want to take your mug cake up a notch? Easy peasy! Stir in some extra chocolate chips for those surprise gooey pockets – maybe some double chocolate ones if you’re feeling decadent! Or, once it’s cooked and cooled just a bit, top it with a scoop of vanilla ice cream, a dollop of whipped cream, or even a drizzle of chocolate sauce. It turns a simple treat into a mini dessert masterpiece!
Serving Suggestions for This Is My Go To Dessert When I’m Short on Time
Honestly, this mug cake is perfect all on its own, warm and gooey straight from the microwave. But if you have an extra minute, a little something extra can make it feel super special. I love topping mine with a small scoop of vanilla ice cream – the warm cake and cold ice cream is just heaven! It also pairs beautifully with a cup of coffee or a glass of cold milk. For a slightly fancier touch, try a sprinkle of powdered sugar or even a few fresh berries if you have them. It’s almost as fun as making homemade donuts!
Storage and Reheating
Honestly, this mug cake is best enjoyed right after it’s made – warm and gooey is its happy place! But if, by some miracle, you have leftovers, just cover the mug tightly with plastic wrap. You can pop it in the fridge for up to a day, though the texture can change a bit. To reheat, just pop it back in the microwave for about 15-20 seconds until it’s warm again. It usually doesn’t last long enough in my house to worry about storage!
Frequently Asked Questions About Quick Chocolate Mug Cake
Got questions about this speedy chocolate fix? I’ve got answers! This is your go-to dessert when you’re short on time, so let’s make sure it’s perfect!
### Can I make this gluten-free?
You sure can! Just swap out the all-purpose flour for a good quality gluten-free all-purpose baking blend. It might be a tad denser, but it’s totally doable. Trust me, it’s almost as easy as making a chocolate chip cookie!
### What if my mug cake turns out dry?
Oh, the dreaded dry mug cake! This usually happens from overmicrowaving. Next time, start with 60 seconds and check it. It should look a *little* wet on top; it’ll finish cooking as it cools. You can always pop in a few extra chocolate chips too; they create lovely gooey pockets!
### Can I use milk chocolate chips instead of dark or semi-sweet?
Absolutely! Feel free to use whatever chocolate chips you have on hand. Milk chocolate will make it a bit sweeter and meltier, which is never a bad thing in my book. Just remember, if you use sweeter chips, you might not need as much sugar in the batter itself.
Nutritional Information Estimate
Just a heads-up, this is a rough estimate! The exact nutritional info can change depending on the brands you use and if you add extra goodies. But for one basic mug cake made with the ingredients listed, you’re looking at around:
Calories: 350
Fat: 18g
Carbohydrates: 45g
Protein: 5g
Sugar: 30g

Garlic Miso Ramen-Inspired Broth
- Total Time: 25 min
- Yield: 4 servings 1x
- Diet: Vegetarian
Description
A rich and savory broth with garlic and miso flavors, perfect for ramen.
Ingredients
- 6 cups vegetable broth
- 4 cloves garlic, minced
- 2 tablespoons white miso paste
- 1 tablespoon soy sauce
- 1 teaspoon sesame oil
- 1/2 teaspoon grated fresh ginger
Instructions
- In a medium pot, combine vegetable broth, minced garlic, soy sauce, sesame oil, and grated ginger.
- Bring the mixture to a simmer over medium heat.
- In a small bowl, whisk the miso paste with a ladleful of the hot broth until smooth.
- Stir the dissolved miso paste back into the pot.
- Simmer for 5 minutes, do not boil.
- Strain the broth if desired for a smoother consistency.
Notes
- Adjust soy sauce and miso paste to your taste.
- Add your favorite ramen toppings like noodles, tofu, or vegetables.
- Prep Time: 10 min
- Cook Time: 15 min
- Category: Soup
- Method: Stovetop
- Cuisine: Japanese-inspired
Nutrition
- Serving Size: 1.5 cups
- Calories: 75
- Sugar: 3g
- Sodium: 850mg
- Fat: 3g
- Saturated Fat: 0.5g
- Unsaturated Fat: 2.5g
- Trans Fat: 0g
- Carbohydrates: 9g
- Fiber: 1g
- Protein: 4g
- Cholesterol: 0mg
Keywords: garlic miso broth, ramen broth, vegetarian ramen, savory broth, umami broth