
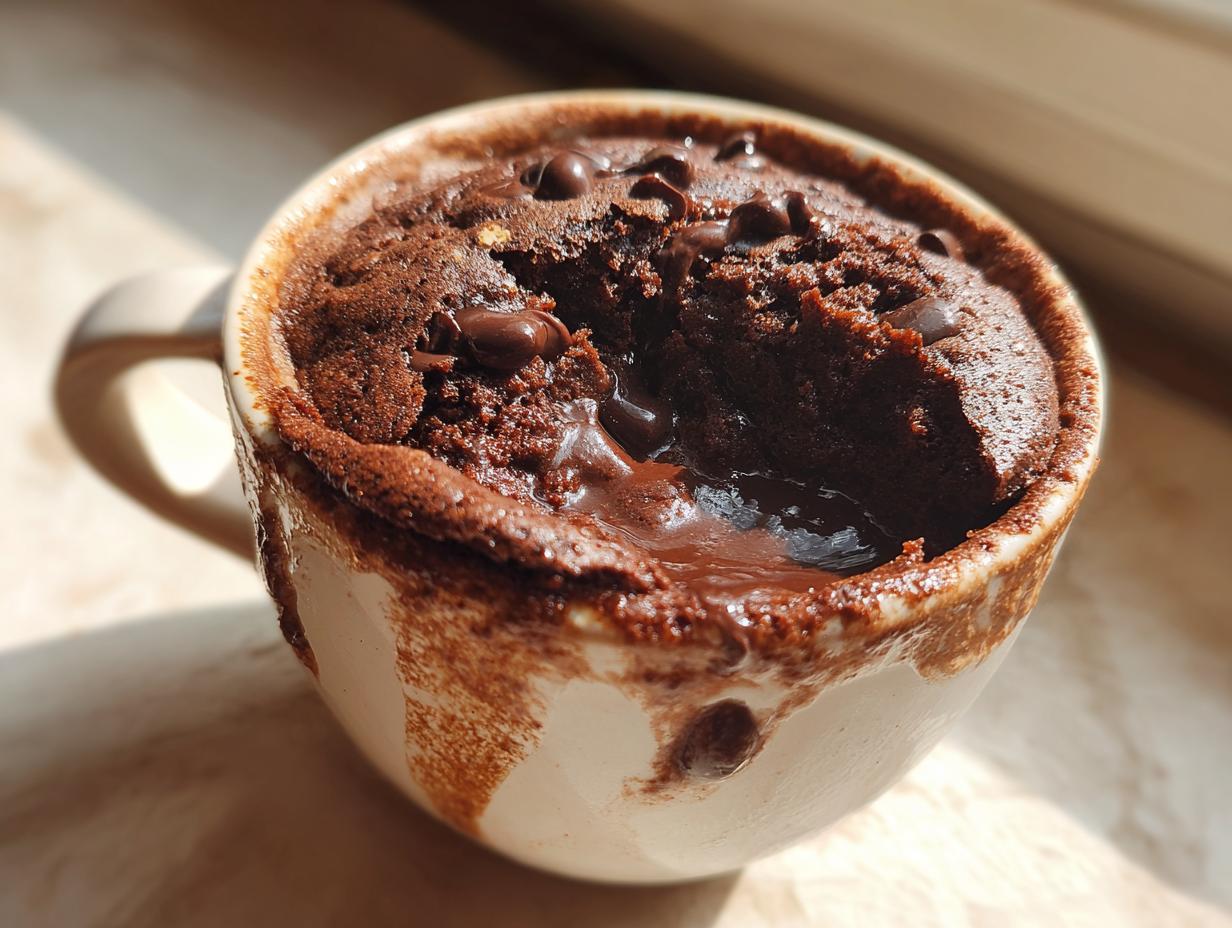
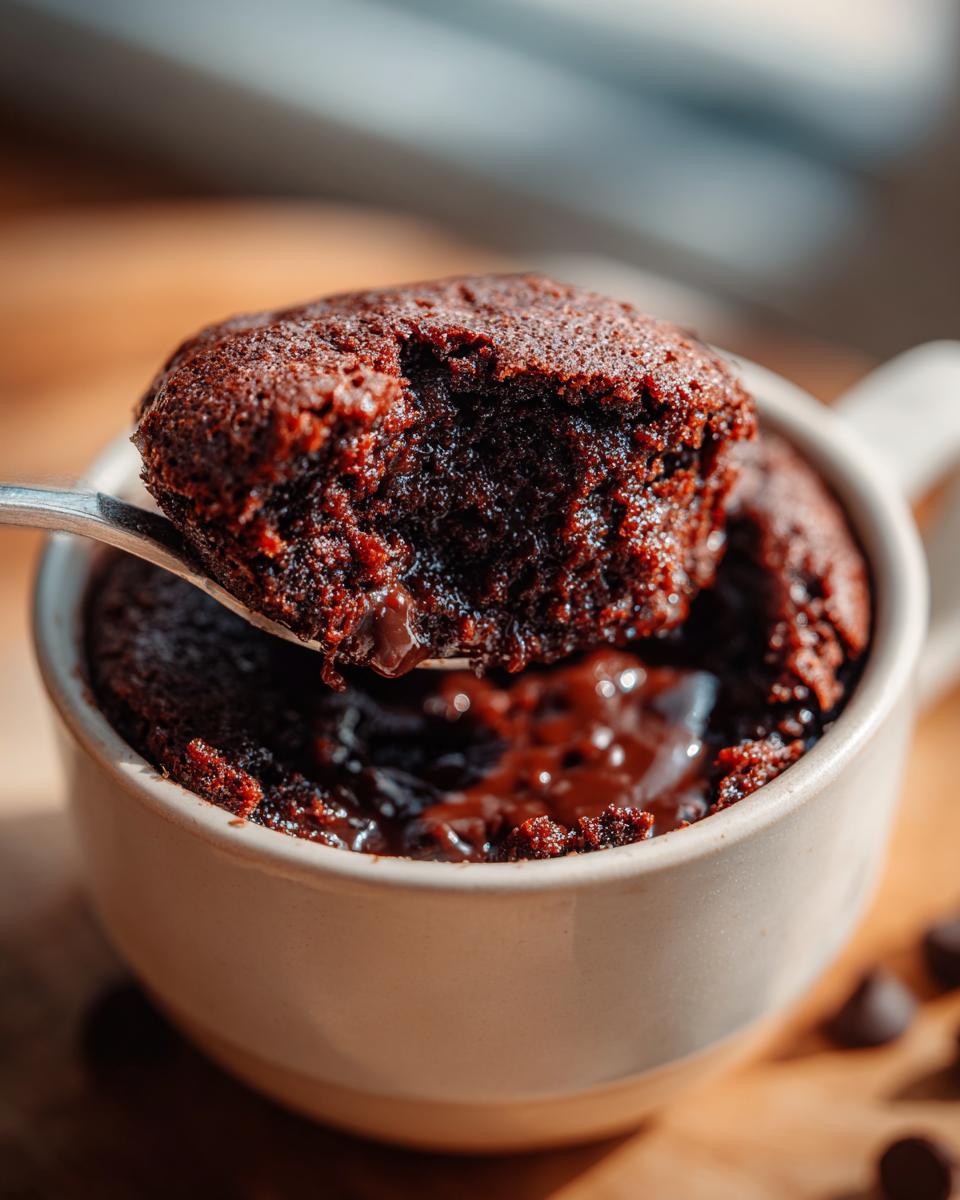
You know those days? The ones where the evening hits and you suddenly realize you want something sweet, like, *right now*? Yeah, me too. That’s exactly why this is my go to dessert when I’m short on time. Forget about preheating the oven or fiddling with measuring cups for a whole cake. We’re talking about instant gratification in the form of a warm, gooey chocolate cake, all made in your favorite mug. Seriously, this little miracle is my emergency dessert button, perfect for when cravings strike and patience is low.
Why This Is My Go To Dessert When I’m Short on Time
Honestly, how many times have you craved chocolate but dreaded the whole baking process? That’s where this little gem shines, making it my absolute favorite when I need a sweet fix fast. It’s more than just a dessert; it’s my secret weapon against those intense cravings. Plus, it’s incredibly reliable. You know exactly what you’re getting, every single time. It’s a lifesaver for busy weeknights, after-dinner treats, or even a sneaky afternoon pick-me-up. Trust me, once you try it, you’ll see why this is my go to dessert when I’m short on time.
-
Unbeatable Speed: Ready in Minutes
Seriously, this cake is almost embarrassingly fast. You grab a mug, whisk a few things together, pop it in the microwave, and BAM! Warm, gooey chocolate cake in like, three minutes flat. It’s faster than waiting for a delivery and way more satisfying!
-
Simple Ingredients, Maximum Flavor
You probably have everything you need lurking in your pantry right now. Flour, sugar, cocoa… nothing fancy! But don’t let the simplicity fool you. These common ingredients come together to create a surprisingly rich and deeply chocolatey flavor that hits the spot every single time.
-
Perfect Portion Control
This is HUGE for me. It’s made right in the mug, so you get exactly one perfect serving. No more accidentally eating half a cake because it’s just… sitting there. It satisfies that craving without any guilt or waste, which is a win-win in my book.
Gather Your Ingredients for This Is My Go To Dessert When I’m Short on Time
Alright, so to whip up my favorite speedy treat, you don’t need a whole shopping spree. Most of this stuff is probably already in your kitchen! Trust me, these simple pantry staples are what make this gooey chocolate recipe so darn good and easy. Here’s what you’ll need:
- 4 tablespoons all-purpose flour: This is our base, giving the cake its structure. Just regular all-purpose flour works perfectly.
- 4 tablespoons granulated sugar: For sweetness, of course! It balances out the rich cocoa.
- 2 tablespoons unsweetened cocoa powder: This is where the chocolate magic happens. I always go for a good quality unsweetened cocoa powder for the deepest flavor.
- 1/4 teaspoon baking powder: Just a little bit to give our cake a nice lift so it’s not too dense.
- 1/8 teaspoon salt: Don’t skip this! It really makes the chocolate flavor pop.
- 3 tablespoons milk: You can use any kind you have on hand – dairy or non-dairy works great!
- 3 tablespoons vegetable oil: This keeps the cake super moist. Canola or even melted coconut oil works too.
- 1/4 teaspoon vanilla extract: A little splash adds warmth and depth to the chocolate flavor.
- Chocolate chips (optional): If you’re feeling extra decadent, toss in a few! Milk or dark chocolate chips are both amazing.
See? Easy peasy ingredients for a dessert that feels super special!
Step-by-Step Guide to Making This Is My Go To Dessert When I’m Short on Time
Alright, ready to make some magic? This part is ridiculously easy. If you can stir, you can make this! It’s why this double chocolate mug cake is such a winner. Grab your favorite microwave-safe mug, and let’s get started:
Combine Dry Ingredients
First things first, in your mug (yes, the one you’re going to eat out of!), dump in your flour, sugar, cocoa powder, baking powder, and salt. Give it all a good stir with a fork or a tiny whisk. Make sure there are no big clumps of cocoa hiding anywhere! This ensures everything is mixed evenly so you don’t get a bite that’s just pure baking powder.
Add Wet Ingredients and Mix
Now, pour in your milk, vegetable oil, and vanilla extract. Stir it all up until the batter is smooth and all the dry bits are incorporated. You want a nice, consistent texture, kind of like pancake batter. Don’t overmix it though, just stir until it looks good to go!
Incorporate Optional Mix-ins
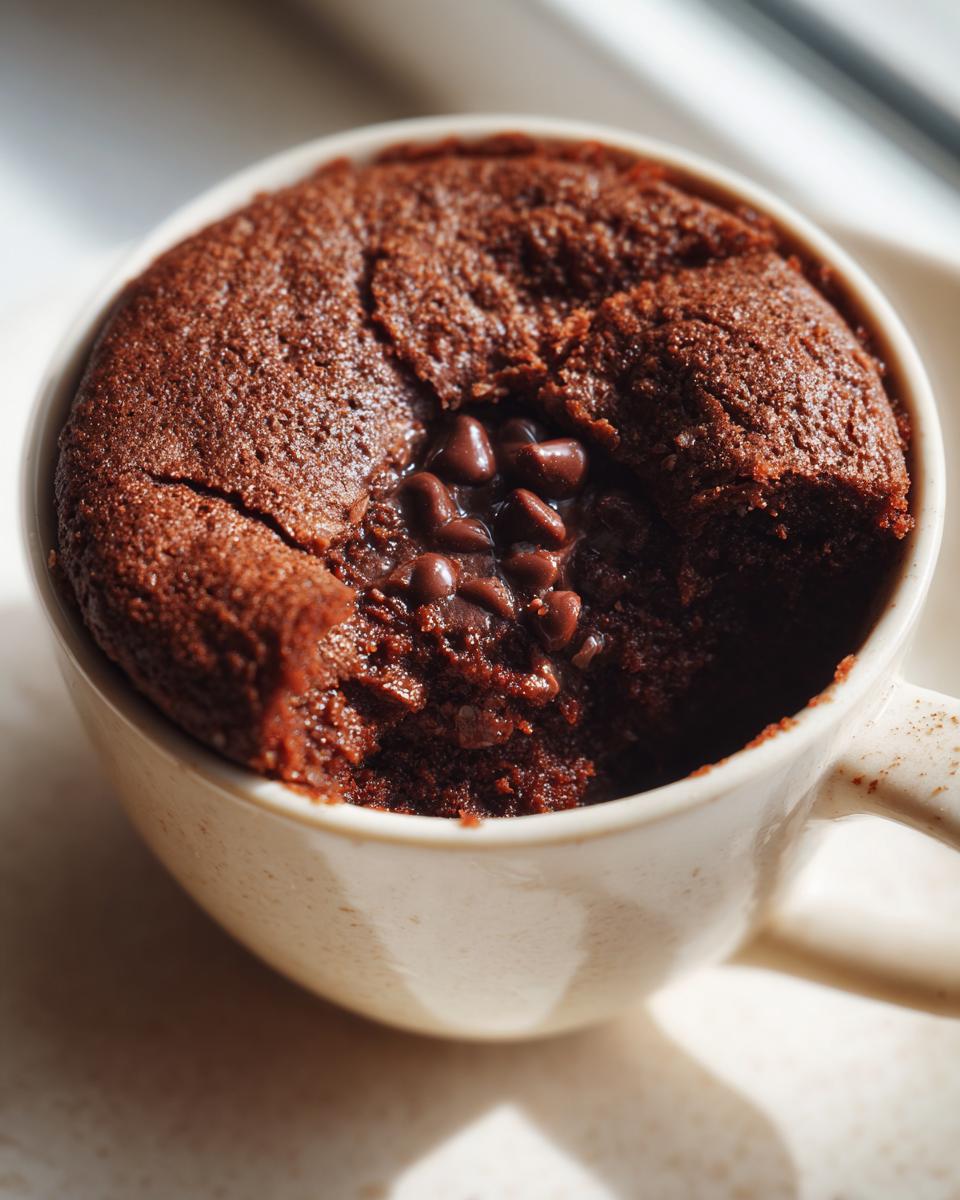
Feeling fancy? Now’s the time to stir in those chocolate chips or whatever else you’re feeling! A little chunk of a chocolate bar works wonders too. They’ll melt into gooey pockets of deliciousness.
Microwave to Perfection
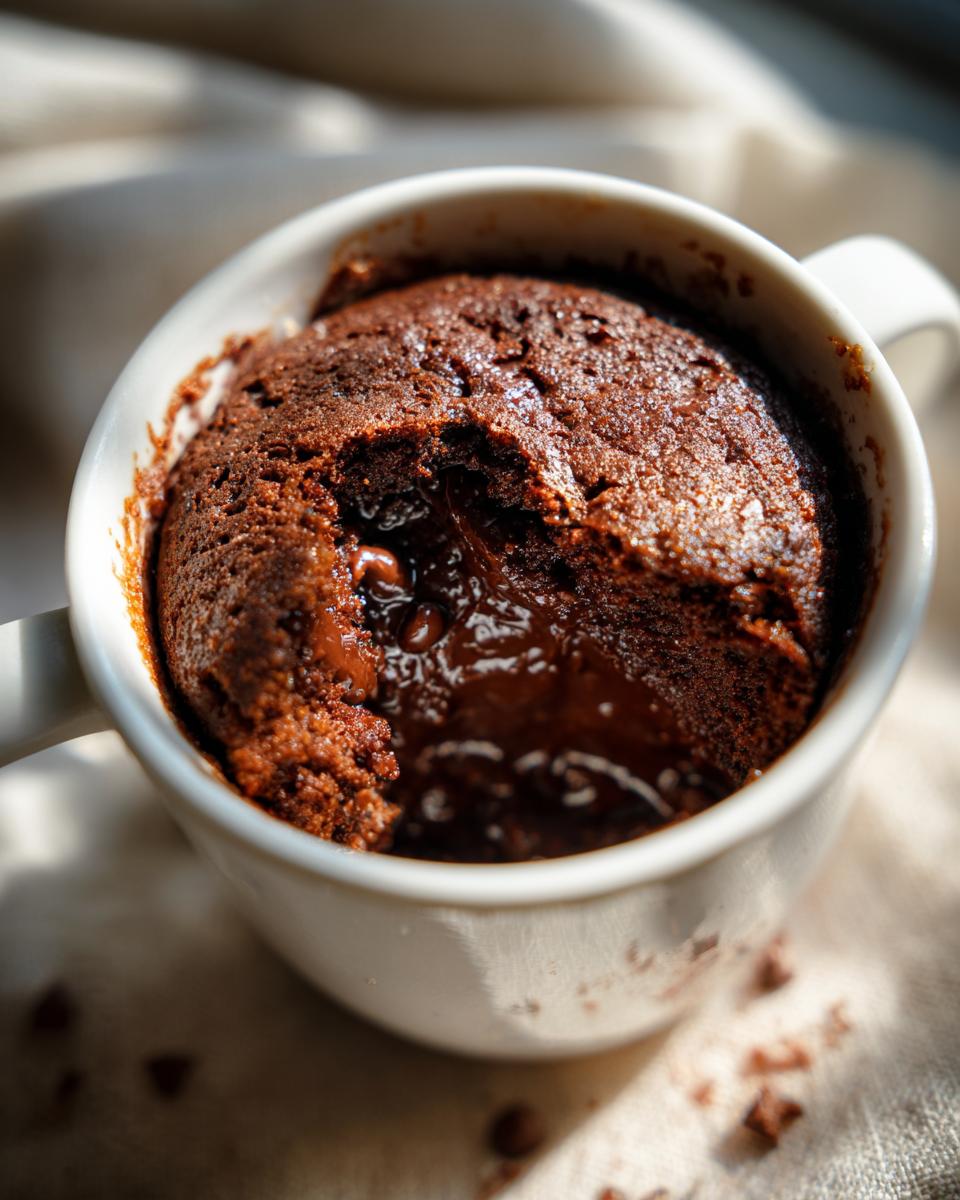
Pop that mug into your microwave. Cook it on high for about 60 to 90 seconds. Honestly, microwaves can be so different, so start with 60 seconds and check it. If it still looks a little wet on top, give it another 15-20 seconds. You want it to look set but still a little fudgy in the center.
Cool and Enjoy
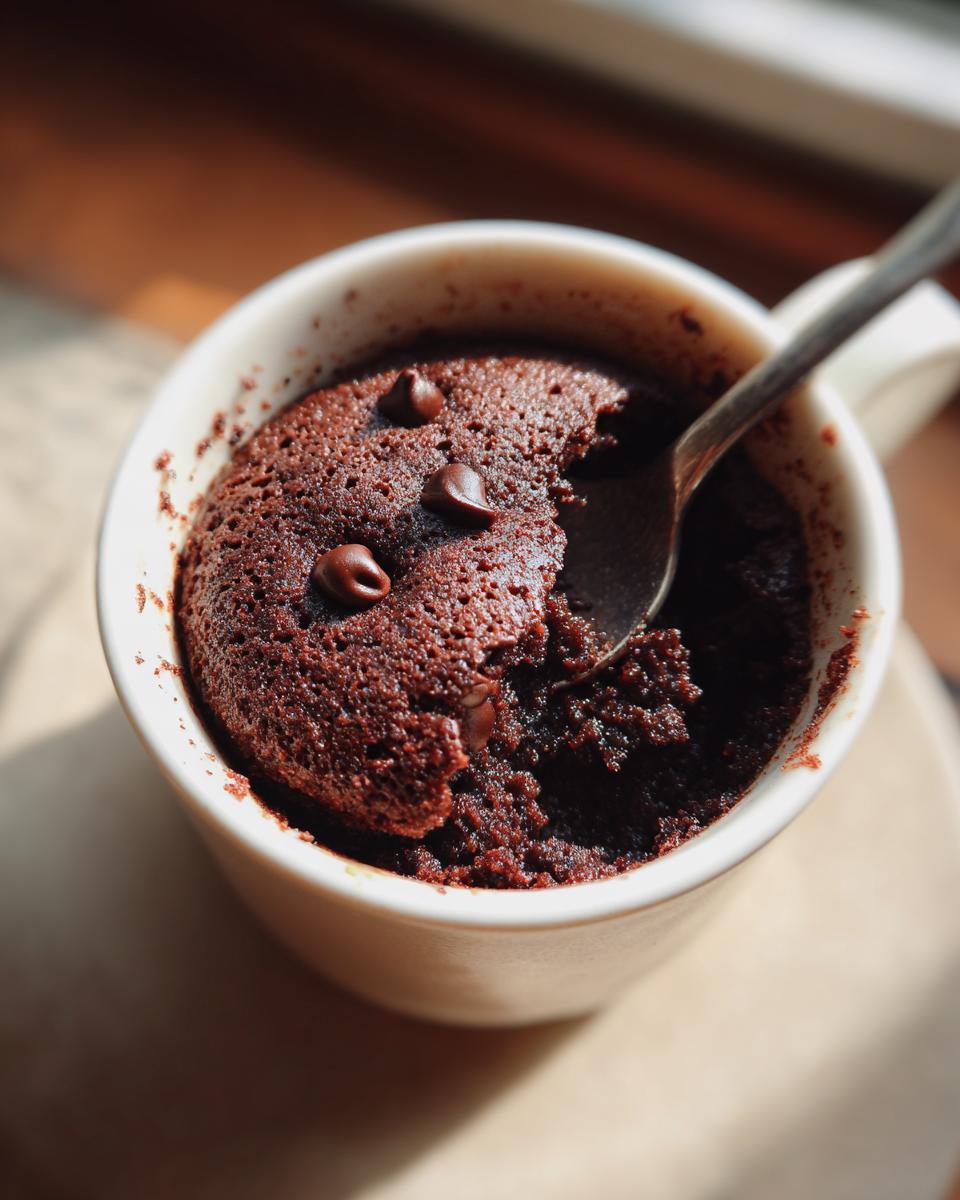
Careful, it’ll be hot! Let it cool for just a minute or two. Then, dive in with a spoon! It’s absolutely perfect on its own, but a tiny scoop of ice cream on top is pure bliss.
Tips for the Best Quick Chocolate Mug Cake
Okay, so this mug cake is pretty foolproof, but I’ve picked up a few little tricks over the years that make it even better. It’s all about knowing your microwave and not being afraid to play around a bit. These little tips, learned from many a late-night baking session (and maybe a few oopsies!), will help you nail this every single time, just like my famous chocolate chip cookies or even those dreamy Krispy Kreme donuts!
Microwave Wattage Matters
This is probably the biggest thing to remember! Microwaves vary SO much. If yours is a high-powered beast, start with that 60-second mark and maybe even check it sooner. If you have a less powerful one, you might need closer to 90 seconds or even a tad more. Just keep an eye on it; you want it cooked but still delightfully moist, not dry and rubbery!
Don’t Overfill Your Mug
Trust me on this one. While it’s tempting to fill that mug right to the brim, the cake needs room to puff up! I usually only fill my mug about two-thirds of the way full. This prevents a messy overflow situation. A standard 10- to 12-ounce mug is perfect.
Experiment with Add-ins
The base is fantastic, but you can totally jazz it up! My favorite is a little dollop of peanut butter right in the middle after you mix the batter – it gets all warm and melty. A few fresh raspberries or even a sprinkle of cinnamon can give it a whole new flavor profile. Get creative!
Frequently Asked Questions About This Is My Go To Dessert When I’m Short on Time
Got questions about whipping up this super speedy treat? I’ve got you covered! It’s honest to goodness why this amazing chocolate chip cookie-inspired cake is my go-to when I desperately need something sweet without the fuss.
Can I make this mug cake without milk?
Absolutely! If you’re out of milk or need to keep it dairy-free, reach for almond milk, soy milk, or even plain water. It might change the texture just a tiny bit, but it’ll still be delicious!
What kind of mug should I use?
Grab any microwave-safe mug you have, but I find a standard ceramic one that holds at least 10 to 12 ounces works best. You want something sturdy that gives the cake enough room to rise without overflowing!
How do I know when the mug cake is done?
Keep an eye on it! It’s usually ready when the cake looks set around the edges and has pulled away slightly from the sides of the mug. You can also poke a toothpick in there – if it comes out mostly clean with just a few moist crumbs, it’s perfect. Remember, we want it wonderfully moist, not dry!
Can I make this ahead of time?
Mug cakes are really best enjoyed fresh, right out of the microwave. But, if you’re a super planner, you can totally mix up all the dry ingredients in your mug beforehand and store it. Then, just add the wet stuff and microwave when you’re ready!
Nutritional Information
Just a heads up, the nutritional info for this quick chocolate mug cake is an estimate, since it can change depending on exactly what you use! But generally, you’re looking at something around 350 calories, with about 18g of fat and 30g of sugar per serving. It’s a delicious indulgence, perfect for satisfying that sweet tooth without going overboard! For more decadent chocolate options, check out this amazing triple chocolate mousse cake when you have a bit more time.
Share Your Quick Chocolate Mug Cake Creations!
I absolutely LOVE hearing from you! Have you tried my go-to quick chocolate mug cake? Did you add anything fun? Let me know in the comments below or give this recipe a star rating! If you snap a pic, tag me on social media – I’d be thrilled to see your creations. You can also reach out through my contact page!
Print
Garlic Miso Ramen-Inspired Broth
- Total Time: 25 min
- Yield: 4 servings 1x
- Diet: Vegetarian
Description
A rich and savory broth with garlic and miso flavors, perfect for ramen.
Ingredients
- 6 cups vegetable broth
- 4 cloves garlic, minced
- 2 tablespoons white miso paste
- 1 tablespoon soy sauce
- 1 teaspoon sesame oil
- 1/2 teaspoon grated fresh ginger
Instructions
- In a medium pot, combine vegetable broth, minced garlic, soy sauce, sesame oil, and grated ginger.
- Bring the mixture to a simmer over medium heat.
- In a small bowl, whisk the miso paste with a ladleful of the hot broth until smooth.
- Stir the dissolved miso paste back into the pot.
- Simmer for 5 minutes, do not boil.
- Strain the broth if desired for a smoother consistency.
Notes
- Adjust soy sauce and miso paste to your taste.
- Add your favorite ramen toppings like noodles, tofu, or vegetables.
- Prep Time: 10 min
- Cook Time: 15 min
- Category: Soup
- Method: Stovetop
- Cuisine: Japanese-inspired
Nutrition
- Serving Size: 1.5 cups
- Calories: 75
- Sugar: 3g
- Sodium: 850mg
- Fat: 3g
- Saturated Fat: 0.5g
- Unsaturated Fat: 2.5g
- Trans Fat: 0g
- Carbohydrates: 9g
- Fiber: 1g
- Protein: 4g
- Cholesterol: 0mg
Keywords: garlic miso broth, ramen broth, vegetarian ramen, savory broth, umami broth