
Okay, let me tell you about this dessert. Seriously, this dessert is almost too good to share. Like, I’ve made it, and then *accidentally* eaten half of it myself before anyone else even knew it existed. It’s that kind of magic. It’s my go-to when I need a serious chocolate fix without a whole lot of fuss, and honestly, it just tastes like pure comfort. My Aunt Carol passed this recipe down to me years ago, and it’s been a lifesaver for potlucks, holiday gatherings, or just those Tuesday nights when you need a little something sweet. It reminds me of her kitchen – always smelling faintly of cocoa and happiness. If you’re looking for other chocolatey wonders, check out my gooey chocolate recipe too!
Why This Dessert Is Almost Too Good to Share
Okay, so why is this dessert practically impossible to resist sharing? Let me break it down for you:
- It’s ridiculously easy to whip up. Honestly, from start to finish, you’re looking at maybe 10 minutes of active prep time. No stress, no fuss!
- That deep chocolate flavor is outta this world. We’re talking serious cocoa goodness that’s satisfying without being *too* sweet.
- It’s a guaranteed hit with everyone. Seriously, I’ve never met anyone who didn’t love this. It always vanishes first at parties!
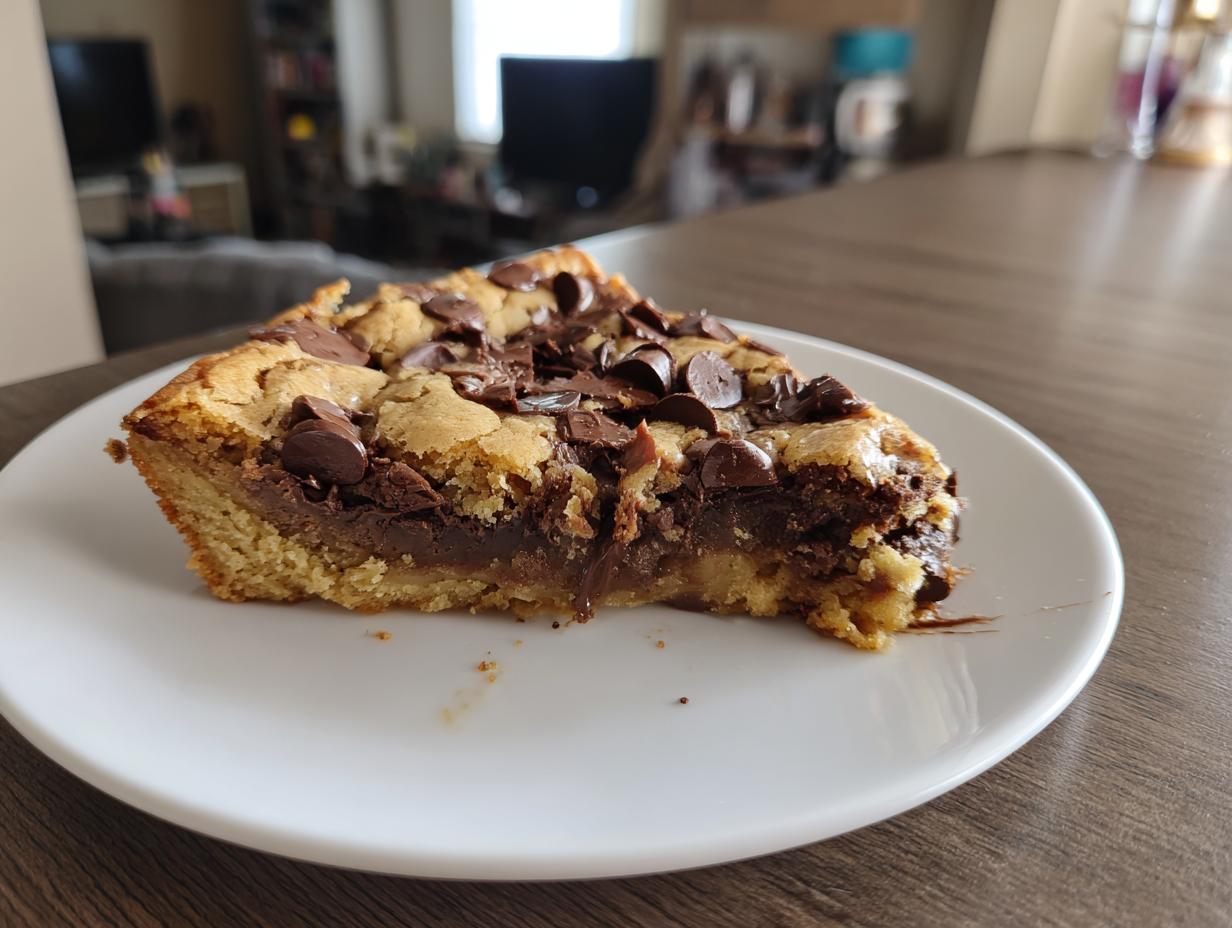
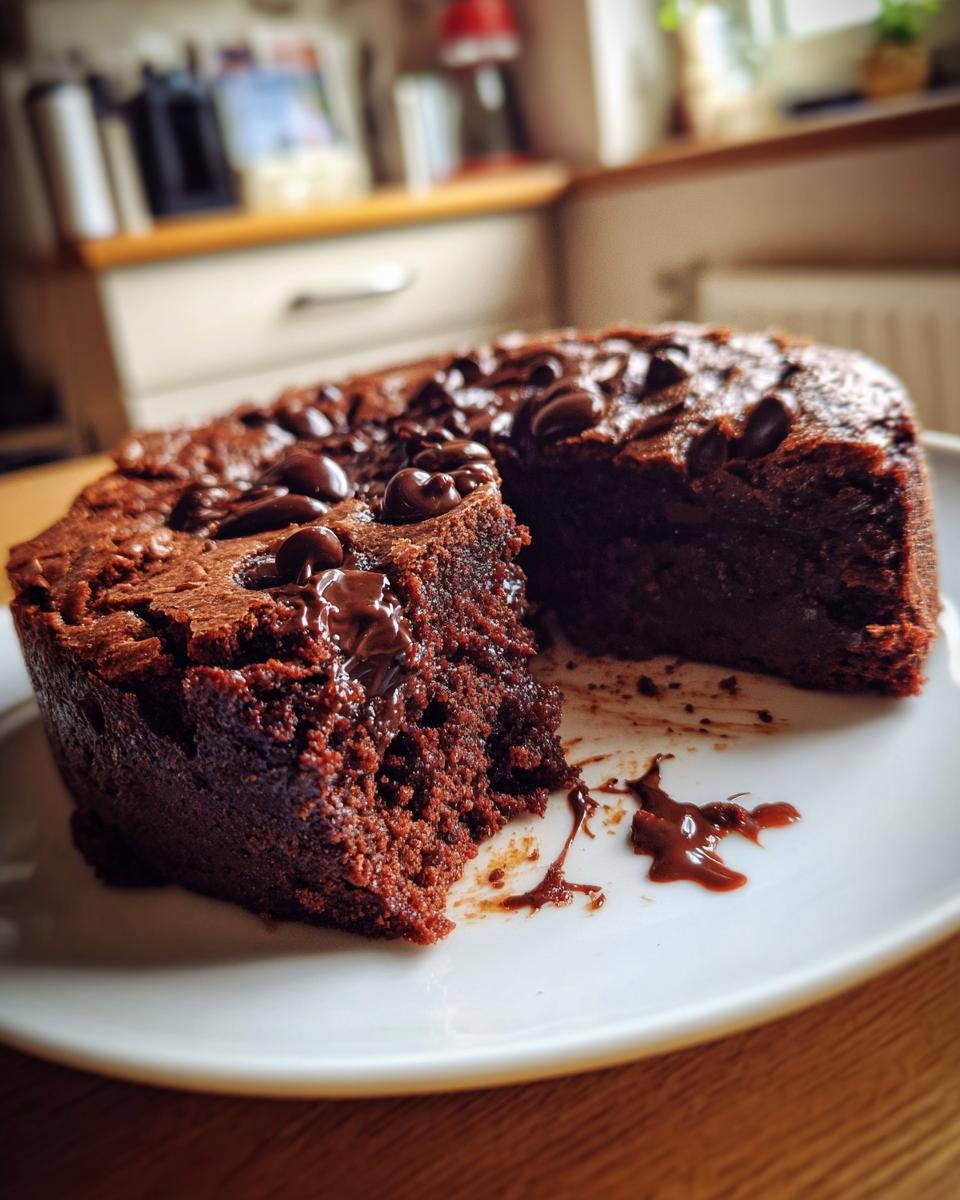
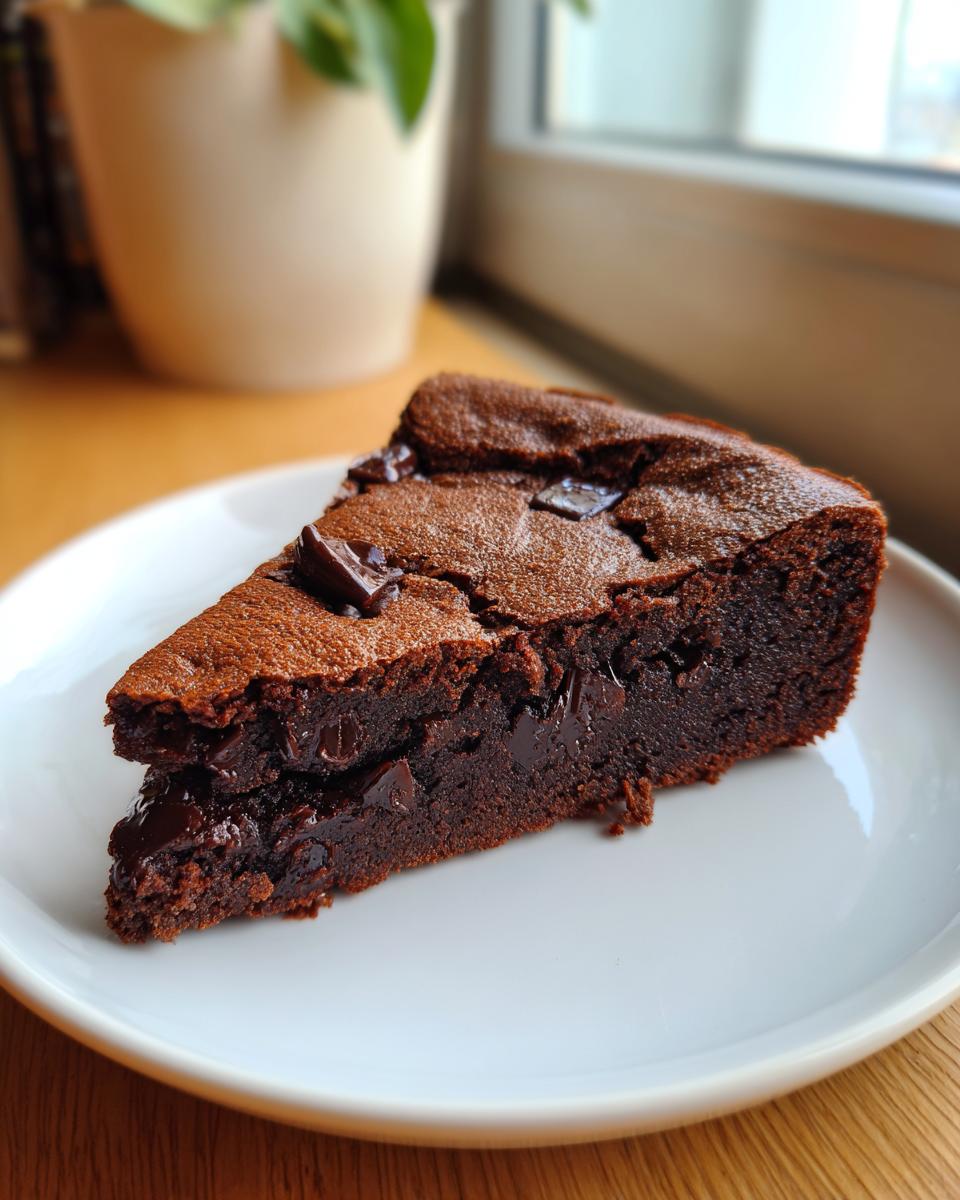
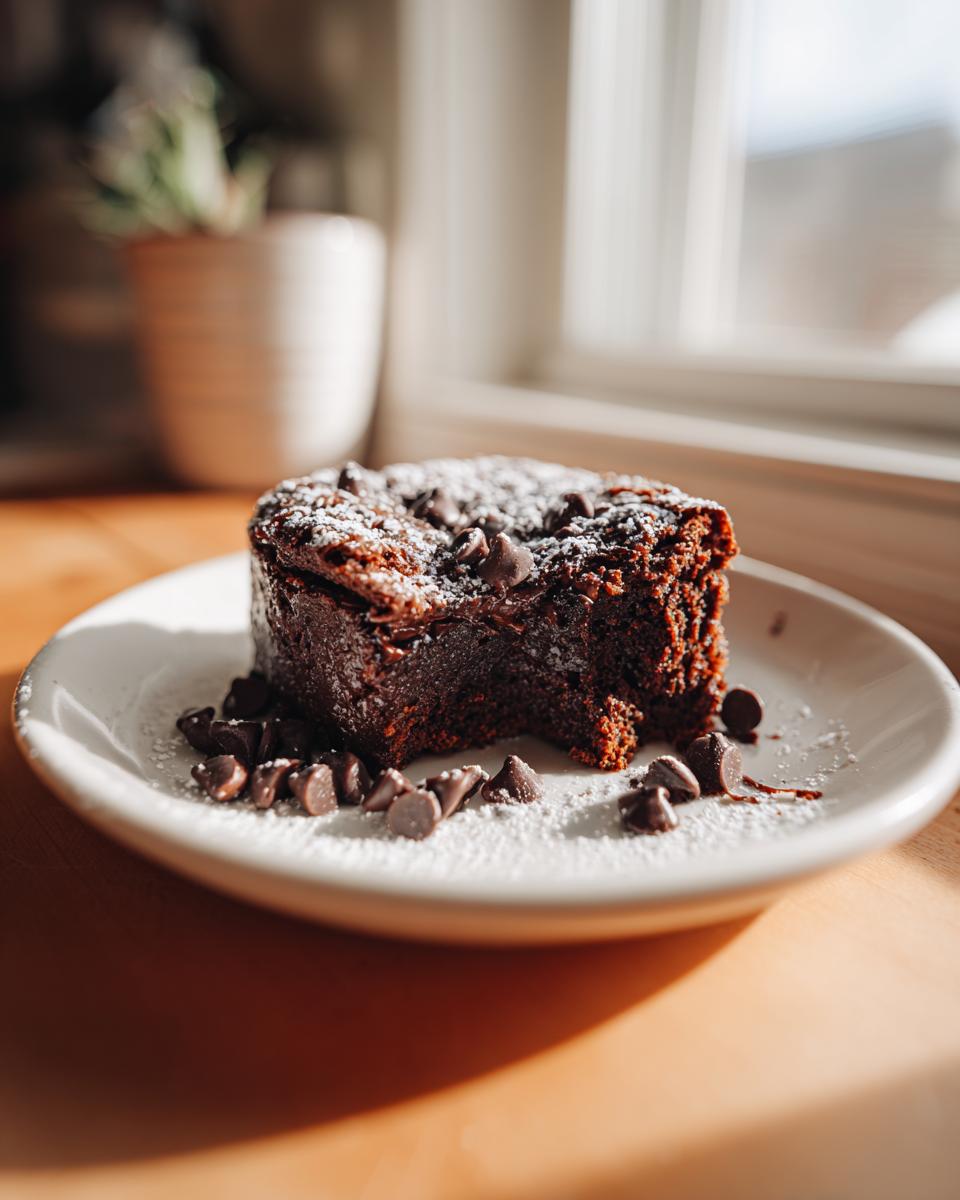
- The texture is just perfect. It’s tender and moist, giving you that satisfying bite every single time.
- It’s super versatile. Serve it warm with a scoop of ice cream, or just let it cool and enjoy it as is. It’s always a winner!
Gather Your Ingredients for This Dessert Is Almost Too Good to Share
Alright, let’s get our ingredients together for this chocolatey dream! Trust me, using good quality stuff here really makes a difference, but even with everyday pantry staples, this dessert shines. You’ll want to have these ready to go:
- 1 cup of all-purpose flour – I usually sift mine just to make sure there are no lumps!
- 1/2 cup of granulated sugar – for that perfect sweetness.
- 1/4 cup of unsweetened cocoa powder – the richer, the better, in my opinion.
- 1/2 teaspoon of baking powder – this helps it get nice and fluffy.
- 1/4 teaspoon of salt – just a pinch to bring out all those chocolatey flavors.
- 1/2 cup of milk – whole milk works best for richness, but any kind will do!
- 1/4 cup of vegetable oil – I find this keeps it super moist.
- 1 teaspoon of pure vanilla extract – the real deal makes a difference!
- 1/2 cup of your favorite chocolate chips – semi-sweet are classic, but milk or dark work too! If you love chocolate chips, you’ve got to try my chocolate chip cookie recipe, or maybe my double chocolate creations.
Step-by-Step Guide to Making This Dessert Is Almost Too Good to Share
Alright, let’s get baking! This part is where the magic really happens, and it’s honestly so straightforward, you’ll wonder why you haven’t made it a million times already. Just follow these simple steps, and you’ll have a dessert that’s going to disappear faster than you can say “chocolatey goodness!” If you’re feeling adventurous after this, you might want to try my homemade donuts!
Preheating and Preparing Your Baking Dish
First things first, let’s get that oven fired up! You’ll want to preheat it to 350°F (175°C). While that’s heating, grab your baking dish – an 8×8 inch square pan is perfect – and give it a good grease. A little butter or cooking spray works wonders to make sure nothing sticks. We want this dessert to slide right out later!
Combining Dry Ingredients
In a decent-sized mixing bowl, let’s whisk together all our dry goodies. This means the flour, sugar, cocoa powder, baking powder, and that little pinch of salt. Give it a good whisk until everything is nicely combined and there are no big clumps of cocoa floating around. This step is super important for making sure your dessert bakes up evenly!
Adding Wet Ingredients and Mixing the Batter
Now, let’s make it creamy! Pour in the milk, vegetable oil, and that lovely vanilla extract. Start stirring everything together. You don’t need to go crazy here; just mix until it’s all combined and you have a smooth, lovely batter. It should look glossy and inviting. Remember, we’re not aiming for super stiff dough here, just a nice, pourable consistency.
Incorporating the Chocolate Chips
This is my favorite part! Gently fold in those chocolate chips. You want to mix them in just enough so they’re spread throughout the batter. Don’t overmix at this stage, we just want them evenly distributed so you get that little pop of melted chocolate in every bite.
Baking to Perfection
Carefully pour your glorious batter into the greased baking dish. Smooth out the top a bit if you need to. Now, pop it into your preheated oven. It’ll bake for about 20 to 25 minutes. The best way to know it’s done? Stick a toothpick right into the center. If it comes out clean, or with just a few moist crumbs clinging to it, you’re golden!
Cooling and Serving
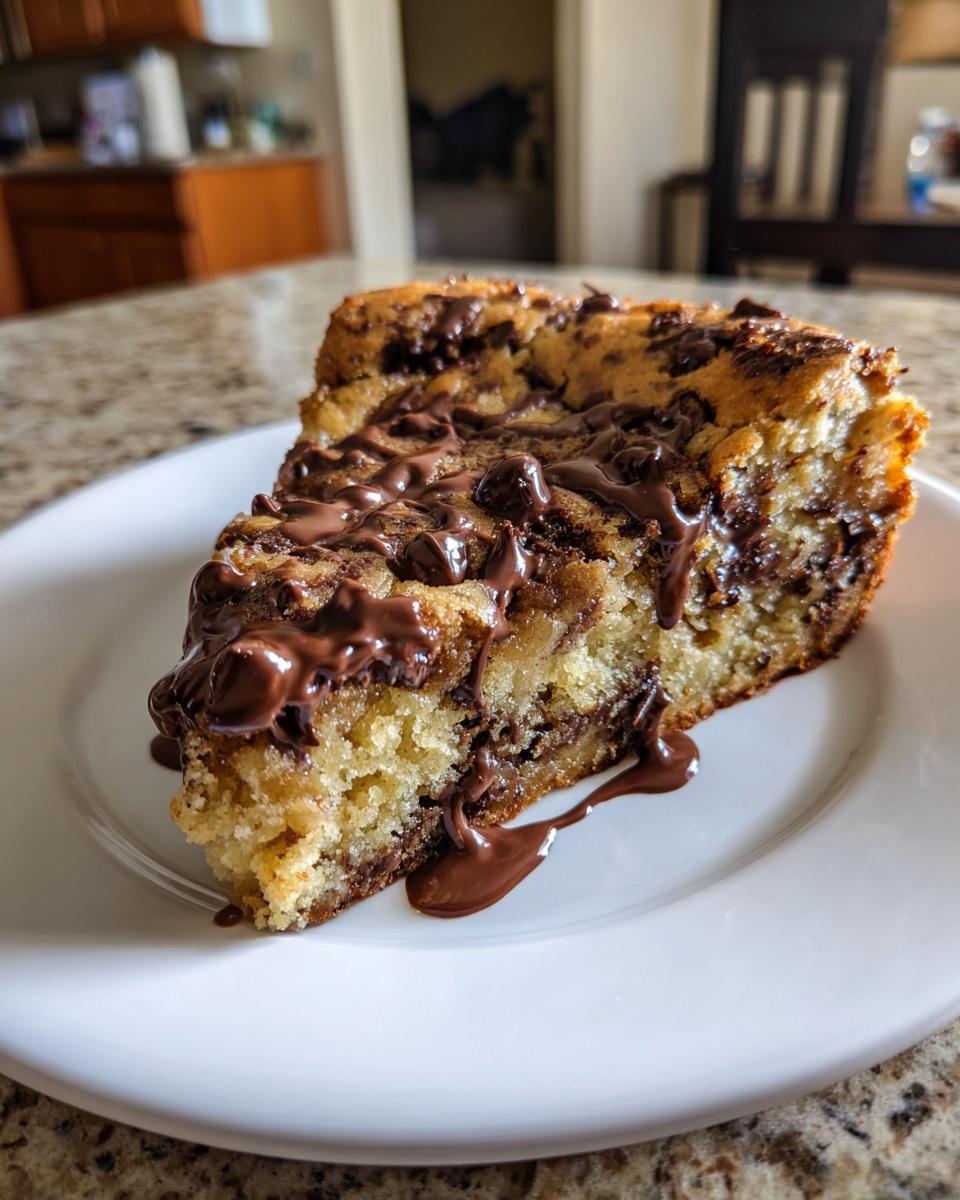
Once it’s baked to perfection, take that beautiful dish out of the oven. Let it cool in the pan for a bit – maybe 10-15 minutes. This helps it set up properly. It’s absolutely delicious served warm, maybe with a scoop of vanilla ice cream or a dollop of whipped cream.
Tips for Making This Dessert Is Almost Too Good to Share Even Better
So, you’ve made the base dessert, and it’s already pretty darn amazing, right? But if you’re like me and love to play around a bit, there are a few little tricks I’ve picked up over the years to make it even *more* special. First off, don’t be afraid to switch up those chocolate chips! While semi-sweet is my go-to, mini chocolate chips distribute better, and a mix of dark and milk chocolate is just heavenly. If you’re feeling really decadent, try adding some chopped nuts like walnuts or pecans – they add a lovely crunch! For a little extra flair, you could stir in a teaspoon of instant coffee granules with the dry ingredients; it really amps up the chocolate flavor without tasting like coffee. If you’re a fan of fruit, a handful of raspberries or chopped strawberries folded in right at the end can be a delightful tart contrast. Speaking of amazing recipes, my chocolate chip cookies have a few secrets that make them extra special, and you might like my apple pie too!
Serving Suggestions
Now that you’ve made this incredible dessert, how do you best enjoy it? Honestly, it’s amazing all on its own, but I love to serve it warm. A big scoop of vanilla bean ice cream melting into the side is just heavenly. Or, if you’re feeling a bit fancy, a generous dollop of freshly whipped cream is always a winner. For a pop of freshness, a scattering of bright red raspberries or some sliced strawberries on top adds a lovely color and a little tartness that cuts through the richness. Sometimes, just a simple dusting of powdered sugar is all it needs to feel special. If you’re looking for more decadent dessert ideas, you should really check out my cheesecake cupcakes!
Storage and Reheating
Don’t you hate it when delicious desserts go to waste? Me too! Luckily, this chocolatey wonder stores beautifully. Once it’s cooled down, just wrap it up tightly in plastic wrap or pop it into an airtight container. It’ll keep nicely in the fridge for about 3-4 days. When you’re ready for another slice, you can enjoy it cold, or give it a quick reheat in the microwave for about 15-20 seconds to bring back that lovely warm, gooey texture. I haven’t tried freezing it myself, but I bet it would be fine wrapped really well!
Frequently Asked Questions
Got a question about this easy chocolate dessert? I’ve probably thought of it too! Here are some things people often ask, and if you’re looking for more chocolatey inspiration, be sure to check out my gooey chocolate recipe!
Can I make this dessert ahead of time?
Oh, absolutely! This dessert is fantastic for making ahead. Just let it cool completely, wrap it up nice and tight, and store it at room temperature or in the fridge. It’s just as delicious the next day!
What are some good substitutions for chocolate chips?
Don’t have chocolate chips? No worries! You can totally use chopped chocolate chunks for a richer melt. White chocolate chips, butterscotch chips, or even a handful of chopped nuts like pecans or walnuts work wonderfully too.
How do I know when the dessert is perfectly baked?
The easiest way is the toothpick test! Pop a toothpick into the center. If it comes out clean or with just a few moist crumbs attached, it’s ready. You’ll also see the edges starting to pull away slightly from the sides of the pan.
Can I use a different type of milk or oil?
For the milk, pretty much any kind will work – dairy or non-dairy. As for the oil, while vegetable oil is great for moisture, a light olive oil or even melted coconut oil can be used, though they might add a subtle flavor note.
Nutritional Information
Now, let’s talk numbers! Keep in mind that these figures are just estimates, as the exact amounts can change depending on the brands you use and how you measure things out. But generally, one serving of this delightful dessert clocks in at around 250 calories. You’re looking at about 12g of fat, with 6g of that being saturated, and roughly 35g of carbohydrates, including about 25g of sugar. It also offers around 2g of fiber and 4g of protein. So, while it’s a treat, it’s not a total calorie bomb!
Share Your Creations!
I absolutely love hearing from you all! If you make this dessert (and trust me, you should!), please let me know how it turned out. Drop a comment below, rate the recipe, or hey, even tag me on social media if you snap a pic! Your sweet creations inspire me, and I can’t wait to see what you whip up. If you have any questions or just want to share your thoughts, feel free to reach out via my contact page!