
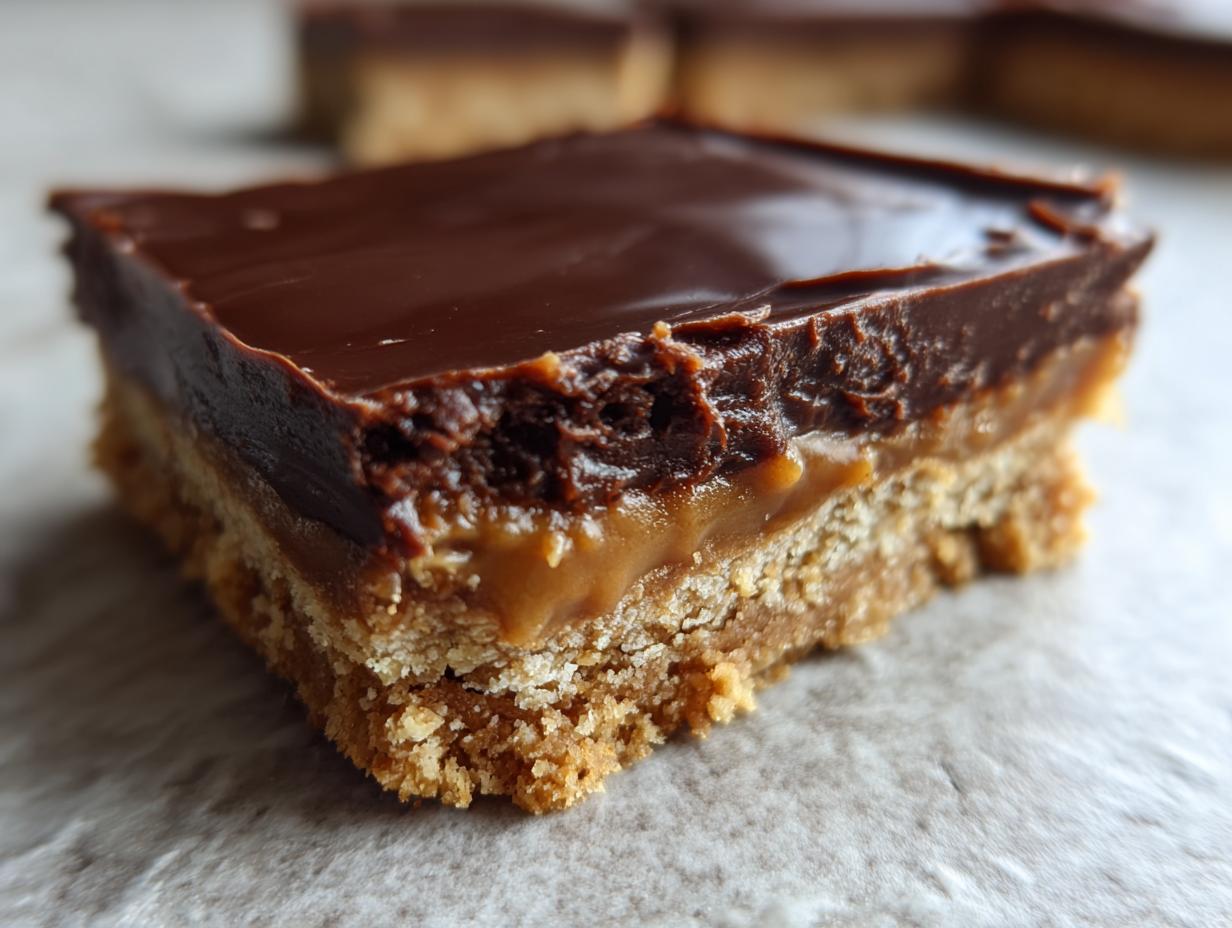
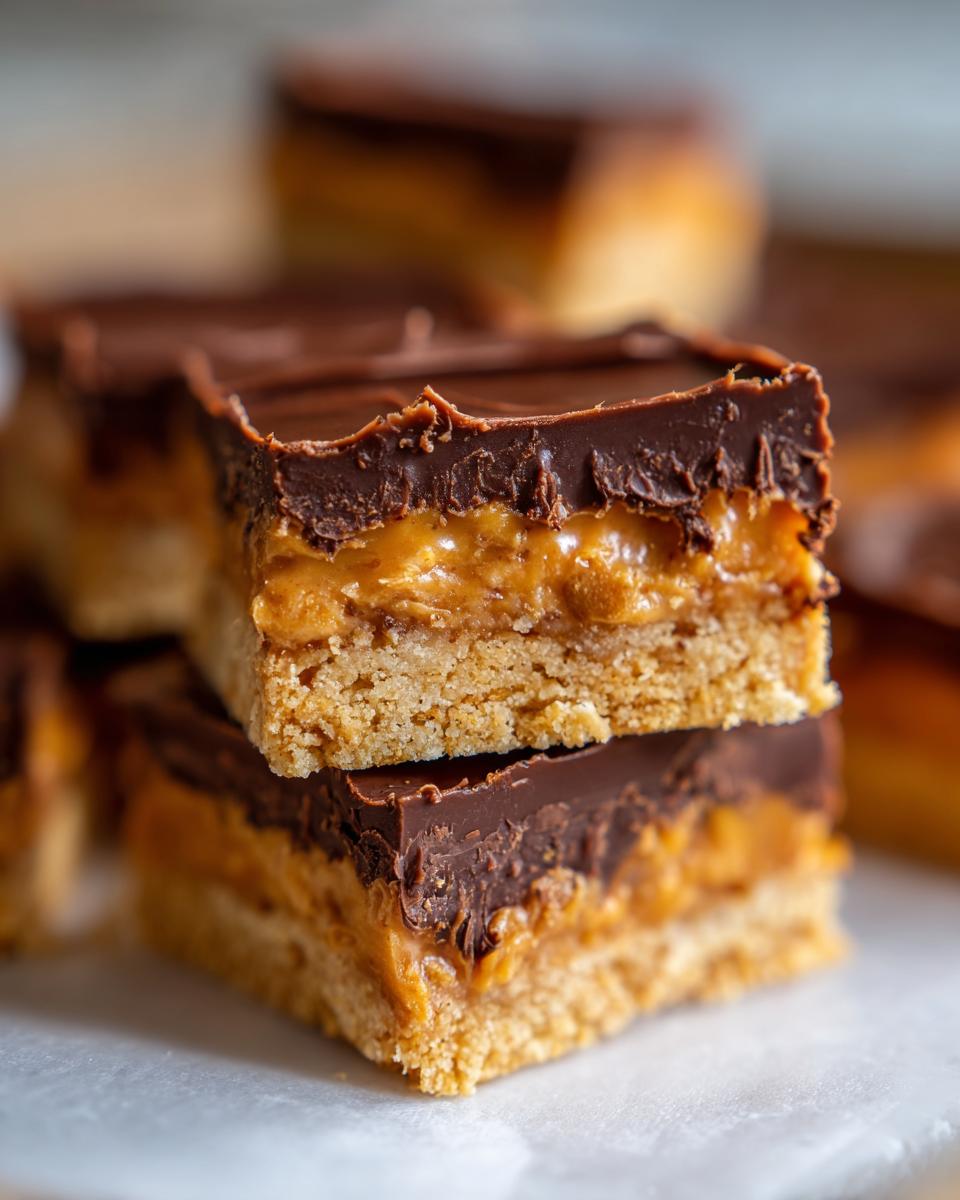
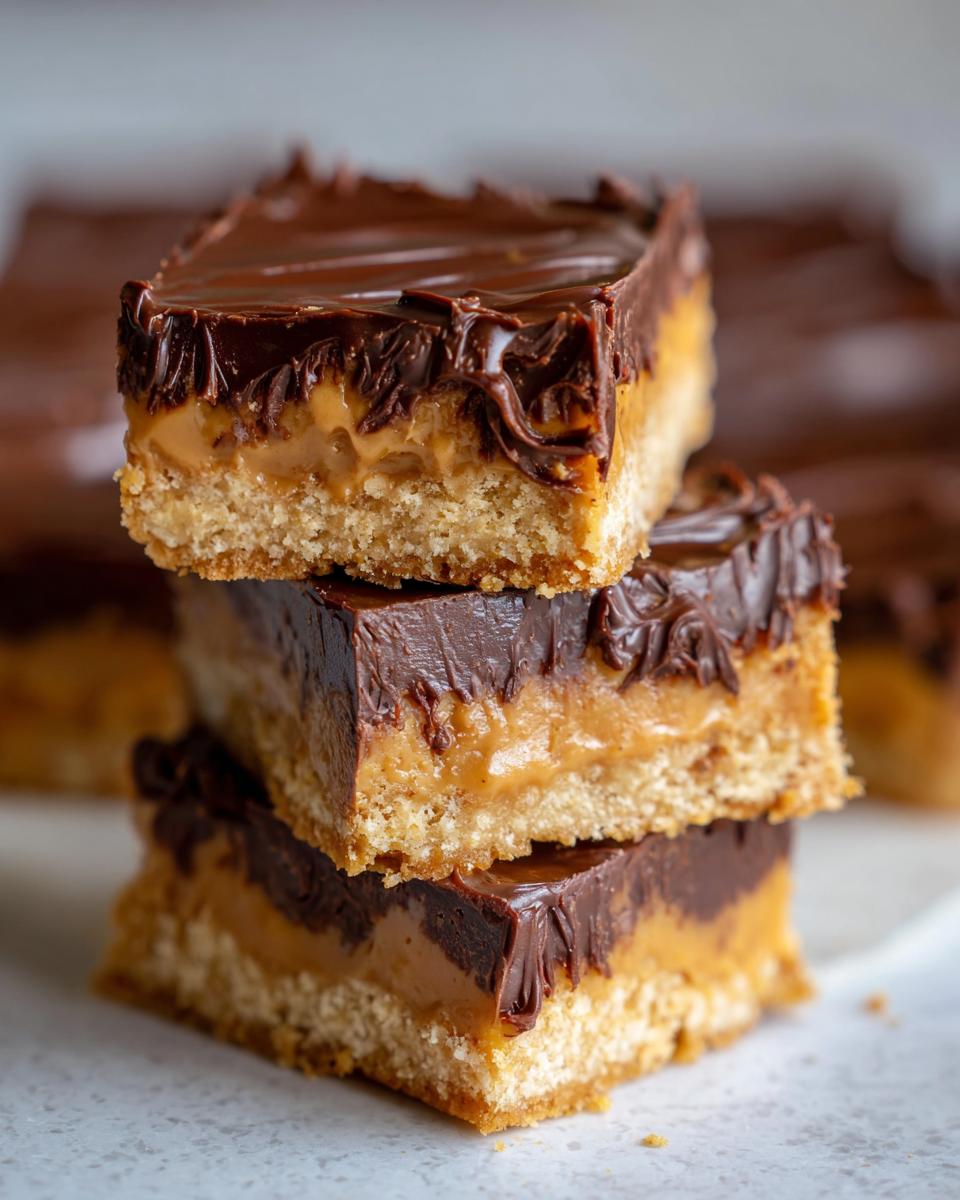
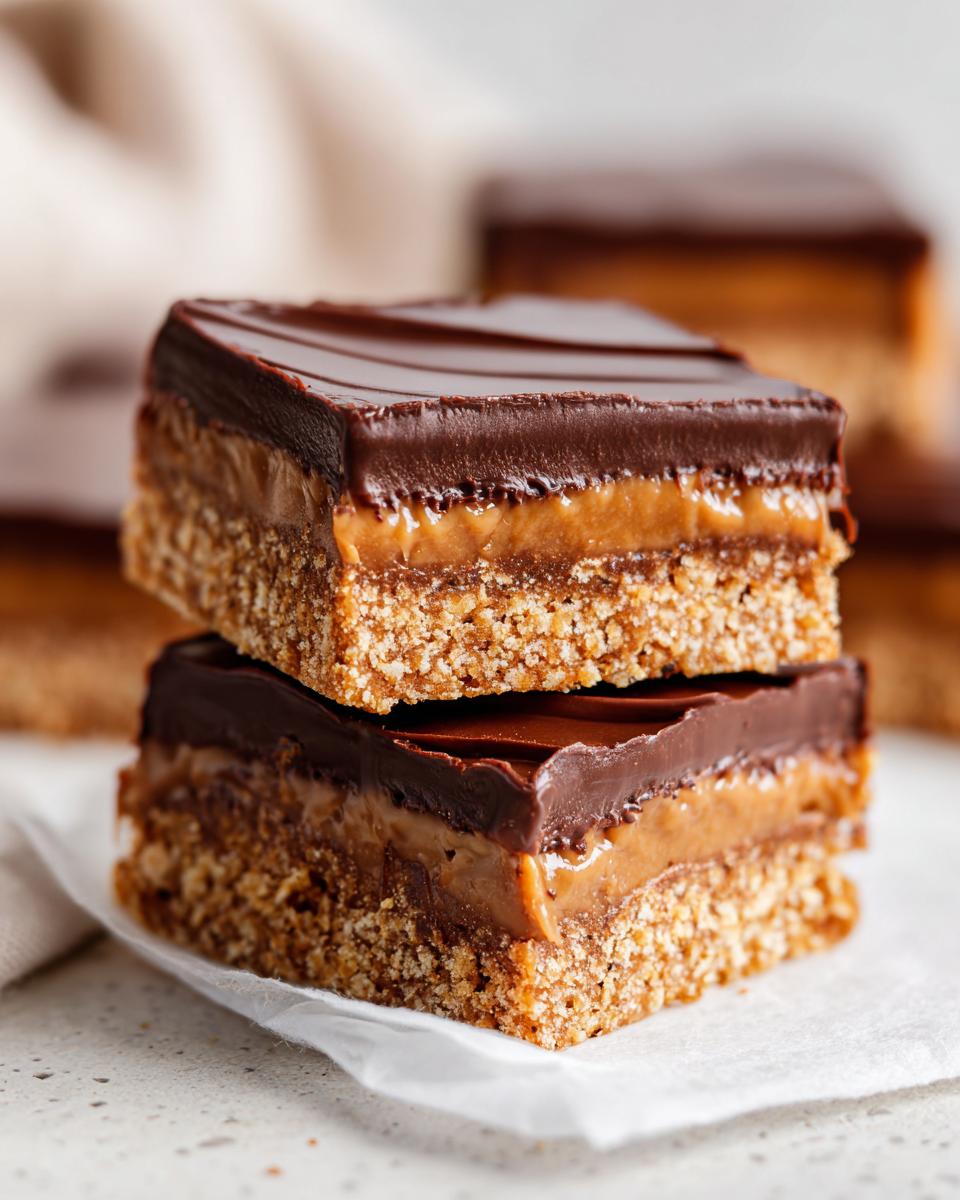
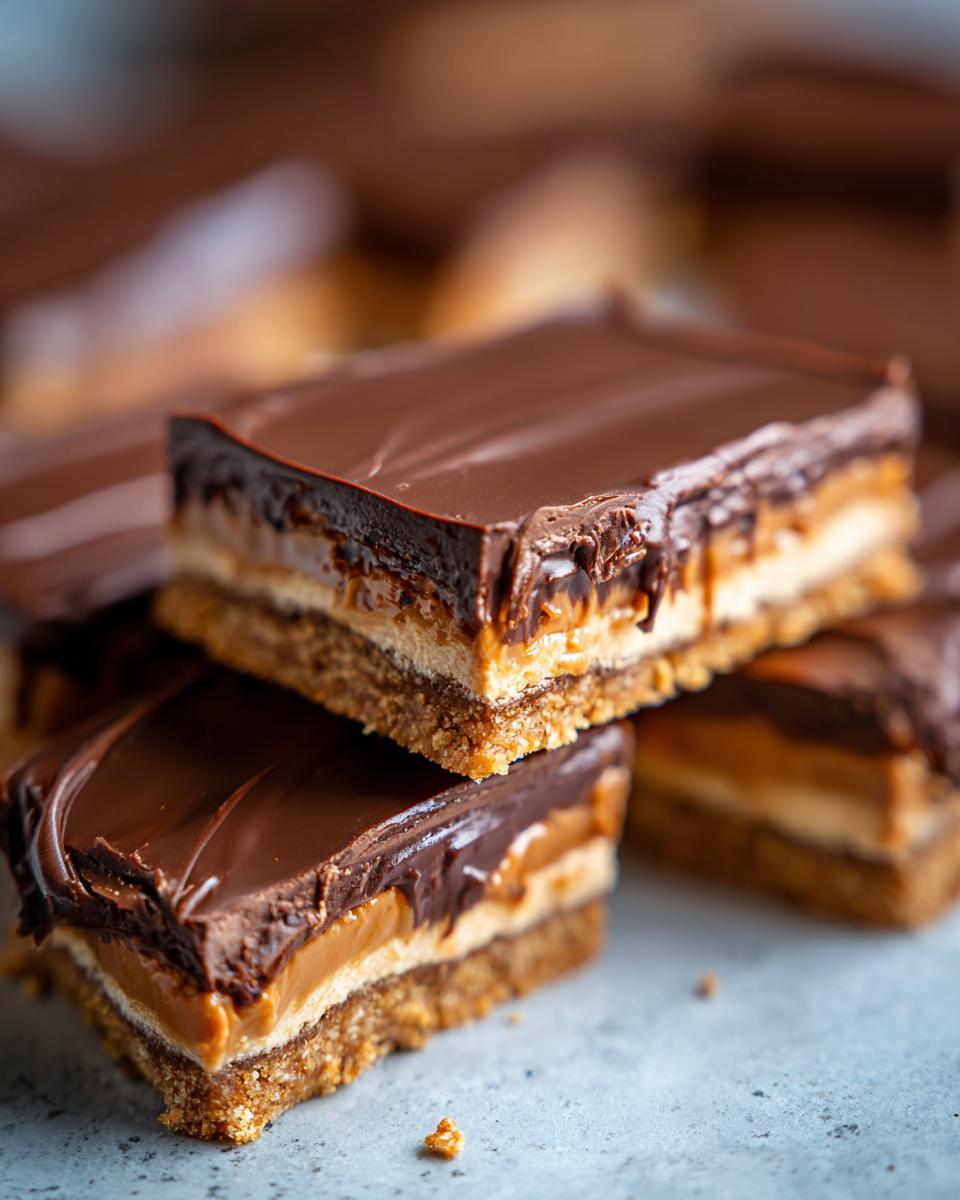
Okay, let’s talk about a dessert that’s pretty much my hero when I need something amazing but can’t face the oven: these incredible No-Bake Chocolate Peanut Butter Bars! Seriously, this is the dessert that requires no baking at all, and it’s a total game-changer. Picture this: layers of crumbly, buttery base, followed by a smooth, dreamy peanut butter filling, all topped off with rich, melted chocolate. The combination of chocolate and peanut butter? It’s pure magic, and it’s usually gone in minutes at any gathering. I remember first making these for a friend’s potluck when I was totally swamped with work and had zero time. I whipped them up in about 15 minutes, and people were raving about them all night! They’re just that good, and so, so easy. You can find more about why this dessert requires no baking at all and how it simplifies your life.
Why This Dessert Requires No Baking at All
Let’s be real, who always has time or the desire to turn on the oven? That’s the beauty of treats like these chocolate peanut butter bars. The fact that this dessert requires no baking at all is its superpower! It means you can whip up something truly decadent in minutes, with minimal fuss. It’s perfect for those super hot summer days when you don’t want to heat up the kitchen, or for when you’re just craving something sweet but don’t have hours to spare. Even if you’re new to the kitchen, these bars are practically foolproof. You’re just mixing, pressing, and layering. No tricky temperatures, no worries about under or over-baking. The ingredients just meld together beautifully without any heat, creating these wonderfully soft, chewy, and utterly satisfying layers. It’s pure dessert joy, made accessible to absolutely everyone. You can learn more about why this no-bake dessert is a go-to for so many people.
Gather Your Ingredients for No-Bake Chocolate Peanut Butter Bars
Alright, let’s get our ingredients together for these no-bake chocolate peanut butter bars. You don’t need much, which is part of why I love them so much! Here’s what you’ll need:
- 1 cup graham cracker crumbs (about 8-10 full graham crackers, crushed!)
- 1/2 cup butter, melted (I usually use salted, but unsalted works too!)
- 1 cup creamy peanut butter (Seriously, creamy is the way to go here for that smooth texture!)
- 2 cups powdered sugar (This makes that peanut butter layer so dreamy)
- 1 1/2 cups chocolate chips (Milk chocolate or semi-sweet; your call!)
- 1/4 cup peanut butter (Yes, more peanut butter for the chocolate topping – it makes it super smooth!)
Step-by-Step Guide to Making This Dessert Requires No Baking at All
Now for the fun part – putting these yummy layers together! It’s so simple, you’ll be amazed. This dessert requires no baking at all, and the steps are super straightforward. Let’s get these bars made!
Creating the Graham Cracker Crust
- First things first, grab an 8×8 inch baking pan. If you want super easy cleanup, line it with parchment paper, leaving some overhang on the sides so you can lift the bars out later.
- In a medium bowl, mix up your graham cracker crumbs and that melted butter. Give it a good stir until it all looks nice and crumbly-moist.
- Now, dump that mixture into your prepared pan. Use the bottom of a measuring cup or even your hands to press it down really firmly and evenly. You want a nice, solid crust that won’t crumble when you cut into it later.
Assembling the Peanut Butter Layer
- In a separate bowl, it’s time for the peanut butter and powdered sugar. I usually beat them together with a hand mixer until it’s light and fluffy. If you don’t have a mixer, a whisk or a sturdy spoon will work, it just takes a little more elbow grease!
- Gently spread this glorious peanut butter mixture right over your pressed graham cracker crust. Try to get it as even as possible. Trust me, a smooth layer here means a neater bar when you cut them later.
Melting and Pouring the Chocolate Topping
- Now for the crown jewel! In a microwave-safe bowl, combine the chocolate chips and that extra 1/4 cup of peanut butter.
- Melt them together, stirring every 30 seconds or so. Be patient here! You want it smooth and pourable. Sometimes I zap it for just long enough to start melting, then stir it until it’s all combined and glossy.
- Pour this luscious chocolate mixture over the peanut butter layer. Use a spatula to spread it out evenly, making sure to cover the whole thing right to the edges.
Chilling to Perfection
- Pop the pan into the refrigerator. You’ll want to let it chill for at least 1-2 hours, or until the chocolate topping is firm. You can also pop it in the freezer for about 30-45 minutes if you’re in a real hurry!
- Once it’s firm, lift the whole block out using the parchment paper overhangs. Cut into squares, and voilà – your perfect no-bake bars are ready to devour! Find more tips for this dessert that requires no baking at all any time you need a quick treat.
Tips for the Best No-Bake Chocolate Peanut Butter Bars
Alright, let’s elevate these bars from good to absolutely AMAZING! Sometimes it’s the little things, you know? First off, ingredient quality really matters here. Using a good quality creamy peanut butter makes a HUGE difference in how smooth and rich that middle layer turns out. And for the chocolate topping? I’ve found that using a mix of chocolate chips and a little extra peanut butter makes it super glossy and easy to spread, much better than just chocolate alone. Want to see another killer peanut butter recipe? I’ve got you covered!
When you’re pressing down that graham cracker crust, really put some muscle into it! A tightly packed crust means your bars won’t fall apart when you cut them. And remember when you’re melting the chocolate and peanut butter? Don’t scorch it! Stirring it gently, maybe in 30-second intervals in the microwave, is key to a smooth, luscious topping. If you’re looking for more chocolate and peanut butter goodness, check out my cake recipe!
For the cleanest cuts, I highly recommend chilling the bars until they’re really firm. Then, use a sharp knife – wiping it clean between each cut can even help! It makes all the difference and makes them look so professional. A hot knife dipped in hot water can also work wonders for super neat slices, but honestly, these are so good you might not even care about perfect edges!
Frequently Asked Questions About This Dessert
Got questions about these amazing no-bake chocolate peanut butter bars? I’ve got answers! These bars are honestly so forgiving, but here are a few things people often ask me about making sure they turn out perfectly every time.
Can I use crunchy peanut butter?
You totally can! If you love a little extra texture, crunchy peanut butter will work just fine in the middle layer. It might make that layer a tiny bit less smooth, but who minds a bit of crunch in their peanut butter bars, right? Just use the same amount!
How should I store these no-bake bars?
These bars are best kept in the refrigerator. Pop them into an airtight container after they’re firmly chilled. They’ll stay delicious there for about a week, though honestly, they usually disappear way before that! Just grab one whenever that chocolate peanut butter craving hits.
Can I make this dessert vegan?
Making these vegan is definitely possible with a few swaps! You’d want to use vegan chocolate chips, a vegan butter alternative, and make sure your graham cracker crumbs don’t have honey or dairy. For the peanut butter layer, ensure your peanut butter and powdered sugar are vegan-friendly! Lots of easy vegan dessert recipes are out there, and this is one you can totally adapt!
Nutritional Information (Estimated)
Just so you know, the nutritional info here is an estimate, because seriously, how we measure can change things slightly! For one bar, you’re looking at roughly 250 calories. It’s packed with about 18g of fat (8g of that’s saturated), 4g of protein, and around 20g of carbohydrates, with about 20g of sugar. You’ll also get about 100mg of sodium and 1g of fiber. Enjoy!
Print
Detox Cabbage & Carrot Soup
- Total Time: 45 min
- Yield: 6 servings 1x
- Diet: Vegetarian
Description
A light and nourishing soup packed with vegetables to support your body’s natural detoxification processes.
Ingredients
- 1 tablespoon olive oil
- 1 large onion, chopped
- 2 cloves garlic, minced
- 1 teaspoon grated fresh ginger
- 1 pound cabbage, shredded
- 1 pound carrots, sliced
- 6 cups vegetable broth
- 1 teaspoon dried thyme
- Salt and black pepper to taste
Instructions
- Heat olive oil in a large pot over medium heat. Add onion and cook until softened, about 5 minutes.
- Add garlic and ginger and cook for 1 minute more until fragrant.
- Stir in cabbage and carrots.
- Pour in vegetable broth and add thyme. Bring to a boil, then reduce heat and simmer for 20-25 minutes, or until vegetables are tender.
- Season with salt and pepper to taste.
Notes
- For a smoother soup, you can blend a portion of it before serving.
- Add a squeeze of lemon juice before serving for extra brightness.
- Prep Time: 15 min
- Cook Time: 30 min
- Category: Soup
- Method: Stovetop
- Cuisine: General
Nutrition
- Serving Size: 1.5 cups
- Calories: 120
- Sugar: 10g
- Sodium: 450mg
- Fat: 3g
- Saturated Fat: 0.5g
- Unsaturated Fat: 2.5g
- Trans Fat: 0g
- Carbohydrates: 20g
- Fiber: 5g
- Protein: 3g
- Cholesterol: 0mg
Keywords: detox soup, cabbage soup, carrot soup, vegetable soup, healthy soup, cleansing soup, light soup