
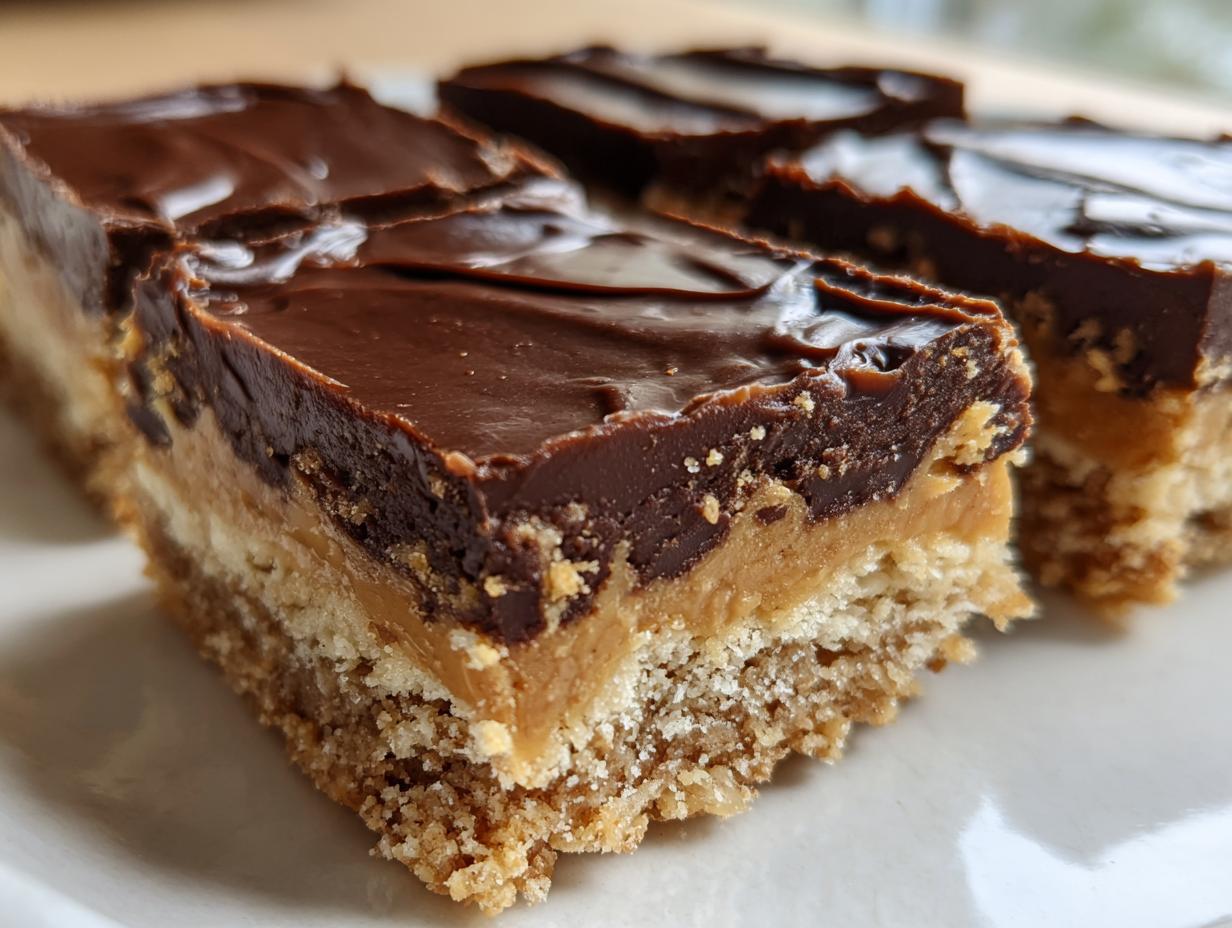
Okay, picture this: It’s a ridiculously hot summer day, or maybe you just got home *super* late and everyone’s suddenly craving something sweet. What’s a home cook to do? Reach for this recipe, my friends! Trust me, this dessert requires no baking at all, and it’s my absolute go-to when I need an amazing treat fast. The classic combo of rich chocolate and creamy peanut butter is just unbeatable, and the fact that you can whip it up in under 15 minutes? Pure magic. I’ve been making these bars for years, and they always disappear in a flash!
Why This Dessert Requires No Baking at All
You know those days when you just *need* a sweet treat but the thought of turning on the oven feels like a workout? That’s exactly why I fell head over heels for this recipe. The absolute best part? This dessert requires no baking at all! Seriously, no oven, no fuss, just pure deliciousness coming together in your kitchen. It’s a lifesaver during those scorching summer months when you don’t want to heat up the house, or perfect for those “oops, I forgot dessert for the potluck!” moments. Because there’s no baking involved, cleanup is a dream, and you get that incredible texture and flavor as the ingredients just magically meld together. It’s proof that you don’t need a hot oven to create something truly special.
For years, especially when my own kids were little and the house was already a whirlwind, I’d rely on this. I remember one time we had a last-minute family gathering, and it was probably 90 degrees outside. I threw these together in literally 15 minutes, popped them in the fridge, and they were a huge hit! It’s just so darn convenient. You can even check out other simple ideas here if you love quick fixes like I do!
Gather Your Ingredients for This Dessert That Requires No Baking
Alright, let’s get down to business! The beauty of this recipe is its simplicity, and that starts with the ingredients. You’ll want to have these on hand so you can whip up this amazing dessert that requires no baking at all whenever that craving strikes.
- 1 cup graham cracker crumbs: Make sure they’re nice and fine for a smooth crust. You can crush them yourself in a food processor or baggie, or buy them pre-crushed!
- 1/2 cup butter, melted: Gotta have that richness and binding power! Real butter is key here for the best flavor.
- 1 cup peanut butter: For that perfect, creamy peanut butter layer, I really suggest using a creamy peanut butter. Make sure it’s smooth and not too oily.
- 2 cups powdered sugar: This is what makes our peanut butter filling so wonderfully sweet and decadent. Giving it a quick sift before measuring never hurts, it helps avoid lumps!
- 1 1/2 cups chocolate chips: Milk chocolate, semi-sweet, dark – whatever your heart desires! I usually go with semi-sweet because it balances the sweetness from the peanut butter layer perfectly.
- 1/4 cup peanut butter: This little bit gets mixed with the chocolate for extra flavor and that gorgeous sheen on top.
Using good quality ingredients, especially the peanut butter and chocolate, really makes a difference. Trust me on this!
Crafting Your No-Bake Chocolate Peanut Butter Bars
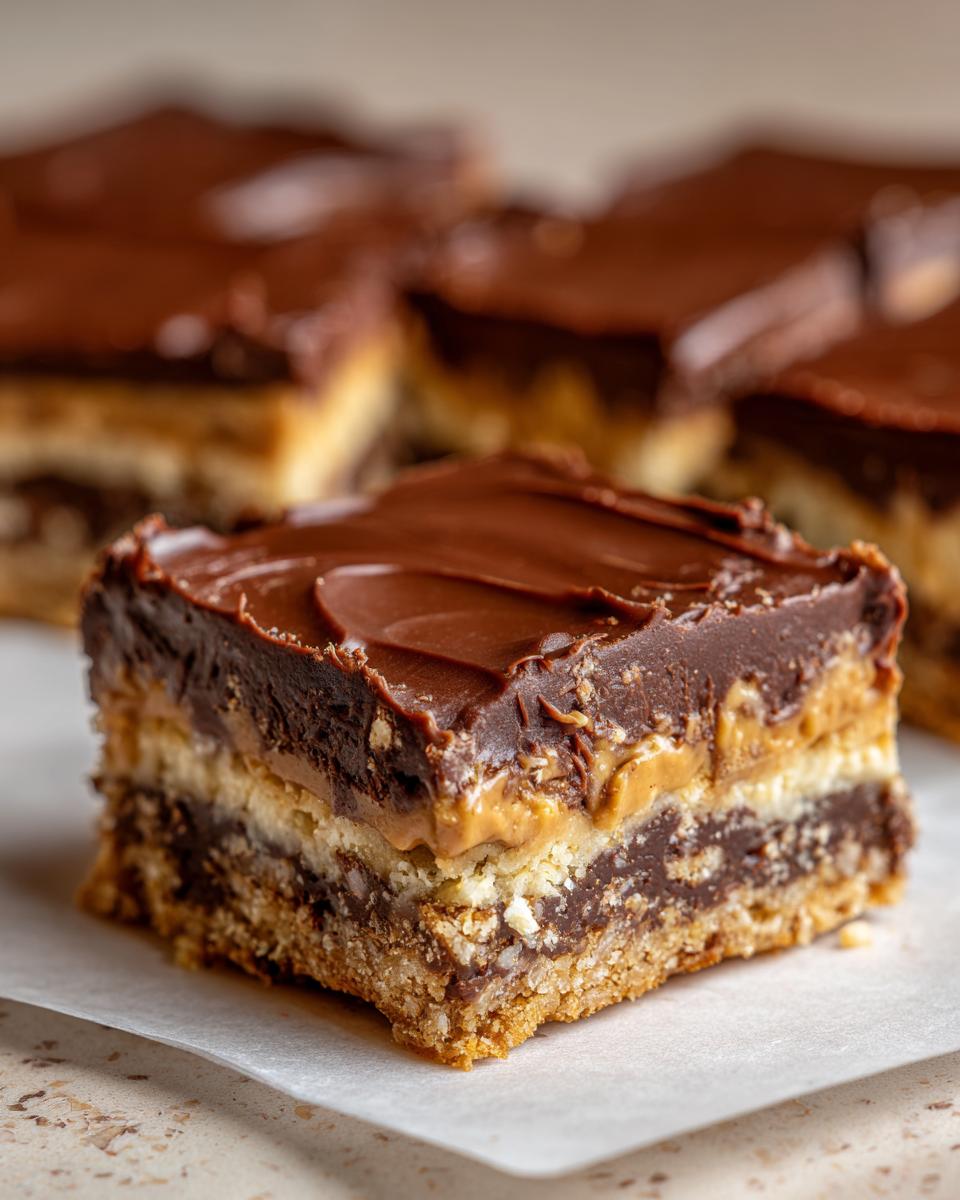
Alright, let’s get these amazing bars put together! It’s so satisfying to see these layers come to life, and honestly, the best part is knowing that this delicious concoction is happening without a single dish going into a hot oven. We’re going to build these bars step-by-step to create that perfect texture. Continue layering to complete this dessert that requires no baking at all, and you’ll have a crowd-pleaser in no time!
Creating the Graham Cracker Crust
First things first, we need a solid base. Grab a 9×9 inch pan – any size roughly around that will work, just might change the thickness slightly. In a medium bowl, combine your graham cracker crumbs and the melted butter. Give it a really good stir until all those crumbs are moistened. Then, pour it into your prepared pan (a little baking spray or parchment paper helps things come out clean!) and press it down nice and firm. You want an even layer, so for extra persuasion, use the flat bottom of a measuring cup or a sturdy glass to really pack it in there. This makes sure it won’t crumble when you slice into it later.
Assembling the Peanut Butter Layer
Now for the star of the show (well, one of them!). Make sure your peanut butter is at room temperature; it blends so much smoother that way. In a separate bowl, beat together the 1 cup of peanut butter and the 2 cups of sifted powdered sugar. Keep beating until it’s smooth and creamy – it should look like a thick, glorious paste. If it seems a little too stiff, you can add a TINY splash of milk, but usually, it’s just right. Spread this peanut butter goodness evenly over your graham cracker crust. Take your time here to get a nice, smooth, even layer because this is what’s going to hold up all that yummy chocolate!
Melting and Pouring the Chocolate Topping
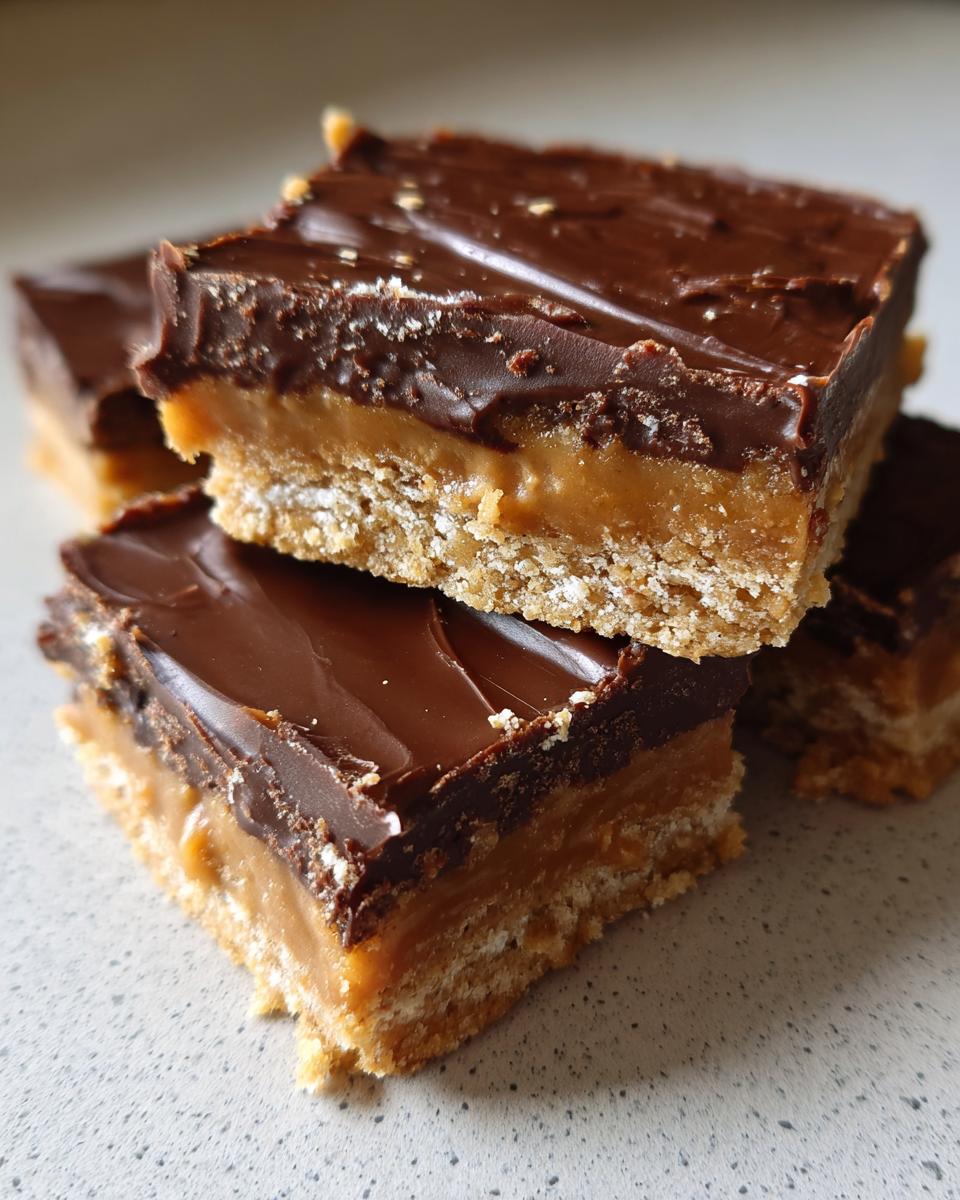
This is where it all comes together! In a microwave-safe bowl, combine the 1 1/2 cups of chocolate chips and that last 1/4 cup of peanut butter. Microwave in 30-second intervals, stirring well after each one, until it’s melted and completely smooth. You can also do this over a double boiler if you prefer, or use a method that gets you a gooey chocolate finish! Once it’s silky smooth, carefully pour this incredible chocolate mixture over the peanut butter layer. Use a spatula to gently spread it out to cover the entire surface, making sure there are no gaps. Ooh, if you’re feeling extra fancy, you could even swirl in a little more peanut butter on top for a marbled effect, kind of like these double chocolate wonders!
Chilling for Perfect Texture
Here’s the crucial part for getting that perfect texture without any baking: chilling! Carefully place your pan in the refrigerator for at least 1-2 hours, or until the chocolate topping is completely firm. This step is non-negotiable for letting all those flavors meld and for the bars to set up so you can cut them cleanly. You’ll know they’re ready when the chocolate is hard to the touch and doesn’t give easily.
Tips for Success with This Dessert That Requires No Baking
Now that you’ve got the basic idea, let’s talk about making these no-bake bars absolutely perfect every single time. It’s honestly hard to mess these up because, well, this dessert requires no baking at all! But like any good recipe, a few little tricks can elevate them from good to absolutely legendary.
First off, the peanut butter. I always use regular, creamy peanut butter for this. If you try using natural peanut butter where the oil separates, your filling might get a little oily or not set up as nicely. Just give it a good stir before measuring! And about those chocolate chips – don’t be afraid to mix them up! I’ve used milk, semi-sweet, and dark, and they’re all fantastic. You could even toss in some white chocolate chips or use a blend for a different twist.
For the crust, pressing it down really firmly is your best friend. It makes sure you have a solid base that holds everything together when you slice into it. If you’re feeling adventurous, you could even try using crushed Nutter Butter cookies for the crust instead of graham crackers – talk about a flavor explosion! Oh, and if cutting gets tricky, warm your knife slightly under hot water, wipe it dry, and make your cuts. It makes a world of difference for clean slices. For more fun peanut butter ideas, check out these 5-ingredient peanut butter brownies – another one that’s super easy!
Variations to Elevate Your No-Bake Creation
Okay, so you’ve mastered the classic, but what if you’re feeling a little… extra? The beauty of these no-bake bars is how easily you can dress them up! Since this glorious dessert requires no baking at all, adding extras is a breeze. My absolute favorite variation? I love to swirl in a tablespoon or two of creamy peanut butter right into the melted chocolate topping before I pour it. It makes those pretty marbled patterns and doubles down on the peanut butter flavor. Yum!
But that’s not all! You could swap out the semi-sweet chocolate chips for dark chocolate for a richer taste, or even use milk chocolate if you prefer things sweeter. Want some crunch? Sprinkle some chopped peanuts or even mini M&Ms on top of the chocolate before it sets. And a tiny splash of vanilla extract or even a bit of almond extract in the peanut butter layer can add a whole new dimension. These little tweaks make the recipe totally your own while keeping that same awesome no-bake magic. For some other fun bar ideas, check out these turtle bars – they’re a different kind of delicious!
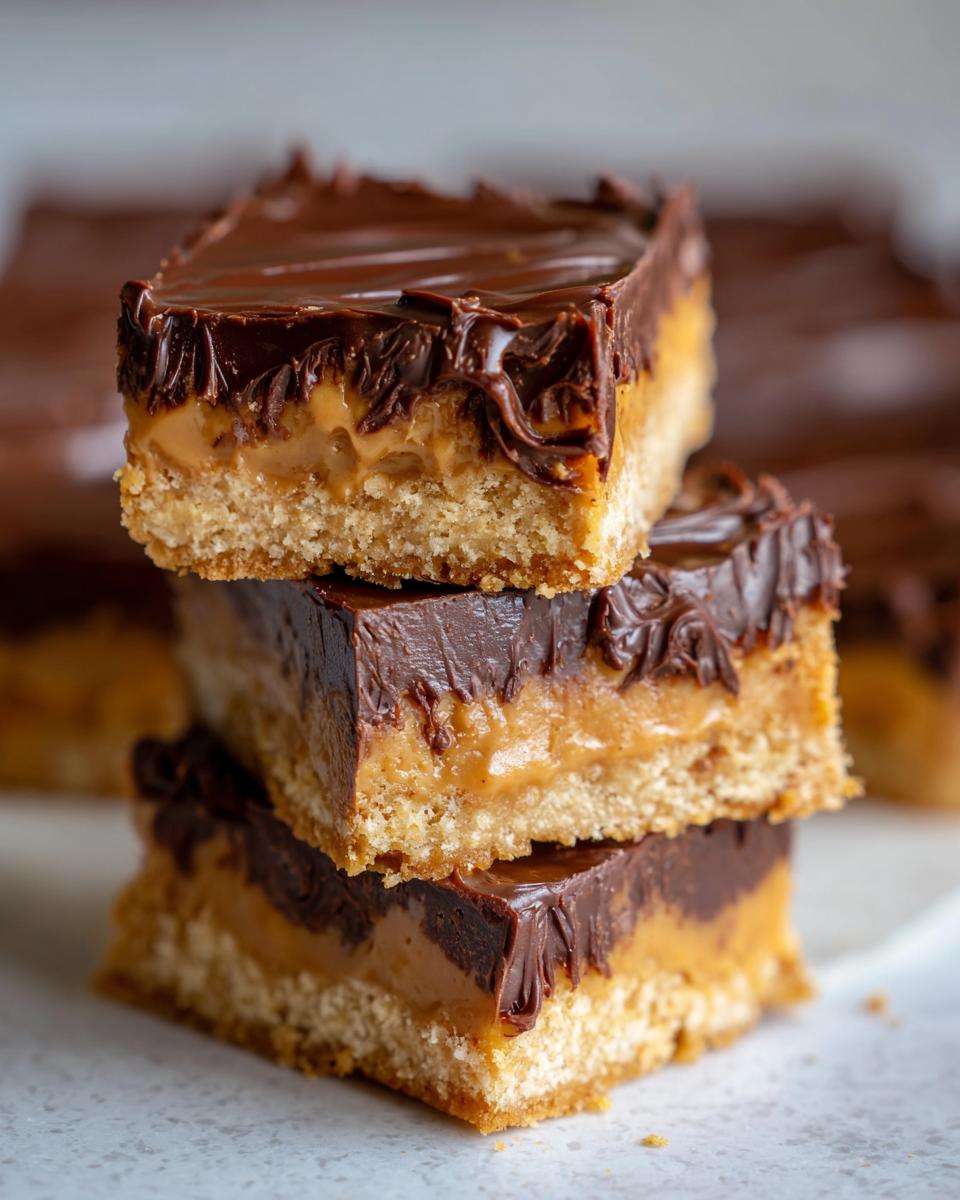
Serving and Storing Your No-Bake Masterpiece
Alright, the hardest part is over – you’ve resisted eating the whole pan! Now, it’s time to slice and serve these beauties. For those super clean cuts, and I learned this trick ages ago, use a really sharp knife. Before you cut, run it under hot water for a few seconds, then wipe it completely dry with a paper towel. One clean slice per time! Just repeat as needed, re-warming and drying the knife between cuts if you’re going for that perfectly Instagram-worthy look. Cut them into squares, rectangles, whatever shape your heart desires!
Now, for storage. Because of the chocolate topping, these bars are best kept in the refrigerator. Pop them into an airtight container and they’ll stay delicious for about a week. If you wanted to freeze them, you absolutely can! Just make sure they’re all cut up, wrap them well in plastic wrap and then foil, and they should be good in the freezer for a couple of months. Just let them thaw on the counter for about 15-20 minutes before you dig in.
Frequently Asked Questions About This Dessert That Requires No Baking
Got questions about these amazing bars? You’re in the right place! Since this dessert requires no baking at all, people often wonder about a few things to make sure they get the best results. I’ve gathered some of the most common ones here for you! For more ideas on no-bake treats, check out these no-bake peanut butter oat cups!
Can I use crunchy peanut butter in these bars?
You absolutely can! If you love a bit of texture, crunchy peanut butter works great. Just know that it might make the peanut butter layer a little less smooth, but that little bit of crunch is pretty delicious. For the topping, I still recommend using regular peanut butter so it melts nice and smooth.
How long do these no-bake bars last?
Because they’re so easy to make, they tend to disappear quickly! But if you manage to have leftovers, they’ll keep just fine in an airtight container in the refrigerator for about a week. They really hold up well!
Can I freeze these no-bake bars?
Yes, you can totally freeze them! It’s a great way to make a batch ahead of time. Just make sure they’re completely firm, then cut them into squares. Wrap each square well in plastic wrap, then pop them into a freezer-safe bag or container. They should be good in the freezer for about 2-3 months. Just let them thaw on the counter for about 15-20 minutes before you dig in.
What if I don’t have graham crackers?
No graham crackers? No problem! You can use crushed vanilla wafers, shortbread cookies, or even digestive biscuits for the crust. Just measure them out the same way – one cup of crumbs should do the trick!
Can I make these bars nut-free?
To make these nut-free, you’d need to swap out the peanut butter. Sunflower seed butter is a great alternative and works really well in both the filling and the chocolate topping. Just make sure to use a creamy version for the best texture.
Nutritional Estimate for This No-Bake Dessert
Just a little heads-up: the nutrition info for these amazing bars is an estimate, of course! It can totally change depending on the brands you use and exactly how you measure things. But generally, you’re looking at around 250 calories per bar, with about 18g of fat, 20g of carbs, and 4g of protein. Enjoy them guilt-free – they’re worth every bite!
Print
Detox Cabbage & Carrot Soup
- Total Time: 45 min
- Yield: 6 servings 1x
- Diet: Vegetarian
Description
A light and nourishing soup packed with vegetables to support your body’s natural detoxification processes.
Ingredients
- 1 tablespoon olive oil
- 1 large onion, chopped
- 2 cloves garlic, minced
- 1 teaspoon grated fresh ginger
- 1 pound cabbage, shredded
- 1 pound carrots, sliced
- 6 cups vegetable broth
- 1 teaspoon dried thyme
- Salt and black pepper to taste
Instructions
- Heat olive oil in a large pot over medium heat. Add onion and cook until softened, about 5 minutes.
- Add garlic and ginger and cook for 1 minute more until fragrant.
- Stir in cabbage and carrots.
- Pour in vegetable broth and add thyme. Bring to a boil, then reduce heat and simmer for 20-25 minutes, or until vegetables are tender.
- Season with salt and pepper to taste.
Notes
- For a smoother soup, you can blend a portion of it before serving.
- Add a squeeze of lemon juice before serving for extra brightness.
- Prep Time: 15 min
- Cook Time: 30 min
- Category: Soup
- Method: Stovetop
- Cuisine: General
Nutrition
- Serving Size: 1.5 cups
- Calories: 120
- Sugar: 10g
- Sodium: 450mg
- Fat: 3g
- Saturated Fat: 0.5g
- Unsaturated Fat: 2.5g
- Trans Fat: 0g
- Carbohydrates: 20g
- Fiber: 5g
- Protein: 3g
- Cholesterol: 0mg
Keywords: detox soup, cabbage soup, carrot soup, vegetable soup, healthy soup, cleansing soup, light soup