

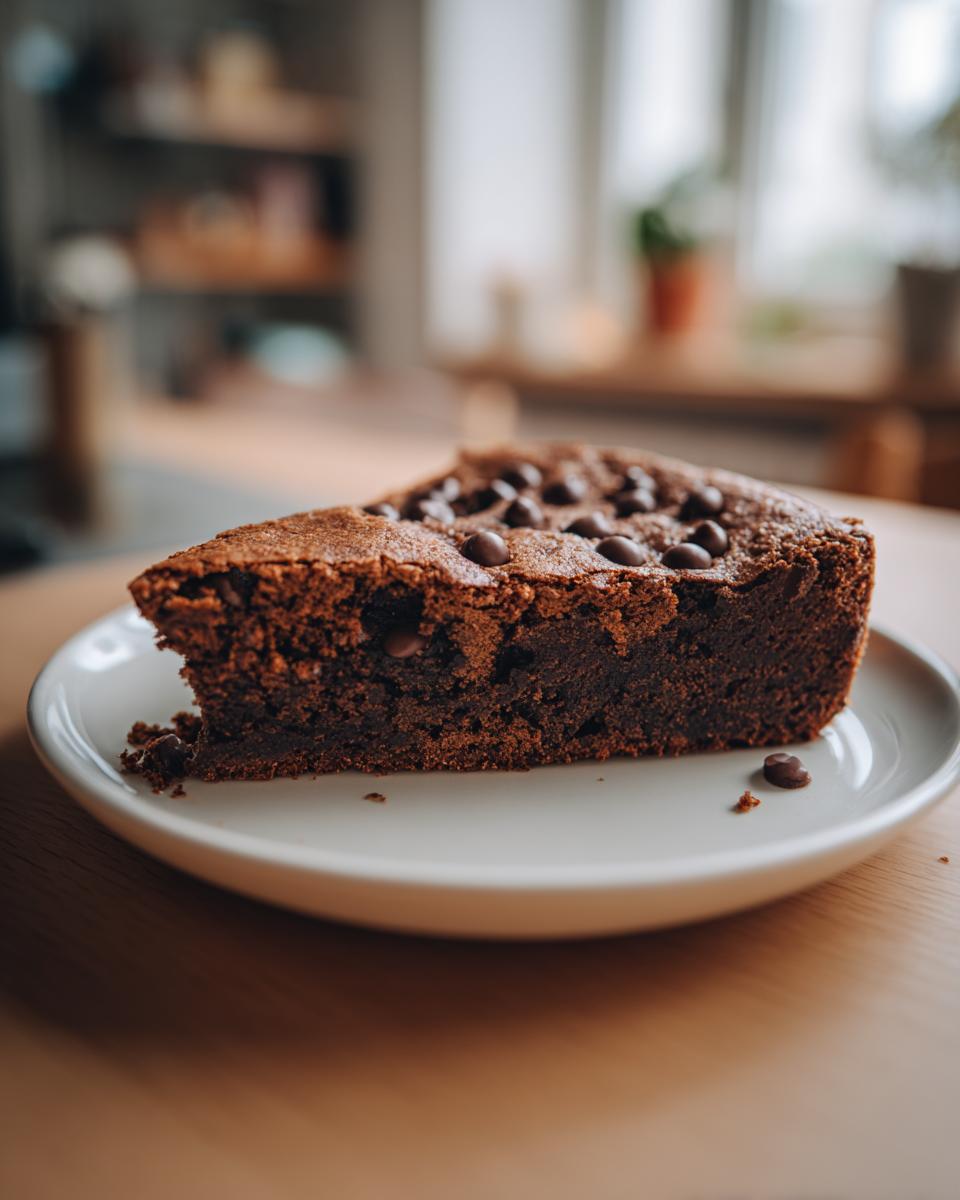
Oh my goodness, get ready, because I’m about to share a recipe that truly lives up to its name: This Dessert Is Almost Too Good to Share! Seriously, I’ve made this for parties, family dinners, and even just random Tuesday nights, and it vanishes like magic every single time. It’s that perfect balance of gooey, chocolatey goodness that just melts in your mouth. It reminds me so much of my childhood, those special treats we’d only get on rare occasions. The best part? It’s ridiculously easy. You won’t believe something so incredibly delicious can come out of your kitchen with so little fuss. Trust me, prepare for requests for seconds (and maybe even thirds!). If you’re looking for something foolproof and utterly decadent, this is it. You might even want to hide a slice for yourself before anyone else discovers it! For more incredibly gooey chocolate recipes, you know where to look!
Why This Dessert Is Almost Too Good to Share
Honestly, what’s not to love about this dessert? It hits all the right notes, and then some!
- Super Simple: You can whip this up in minutes, making it perfect for when you need a treat *now*.
- Decadently Delicious: That rich chocolate flavor and gooey texture? Pure heaven.
- Crowd-Pleaser: Everyone, and I mean *everyone*, adores this. It’s a guaranteed hit for birthdays, holidays, or just because.
- Versatile: Serve it warm with ice cream, or enjoy it on its own. It’s a winner either way!
Gather Your Ingredients for This Dessert Is Almost Too Good to Share
Alright, let’s get our mise en place! The beauty of this recipe is how it uses simple pantry staples to create something truly magical. You probably have most of this stuff already! For our chocolatey masterpiece, you’ll need:
- 1 cup all-purpose flour – I like to sift mine, it just makes for a smoother batter, you know?
- 1/2 cup granulated sugar – gives it that perfect sweetness without being overpowering.
- 1/4 cup unsweetened cocoa powder – use a good quality one if you can, it really makes a difference in that deep chocolate flavor.
- 1/2 teaspoon baking powder – our little lifter-upper!
- 1/4 teaspoon salt – just a pinch to balance all that sweetness.
- 1/2 cup milk – any kind will do, really. Whole milk makes it a little richer, though!
- 1/4 cup vegetable oil – this is key for that super moist texture.
- 1 teaspoon vanilla extract – the classic flavor enhancer. Never skip the vanilla!
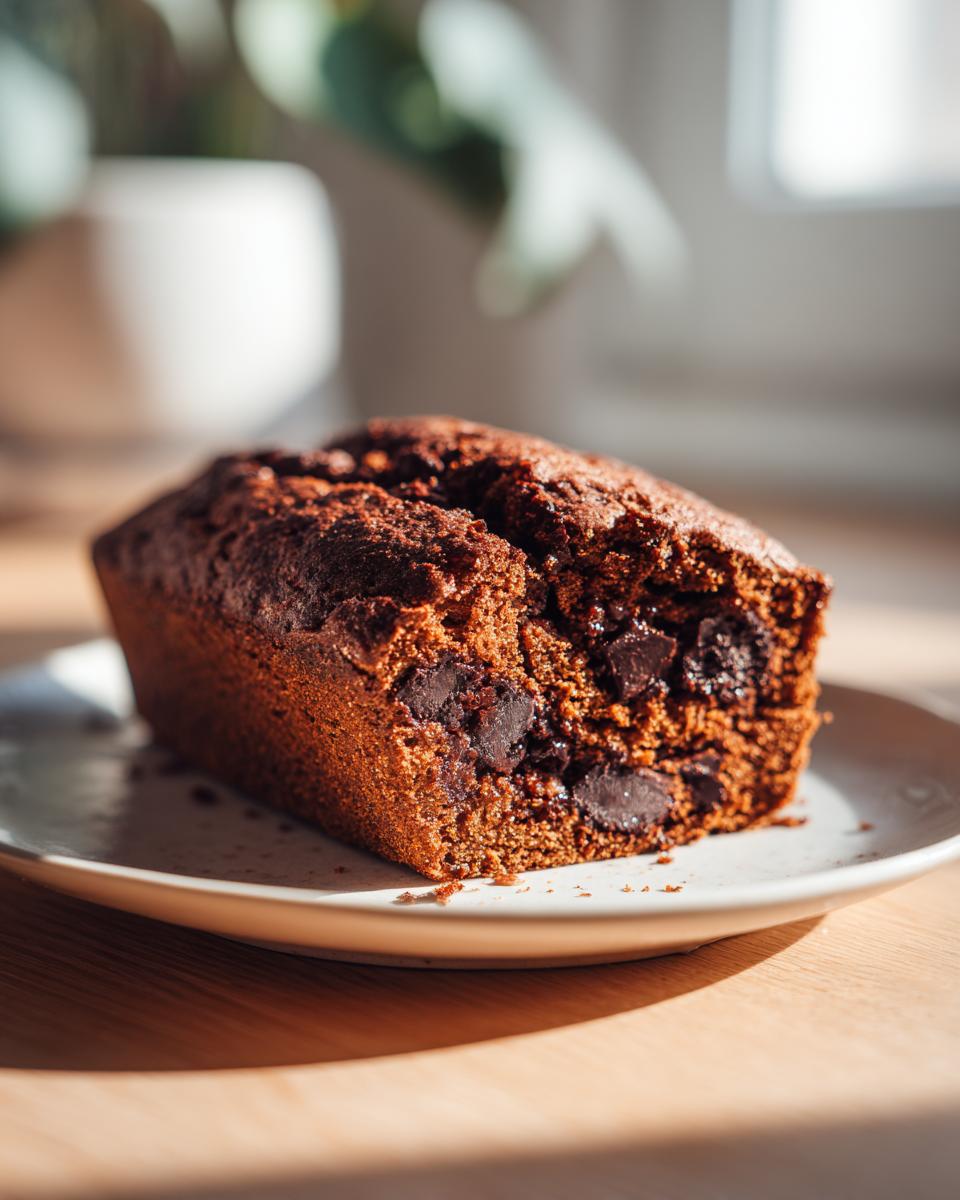
- 1/2 cup chocolate chips – milk, semi-sweet, dark, whatever your heart desires! I usually go for semi-sweet. For more classic chocolate chip cookie vibes, use those!
That’s it! See? So easy. Let’s get mixing!
Step-by-Step Guide to Making This Dessert Is Almost Too Good to Share
Alright, let’s get this show on the road! Making this dessert is honestly one of the easiest things you’ll do in the kitchen all week. It’s so straightforward, you’ll wonder why you ever bothered with complicated recipes before. Just follow these simple steps and get ready for a treat that’ll make everyone happy. If you’ve ever made triple chocolate mousse cake or just love a good old chocolate chip cookie, you’re going to fly through this. Let’s go!
Preparation and Mixing
First things first, preheat your oven to 350°F (175°C). This is super important so your dessert bakes evenly, no cold spots! Grab a medium-sized bowl and whisk together your dry ingredients: the flour, granulated sugar, unsweetened cocoa powder, baking powder, and that little pinch of salt. Give it a good whisk to make sure everything is nicely combined so you don’t end up with pockets of flour or baking powder. Then, pour in your wet ingredients – the milk, vegetable oil, and that lovely splash of vanilla extract. Stir everything together until it’s just combined. Seriously, don’t go crazy mixing it – as soon as you don’t see any dry streaks, stop! Overmixing can make your dessert tough, and we want it perfectly tender.
Baking and Cooling
Now for the best part – pouring that glorious batter into your greased baking dish. I usually give my dish a quick spray with baking spray or a light coat of butter and flour. Once it’s in, it’s time for the oven! Bake it for about 20 to 25 minutes. You’ll know it’s ready when a toothpick inserted right into the center comes out clean. No wet batter clinging to it, just clean! My trick is to give it a little jiggle after the toothpick test – if the edges seem set and slightly pulled away from the pan, you’re probably good to go. Let it cool for a few minutes in the pan before diving in. Letting it cool slightly makes it easier to serve and lets those flavors meld together.
Tips for Making This Dessert Is Almost Too Good to Share Perfect
Okay, so you’ve got the basic recipe down, which is fantastic! But if you’re like me and want to take this dessert from ‘really good’ to ‘OMG, I need the recipe NOW,’ here are a few little tricks I’ve picked up along the way. These aren’t complicated, but they make a surprising difference. You can even double up the chocolate if you’re feeling extra adventurous! And if you ever want to try a different flavor profile, something like caramel apple fudge is a great departure, but for this one, stick to these tips!
- Quality Counts: Seriously, use the best cocoa powder you can find. It’s the star here! Even for the chocolate chips, a good semi-sweet or dark chip really elevates the flavor compared to super cheap ones.
- Don’t Overmix: I know I said it before, but it bears repeating! Overmixing develops gluten, which can make your dessert tough instead of tender and fudgy. Stop mixing as soon as everything is just combined.
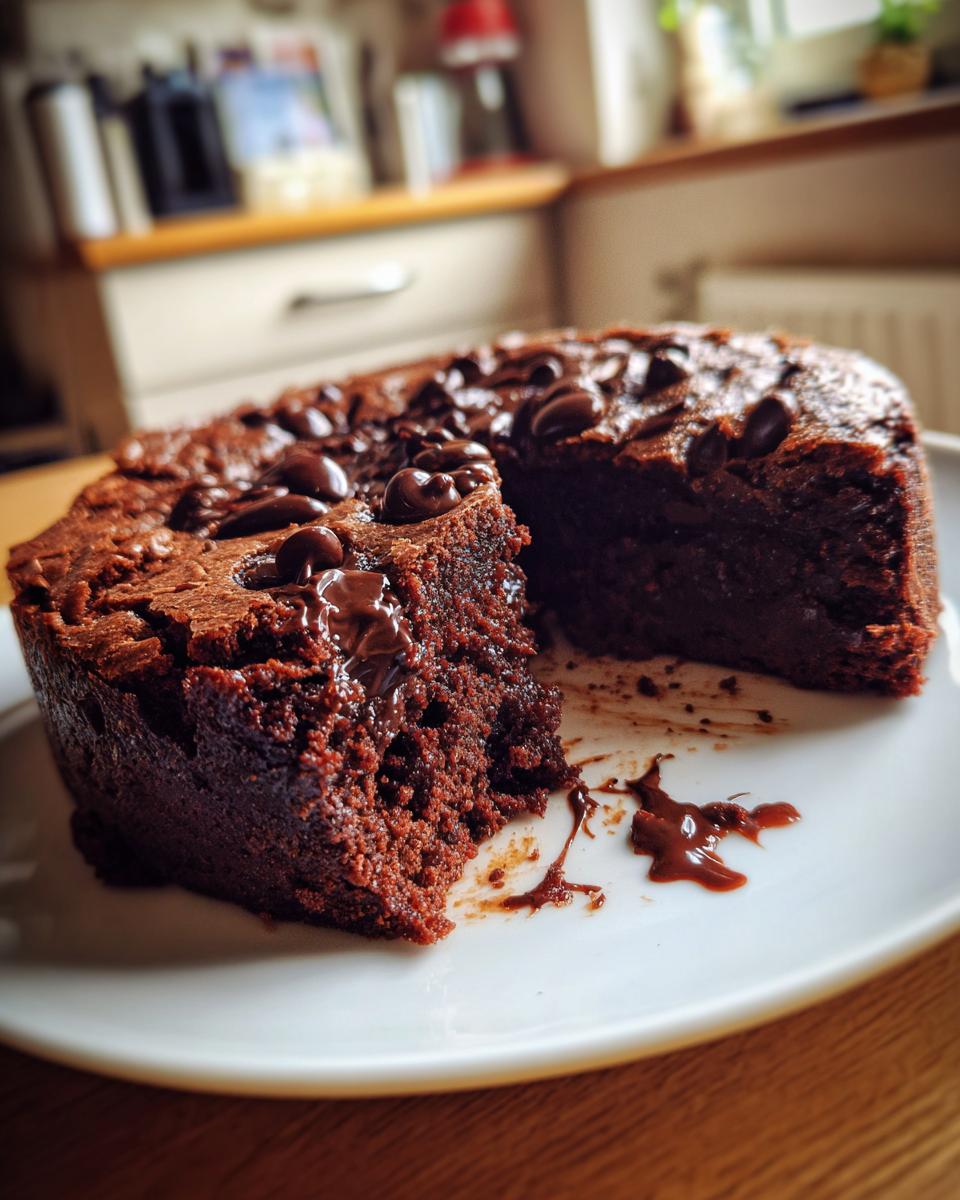
- Warm Serve is Best: While it’s still good at room temp, serving this slightly warm is pure magic. It makes it extra gooey and luscious. If it cools down too much, a quick 10-15 seconds in the microwave works wonders.
- Add-Ins: Feeling creative? Toss in a handful of chopped nuts, a swirl of peanut butter, or even some extra chocolate chips if you’re a true chocoholic!
Serving and Storage Suggestions
This dessert is truly at its best when served warm – that’s when it’s extra gooey and utterly irresistible! I love serving a generous slice with a scoop of vanilla bean ice cream; the contrast of warm chocolate and cold creamy goodness is just divine. Sometimes, a simple dusting of powdered sugar is all it needs, but if you want to go all out, a drizzle of vanilla bean creme brulee sauce or a dollop of whipped cream makes it extra special.
Leftovers? What leftovers?! Honestly, it usually disappears fast! But if you happen to have some, just pop it into an airtight container at room temperature for a day or two. If it gets a bit firm, a quick 10-second zap in the microwave will bring back that lovely gooeyness. Enjoy every last crumb!
Frequently Asked Questions About This Dessert Is Almost Too Good to Share
Got questions? I’ve got answers! This recipe is pretty foolproof, but it’s always good to have a little extra guidance. Here are some things folks often ask me:
Can I make this dessert ahead of time?
Yep, you totally can! This dessert is pretty forgiving. You can bake it a day ahead of time and store it covered at room temperature. It’s still delicious! If it cools down completely, just give it a quick warm-up in the microwave for about 10-15 seconds before serving to get it nice and gooey again.
What are good substitutions for vegetable oil?
If you’re out of vegetable oil, don’t sweat it! You can absolutely use canola oil, melted coconut oil, or even a mild-flavored olive oil in a pinch. If you’re feeling really decadent, you could even try melted butter, though it might change the texture just a *tiny* bit, making it a little less super moist. But honestly, any of those will work great!
How do I know when the dessert is perfectly baked?
The best way is the toothpick test! Gently insert a toothpick or a thin knife right into the center of the dessert. If it comes out clean, with no wet batter clinging to it, it’s ready! You might see a few moist crumbs clinging, which is perfectly fine and actually what we want for that gooey texture. If there’s still wet batter, give it another 2-3 minutes in the oven and check again.
Nutritional Information
Now, let’s talk numbers! Please keep in mind these are just estimates, because, you know, baking is an art and not an exact science. The exact values can change a little depending on the exact brands of ingredients you use, especially those chocolate chips!
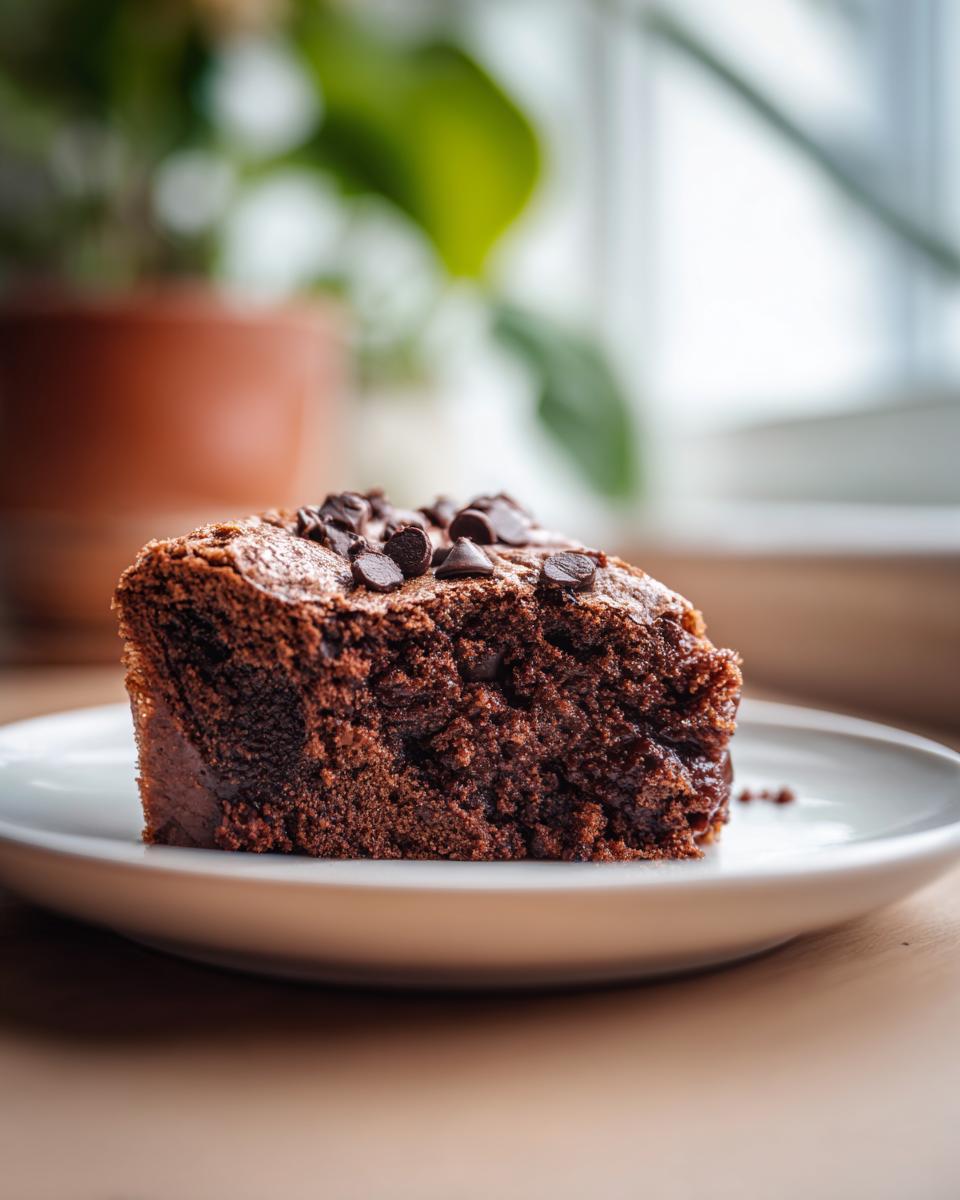
- Serving Size: 1 slice
- Calories: Roughly 250
- Sugar: Around 25g
- Fat: About 12g
- Protein: Around 4g
- Carbohydrates: Approximately 35g