
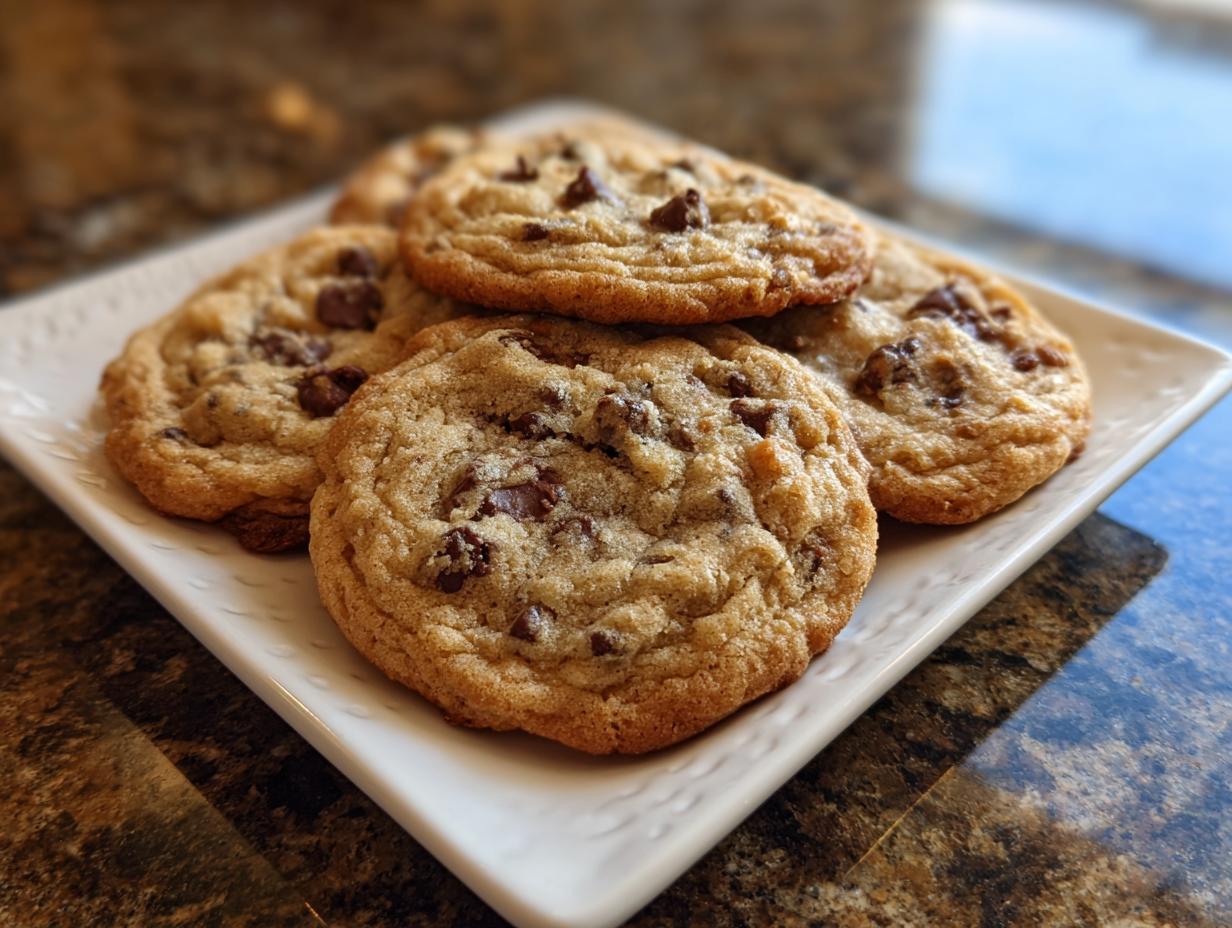
Oh, you know those smells that just hit you right in the feels? The ones that instantly zap you back to being a kid, with no worries in the world? Well, for me, it’s the scent of warm chocolate chip cookies baking. Seriously, this dessert brings back childhood memories like nothing else! My Grandma’s Chocolate Chip Cookies aren’t just cookies; they’re little bites of pure nostalgia. I remember sneaking into the kitchen when I was tiny, just to catch a glimpse of them cooling on the rack, still warm and gooey. Sometimes, I’d ‘accidentally’ knock one off the counter. Oops! It’s funny how such a simple recipe can hold so many precious moments.
Why This Dessert Brings Back Childhood Memories
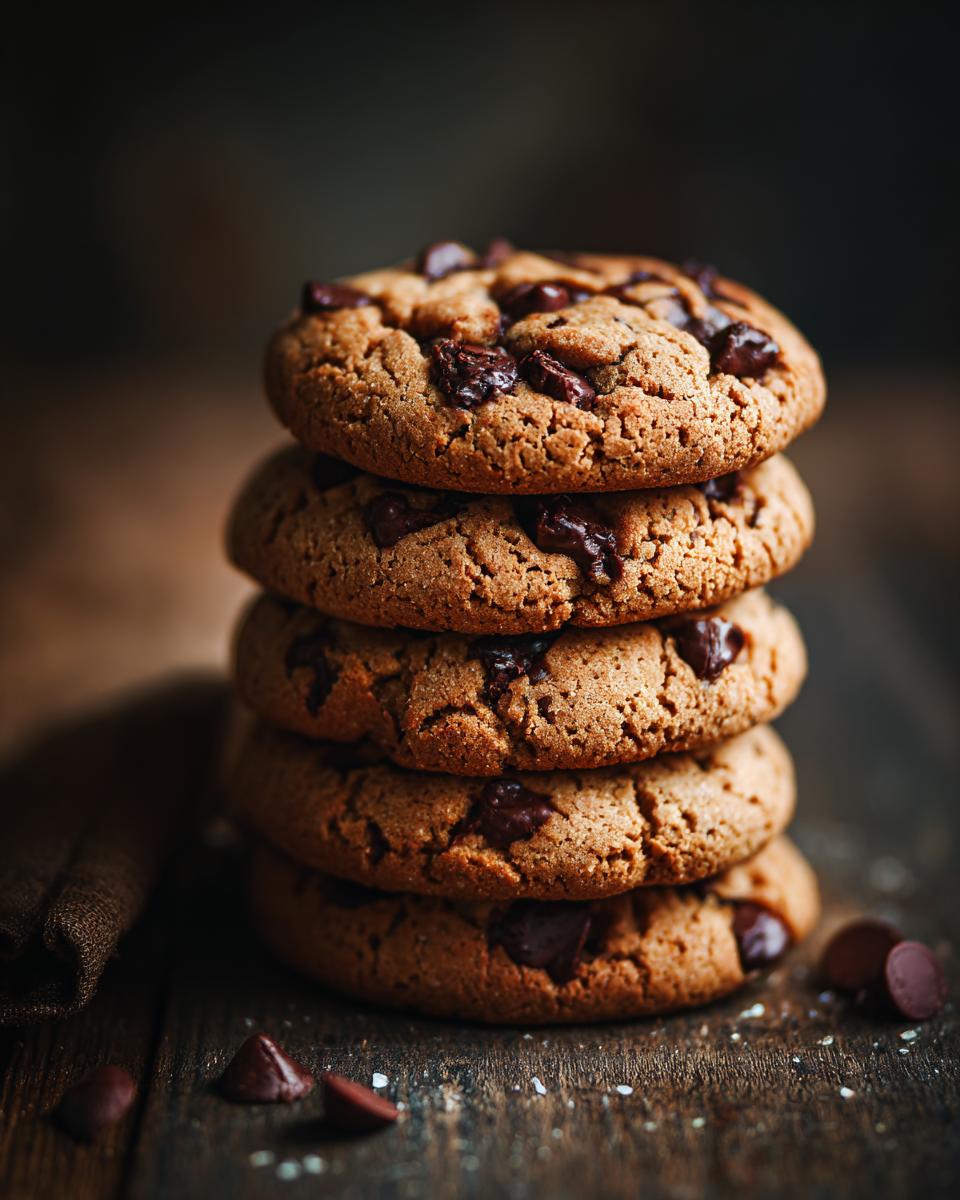
You know, there’s something magical about simple, classic recipes. They’re like a warm hug from the past, aren’t they? Grandma’s Chocolate Chip Cookies are definitely one of those recipes for me. They’re not fancy, they’re not complicated, but *wow*, do they bring back the good old days. That sweet, buttery aroma filling the house? It just screams comfort, home, and those lazy afternoons where the biggest decision was whether to have one cookie or two. This dessert brings back childhood memories because it’s all about those pure, uncomplicated joys. It reminds me of when my biggest worry was finishing my homework before I could sneak one more cookie. It’s funny how a batch of cookies can be a time machine, isn’t it? They connect us to simpler times and the people we loved most.
Grandma’s Chocolate Chip Cookies: The Recipe
Okay, let’s get down to business! This is the heart of it all – Grandma’s famous chocolate chip cookies. You really can’t go wrong with this one, trust me. It’s a straightforward recipe that always turns out perfectly, and the ingredients are super common, so you probably have most of them already. The secret, as always, is using good quality stuff for the best flavor!
Gather Your Ingredients
Here’s what you’ll need to round up. Make sure you’ve got everything ready before you start mixing things up – it makes the whole process so much smoother!
- 1 cup (2 sticks) unsalted butter, softened
- ¾ cup granulated sugar
- ¾ cup packed brown sugar
- 2 large eggs
- 1 teaspoon vanilla extract
- 2 ¼ cups all-purpose flour
- 1 teaspoon baking soda
- 1 teaspoon salt
- 2 cups chocolate chips
Using good quality butter and fresh eggs really makes a difference here. It’s those little things that elevate a good cookie to a truly *great* cookie, you know?
Step-by-Step Baking Instructions
Alright, time to get our hands doughy! Follow these steps, and you’ll have warm, delicious cookies in no time. And remember, the smell alone is worth it!
- First things first, get that oven preheated to 375°F (190°C). It needs to be nice and hot and ready to go.
- Grab a big bowl and cream together your softened butter, granulated sugar, and that lovely packed brown sugar. You want it super smooth and creamy.
- Now, beat in those eggs one at a time. Make sure each one is mixed in before you add the next. Then, stir in the vanilla extract.
- In a separate bowl, like another medium-sized one, give your flour, baking soda, and salt a little whisk together. This just makes sure everything’s distributed evenly.
- Gradually add those dry ingredients to your wet ingredients. Mix them until they’re just combined. Seriously, don’t overmix! We’re not making bricks here.
- Time for the best part: stir in those glorious chocolate chips!
- Okay, grab a cookie sheet – I usually don’t even grease mine. Drop rounded tablespoons of the dough onto the baking sheets. Give them a little space, they’ll spread a bit.
- Bake them for about 9 to 11 minutes. You’re looking for those edges to be a pretty golden brown.
- Let the cookies do their thing on the baking sheets for a few minutes after they come out of the oven. They need a moment to firm up. Then, carefully transfer them to a wire rack to cool completely. Trust me, resisting the urge to eat them straight from the oven is tough but worth it (mostly)!
A little tip for you: if you don’t want your cookies to spread too much, make sure your butter isn’t too soft, and chill the dough for about 30 minutes before baking. It really helps keep those cookies nicely shaped and wonderfully chewy!
Tips for Perfect Chocolate Chip Cookies
Okay, so you’ve got the recipe, but let’s talk about making them *absolutely perfect* every single time. It’s the little things, you know? I’ve learned a few tricks over the years that really make a difference, and I’m happy to share them with you!
First off, and this is a big one: don’t overmix the dough! Once you add the flour, just mix until it’s *barely* combined. A few streaks of flour are totally fine. Overmixing develops the gluten too much, and that makes your cookies tough instead of nice and tender. Nobody wants a tough cookie, right? For more cookie tips, check out my other favorite chocolate chip cookie ideas!
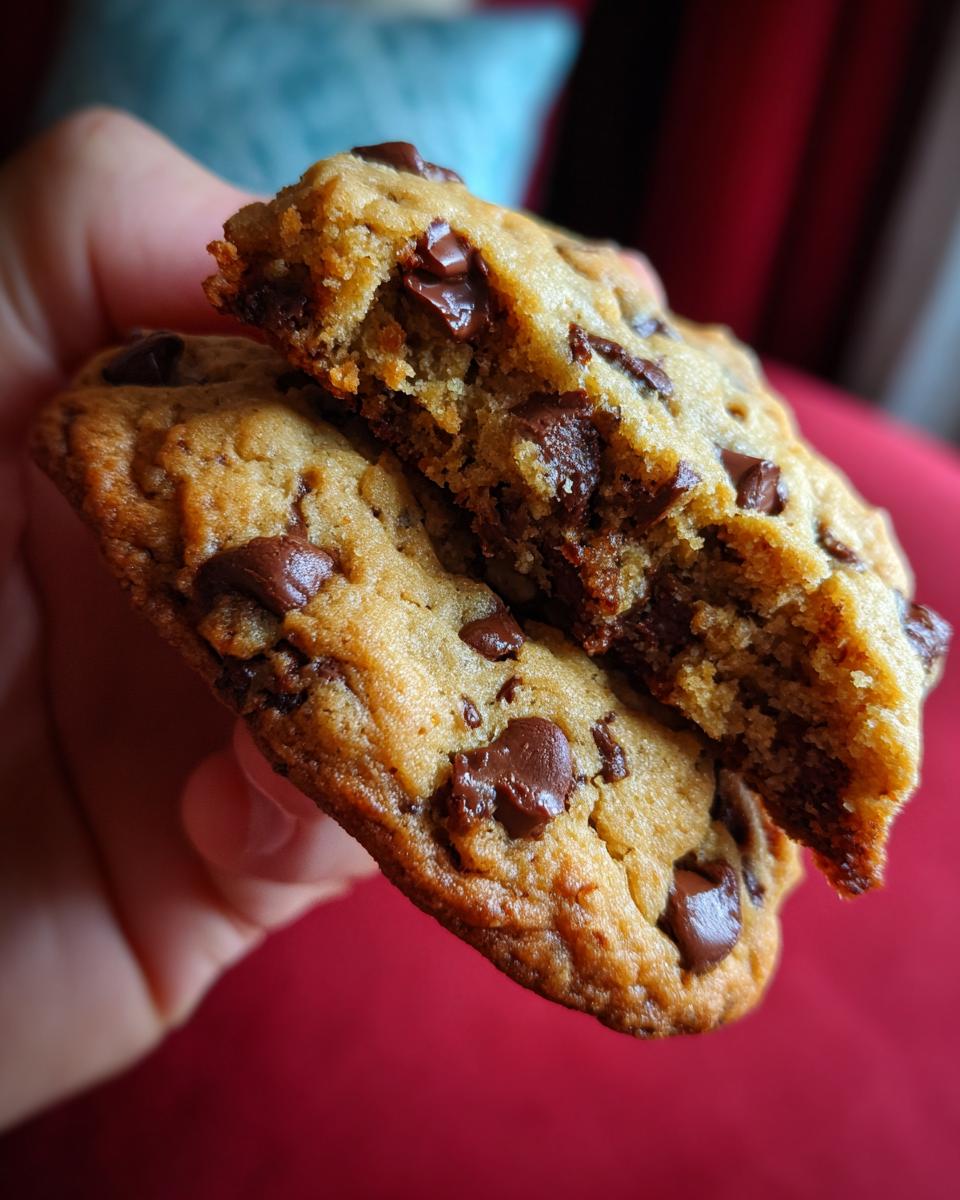
Second, let’s talk about the bake. For that perfect golden brown edge and a soft, chewy center, keep an eye on them! They might look a little underdone when you pull them out, but that’s exactly what you want. They’ll continue to bake a bit on the hot sheet pan. If you want really gooey cookies, pull them out a minute or two earlier.
Oh, and a little variation tip? If you’re feeling adventurous, try adding a pinch of sea salt on top of the dough balls right before they go into the oven. It sounds simple, but it really makes the chocolate flavor pop and adds a lovely little crunch!
Ingredient Notes and Substitutions
So, let’s chat about the ingredients for these amazing cookies. You know, sometimes you might not have exactly what the recipe calls for, or maybe you just want to twist it up a bit! For that classic texture with chewy edges and a soft middle, the combo of dark brown sugar and granulated sugar is key. Brown sugar brings moisture and that lovely caramel flavor, while the white sugar helps them spread out just right.
If you’re out of brown sugar, don’t sweat it! You can use all granulated sugar, but your cookies might be a bit crispier. Or, try mixing granulated sugar with a tablespoon or two of molasses to get that brown sugar taste. And for the chocolate chips? Feel free to go wild! Semi-sweet is classic, but dark chocolate chips would be amazing, or even white chocolate if that’s your jam. If you’re feeling extra fancy, you could even check out some double chocolate recipes for inspiration!
Serving and Storage Suggestions
These cookies are just *begging* to be dunked in a cold glass of milk, aren’t they? That’s my favorite way to enjoy them! They’re also pretty darn good on their own, maybe with a cup of tea.
When it comes to storing them, keep them in an airtight container at room temperature. They’ll stay fresh and yummy for a few days that way. Honestly though, they usually disappear so fast, I haven’t had much trouble keeping them around!
Frequently Asked Questions
Got questions about these little cookies of happiness? I get it! Baking can sometimes feel like a science experiment, but I promise these cookies are pretty foolproof. Let’s clear up anything that might be swirling around in your head!
Can I make the dough ahead of time?
Absolutely! You can totally make the dough and then pop it in the fridge for a day or two. It actually makes the cookies even better because the flavors have more time to meld together. Just let it sit on the counter for about 10-15 minutes before scooping if it’s too stiff.
My cookies spread out too much. What did I do wrong?
Oops! That usually happens when the butter is too soft, or if you use too much sugar. Make sure your butter is softened, not melted – it should still feel a bit cool to the touch. Also, chilling the dough for at least 30 minutes before baking can really help keep them from spreading too thin.
Can I use less chocolate chips? Or more?
Oh, you’re speaking my language! Go ahead and play around with the chocolate chips. If you like a little chocolate in every bite, feel free to add more. If you prefer them less chocolatey, reduce it a bit. Just try not to go too crazy with either extreme, as it can affect the dough a little.
How long do these cookies stay fresh?
As long as they last, that’s how long they stay fresh! Ha! Seriously though, stored in an airtight container at room temperature, they’ll be good for about 3-4 days. They’re best the first day or two, still slightly soft and chewy, but they hold up pretty well.
Nutritional Information
Just a heads-up, these numbers are estimates, like a little ballpark figure! They can totally change depending on the exact brands you use and how big you make your cookies. So, take these with a grain of salt (but not too much, you don’t want salty cookies!).
- Serving Size: 1 cookie
- Calories: 150
- Sugar: 12g
- Sodium: 75mg
- Fat: 8g
- Saturated Fat: 5g
- Carbohydrates: 20g

Slow-Cooker Creamy Tortilla Soup
- Total Time: 4 hours 15 min
- Yield: 6 servings 1x
- Diet: Vegetarian
Description
A simple and flavorful slow-cooker tortilla soup recipe.
Ingredients
- 1 pound boneless, skinless chicken breasts
- 1 (15 ounce) can black beans, rinsed and drained
- 1 (15 ounce) can corn, drained
- 1 (10 ounce) can diced tomatoes and green chilies, undrained
- 1 (4 ounce) can diced green chilies, undrained
- 1 (32 ounce) carton chicken broth
- 1 teaspoon chili powder
- 1 teaspoon cumin
- 1/2 teaspoon garlic powder
- 1/4 teaspoon salt
- 1/4 teaspoon black pepper
- 1/2 cup heavy cream
- 1/4 cup chopped fresh cilantro
- Optional toppings: shredded cheese, sour cream, avocado, tortilla chips
Instructions
- Place chicken breasts in the bottom of your slow cooker.
- Add black beans, corn, diced tomatoes and green chilies, diced green chilies, and chicken broth.
- Stir in chili powder, cumin, garlic powder, salt, and pepper.
- Cover and cook on low for 6-8 hours or on high for 3-4 hours, until chicken is cooked through.
- Remove chicken from the slow cooker and shred it. Return the shredded chicken to the slow cooker.
- Stir in heavy cream and cilantro.
- Serve hot, with your favorite toppings.
Notes
- For a spicier soup, add a pinch of cayenne pepper.
- If you don’t have heavy cream, you can use half-and-half.
- This soup freezes well.
- Prep Time: 15 min
- Cook Time: 4 hours
- Category: Soup
- Method: Slow Cooker
- Cuisine: Mexican-American
Nutrition
- Serving Size: 1.5 cups
- Calories: 350
- Sugar: 8g
- Sodium: 900mg
- Fat: 18g
- Saturated Fat: 9g
- Unsaturated Fat: 9g
- Trans Fat: 0g
- Carbohydrates: 25g
- Fiber: 7g
- Protein: 25g
- Cholesterol: 80mg
Keywords: slow cooker, tortilla soup, creamy, chicken, easy, comfort food