
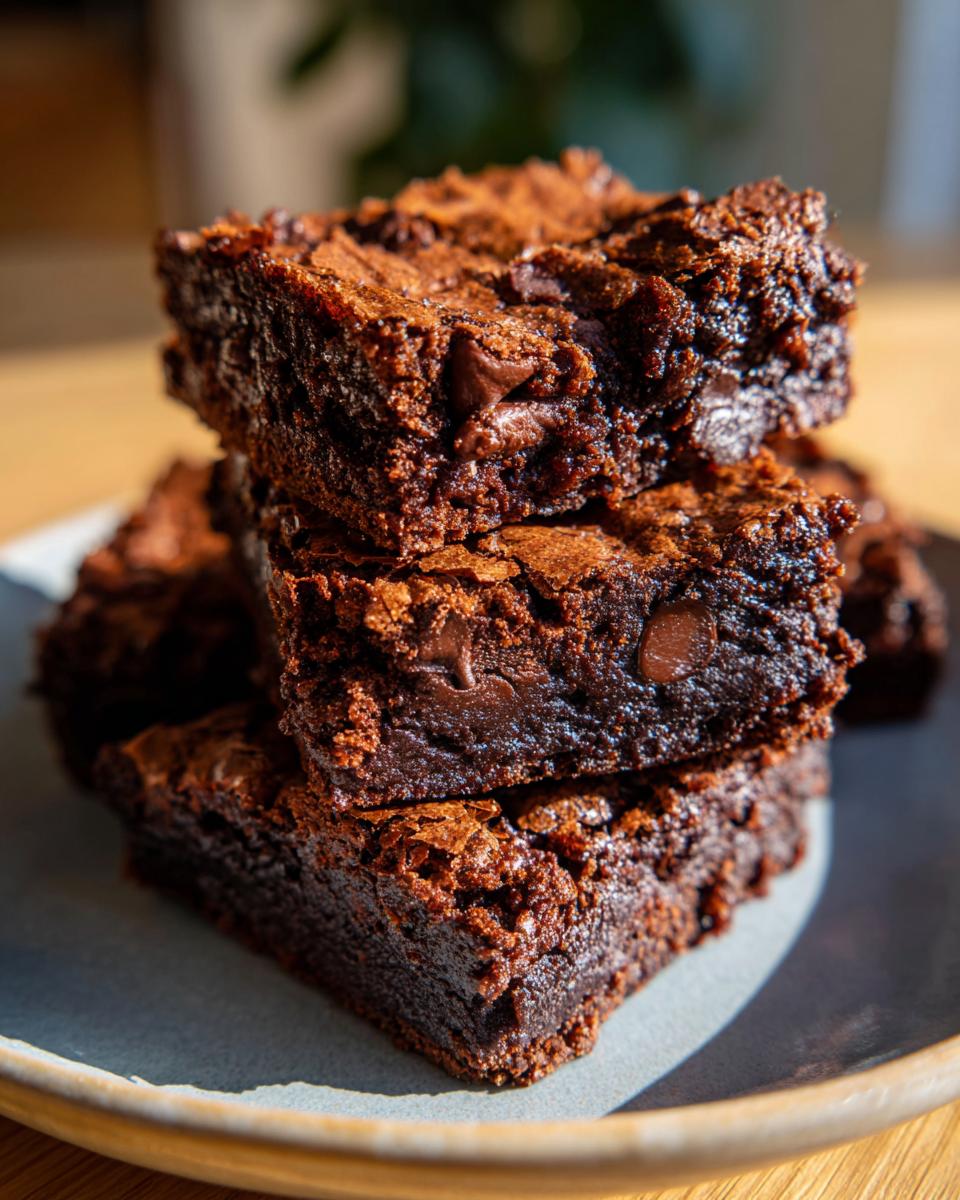
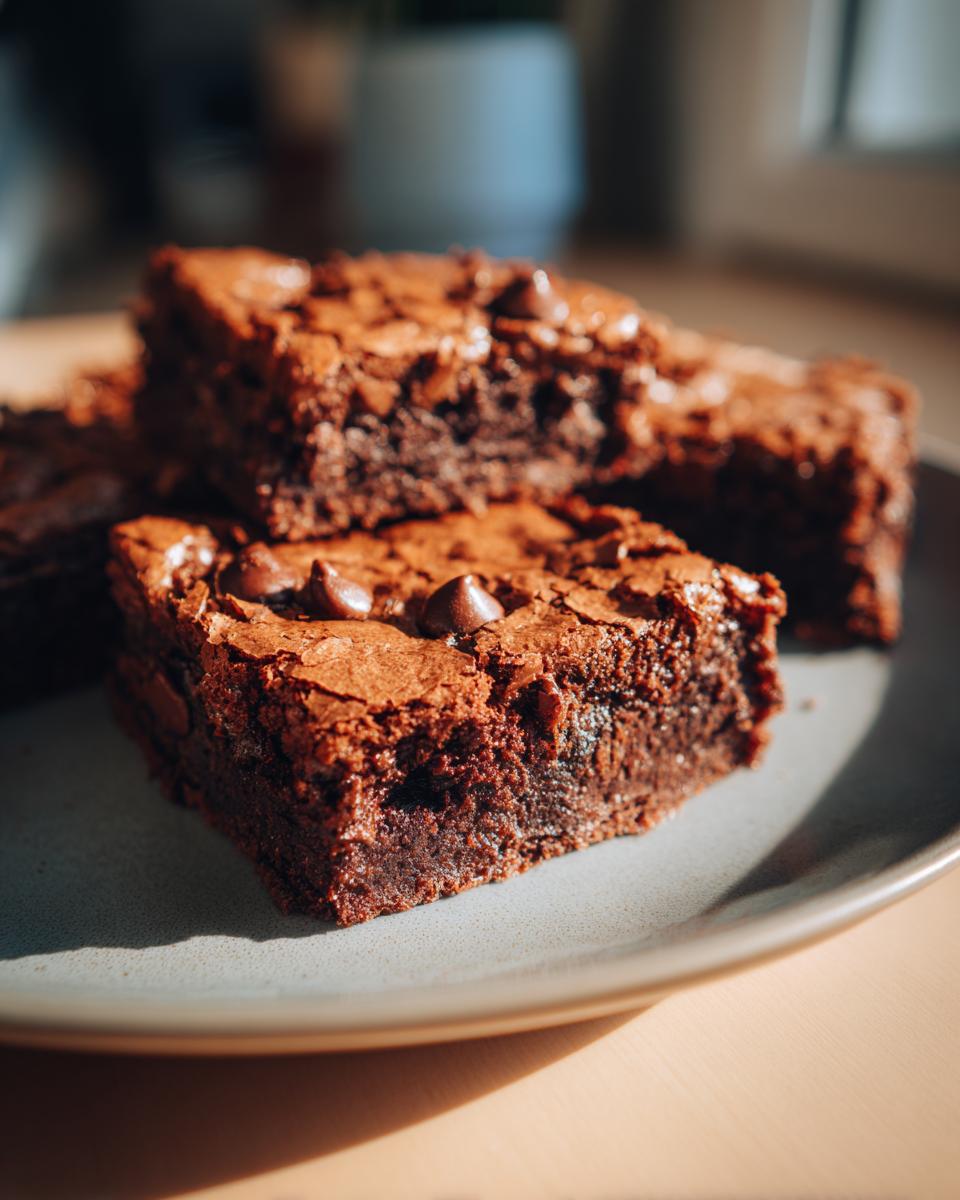
Okay, let’s talk dessert. We all have our favorites, right? But there’s that eternal question: brownies or bars? For the longest time, I was firmly in the brownie camp. Fudgy, rich, chocolatey… perfection. Then, one accidental bake changed everything. I was fiddling with a cookie recipe, things got a little jumbled in my sleepy brain, and *poof* – I ended up with these amazing bars. Trust me when I say, these bars are better than brownies, and I’m so excited to share my little secret with you!
Why These Bars Are Better Than Brownies
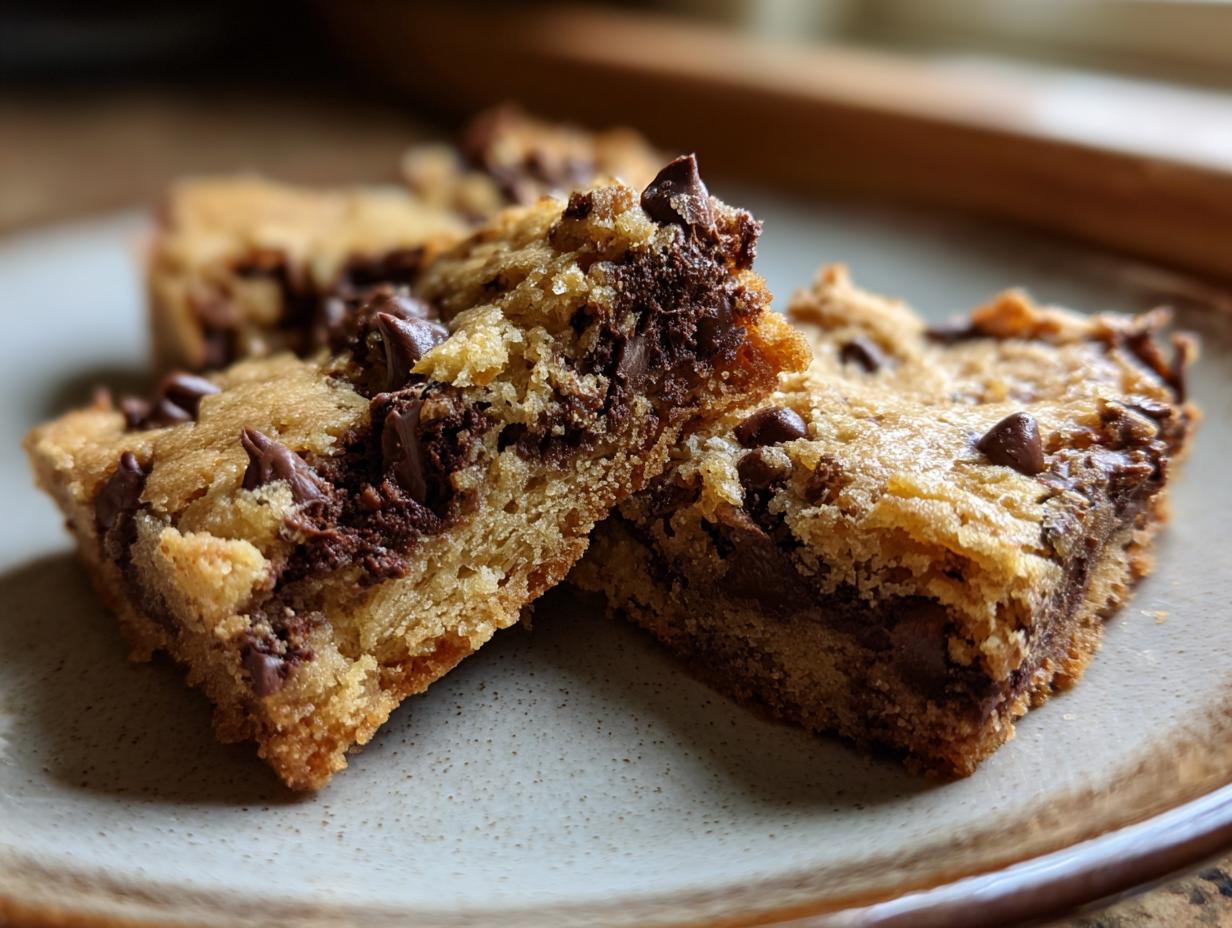
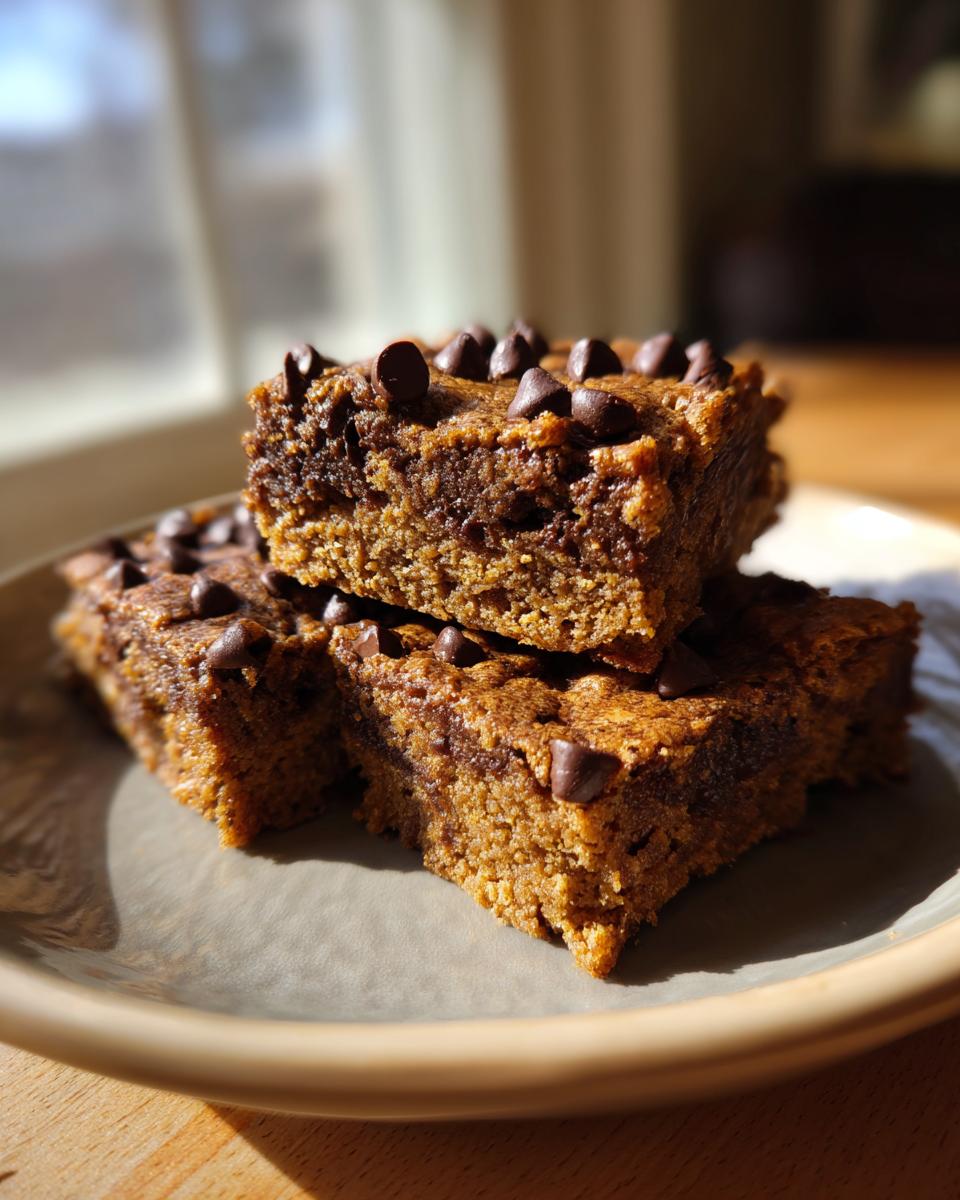
So, what makes these bars the undisputed champions over your average brownie? It’s all about that *perfect* balance! Brownies can sometimes be a bit *too* dense, right? Or sometimes they’re just cakey. My bars hit that sweet spot, offering a texture that’s wonderfully chewy and rich, but with a tenderness that just melts in your mouth. It’s almost like a hybrid – part brownie, part really amazing chocolate chip cookie, but wholly its own thing!
Think about it: the sugars in this recipe, both granulated and brown, caramelize just right during baking. This plus the ratio of butter to flour gives them a fantastic chewy edge with a slightly fudgy interior. You get that deep, satisfying chocolate hit from the chips, of course, but the overall flavor is just so much more complex and satisfying. They’re just… better. More satisfying, more moreish. You’ll see!
Oh, and if you love a good gooey center, you HAVE to check out my Gooey Chocolate Recipe. And for cookie lovers, my Chocolate Chip Cookie recipe is legendary!
Gather Your Ingredients for These Bars Are Better Than Brownies
Ready to whip these up? You’ll want to grab a few things from your pantry and fridge. Make sure your butter is softened – leave it out for a bit, but don’t let it get all melty. For the sugars, we’re using both granulated and packed brown sugar; that brown sugar is key for that chewy texture and deep flavor! You’ll need two large eggs, and a splash of vanilla extract really wakes everything up. Don’t forget your leavening – baking soda and a bit of salt to balance the sweetness. Finally, the magic ingredient: a whole cup of chocolate chips! You can totally use semi-sweet, milk chocolate, or even dark chocolate – whatever makes your heart sing!
Step-by-Step Guide to Making These Bars Are Better Than Brownies
Alright, let’s get baking! This is where the magic really happens, and trust me, it’s so simple. You’ll be amazed at how quickly these come together. Just follow these easy steps and you’ll have a pan of pure happiness in no time! Making these bars is almost as fun as eating them, and way easier than trying to get perfect cookies every single time, though my Chocolate Chip Cookie recipe is a pretty close second!
Preheating and Pan Preparation
First things first, get that oven preheated to 350°F (175°C). While it’s heating up, grab your 9×13 inch baking pan. Give it a good grease and flour – this is super important so they don’t stick! Seriously, don’t skip this, or you’ll have a messy time trying to get them out. It’s like prepping your pan for homemade Krispy Kreme donuts; you want that smooth release!
Creaming the Sugars and Butter
In a nice big bowl, get your softened butter, granulated sugar, and that packed brown sugar all together. Cream them until they’re super smooth and fluffy. I like to use my electric mixer for this part, but a sturdy whisk and some elbow grease work too! It should look light and airy, like a sweet cloud. This step is crucial for that perfect texture.
Incorporating Wet and Dry Ingredients
Now, beat in your eggs, one at a time, making sure each one is mixed in before adding the next. Then, stir in that teaspoon of vanilla extract – yum! In a *separate* bowl, quickly whisk together your baking soda and salt. This makes sure they’re distributed evenly. Now, gradually add this dry mixture to your wet ingredients. Mix them *just* until they’re combined. Seriously, don’t overmix here! Overmixing is the enemy of tender baked goods. We want just enough to bring it all together.
Adding the Chocolate Chips
Here’s the fun part! Gently fold in your cup of chocolate chips. You can use any kind you love. If you’re feeling adventurous, toss in some chopped nuts or even some colorful candy pieces! Just fold them in so you don’t overwork the batter.
Baking and Cooling for Perfect Bars
Spread the batter evenly into your prepared pan. Now, pop it into that preheated oven for about 25 to 30 minutes. You’ll know they’re ready when a toothpick inserted right into the center comes out clean (or with just a few moist crumbs, that’s perfect!). The most crucial step now? Let them cool COMPLETELY in the pan before you even *think* about cutting them. I know, it’s torture! But cutting them while warm means they’ll just crumble. Patience is a virtue, especially with these delicious treats!
Tips for Making These Bars Even Better
You’ve got the basic recipe down, but there are always a few little tricks that can take these bars from *really good* to absolutely unforgettable! I’ve tinkered with this recipe a lot over the years, and a few things truly make a difference. It’s all about treating these amazing ingredients right! For instance, if you adore a chocolate chip cookie, you’ll love these bars even more, check out my Chocolate Chip Cookie recipe for comparison!
Ingredient Quality Matters
Listen, I know we’re just making bars, but using decent ingredients really does shine through. Splurge a little on good quality butter – you can taste the difference it makes in richness. And for the chocolate chips? Go for ones you actually love to eat on their own! Whether it’s a good semi-sweet or a fancy dark chocolate, using chips that are already a favorite will just make these phenomenal.
Creative Mix-In Ideas
While chocolate chips are classic for a reason, don’t be afraid to get a little wild! Chopped pecans or walnuts are fantastic in here – they add a lovely crunch. Or what about a handful of M&Ms or Reese’s Pieces for a fun pop of color and flavor? I’ve even tossed in a pinch of cinnamon with my dry ingredients, and wow, it adds a subtle warmth that’s just *chef’s kiss*! If you’re into caramel, you could even try adding some chopped turtle bar type ingredients!
Frequently Asked Questions About These Bars
Got questions? I’ve got answers! People always ask me about making these bars work with different dietary needs or how to keep them fresh. Don’t worry, they’re pretty forgiving! If you’re a fan of classic chocolate chip goodness, you might want to peek at my Chocolate Chip Cookie recipe too.
Storage and Shelf Life
To keep these bars tasting amazing, store them in an airtight container at room temperature. They’ll stay super fresh and chewy for a good 3-4 days. Honestly, they usually disappear way before that!
Freezing These Bars
Yes, you absolutely can freeze these! Once they’re completely cooled, cut them into bars and wrap each one tightly in plastic wrap, then pop them into a freezer bag. They’ll keep well for up to 3 months. Just thaw them at room temperature when the craving strikes.
Gluten-Free Variations
Want to make these gluten-free? Easy peasy! Just swap out the all-purpose flour for a good quality 1:1 gluten-free baking blend. You might need to bake them a minute or two longer, but the texture will still be fantastic!
Nutritional Information (Estimated)
Now, a little disclaimer: this nutritional info is an estimate, okay? Because we all use different brands of butter, chocolate chips, and even types of flour, the numbers can wiggle around a bit. But generally, one of these glorious bars clocks in around 200 calories. You’re getting about 10g of fat, 28g of carbs with around 20g of that being sugar (hey, it’s dessert!), and about 2g of protein. It’s a perfect little treat to satisfy that sweet craving!
Share Your Creations!
I really hope you give these bars a try! They’re a game-changer, I promise. If you do make them, please, *please* leave a comment below and let me know what you think! Rate the recipe, share your tips, or even tell me about your favorite mix-ins. And if you snap a pic, tag me on social media – I’d absolutely love to see your delicious creations! You can also reach out if you have any questions via my contact page!
Print
Immune-Boosting Turmeric Veggie Soup
- Total Time: 45 min
- Yield: 6 servings 1x
- Diet: Vegetarian
Description
A nourishing and flavorful vegetable soup packed with turmeric for immune support.
Ingredients
- 1 tablespoon olive oil
- 1 large onion, chopped
- 2 carrots, chopped
- 2 celery stalks, chopped
- 2 cloves garlic, minced
- 1 teaspoon ground turmeric
- 1 teaspoon ground ginger
- 1/2 teaspoon cumin
- 6 cups vegetable broth
- 1 cup chopped sweet potato
- 1 cup chopped cauliflower florets
- 1 cup chopped broccoli florets
- 1/2 cup cooked quinoa
- Salt and black pepper to taste
Instructions
- Heat olive oil in a large pot or Dutch oven over medium heat.
- Add onion, carrots, and celery. Cook until softened, about 5-7 minutes.
- Stir in garlic, turmeric, ginger, and cumin. Cook for 1 minute until fragrant.
- Pour in vegetable broth. Add sweet potato and cauliflower. Bring to a boil, then reduce heat and simmer for 15 minutes.
- Add broccoli and quinoa. Cook for another 5-7 minutes, or until broccoli is tender-crisp.
- Season with salt and pepper to taste.
Notes
- For extra flavor, add a squeeze of lemon juice before serving.
- Garnish with fresh parsley if desired.
- Prep Time: 15 min
- Cook Time: 30 min
- Category: Soup
- Method: Stovetop
- Cuisine: Vegetarian
Nutrition
- Serving Size: 1.5 cups
- Calories: 150
- Sugar: 8g
- Sodium: 400mg
- Fat: 4g
- Saturated Fat: 0.5g
- Unsaturated Fat: 3.5g
- Trans Fat: 0g
- Carbohydrates: 25g
- Fiber: 6g
- Protein: 5g
- Cholesterol: 0mg
Keywords: turmeric soup, vegetable soup, immune support, healthy soup, vegan soup, vegetarian soup, turmeric, ginger, anti-inflammatory