
Okay, let’s talk desserts. I love a good brownie, I really do. But if you asked me to pick between a classic brownie and these bars? Oh boy, it’s no contest. Trust me when I say these bars are better than brownies. They’ve got this incredible chewiness that just melts in your mouth, way more depth of flavor than your average brownie, and honestly? They’re just easier to whip up for a crowd. This recipe came about because I was trying to get that perfect hybrid of a chewy cookie and a rich brownie, and after a few tries, I think I nailed it!
Why These Bars Are Better Than Brownies
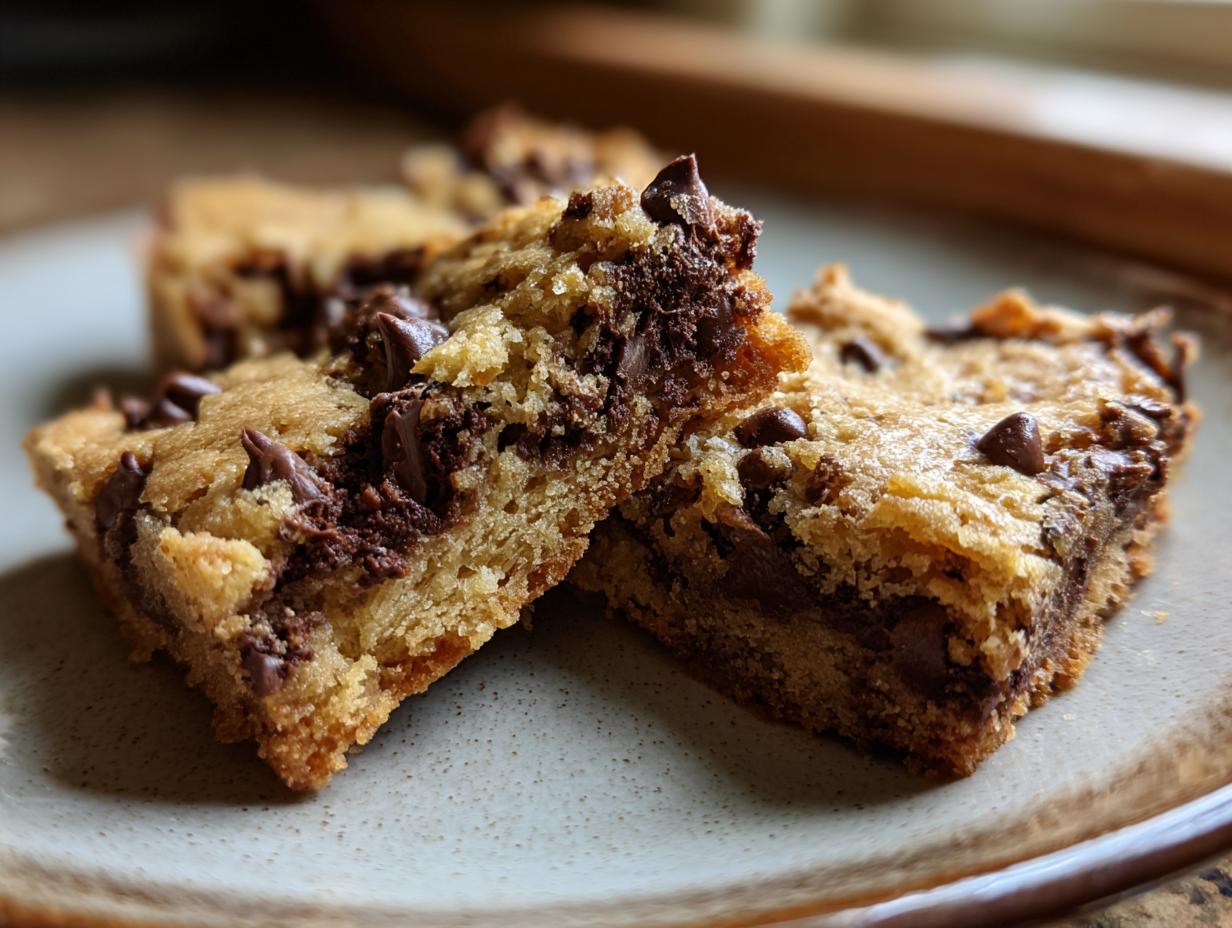
So, the big question is: what makes these bars *actually* better than brownies? It’s a bold claim, I know, but hear me out! First off, the texture. Brownies can sometimes be cakey or just a little too fudgy. These bars hit that perfect sweet spot – they’re chewy, dense, and have this amazing, almost caramel-like chew in every single bite. It’s like they took all the best parts of a chewy chocolate chip cookie and a super rich brownie and fused them together. And the flavor? Oh my gosh. Between the mix of granulated and brown sugar, you get this incredible depth that brownies sometimes lack. Plus, they’re honestly a breeze to make – less fuss, more reward!
Here’s what really sets them apart:
- The Chewy Factor: Seriously, the texture is unreal. They’re substantial but not heavy, with that delightful chew that just makes you want another bite.
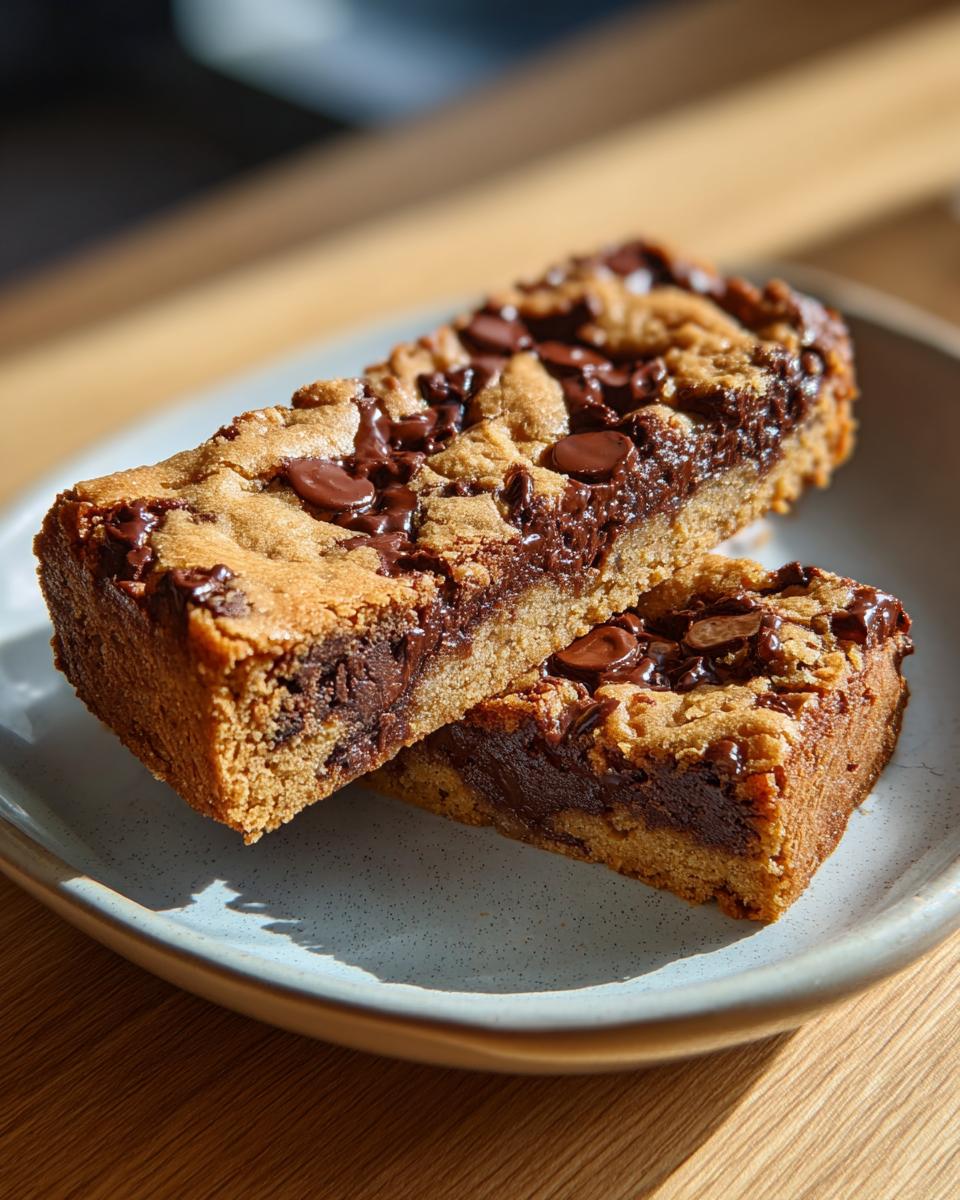
- Deep Chocolate Flavor: The combination of sugars and good quality chocolate chips makes for a richer, more complex chocolate taste than you usually get from a basic brownie.
- Easy Peasy: No complicated melting or double boiling here. You can whip up the batter in minutes and get them into the oven. Perfect for when that chocolate craving hits hard and fast! Check out this gooey chocolate recipe for inspiration on achieving that perfect texture!
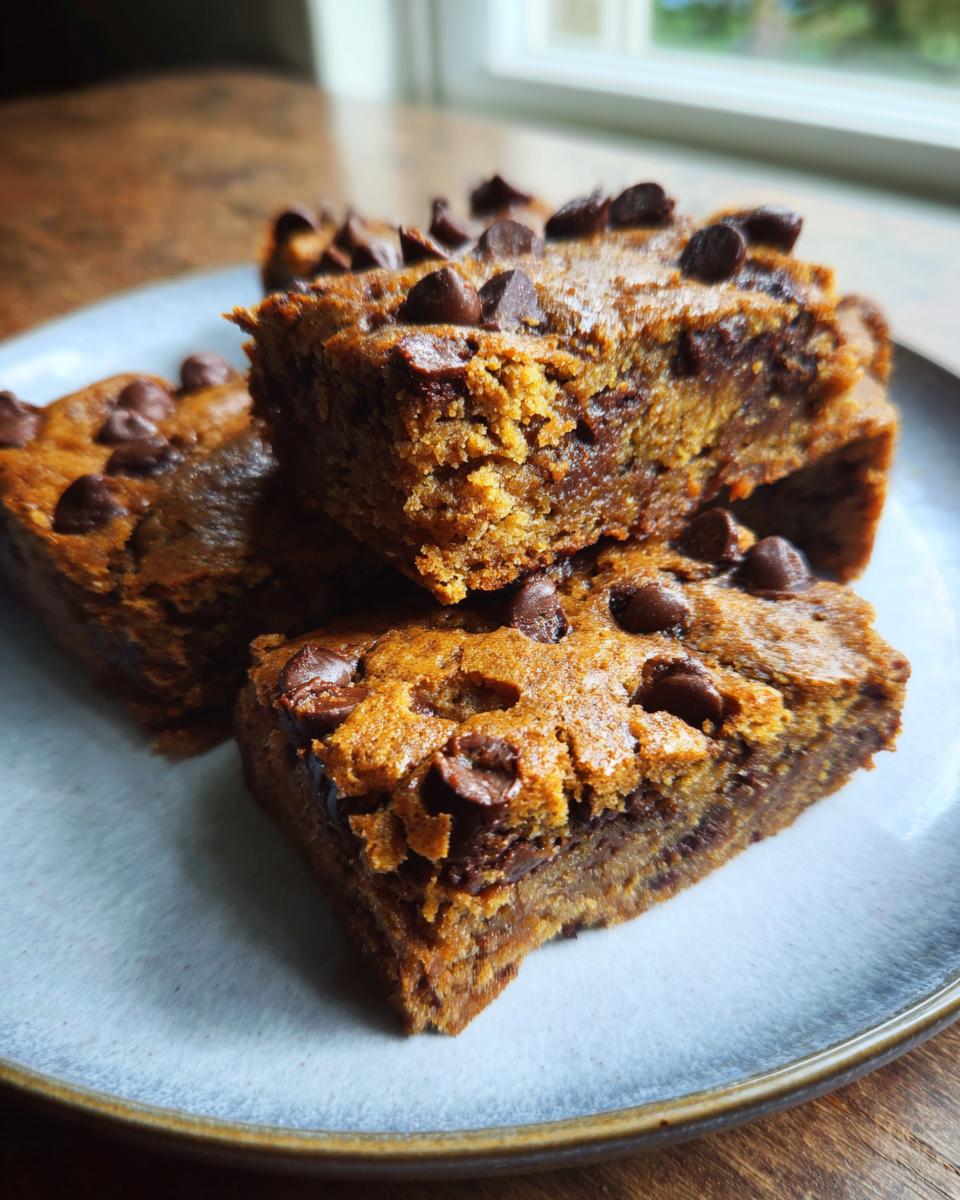
- Versatility: They’re just as good warm from the oven as they are the next day, which you can’t always say for brownies!

Gather Your Ingredients for These Bars Are Better Than Brownies
Alright, let’s get our mise en place ready! To make these bars that are truly better than brownies, you’ll need a few simple things. Make sure your butter is softened – not melted, but soft enough to easily cream. We’re using both granulated and packed brown sugar here, which is key for that amazing chewy texture and deep flavor. You’ll need two large eggs, a teaspoon of vanilla extract for that background warmth, plus your basic baking soda and salt. For the flour, good old all-purpose is perfect. And of course, we need chocolate chips – I’m partial to semi-sweet, but use your favorite kind!
Ingredient Notes and Substitutions
Now, a little secret for you: the mix of sugars is crucial. The granulated sugar helps with structure, while the packed brown sugar brings that irresistible chew and a hint of caramel. If you’re out of all-purpose flour, a good gluten-free baking blend usually works fine, just make sure it contains xanthan gum. As for the chocolate chips, feel free to swap them! Chopped nuts like walnuts or pecans are fantastic, or even some colorful candy pieces if you’re feeling festive. Just a pinch of cinnamon in the dry ingredients is another little magic trick some people love!
Step-by-Step Guide: Making Bars Better Than Brownies
Alright, buckle up, because making these bars is ridiculously easy and totally worth it. First things first, crank up your oven to 350°F (that’s 175°C if you’re using Celsius). While it’s heating up, get a 9×13 inch baking pan ready. A quick grease and a dusting of flour is all you need to make sure these beauties don’t stick. Now, grab yourself a big bowl. We’re going to cream together 1 cup of softened butter with 1 cup of granulated sugar and 1 cup of packed brown sugar. Just beat ’em until they’re nice and smooth – you want it looking creamy and luscious.
Next up, time for the eggs! Add them in one at a time, beating after each one. Then, stir in a teaspoon of vanilla extract. That little splash of vanilla really makes everything sing, trust me. In a separate bowl, whisk together your baking soda and salt. Now, gradually add these dry ingredients to your wet ingredients in the big bowl. Mix things up until they’re *just* combined. Seriously, don’t overmix here! Overmixing is the enemy of chewy bars. Just stir until you don’t see any more dry flour streaks.
The best part? Stirring in a whole cup of chocolate chips! I usually just dump them right in and give it a few gentle folds. Then, spread this glorious batter into your prepared pan. Make sure it’s an even layer so everything bakes up nicely. Pop it into that preheated oven for about 25 to 30 minutes. You’re looking for that classic toothpick test: stick a toothpick right into the center, and it should come out with just a few moist crumbs attached. If it’s still gooey batter, give it a few more minutes. If it comes out totally clean and dry, it might be a tad overbaked, so keep an eye on it! Need some more chocolate inspiration? Check out this chocolate chip cookie recipe or this double chocolate recipe for ideas on how to boost that chocolatey goodness! Let these bars cool *completely* in the pan before you even *think* about cutting them. This is super important for getting those perfect, clean bar shapes!
Tips for Perfect Baking
A little trick I learned for these bars (and honestly, for most baking!) is to make sure your butter is truly *softened*, not melted. Melted butter can make things too greasy and less chewy. Also, resist the urge to overmix the batter once the flour is in; just combine until it’s barely mixed. This keeps them wonderfully tender and chewy, not tough. Finally, let them cool *completely* before cutting. If you try to cut them when they’re warm, they’ll just fall apart into a melty mess, and nobody wants that!
Serving These Bars Are Better Than Brownies
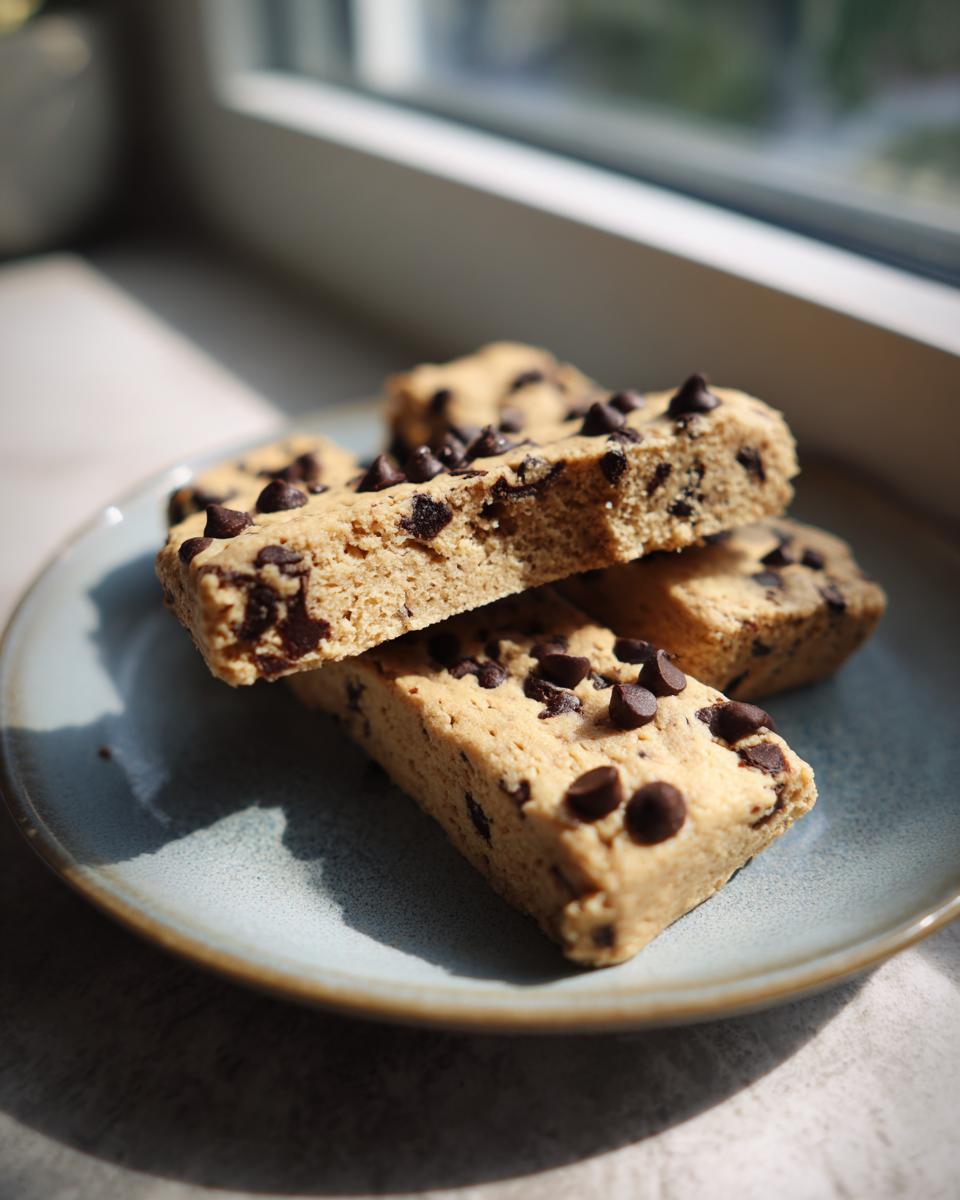
Once these beauties have cooled down, they’re ready to steal the show! They are absolutely divine served warm with a scoop of vanilla bean ice cream – the contrast of warm, chewy bar and cold, creamy ice cream is just heavenly. They also pair wonderfully with a hot cup of coffee or a cold glass of milk. For a little extra flair, try drizzling them with a bit of caramel sauce or even a thin layer of chocolate ganache. You can cut them into squares, or if you’re feeling fancy, use a cookie cutter to make fun shapes! They look especially pretty arranged on a platter, maybe with a few extra chocolate chips sprinkled around. Want to see how we make amazing donuts? Check out these homemade Krispy Kreme donuts for some serious baking inspiration!
Storage and Make-Ahead Tips
Good news! These bars freeze and store like a dream, making them perfect for prepping ahead. Once they’re completely cooled, just wrap the whole pan tightly in plastic wrap and then foil. They’ll stay fresh at room temperature for about 3-4 days. If you want them to last even longer, pop that wrapped pan or cut bars into an airtight container in the fridge for up to a week. For long-term storage, freezing is your best bet! Wrap individual bars or the whole pan and freeze for up to 3 months.
Frequently Asked Questions
Can I use different types of chocolate chips in these bars?
Absolutely! While I love semi-sweet chips for that perfect balance, feel free to experiment. Milk chocolate chips will make them sweeter and creamier, while dark chocolate chips will give them a richer, more intense chocolate flavor. You can even use a mix of different kinds! And don’t forget, chopped nuts or even some caramel bits make for a delicious twist too. For more chocolate ideas, check out this chocolate chip cookie recipe!
How do I know when these bars are done baking?
The best way is the classic toothpick test! Stick a toothpick right into the center of the bars. You’re looking for it to come out with just a few moist crumbs attached. If it’s covered in wet batter, they need more time. If it comes out completely clean and dry, they might be a little overbaked, but still delicious! They should also look golden around the edges and slightly set in the middle.
Can I freeze these bars?
You sure can! These bars freeze wonderfully. Once they’ve cooled *completely*, wrap them tightly in plastic wrap, then in foil, or pop them into an airtight container and freeze them for up to 3 months. They’re perfect for making ahead of time for parties or just stashing away for a future craving emergency!
What’s the secret to getting that chewy texture?
The magic is really in the sugars! Using a combination of both granulated and packed brown sugar is key. The brown sugar, with its molasses content, brings in that lovely moisture and chewiness that makes these bars so irresistible. Also, making sure not to overmix the batter once the flour is added helps keep them tender and chewy, not tough. And letting them cool *completely* before cutting is a must!
Nutritional Information
Just a heads-up, these are estimates and can change based on the exact ingredients you use! For one of these amazing bars, you’re looking at roughly 200 calories, 10g of fat (about 6g saturated), 28g of carbohydrates, and 2g of protein. They also have around 20g of sugar.
Print
Immune-Boosting Turmeric Veggie Soup
- Total Time: 45 min
- Yield: 6 servings 1x
- Diet: Vegetarian
Description
A nourishing and flavorful vegetable soup packed with turmeric for immune support.
Ingredients
- 1 tablespoon olive oil
- 1 large onion, chopped
- 2 carrots, chopped
- 2 celery stalks, chopped
- 2 cloves garlic, minced
- 1 teaspoon ground turmeric
- 1 teaspoon ground ginger
- 1/2 teaspoon cumin
- 6 cups vegetable broth
- 1 cup chopped sweet potato
- 1 cup chopped cauliflower florets
- 1 cup chopped broccoli florets
- 1/2 cup cooked quinoa
- Salt and black pepper to taste
Instructions
- Heat olive oil in a large pot or Dutch oven over medium heat.
- Add onion, carrots, and celery. Cook until softened, about 5-7 minutes.
- Stir in garlic, turmeric, ginger, and cumin. Cook for 1 minute until fragrant.
- Pour in vegetable broth. Add sweet potato and cauliflower. Bring to a boil, then reduce heat and simmer for 15 minutes.
- Add broccoli and quinoa. Cook for another 5-7 minutes, or until broccoli is tender-crisp.
- Season with salt and pepper to taste.
Notes
- For extra flavor, add a squeeze of lemon juice before serving.
- Garnish with fresh parsley if desired.
- Prep Time: 15 min
- Cook Time: 30 min
- Category: Soup
- Method: Stovetop
- Cuisine: Vegetarian
Nutrition
- Serving Size: 1.5 cups
- Calories: 150
- Sugar: 8g
- Sodium: 400mg
- Fat: 4g
- Saturated Fat: 0.5g
- Unsaturated Fat: 3.5g
- Trans Fat: 0g
- Carbohydrates: 25g
- Fiber: 6g
- Protein: 5g
- Cholesterol: 0mg
Keywords: turmeric soup, vegetable soup, immune support, healthy soup, vegan soup, vegetarian soup, turmeric, ginger, anti-inflammatory