
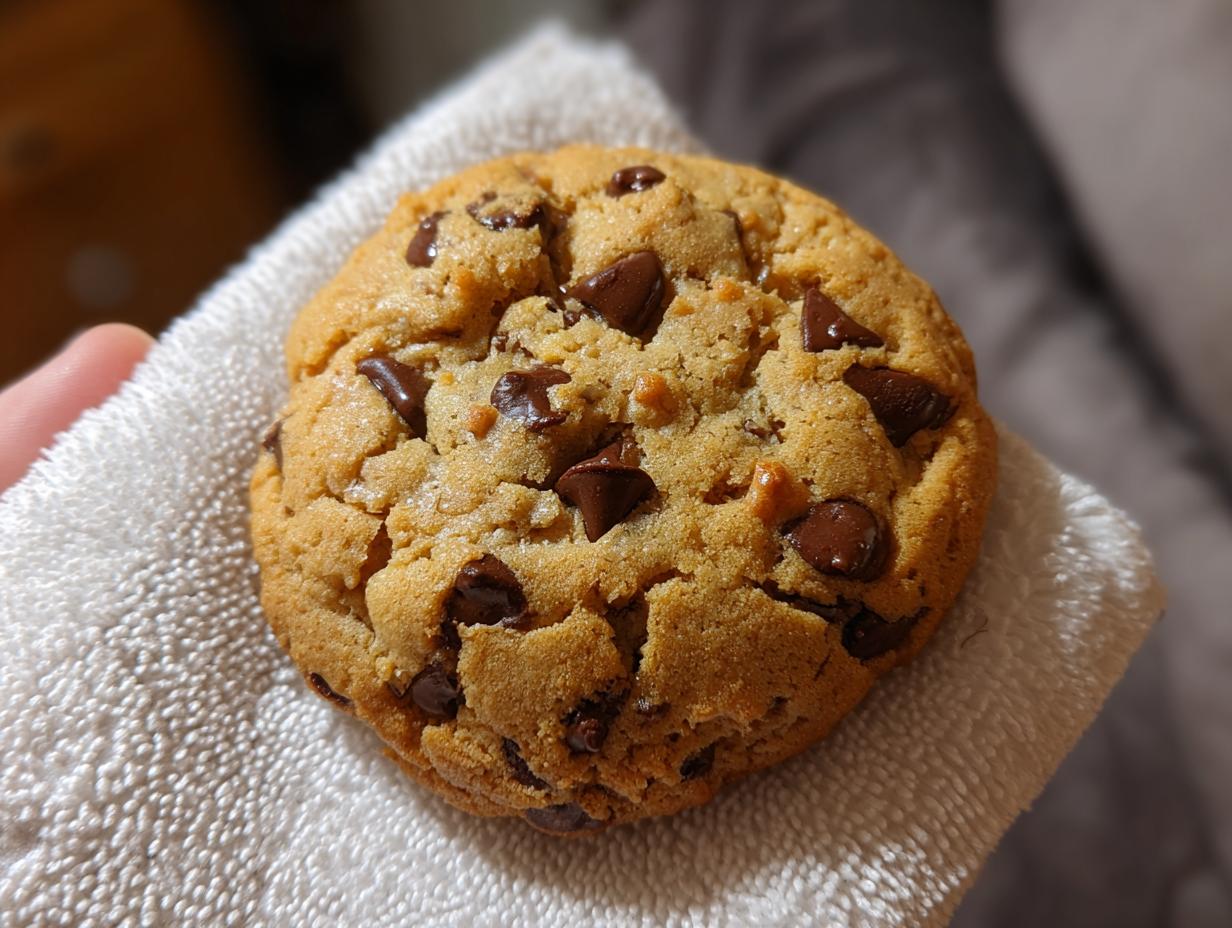
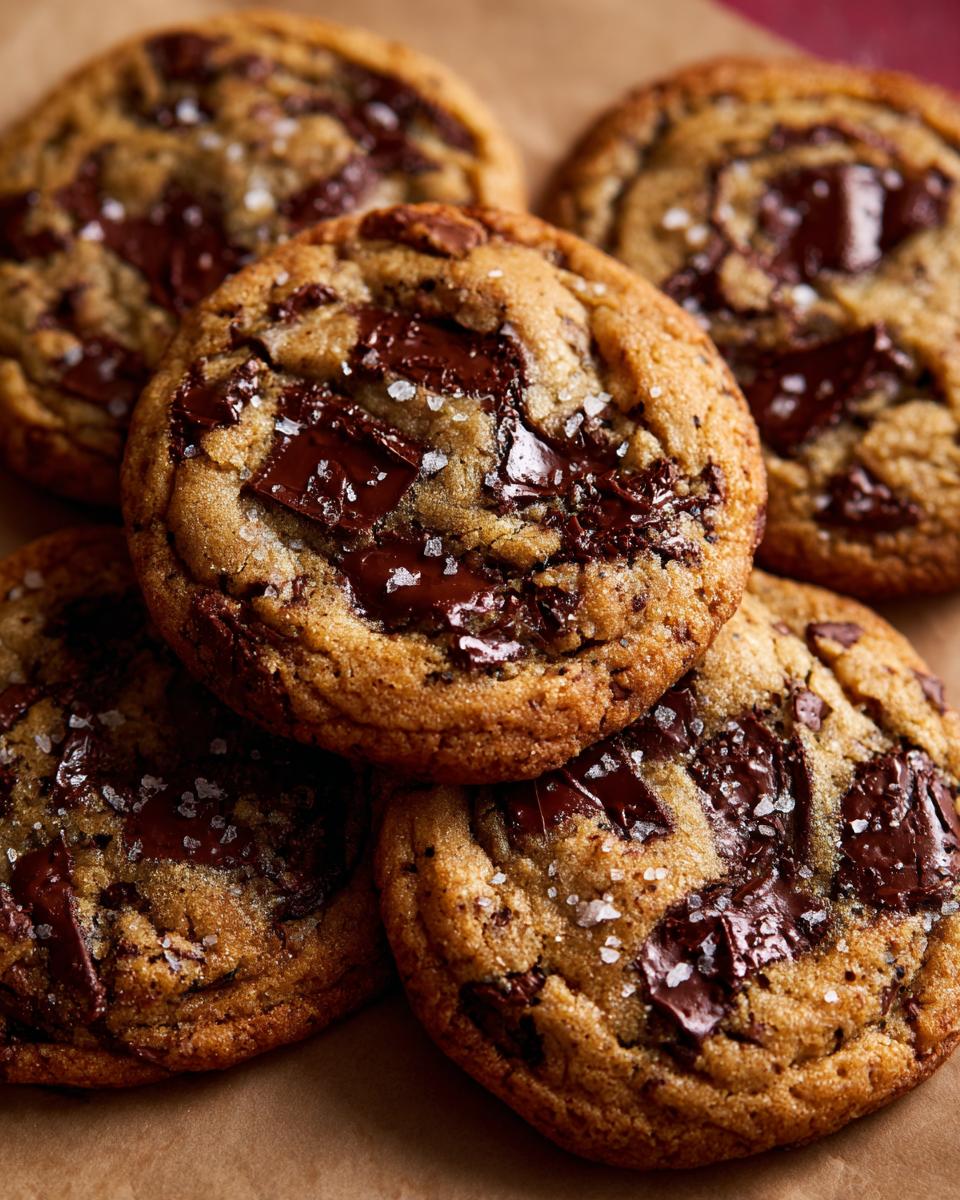
There’s just something about the smell of warm, gooey chocolate chip cookies baking that instantly takes me back to my grandmother’s kitchen. It’s a smell that’s pure comfort, pure joy, and honestly, pure magic! Baking is one of my favorite ways to unwind, and when I whip up a batch of these, they truly become The Sweet Treat That Belongs on Every Table. This isn’t just any cookie recipe; it’s my go-to because it’s simple, reliable, and always results in those perfect, classic chocolate chip cookies everyone loves. Seriously, it’s one of those recipes you’ll find yourself coming back to again and again. For more inspiration on chocolate chip cookies, you might want to check out our guide.
Why You’ll Love This Classic Chocolate Chip Cookie Recipe
Honestly, who doesn’t adore a warm, melty chocolate chip cookie? This recipe is a keeper for so many reasons:
- Seriously Simple: You don’t need to be a master baker. The steps are straightforward, making it perfect for beginners and busy weeknights alike.
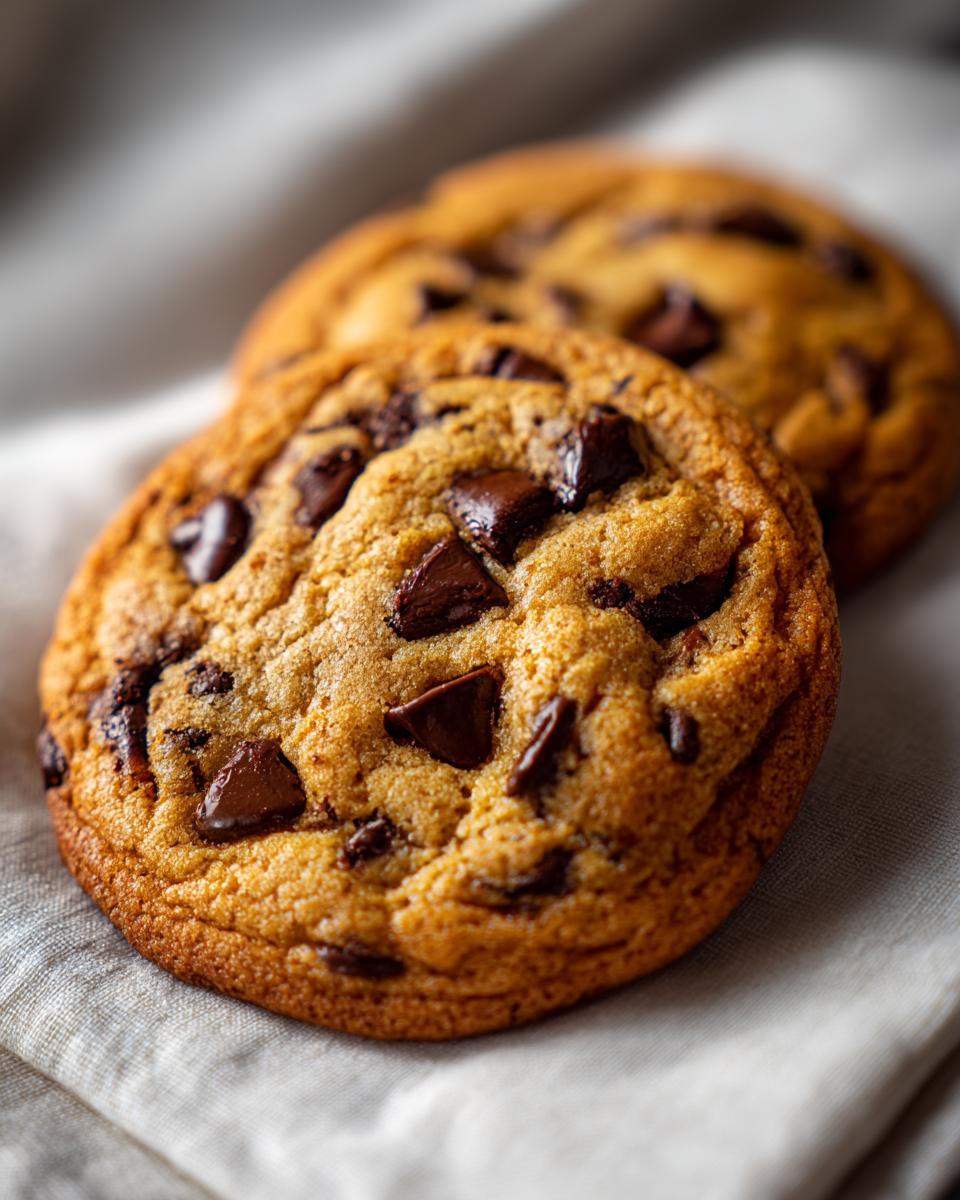
- Incredibly Delicious: They come out perfectly crisp around the edges and wonderfully chewy in the middle. That classic combination of sweet dough and pockets of melted chocolate is just unbeatable.
- Total Crowd-Pleaser: Whether it’s a bake sale, a family gathering, or just movie night, these cookies disappear fast! Everyone always asks for more.
- So Versatile: Feel free to toss in some nuts or switch up the type of chocolate. They’re a fantastic base for all sorts of yummy variations.
Gather Your Ingredients for The Sweet Treat That Belongs on Every Table
Alright, let’s talk ingredients! For these cookies to be truly perfect, you need to start with good stuff. That’s half the battle, trust me. You’ll want to grab these from your pantry:
- 1 cup (that’s 2 sticks, folks!) of unsalted butter, nice and softened. Not melted, just soft enough to give a little when you press it.
- ¾ cup of regular granulated sugar.
- And ¾ cup of packed brown sugar. The light or dark kind works, but I usually go for light brown sugar.
- A good splash – about 2 teaspoons – of pure vanilla extract. Don’t skimp here; it really makes a difference!
- 2 large eggs. Room temperature is best, but honestly, I sometimes forget to take them out early, and they still turn out fine.
- 2 ¼ cups of all-purpose flour. We’ll sift this with the dry stuff.
- 1 teaspoon of baking soda. This is what gives them that little lift.
- 1 teaspoon of salt. Just plain old table salt is fine.
- And, of course, the star of the show: 2 cups of your favorite chocolate chips! Semi-sweet is classic, but mini chips, dark chocolate, or milk chocolate are all fair game!
Using good quality butter and fresh ingredients really does make a difference in the final taste, so try to grab the best you can!
Step-by-Step Guide to Making The Sweet Treat That Belongs on Every Table
Alright, let’s get baking! This part is where all the magic really happens, and trust me, it’s super simple. Just follow these steps, and you’ll have a batch of these amazing cookies in no time. Remember, patience here is key for the best results!
Preheating and Dough Preparation
First things first, let’s get that oven ready. You’ll want to preheat it to 375°F (190°C). While it’s warming up, grab a big mixing bowl. It’s time to cream together that softened butter with both the granulated and packed brown sugar. I usually use my electric mixer for this part, because it makes it super fluffy and smooth really quickly. Beat it until it looks light and airy – like delicious whipped caramel!
Next up, we’ll beat in the vanilla extract until it’s all combined nicely. Then, add in those two large eggs, one at a time, mixing well after each addition. For more inspiration on chocolate chip cookies, you might want to check out our guide.
Combining Ingredients and Adding Chocolate Chips
In a separate bowl – I find this helps prevent lumps – whisk together your all-purpose flour, baking soda, and salt. Now, gradually add this dry mixture to your wet ingredients. Mix it on low speed, or even by hand with a spatula, until it’s *just* combined. You don’t want to overmix here, or your cookies can get tough! Finally, stir in those glorious chocolate chips. Fold them in gently until they’re evenly distributed through the dough.
Baking The Sweet Treat That Belongs on Every Table to Perfection
Now for the fun part: baking! Grab some ungreased baking sheets – seriously, don’t grease them, it helps the cookies spread just right. Drop rounded tablespoons of the dough onto the sheets. I like to leave a little space between them because they do spread out a bit. Pop them into your preheated oven. Bake them for about 9 to 11 minutes. You’re looking for that perfect golden brown color around the edges, but still a little soft in the center. For The Sweet Treat That Belongs on Every Table, you want that slight chewiness! Once they’re out, let them hang out on the baking sheets for a couple of minutes to firm up a bit before carefully transferring them to a wire rack to cool completely. Trust me, resisting the urge to eat them all piping hot is the hardest part, but they need to cool!
Tips for The Sweetest Chocolate Chip Cookies
Okay, so you’ve got the basic recipe down for The Sweet Treat That Belongs on Every Table, but let’s talk about how to make them even *more* amazing. It’s all about those little tweaks and tricks that really elevate your cookie game. Plus, knowing these tips is super handy for those “oops!” moments or when you just want to experiment a little. For more ideas, check out our comprehensive guide to all things chocolate chip!
Ingredient Variations and Substitutions
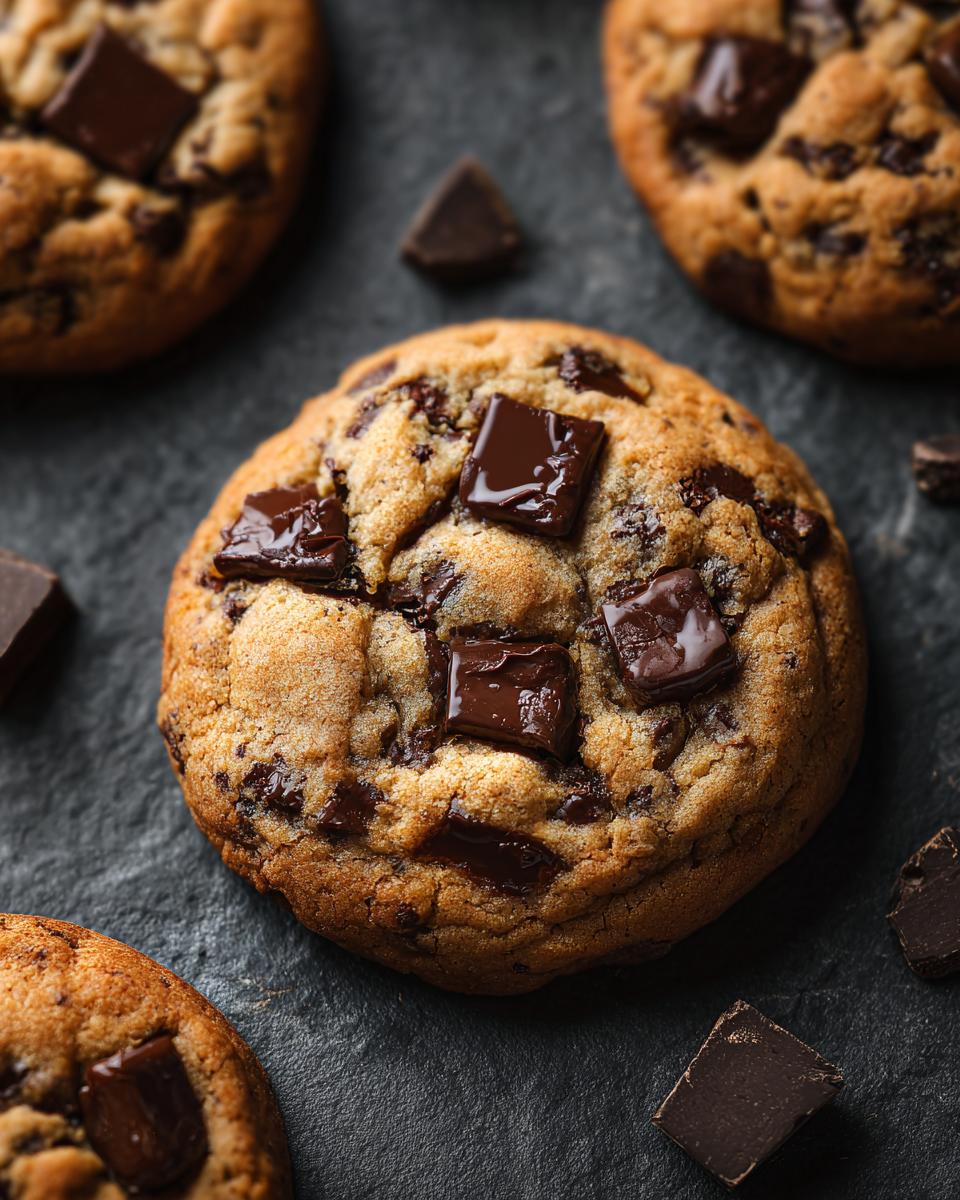
Don’t be afraid to play around with the chocolate chips! Sometimes I’ll mix in some dark chocolate chunks with semi-sweet, or even add a handful of chopped pecans or walnuts if I’m feeling it. Just remember that adding things like nuts can slightly change the texture. Also, if you’re out of semi-sweet chips, milk chocolate or even white chocolate chips can be really fun! For an extra decadent treat, you could even look into recipes like double chocolate cookies for a change of pace.
Achieving Your Perfect Cookie Texture
Want them chewy? Pull them out of the oven just *before* they look fully done – they’ll continue to bake on the hot pan. For crispier edges, bake them a minute or two longer. The trick is watching them closely! If you find your cookies are spreading too much, make sure your butter wasn’t too soft and that your oven temperature is accurate. Sometimes, chilling the dough for 30 minutes can really help control spread and deepen the flavor!
Serving and Storing Your Delicious Cookies
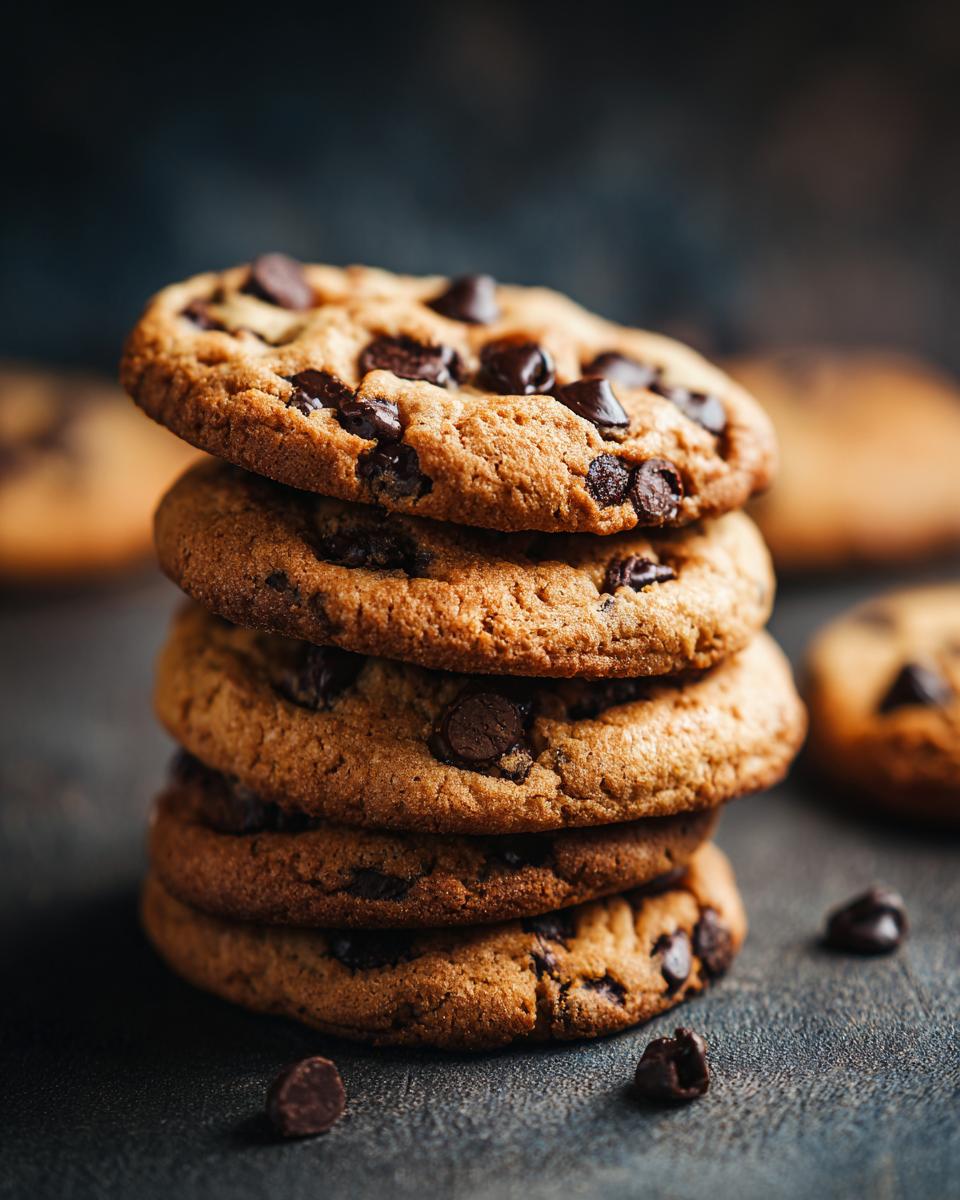
Okay, so you’ve baked up a storm and now you have a glorious pile of chocolate chip cookies! The best way to enjoy them is while they’re still a little warm, maybe with a big glass of cold milk – that’s the absolute classic pairing, right? If you’re feeling fancy, they’re also pretty darn good crumbled over ice cream or even served alongside a warm mug of coffee. For other cookie-bar favorites, you might want to peep these turtle bars!
Now, for storing these beauties. They’re pretty good at room temperature for a few days. Just pop them into an airtight container or a zip-top bag once they’ve cooled completely. If you stack them, put a piece of wax paper or parchment paper between layers to keep them from sticking together. Honestly, though, they rarely last long enough in my house to need serious long-term storage advice!
Frequently Asked Questions About The Sweet Treat That Belongs on Every Table
I get asked a lot of questions about baking, and chocolate chip cookies are always at the top of the list! It’s totally understandable because we all want that perfect cookie every single time. Here are a few common ones I get:
Can I freeze the cookie dough?
Oh yes, absolutely! Freezing the dough is a brilliant idea. Just scoop out your cookie dough balls, place them on a baking sheet, and freeze them until solid. Then, pop those frozen dough balls into a freezer bag. You can bake them straight from frozen – just add a couple of extra minutes to the baking time. It’s the best way to have fresh cookies ready whenever the craving strikes!
Why are my cookies spreading too much?
This is a common cookie conundrum! Usually, it’s because the butter was too soft or even melted when you started creaming it. Make sure it’s just softened – you should be able to indent it with your finger. Also, check your oven temperature; an oven that’s too hot can cause them to spread too quickly. Sometimes, chilling the dough for at least 30 minutes before baking really helps control the spread and makes for a chewier cookie too.
What’s the best way to store chocolate chip cookies?
To keep your cookies fresh and delicious, store them in an airtight container at room temperature. Honestly, they’re usually gone pretty quickly in my house, but if you need them to last more than a day or two, this is the way to go. Make sure they’re completely cooled before sealing the container, otherwise, you’ll end up with soggy cookies, and nobody wants that!
Nutritional Information
Just a heads-up, this is an estimate and can vary a bit depending on the exact ingredients you use, especially the type of chocolate chips! But for one cookie, you’re typically looking at around 150 calories, with about 8g of fat and 20g of carbohydrates. It’s a pretty standard nutritional profile for a classic chocolate chip cookie.
Print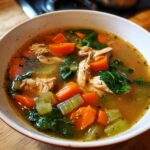
Immune-Boosting Chicken & Ginger Soup
- Total Time: 45 min
- Yield: 4 servings 1x
- Diet: Vegetarian
Description
A nourishing chicken soup with ginger and vegetables to support your immune system.
Ingredients
- 1 tablespoon olive oil
- 1 pound boneless, skinless chicken thighs, cut into bite-sized pieces
- 1 large onion, chopped
- 2 carrots, peeled and sliced
- 2 celery stalks, sliced
- 4 cloves garlic, minced
- 1 tablespoon fresh ginger, grated
- 8 cups chicken broth
- 1 teaspoon salt
- 1/2 teaspoon black pepper
- 1 cup chopped fresh spinach
Instructions
- Heat olive oil in a large pot or Dutch oven over medium-high heat.
- Add chicken pieces and cook until browned on all sides. Remove chicken and set aside.
- Add onion, carrots, and celery to the pot. Cook until softened, about 5-7 minutes.
- Stir in garlic and ginger and cook for 1 minute more until fragrant.
- Pour in chicken broth, scraping up any browned bits from the bottom of the pot.
- Return chicken to the pot. Bring to a boil, then reduce heat and simmer for 20 minutes, or until chicken is cooked through.
- Stir in salt and pepper.
- Add spinach and cook until wilted, about 2 minutes.
- Serve hot.
Notes
- For extra flavor, add a bay leaf during simmering and remove before serving.
- You can substitute chicken breast for thighs if preferred.
- Feel free to add other vegetables like mushrooms or peas.
- Prep Time: 15 min
- Cook Time: 30 min
- Category: Soup
- Method: Stovetop
- Cuisine: American
Nutrition
- Serving Size: 1.5 cups
- Calories: 250
- Sugar: 5g
- Sodium: 800mg
- Fat: 10g
- Saturated Fat: 2g
- Unsaturated Fat: 8g
- Trans Fat: 0g
- Carbohydrates: 15g
- Fiber: 3g
- Protein: 25g
- Cholesterol: 70mg
Keywords: chicken soup, ginger soup, immune support, healthy soup, vegetable soup, comfort food