

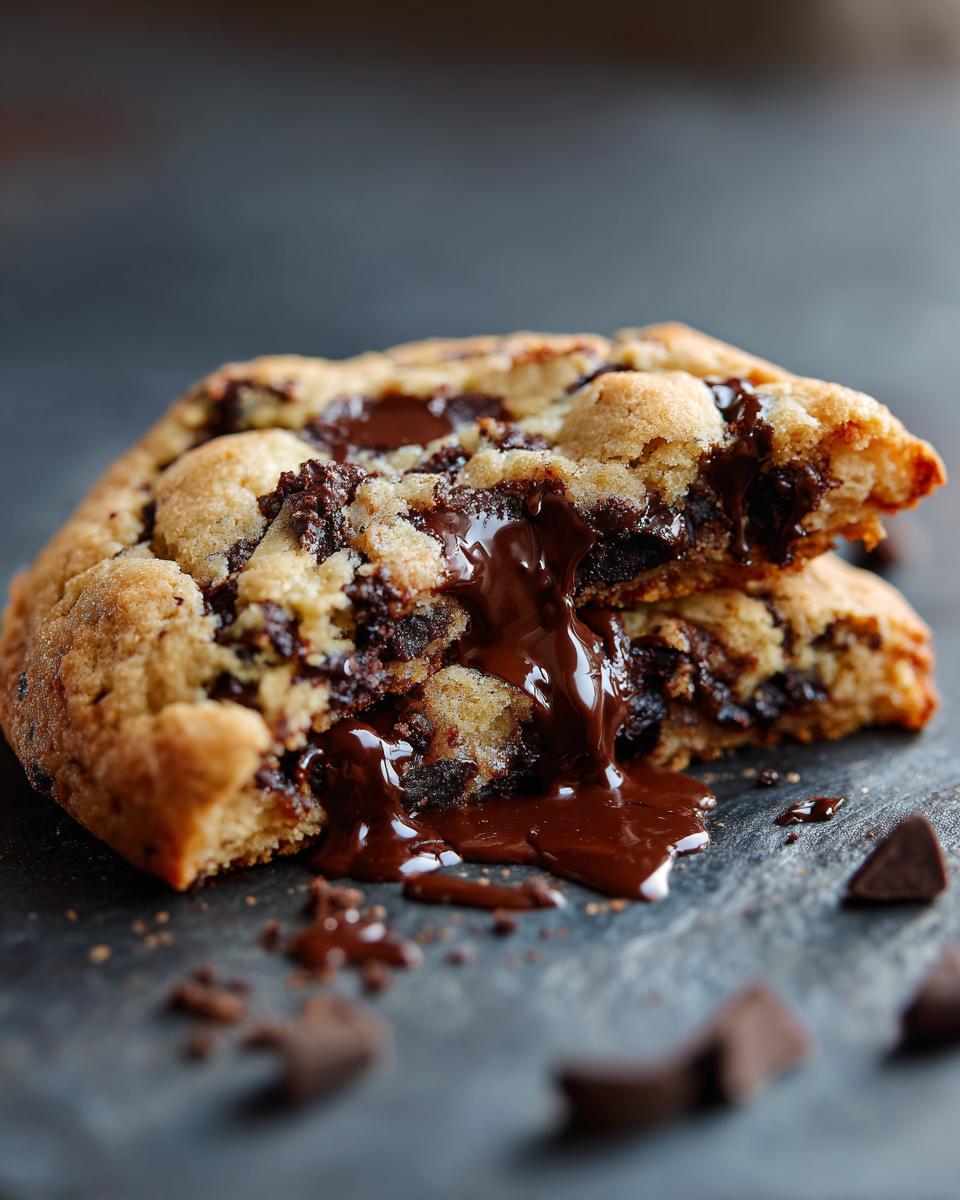
Okay, let’s talk cookies! There’s just something about a warm, gooey chocolate chip cookie that makes everything feel right in the world, isn’t there? It’s no wonder they’re called The Sweet Treat That Belongs on Every Table. My grandma used to make these for us every Friday after school, and the smell alone was pure magic. This isn’t just *any* chocolate chip cookie recipe; it’s the one that’s been tried, tested, and loved by our family for years. It’s simple, it’s foolproof, and trust me, it yields the most perfectly chewy, chocolatey bites you can imagine. I’m so excited to share it with you all, and if you want even more cookie inspiration, check out this delicious chocolate chip cookie recipe!
Why This Chocolate Chip Cookie Recipe is The Sweet Treat That Belongs on Every Table
So, what’s the big deal about *this* chocolate chip cookie recipe? Honestly, it’s like the culinary equivalent of a perfectly worn-in pair of jeans – comfortable, reliable, and always just right. It’s incredibly straightforward, which is a huge win for anyone who wants amazing cookies without a kitchen meltdown. You don’t need any fancy equipment, just a couple of bowls and a whisk, and trust me, the results are consistently fantastic!
But it’s not just about being easy. This recipe hits that perfect sweet spot::
- Texture Perfection: They’re wonderfully chewy in the middle with just the slightest crisp around the edges. No dry, crumbly disappointments here!
- Flavor Fiesta: The balance of sugars and vanilla is just spot on, making every bite rich and satisfying.
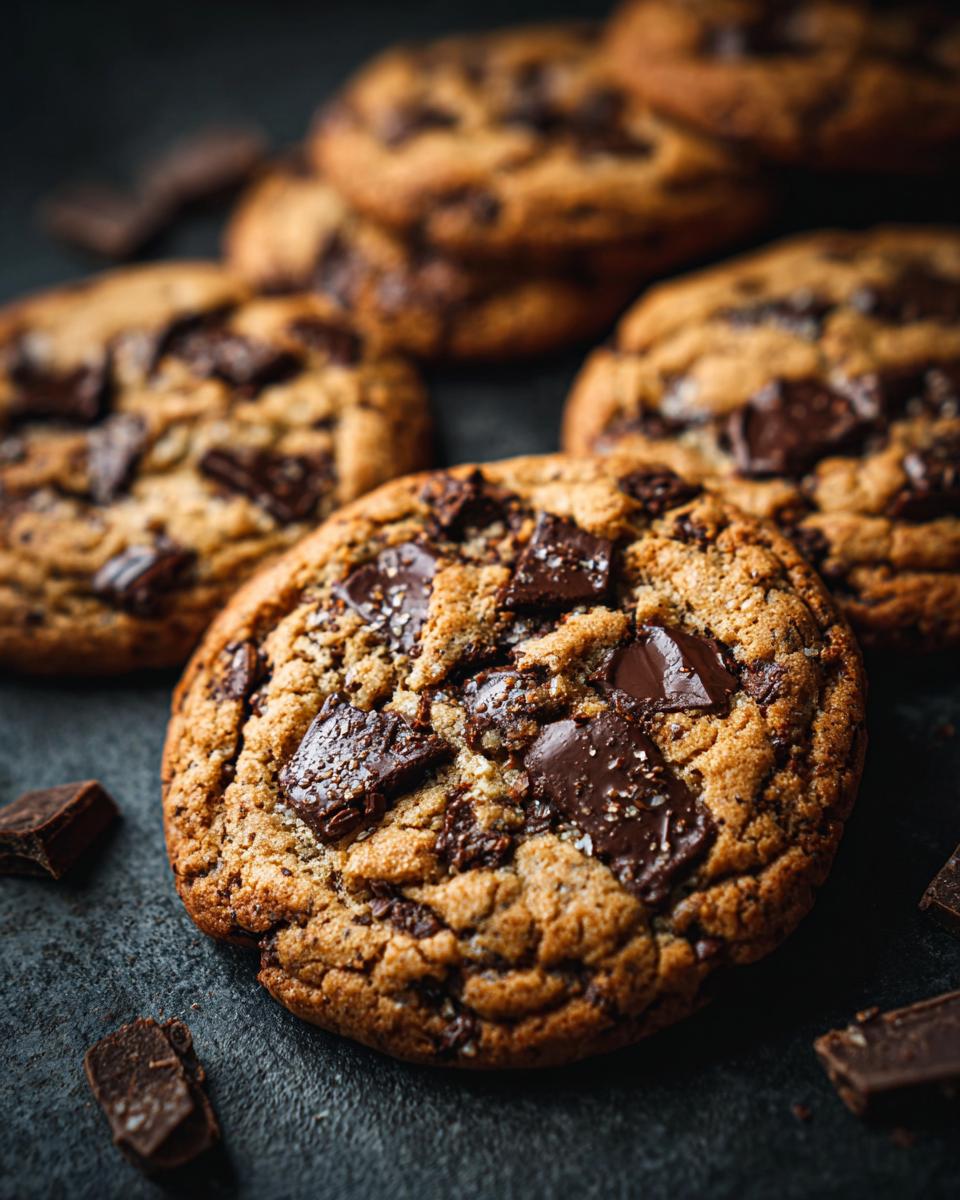
- Crowd-Pleaser King: Seriously, who doesn’t love a chocolate chip cookie? They’re perfect for bake sales, potlucks, cozy nights in, or just because you deserve a treat.
It truly lives up to its name as The Sweet Treat That Belongs on Every Table because it’s just that universally loved and dependable!
Gather Your Ingredients for The Sweet Treat That Belongs on Every Table
Alright, let’s get our baking game faces on! To make these perfect chocolate chip cookies, you’ll need just a few simple things from your pantry. Make sure you have:
- 1 cup (that’s 2 sticks!) of unsalted butter, softened just right
- ¾ cup of granulated sugar for that classic sweetness
- ¾ cup of packed brown sugar for that gorgeous chewiness and caramel notes
- 2 teaspoons of pure vanilla extract – don’t skimp on this!
- 2 large eggs, at room temperature is best
- 2 ¼ cups of all-purpose flour
- 1 teaspoon of baking soda to help them spread
- 1 teaspoon of salt to balance all that sweetness
- And of course, 2 cups of your favorite chocolate chips!
Step-by-Step Guide to Making The Sweet Treat That Belongs on Every Table
Ready to bake up some magic? Making these chocolate chip cookies is a breeze, and I promise, the results are totally worth it. This is where The Sweet Treat That Belongs on Every Table really comes to life!
-
First things first, let’s get that oven preheated! Crank it up to 375°F (190°C). While that’s warming up, grab a couple of baking sheets and maybe line them with parchment paper – it makes cleanup a snap and helps them release perfectly. Trust me on this one!
-
Grab your biggest mixing bowl. We’re going to cream together that softened butter and both sugars – the granulated and the brown. Use a mixer or a sturdy whisk and beat them until they’re nice and smooth, looking almost like fluffy frosting. This step is key for that perfect cookie texture!
-
Now, drizzle in the vanilla extract and crack in your two large eggs. Beat all of this together until everything is well combined and looks wonderfully creamy.
-
In a separate, medium-sized bowl, whisk together your flour, baking soda, and salt. Getting these dry ingredients mixed well now means they’ll distribute evenly later, so no one gets a bite that’s too salty or too bland. Nobody wants a cookie surprise like that!
-
Here’s where it all comes together! Slowly add the dry ingredients to your wet butter-sugar mixture. Mix them until they’re *just* combined. Like, seriously, stop as soon as you don’t see big streaks of flour. Overmixing is the enemy of tender cookies!
-
Time for the star of the show – the chocolate chips! Gently fold them into the batter. You can add more or less depending on how chocolatey you like your cookies, but the recipe calls for a generous 2 cups, and I rarely deviate!
-
Now, drop rounded tablespoons of that glorious dough onto your prepared baking sheets. I like to use a cookie scoop for uniform size, but two spoons work just fine too. Give them a little space to spread out – don’t crowd the pan!
-
Bake them for about 9 to 11 minutes. You’re looking for a beautiful golden brown around the edges, but the centers should still look a little soft. For chewier cookies, err on the side of underbaking them just slightly. They’ll continue to cook on the hot pan!
-
Once they’re out of the oven, let those cookies cool on the baking sheets for a good 5 minutes. This is super important because they’re fragile when hot. Then, carefully transfer them to a wire rack to cool completely. This is the hardest part – waiting for them to cool before you devour them! If you want even more amazing cookie tips, take a peek at this delicious chocolate chip cookie recipe for extra inspiration!
Tips for Perfect Chocolate Chip Cookies Every Time
Alright, cookie bakers! Want to guarantee your chocolate chip cookies are always a showstopper? I’ve picked up a few tricks along the way that make a world of difference. Little things, really, but they take your cookies from “pretty good” to “OMG, I need the recipe NOW!”
First off, temperature is everything. Make sure that butter is truly softened – not melted, not a rock solid brick, but just right so you can easily indent it with your finger. And for your eggs? Letting them come to room temperature helps them blend into the batter much more smoothly, making for a more uniform cookie texture. It sounds minor, but it helps avoid those dense pockets of butter or under-mixed egg.
When you’re mixing the dry ingredients into the wet, remember: less is more! Once you add that flour, mix *just* until it disappears. Overmixing develops the gluten in the flour, which can make your cookies tough and tough cookies are just sad. Seriously, a few little streaks of flour are better than overdoing it.
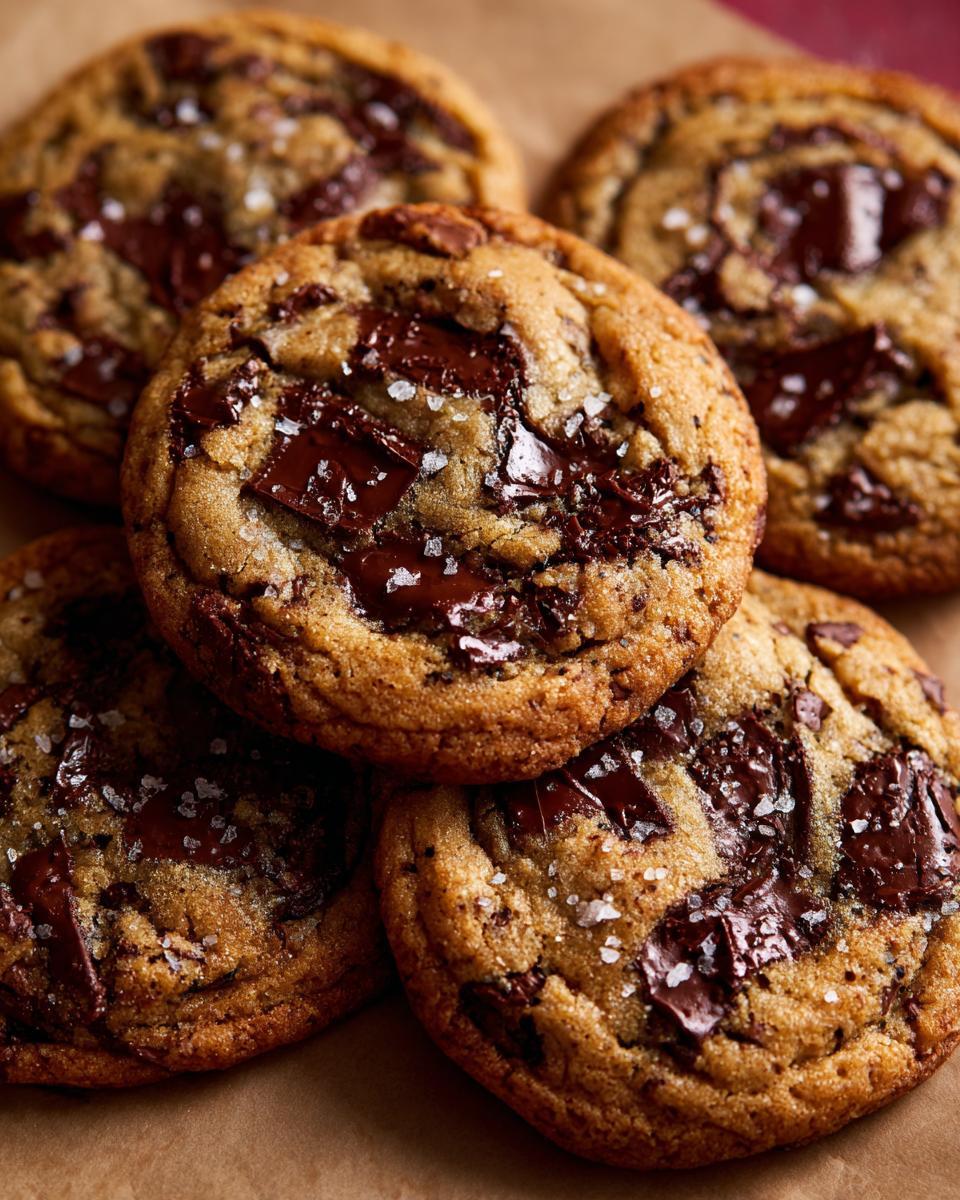
Want chewier cookies? Here’s my secret: slightly underbake them! Pull them out when the edges look golden brown but the center still seems a tad soft. They’ll finish cooking on the hot baking sheet, and you’ll get that delightful chewy center every time. If you prefer them crispier, just leave them in for an extra minute or two. Oh, and don’t be afraid to add chopped nuts if you’re feeling adventurous – pecans and walnuts are *chef’s kiss*!
Serving and Storing Your Sweet Treat
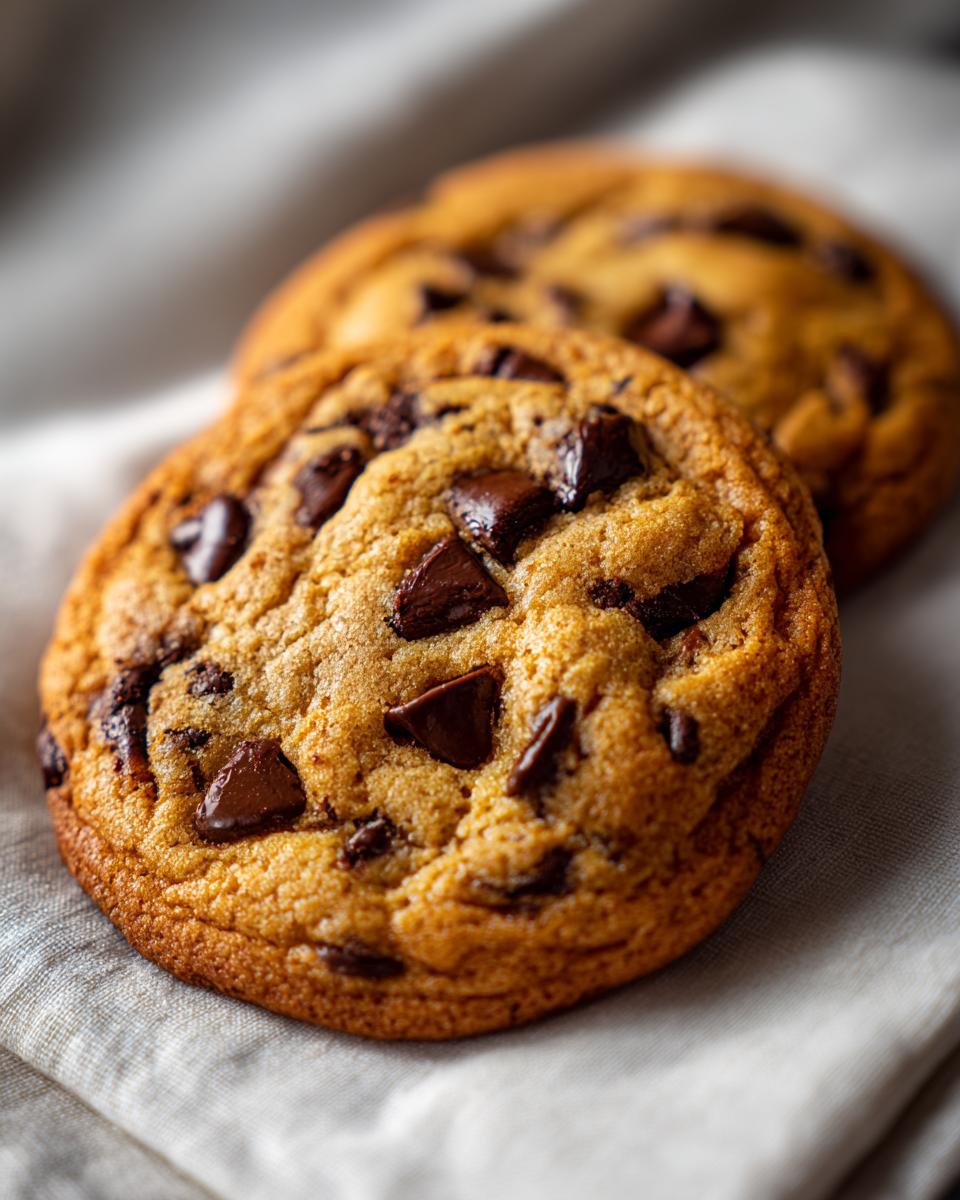
The best part? Enjoying them warm and gooey right after they’ve cooled just enough so you don’t burn your tongue! They’re amazing with a glass of cold milk, a cup of coffee, or even just on their own. If you somehow manage to have any leftovers (which is rare in my house!), just pop them into an airtight container or a good zip-top bag. They’ll stay perfectly fresh and delicious at room temperature for a good 3-4 days. You can even gently reheat them in a warm oven for a few seconds to bring back that just-baked magic!
Frequently Asked Questions About This Beloved Cookie
Got questions about making this amazing cookie? I get it! Baking is an art, and sometimes you just need a little extra guidance. Here are some common things people ask, and my best answers to help you out!
Can I use margarine instead of butter?
Oh, this is a common one! While you *can* technically use margarine, I really, really recommend sticking with unsalted butter. Butter has a higher fat content and a richer flavor that just can’t be beat. Margarine can sometimes make cookies spread too much or give them a slightly greasy texture. For the absolute best results, butter is the way to go!
What if my cookies spread too much?
Don’t worry, it happens! Usually, too much spreading means your dough was too warm when it went into the oven. Try chilling your dough for at least 30 minutes before baking. Also, make sure your oven temperature is accurate – an oven thermometer is a lifesaver! And remember, I said *softened* butter, not *melted* butter!
Can I add nuts or other mix-ins?
Absolutely! This recipe is super versatile. Pecans or walnuts are fantastic additions if you love a little crunch. You can also swap out some of the chocolate chips for M&Ms, toffee bits, or even dried fruit. Just keep the total amount of mix-ins around 2 cups so you don’t mess with the dough balance too much.
How do I make my cookies chewy instead of crispy?
The secret to extra chewy cookies is a little bit about the ingredients and a lot about the baking time. Brown sugar has more moisture than granulated sugar, so using the ratio in this recipe helps! The other big tip is to slightly underbake them. Pull them out when the edges are golden and the centers still look a tiny bit soft. They finish baking on the hot pan and stay wonderfully chewy. For more amazing baking advice, peep this delicious chocolate chip cookie recipe!
How long can I store these cookies?
These delicious cookies are best stored in an airtight container at room temperature. They should stay wonderfully soft and chewy for about 3 to 4 days. If you’re feeling fancy, you can even gently warm them up in a low oven for a few seconds to get that fresh-from-the-oven gooeyness back!
Nutritional Information (Estimated)
Just a heads-up, folks! The nutritional info for cookies can really change depending on exact ingredients, but here’s a general idea of what you’re looking at for one of these fantastic treats. This estimate is based on the recipe as written:
- Serving Size: 1 cookie
- Calories: About 150 kcal
- Fat: Around 8g (with about 5g saturated)
- Carbohydrates: Roughly 20g
- Protein: Just under 2g
- Sugar: Around 15g
Remember, these numbers are just a guide! Enjoy them guilt-free!
Print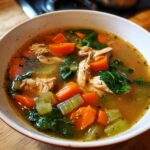
Immune-Boosting Chicken & Ginger Soup
- Total Time: 45 min
- Yield: 4 servings 1x
- Diet: Vegetarian
Description
A nourishing chicken soup with ginger and vegetables to support your immune system.
Ingredients
- 1 tablespoon olive oil
- 1 pound boneless, skinless chicken thighs, cut into bite-sized pieces
- 1 large onion, chopped
- 2 carrots, peeled and sliced
- 2 celery stalks, sliced
- 4 cloves garlic, minced
- 1 tablespoon fresh ginger, grated
- 8 cups chicken broth
- 1 teaspoon salt
- 1/2 teaspoon black pepper
- 1 cup chopped fresh spinach
Instructions
- Heat olive oil in a large pot or Dutch oven over medium-high heat.
- Add chicken pieces and cook until browned on all sides. Remove chicken and set aside.
- Add onion, carrots, and celery to the pot. Cook until softened, about 5-7 minutes.
- Stir in garlic and ginger and cook for 1 minute more until fragrant.
- Pour in chicken broth, scraping up any browned bits from the bottom of the pot.
- Return chicken to the pot. Bring to a boil, then reduce heat and simmer for 20 minutes, or until chicken is cooked through.
- Stir in salt and pepper.
- Add spinach and cook until wilted, about 2 minutes.
- Serve hot.
Notes
- For extra flavor, add a bay leaf during simmering and remove before serving.
- You can substitute chicken breast for thighs if preferred.
- Feel free to add other vegetables like mushrooms or peas.
- Prep Time: 15 min
- Cook Time: 30 min
- Category: Soup
- Method: Stovetop
- Cuisine: American
Nutrition
- Serving Size: 1.5 cups
- Calories: 250
- Sugar: 5g
- Sodium: 800mg
- Fat: 10g
- Saturated Fat: 2g
- Unsaturated Fat: 8g
- Trans Fat: 0g
- Carbohydrates: 15g
- Fiber: 3g
- Protein: 25g
- Cholesterol: 70mg
Keywords: chicken soup, ginger soup, immune support, healthy soup, vegetable soup, comfort food