
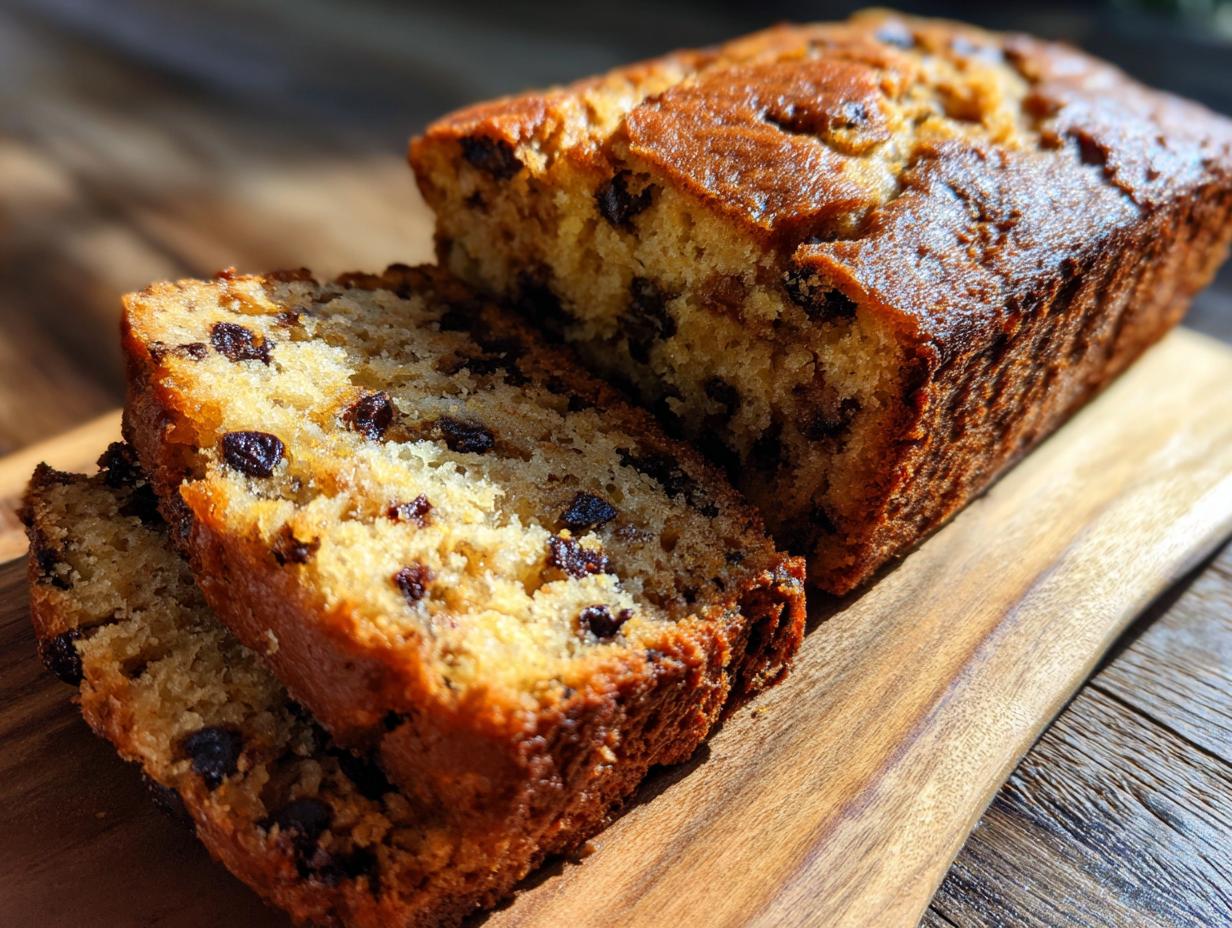
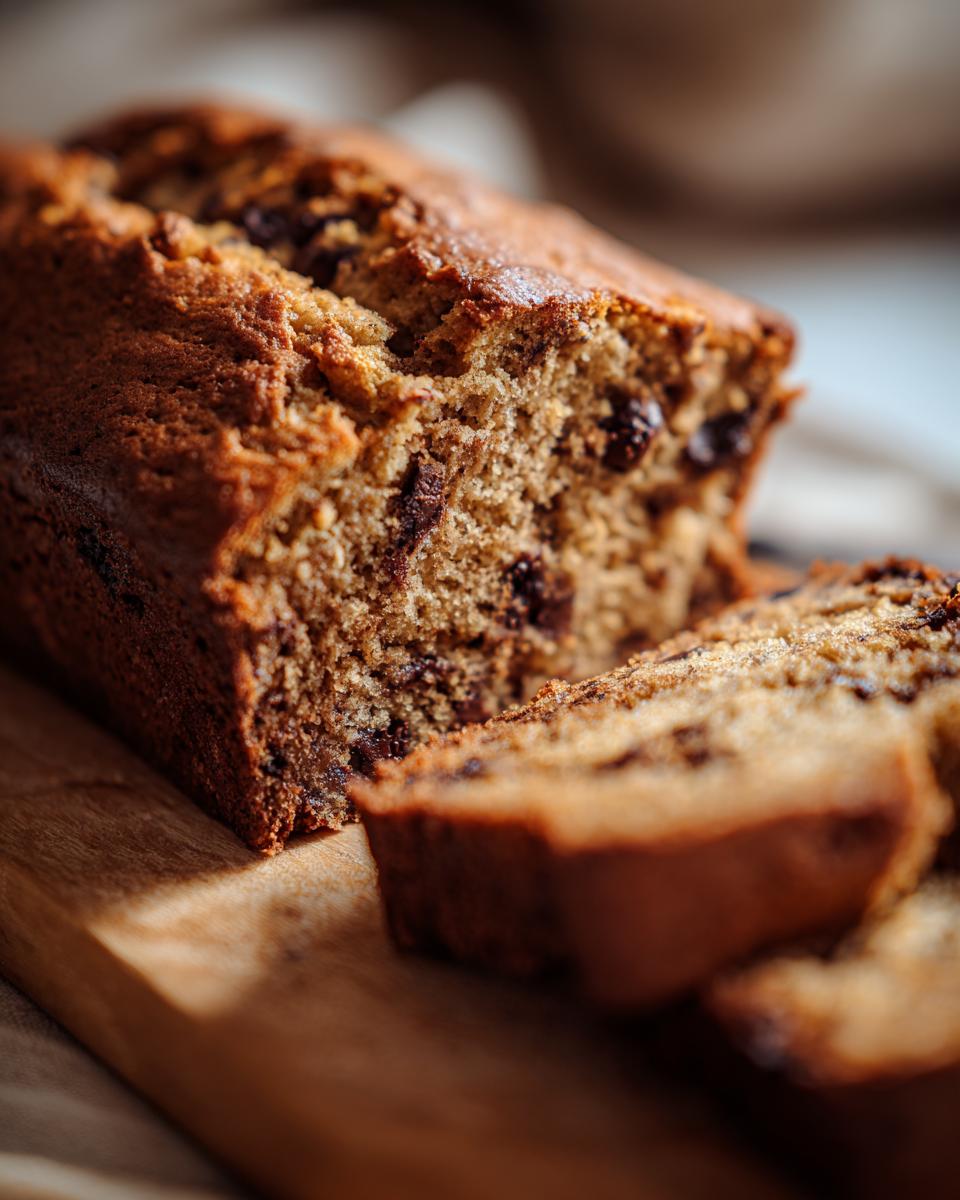
Okay, hands up if you’ve ever stared into the pantry, desperately wanting a chocolatey treat, but then you see the mixer and just… give up? Yeah, me too. That’s why I am SO thrilled to share my absolute go-to, the dessert that has saved me countless times: The No Mixer Dessert That Never Fails. Seriously, this recipe is a lifesaver when you’re craving something sweet but don’t have the time or energy for complicated steps. It’s proof that you don’t need fancy equipment to make something utterly delicious. I’ve whipped this up on weeknights when everyone’s home too early, for last-minute potlucks, and even when I just needed a little chocolate hug. It’s just… foolproof!
Why You’ll Love This No Mixer Dessert
Honestly, there are so many reasons this dessert is a winner! Here’s why you’ll be making it again and again:
- Seriously Simple: No whisking, no creaming, no fuss! Just dump and stir.
- Super Speedy: From pantry to oven in about 10 minutes. Perfect for those sudden cravings!
- Minimal Cleanup: Usually, it’s just one bowl and a spoon. Yes, please!
- Always Delicious: It comes out perfectly moist and chocolatey *every single time*. It truly never fails.
- Beginner Friendly: If you can stir, you can make this dessert. It’s that easy!
Ingredients for The No Mixer Dessert That Never Fails
Gather these simple things from your pantry. Trust me, having everything ready makes it even faster!
- 1 cup all-purpose flour
- 1/2 cup granulated sugar
- 1/4 cup unsweetened cocoa powder
- 1/2 teaspoon baking soda
- 1/4 teaspoon salt
- 1 cup milk (any kind works!)
- 1 teaspoon vanilla extract
- 1/2 cup chocolate chips (or more, I won’t tell!)
Equipment You’ll Need
Honestly, the best part is how little you need! You probably have all of this sitting in your kitchen right now. Grab a large mixing bowl, a whisk or just a sturdy spoon (seriously, no mixer needed!), your trusty measuring cups and spoons, and an 8×8 inch baking dish. Oh, and of course, an oven to bake it all in!
Step-by-Step Instructions for The No Mixer Dessert
Alright, let’s get this magic happening! It’s ridiculously easy, I promise. You’ll be enjoying a warm, chocolatey slice before you know it. Don’t have a mixer? No problem! We’re doing this the old-fashioned way, and it’s just as good, maybe even better because it’s so darn simple!
Preheating and Preparing the Pan
First things first, let’s get that oven warming up. We want it nice and toasty at 350°F (175°C). While it’s heating, grab your 8×8 inch baking dish. Give it a good grease with butter or cooking spray – this is key to making sure your amazing dessert slides right out later. No one wants stuck-on bits! A little bit of fat here saves a lot of hassle later.
Mixing the Dry Ingredients
In your big bowl, toss in the flour, sugar, unsweetened cocoa powder, baking soda, and salt. Now, take your whisk or spoon and give it all a good stir. You want to make sure everything is nicely combined. This is important so you don’t end up with a bite that’s just baking soda or bitter cocoa. Just a quick, thorough mix will do the trick.
Combining Wet and Dry Ingredients
Here comes the fun part! Pour the milk and the vanilla extract right into that bowl with the dry ingredients. Now, stir it all together. Be careful not to go crazy here – just mix until you don’t see any big streaks of flour anymore. Overmixing can make cakes tough, and we definitely don’t want that. A few lumps are totally fine, trust me!
Adding the Chocolate Chips and Baking
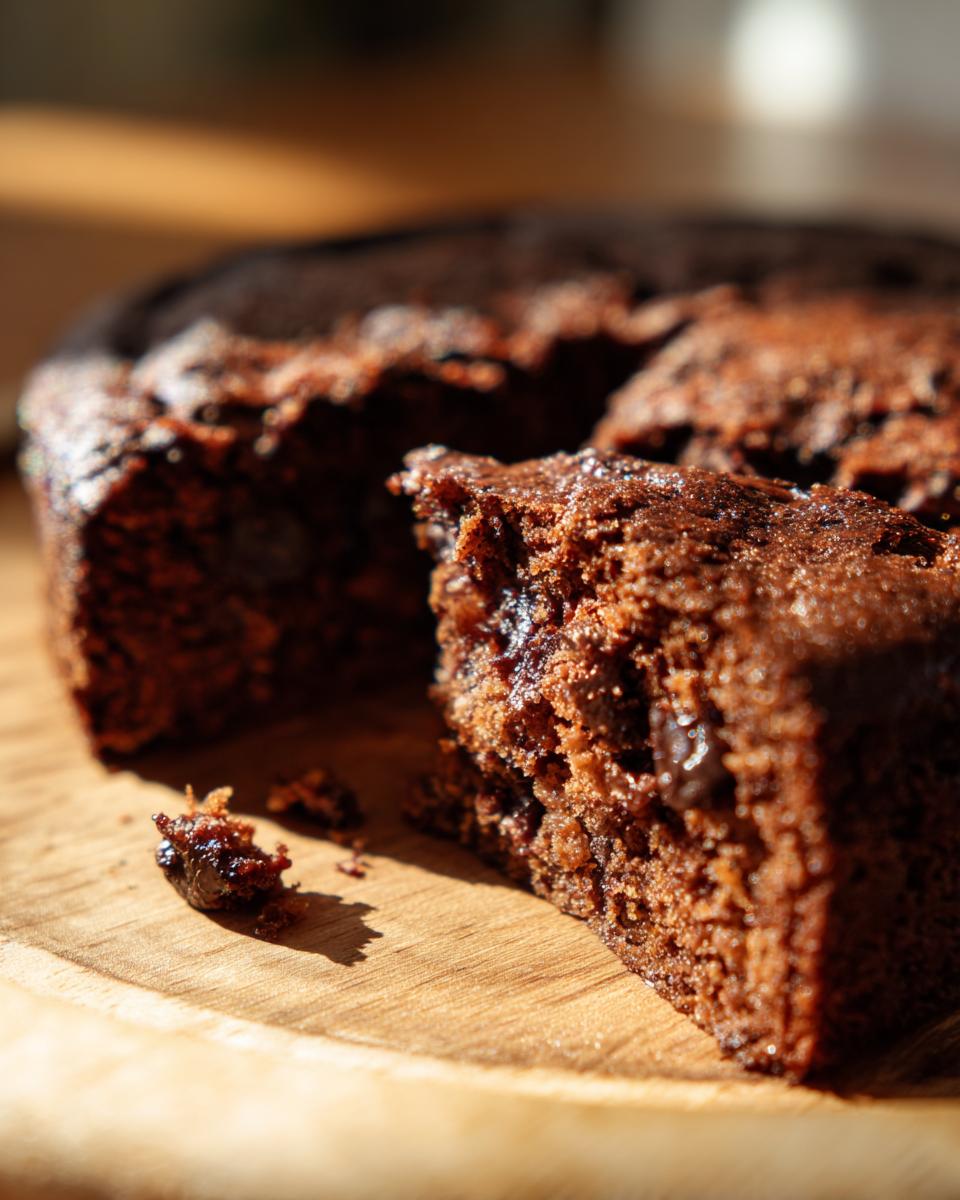
Now for the best part: the chocolate chips! Gently fold them into the batter. You can add more if you’re feeling extra decadent, or even throw in some chopped nuts if that’s your jam. Once they’re all mixed in, pour the batter into your greased baking dish. Spread it out evenly. Pop it into your preheated oven and let it bake for about 30 to 35 minutes. You’ll know it’s ready when a toothpick inserted into the center comes out with just a few moist crumbs attached, not wet batter. That’s the sweet spot! If you want something like this gooey chocolate recipe, you might watch it closely towards the end. Or if you’re feeling cookies, check out this chocolate chip cookie recipe that’s also a breeze!
Cooling and Serving
Once it’s baked to golden-brown perfection, take it out of the oven. Let it cool in the pan for at least 10-15 minutes. This step is crucial! It lets the dessert set up properly and makes it easier to cut. If you try to slice it when it’s piping hot, it might just fall apart. Patience, my friend, patience! Once it’s cooled enough, you can dig in straight from the pan or slice it up onto plates.
Tips for Making The No Mixer Dessert That Never Fails
So, you’ve got the basic idea, but let me share a few little secrets I’ve picked up that make this dessert truly sing. First off, don’t be afraid to really stir the dry ingredients well. Sometimes the cocoa powder can clump up, and you want that chocolatey goodness in every bite, not just in one corner! Speaking of cocoa, using a good quality unsweetened cocoa powder really makes a difference in the depth of flavor. For the milk, any kind works, but I’ve found that whole milk gives it a richer texture. And the chocolate chips? Don’t skimp! If you’re feeling adventurous, try mini chocolate chips because they seem to melt more evenly throughout the batter. Or, swap some out for white chocolate chips or even add a handful of chopped nuts if you like a bit of crunch. This recipe is super forgiving, which is why it’s a lifesaver for busy bakers. If you’re looking for more super easy dessert recipes like this one, you’ve come to the right place!
Ingredient Notes and Substitutions
Let’s talk ingredients for a sec, because sometimes you need to make a little switcheroo! For the milk, any kind works wonders – whole milk will give you that super rich texture, but skim, almond, soy, or oat milk are perfectly fine too. Seriously, whatever you have on hand is great. And those chocolate chips? They’re the star, of course! You can totally use milk chocolate, dark chocolate, or even white chocolate chips. Mini chips are fun because they distribute really well, but regular ones are awesome too. If you don’t have chocolate chips, don’t sweat it! You could chop up a chocolate bar or even throw in some chopped nuts if you prefer a bit of crunch instead.
Serving Suggestions
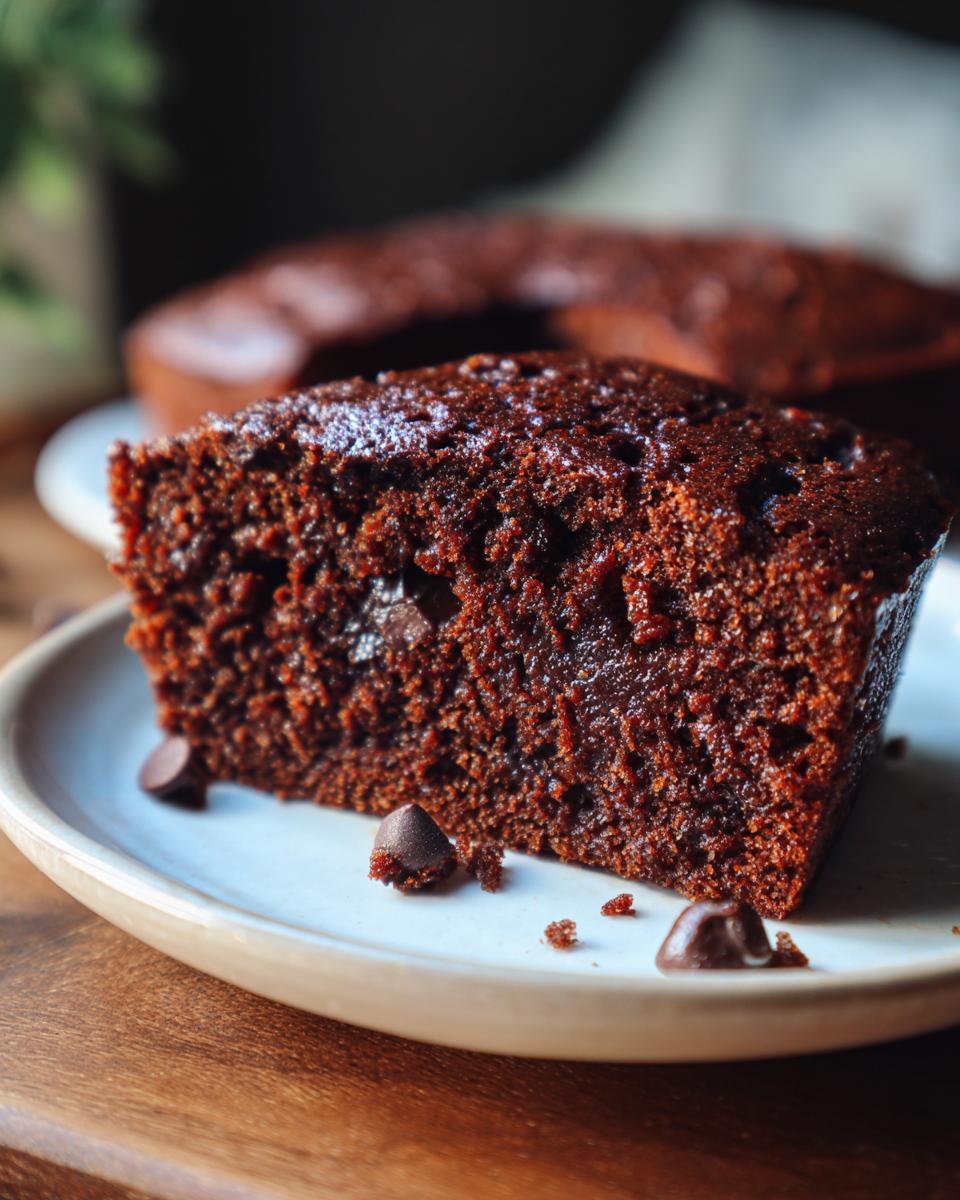
This chocolatey no-mixer dessert is wonderful just as it is, warm from the oven. But if you want to make it extra special? Oh, you totally can! A dollop of cool, creamy vanilla ice cream melting over the warm chocolate is pure heaven. Whipped cream is also a fantastic choice, making it feel a little lighter. For a pop of freshness, some fresh berries like raspberries or strawberries are just divine. Seriously, it’s versatile enough for any occasion, whether it’s a simple weeknight treat or a slightly fancier dessert. If you love cheesecake, maybe check out this cheesecake cupcake recipe for another sweet idea!
Storage and Reheating
Got leftovers? Lucky you! This dessert is pretty forgiving. Just pop any extras into an airtight container or cover the baking dish tightly with plastic wrap. It’ll stay yummy on the counter for a day or two, or you can pop it in the fridge for up to four days. If you want to reheat a slice, I find just a few seconds in the microwave is perfect for warming it up and getting that gooey chocolate just right again. Easy peasy!
Frequently Asked Questions
Got questions? I’ve got answers! This no-mixer dessert is so easy, but it’s totally normal to wonder about a few things. Here are some common ones:
Can I make this gluten-free?
You bet! You can absolutely swap out the all-purpose flour for a good quality gluten-free all-purpose baking blend. Just measure it out the same way, and it should work like a charm. Remember to check that your baking soda and chocolate chips are also gluten-free if you need to keep it strictly gluten-free!
What kind of pan should I use?
An 8×8 inch baking dish is perfect for this recipe and gives you those nice, thick servings. You can also use a 9-inch round cake pan if you prefer a more traditional cake shape. Just keep an eye on the baking time, as round pans can sometimes bake a little faster. If you can’t grease your pan well, lining it with parchment paper (leaving some overhang to lift it out!) is another great trick.
How long does The No Mixer Dessert stay fresh?
This dessert is best enjoyed fresh, especially when it’s still a little warm! But leftovers? They’re still super yummy. Store them in an airtight container at room temperature for up to 2 days, or in the fridge for up to 4 days. A quick zap in the microwave will bring back that lovely gooeyness.
Can I add other mix-ins?
Oh, absolutely! This recipe is super forgiving and great for customizations. Feel free to toss in about a cup of chopped nuts like walnuts or pecans, some shredded coconut, or even a handful of M&Ms along with the chocolate chips. You could even swirl in some peanut butter or caramel for a different flavor profile. Check out this peanut butter brownie recipe for inspiration on adding tasty mix-ins!
Nutritional Information
Just a heads-up, these numbers are estimates, okay? They can totally change depending on the brands you use and exactly how you make it. But, roughly, one serving of this amazing no-mixer dessert has about 250 calories, around 10g of fat (with about 5g being saturated, don’t worry!), 35g of carbs, and 4g of protein. It’s got about 25g of sugar, naturally, from those yummy ingredients!
Print
One-Pot White Bean and Kale Soup
- Total Time: 45 min
- Yield: 6 servings 1x
- Diet: Vegetarian
Description
A simple and hearty one-pot soup featuring white beans and kale.
Ingredients
- 1 tablespoon olive oil
- 1 medium onion, chopped
- 2 carrots, chopped
- 2 celery stalks, chopped
- 3 cloves garlic, minced
- 1 teaspoon dried thyme
- 1/2 teaspoon dried rosemary
- 6 cups vegetable broth
- 2 (15-ounce) cans cannellini beans, rinsed and drained
- 1 bunch kale, stems removed and leaves chopped
- Salt and black pepper to taste
Instructions
- Heat olive oil in a large pot or Dutch oven over medium heat. Add onion, carrots, and celery. Cook until softened, about 8-10 minutes.
- Add garlic, thyme, and rosemary. Cook for 1 minute more until fragrant.
- Pour in vegetable broth and bring to a simmer.
- Stir in the rinsed cannellini beans.
- Add the chopped kale and cook until wilted, about 5-7 minutes.
- Season with salt and black pepper to taste.
Notes
- For a creamier soup, you can mash some of the beans against the side of the pot before adding the kale.
- Serve with crusty bread for a complete meal.
- Prep Time: 15 min
- Cook Time: 30 min
- Category: Soup
- Method: Stovetop
- Cuisine: American
Nutrition
- Serving Size: 1.5 cups
- Calories: 250
- Sugar: 5g
- Sodium: 600mg
- Fat: 5g
- Saturated Fat: 1g
- Unsaturated Fat: 4g
- Trans Fat: 0g
- Carbohydrates: 40g
- Fiber: 10g
- Protein: 15g
- Cholesterol: 0mg
Keywords: one-pot soup, white bean soup, kale soup, vegetarian soup, easy soup, healthy soup