
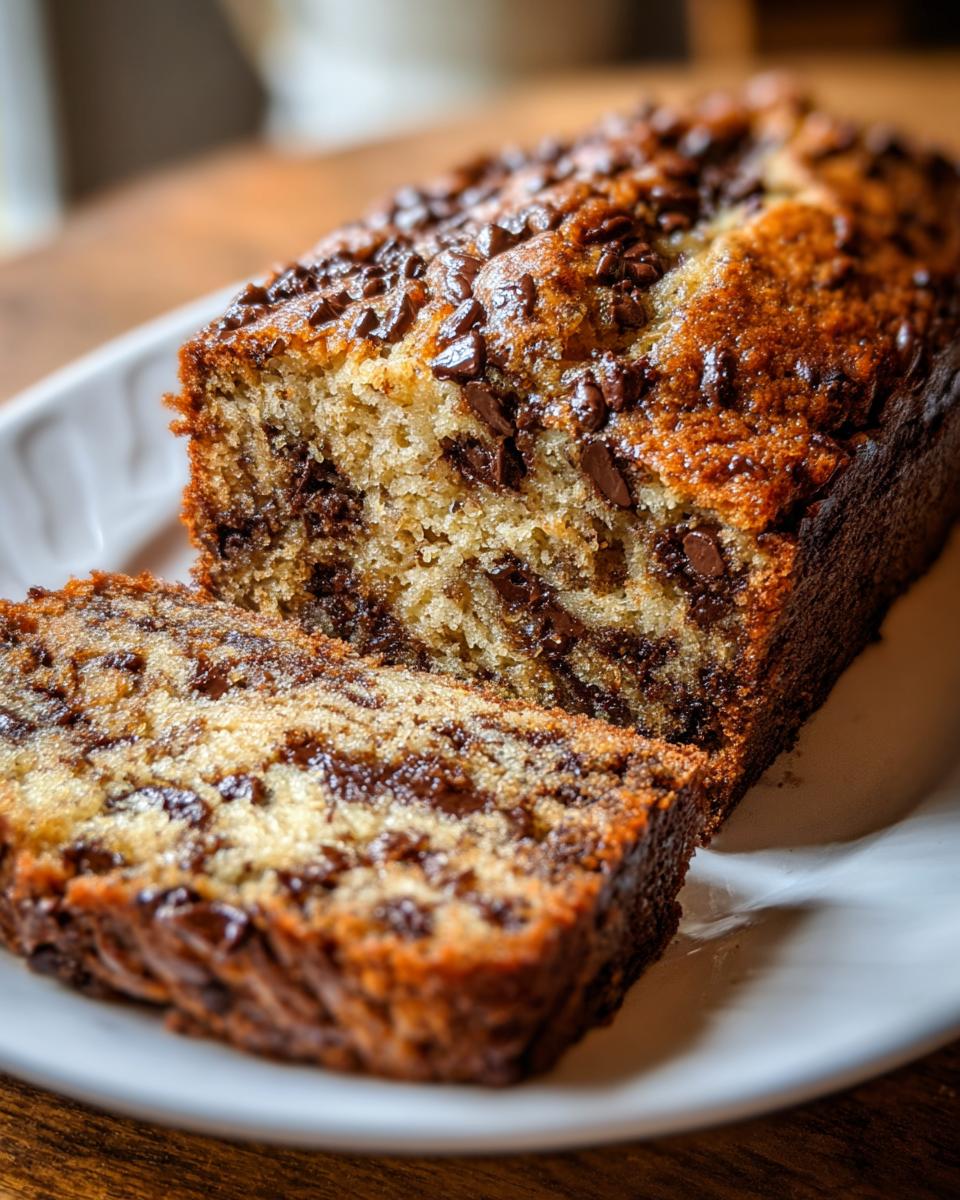
Okay, buckle up, because I’ve got a secret weapon for your dessert needs, and it’s a total game-changer. If you’re anything like me, sometimes the last thing you want to do is drag out the stand mixer or even haul out that hand mixer. That’s where The No Mixer Dessert That Never Fails comes in. Seriously, this thing is pure magic in a bowl! I remember one time, I had unexpected guests pop over, and my brain just went blank. Panic! But then I remembered this recipe. Ten minutes of stirring and into the oven it went, saving the day and impressing everyone. It’s genuinely that simple and THAT good!
Why This No Mixer Dessert Recipe is a Lifesaver
What makes this recipe so fantastic? Well, for starters, it’s ridiculously easy.
- Super Simple Prep: Seriously, all you need is a bowl and a whisk or spoon. No mixer means less hassle!
- Minimal Cleanup: You know how mixers leave a trail of flour and sticky bits everywhere? Not with this one. Just one bowl to wash!
- Gosh-Darn Delicious: Even without any fancy mixing, this dessert comes out perfectly moist and chocolatey every single time.
- So Versatile: You can totally jazz it up with nuts or extra chocolate chips if you’re feeling fancy.
Gather Your Ingredients for The No Mixer Dessert That Never Fails
Alright, getting this amazing dessert made is surprisingly easy because you likely have most of these pantry staples already! You’ll need about a cup of all-purpose flour – I usually give mine a quick sift just to be safe, it really helps make things smooth. Then, half a cup of granulated sugar for sweetness, and a quarter cup of unsweetened cocoa powder for that deep chocolate flavor. Don’t forget the baking soda (half a teaspoon) and a pinch of salt (a quarter teaspoon) to make sure everything rises nicely and pops with flavor!
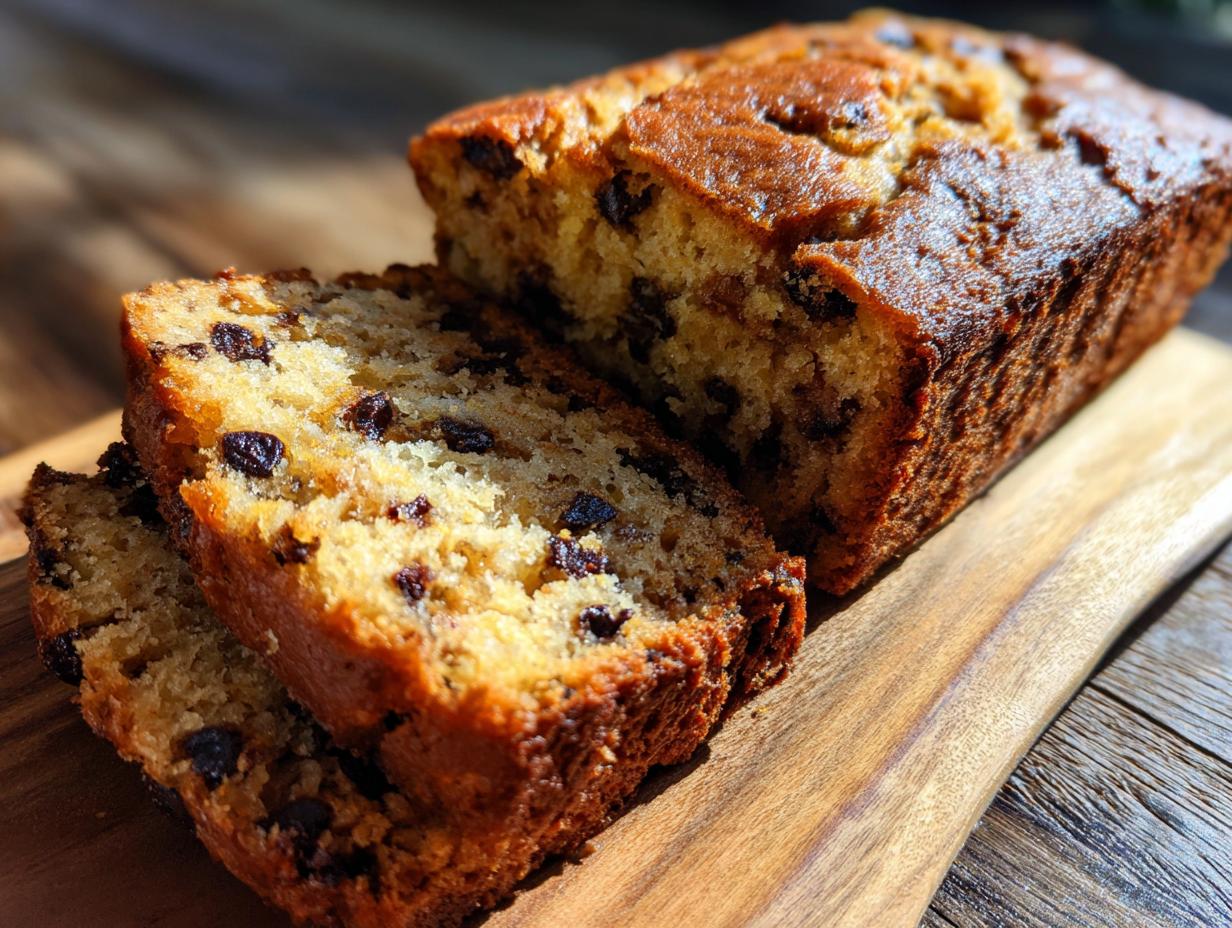
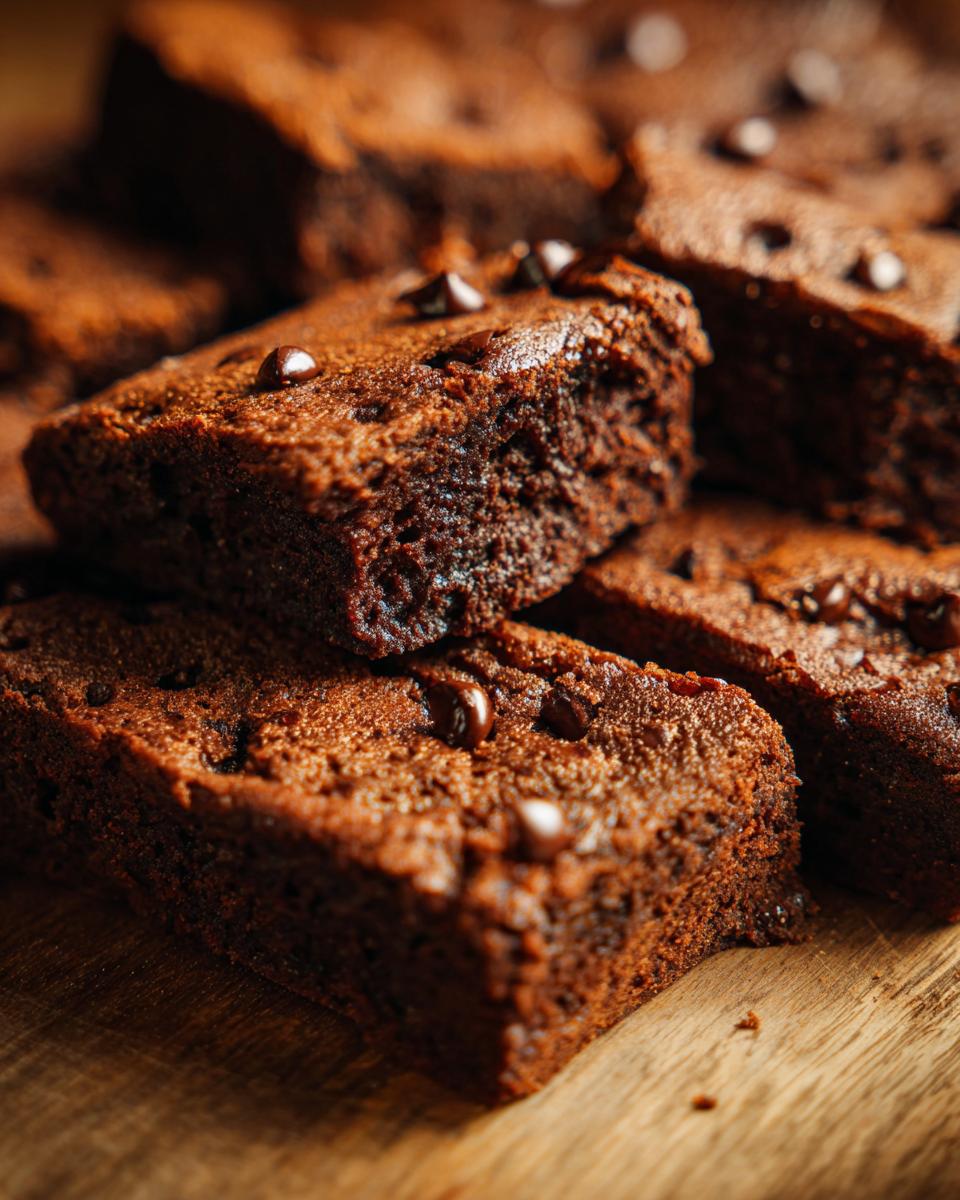
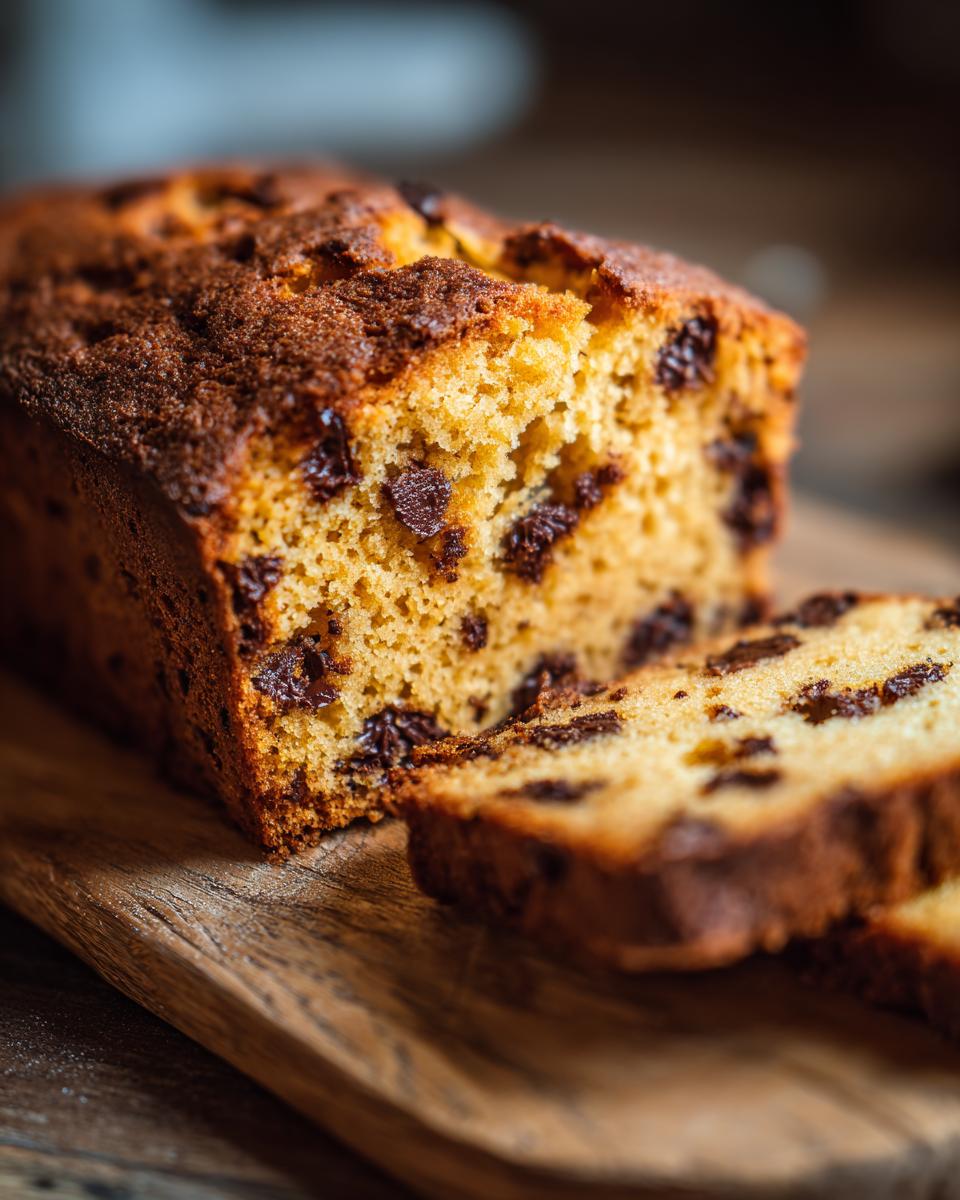
For the wet stuff, just one cup of milk and one teaspoon of vanilla extract. And the pièce de résistance? Half a cup of semi-sweet chocolate chips! Trust me, using good quality cocoa and chocolate makes a difference, and if you love really decadent chocolate things, you’ll adore my double chocolate recipe too. But for this one, even basic ingredients shine! Oh, and if you’re a fan of my famous chocolate chip cookies, you know I’m all about fresh ingredients!
Here’s the quick rundown:
- 1 cup all-purpose flour
- 1/2 cup granulated sugar
- 1/4 cup unsweetened cocoa powder
- 1/2 teaspoon baking soda
- 1/4 teaspoon salt
- 1 cup milk
- 1 teaspoon vanilla extract
- 1/2 cup chocolate chips (semi-sweet work great!)
Simple Steps for The No Mixer Dessert That Never Fails
Making this no-mixer wonder is really just a few easy steps. It’s so straightforward, you’ll be whipping this up whenever a chocolate craving strikes before you can even think about finding the mixer attachments!
Preheating and Preparing Your Baking Dish
First things first, let’s get that oven nice and hot! Preheat it to 350°F (that’s 175°C). Now, grab your baking dish – an 8×8 inch square one is perfect, but you can use a round one too. Give it a good greasing with butter or cooking spray. This step is super important so your delicious dessert doesn’t stick and you get a clean release every time!
Combining Dry Ingredients for The No Mixer Dessert
Grab your favorite bowl – seriously, any bowl will do! Dump in your flour, sugar, cocoa powder, baking soda, and salt. I love using a whisk for this bit, it really helps to get everything evenly distributed and breaks up any little lumps of cocoa powder. It’s a small thing, but it makes a big difference in the final texture. Just give it a good stir until you can’t see any streaks of color. Easy peasy!
Adding Wet Ingredients and Mixing the Batter
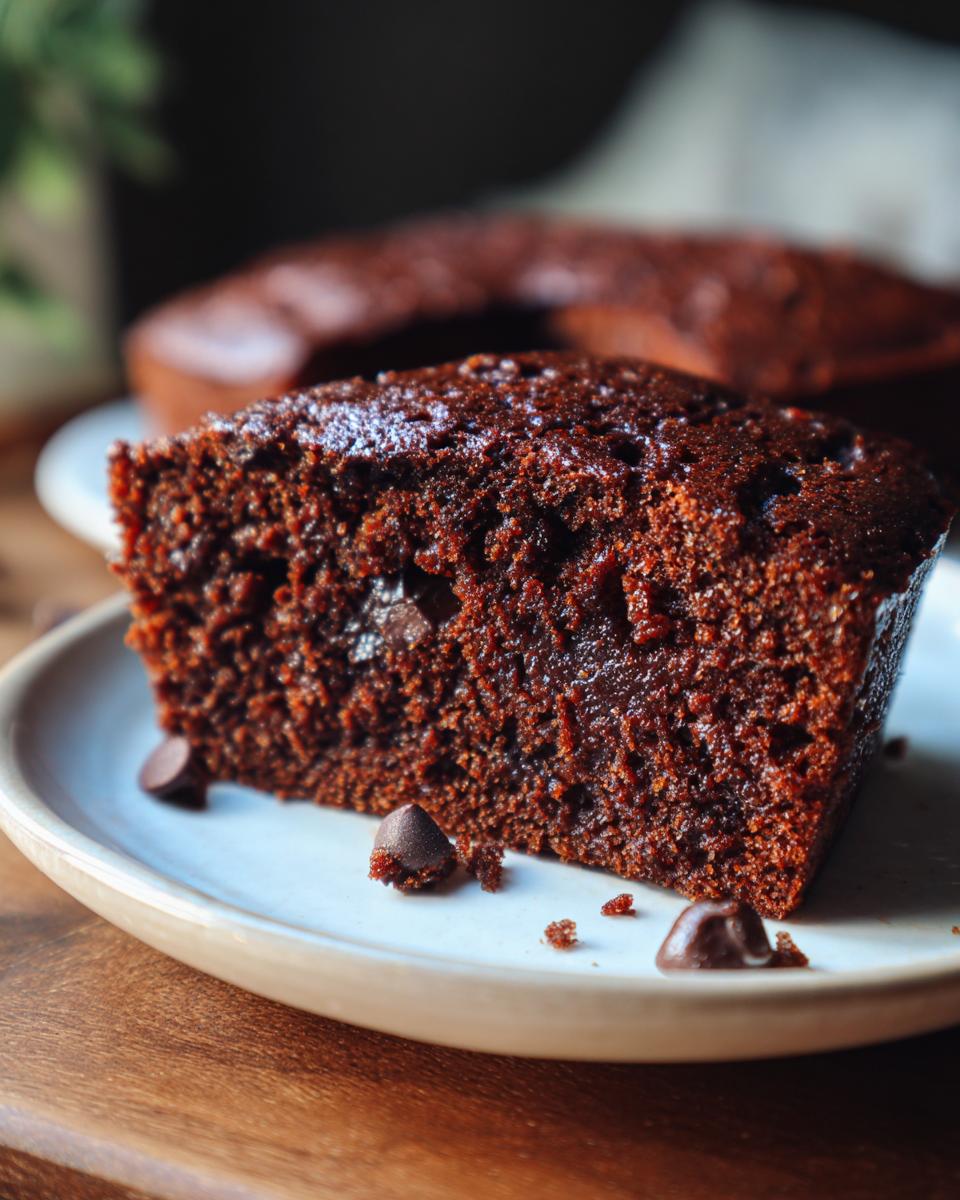
Now for the liquids! Pour in your milk and that lovely vanilla extract. Here’s my little secret: mix until everything is *just* combined. You don’t want to go crazy stirring here. Overmixing can make this dessert a bit tough, and we want it tender and fudgy, right? Just stir until you don’t see any dry flour bits anymore. It’s okay if the batter looks a little thin; that’s part of the magic, especially if you’re going for that gooey, almost gooey chocolate vibe.
Folding in the Chocolate Chips
This is my favorite part! Gently fold in those yummy chocolate chips. You can absolutely use semi-sweet, but feel free to toss in milk chocolate, dark chocolate, or even mini chocolate chips if that’s what you have. I sometimes like to chop up a chocolate bar too, for chunkier bits of chocolate goodness. Just fold them in until they’re pretty evenly distributed. Don’t overwork the batter at this stage either!
Baking The No Mixer Dessert
Pour that beautiful batter into your prepared baking dish. Smooth it out a bit with your spoon. Now, into the preheated oven it goes! Bake for about 30 to 35 minutes. How do you know it’s done? The edges should look set, and if you insert a toothpick into the center, it should come out with a few moist crumbs attached – not drenched in batter, but not perfectly clean either. Ovens can be divas, so keep an eye on it, especially towards the end!
Cooling and Serving Your Dessert
Once it’s baked to perfection, carefully take it out of the oven and let it cool down in the dish on a wire rack. This is crucial! It needs to set up properly. Once it’s cooled enough – warm is delicious too! – you can slice it up. It’s perfect on its own, but honestly, a scoop of vanilla ice cream or a dollop of whipped cream takes it to a whole new level. It’s just as satisfying as my famous chocolate chip cookies, but way faster!
Tips for Making The No Mixer Dessert That Never Fails Perfect Every Time
Okay, so you’ve got the basic recipe down, but want to elevate it just a *tiny* bit? I totally get it! If you’re out of milk, don’t fret – almond milk or even buttermilk works in a pinch, though buttermilk adds a lovely tang. If your dessert seems a little dry, next time try reducing the baking time by a few minutes; the toothpick test is your best friend here, remember to look for those moist crumbs! On the flip side, if it seems too fudgy and underbaked, give it another 5 minutes. I also love adding a teaspoon of instant coffee granules to the dry ingredients sometimes – it deepens the chocolate flavor without making it taste like coffee. It’s also great for when you need *really* easy dessert ideas, check out my list of super easy desserts or my other favorite no-fail recipe, the one that always impresses!
Frequently Asked Questions About This Easy Dessert
Got questions about this ridiculously simple chocolatey treat? I’ve got answers!
Can I use a different type of milk?
Absolutely! While regular milk is great, you can totally swap it out. Almond milk, soy milk, oat milk, or even buttermilk work just fine. Buttermilk adds a lovely little tang that complements the chocolate really well. Just make sure it’s liquid milk, not condensed or evaporated!
How long does this dessert last?
This dessert is best enjoyed fresh, but it keeps pretty well for about 2-3 days. Just cover it tightly with plastic wrap or pop it into an airtight container at room temperature. It might get a little firmer as it sits, but a quick warm-up in the microwave for a few seconds can bring back that gooey goodness.
Can I add nuts or fruit to this recipe?
Oh, you totally can! If you love adding extras, now’s the time. Fold in about half a cup of chopped nuts like walnuts or pecans, or even some dried cranberries for a bit of tartness, along with the chocolate chips. Just remember, softer additions like fresh berries might make it a little too moist, so stick to things that won’t add a ton of extra liquid.
What if I don’t have baking soda?
Baking soda is pretty key here for lift, but if you’re in a serious pinch, you can try using double the amount of baking powder instead. It won’t give you quite the same texture, and the flavor might be a tiny bit different, but it should still work to get your dessert to rise!
Nutritional Information (Estimated)
Because this No Mixer Dessert is so simple, the exact nutrition can change a bit depending on what you use, but here’s a general idea of what you’re getting per serving. It’s around 250 calories, with about 10g of fat – don’t worry, plenty of that is good stuff – and roughly 35g of carbs, including about 25g of sugar. You’ll also get a little protein and sodium. Remember, these numbers are just estimates, folks!
Print
One-Pot White Bean and Kale Soup
- Total Time: 45 min
- Yield: 6 servings 1x
- Diet: Vegetarian
Description
A simple and hearty one-pot soup featuring white beans and kale.
Ingredients
- 1 tablespoon olive oil
- 1 medium onion, chopped
- 2 carrots, chopped
- 2 celery stalks, chopped
- 3 cloves garlic, minced
- 1 teaspoon dried thyme
- 1/2 teaspoon dried rosemary
- 6 cups vegetable broth
- 2 (15-ounce) cans cannellini beans, rinsed and drained
- 1 bunch kale, stems removed and leaves chopped
- Salt and black pepper to taste
Instructions
- Heat olive oil in a large pot or Dutch oven over medium heat. Add onion, carrots, and celery. Cook until softened, about 8-10 minutes.
- Add garlic, thyme, and rosemary. Cook for 1 minute more until fragrant.
- Pour in vegetable broth and bring to a simmer.
- Stir in the rinsed cannellini beans.
- Add the chopped kale and cook until wilted, about 5-7 minutes.
- Season with salt and black pepper to taste.
Notes
- For a creamier soup, you can mash some of the beans against the side of the pot before adding the kale.
- Serve with crusty bread for a complete meal.
- Prep Time: 15 min
- Cook Time: 30 min
- Category: Soup
- Method: Stovetop
- Cuisine: American
Nutrition
- Serving Size: 1.5 cups
- Calories: 250
- Sugar: 5g
- Sodium: 600mg
- Fat: 5g
- Saturated Fat: 1g
- Unsaturated Fat: 4g
- Trans Fat: 0g
- Carbohydrates: 40g
- Fiber: 10g
- Protein: 15g
- Cholesterol: 0mg
Keywords: one-pot soup, white bean soup, kale soup, vegetarian soup, easy soup, healthy soup