
Okay, so can we just talk for a second about how sometimes you just *need* a dessert that looks like you spent hours slaving away in the kitchen, but really, it barely took any time at all? That’s exactly where these chocolate lava cakes come in. Seriously, they’re the ultimate secret weapon in my dessert arsenal. I can whip these up and bam! Instant fancy dessert that always, always impresses. There have been so many times I’ve needed a showstopper last minute, and these little beauties have saved the day. They’re truly The No Fail Dessert That Always Impresses, and trust me, your friends (and your sweet tooth) will thank you.
Why This Chocolate Lava Cake Is The No Fail Dessert That Always Impresses
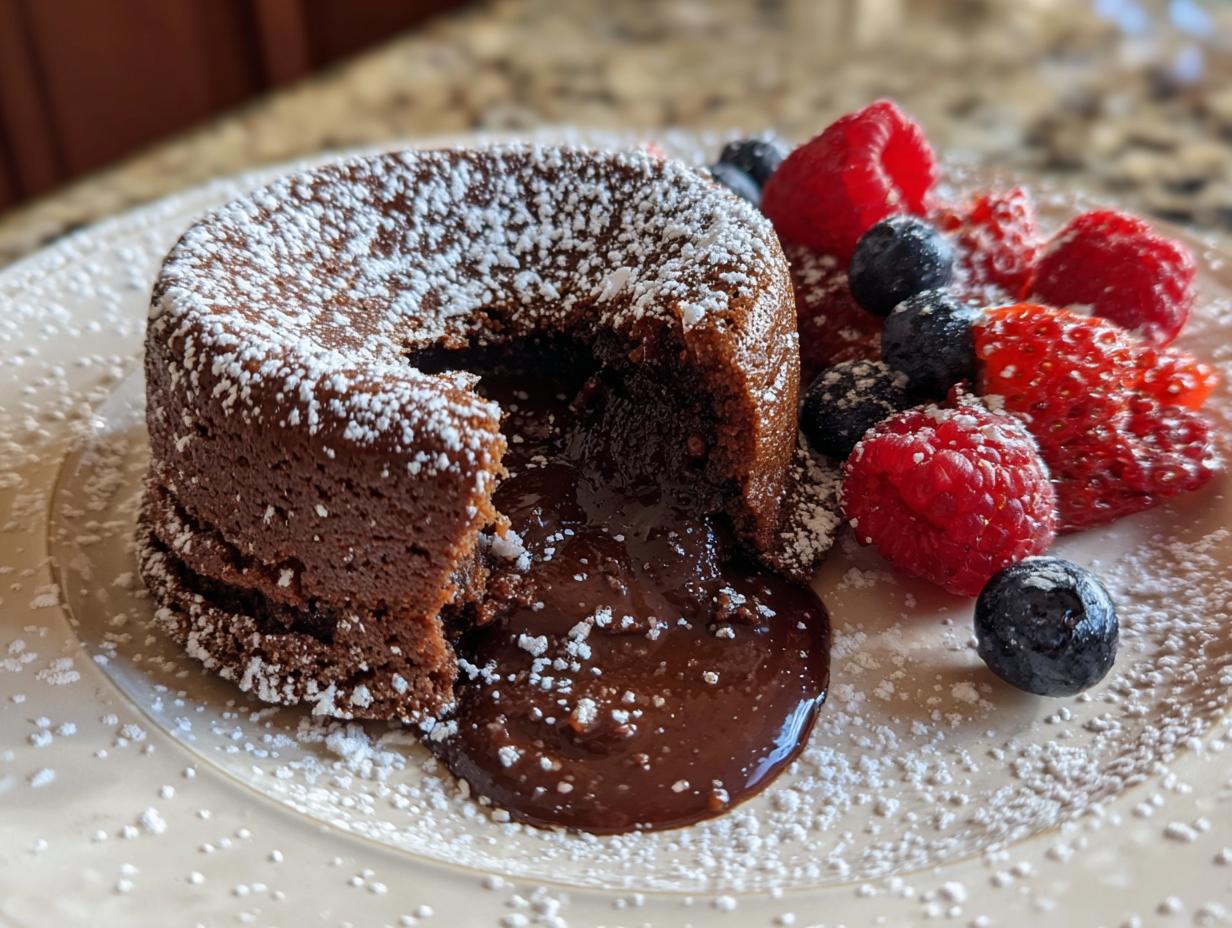
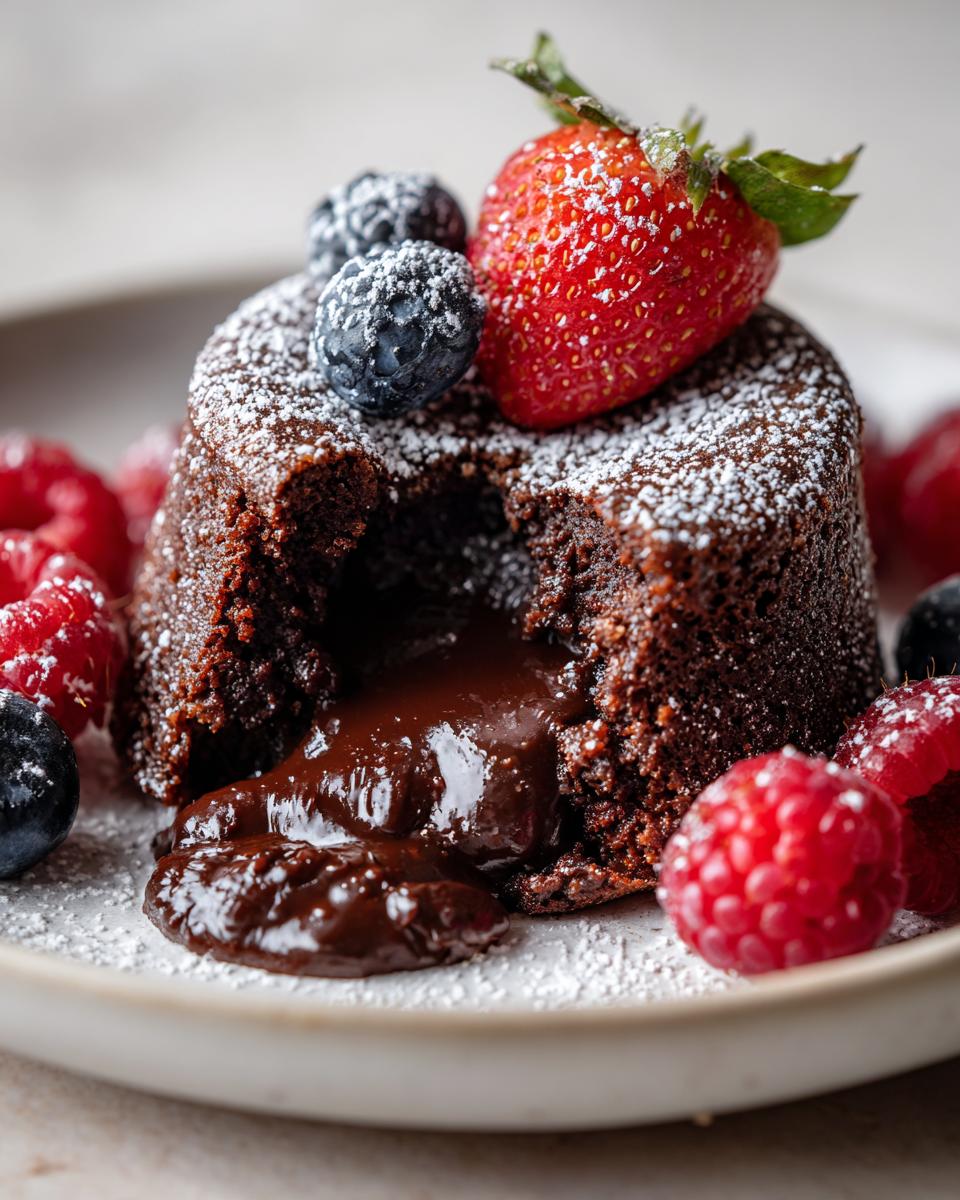
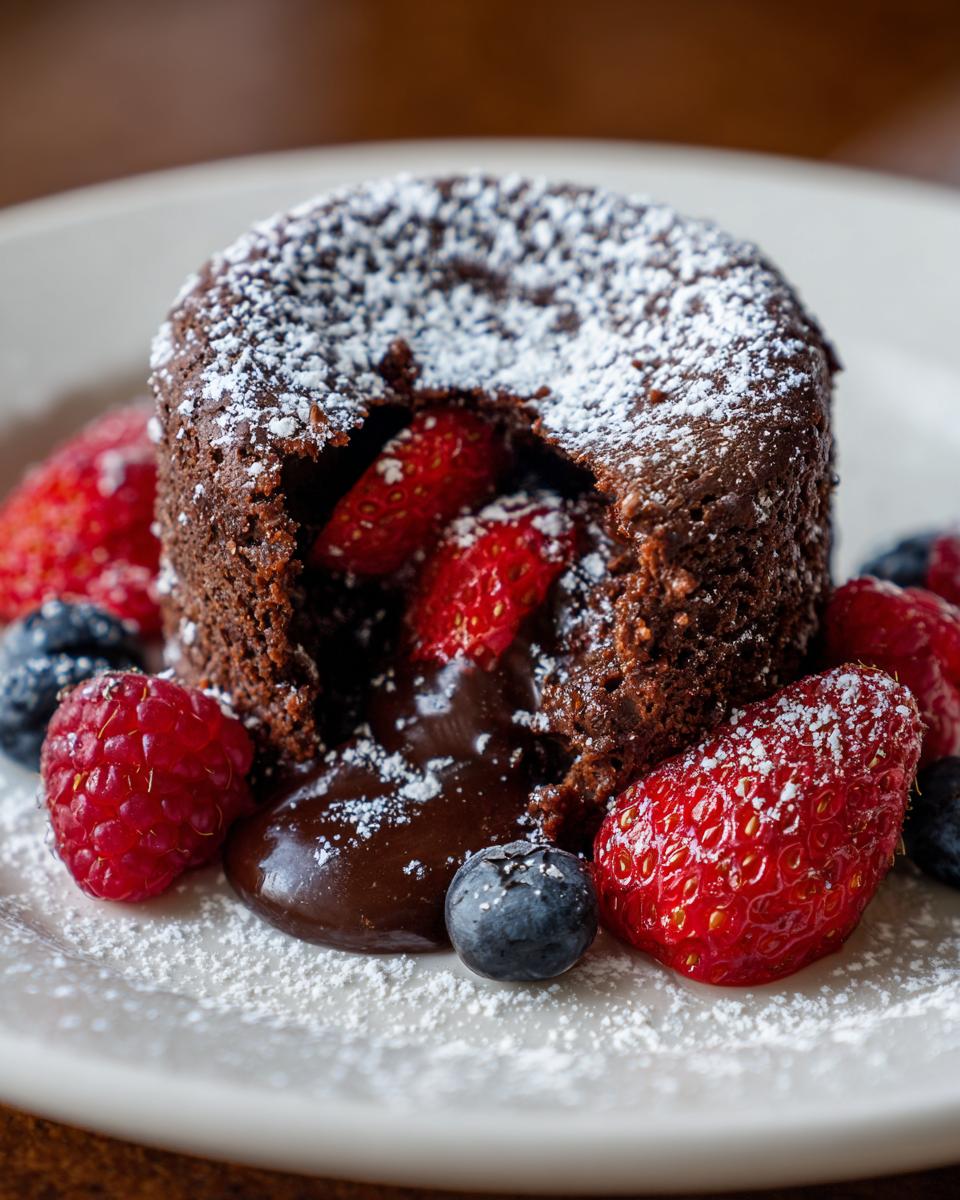
Honestly, what’s not to love? It’s all about that magical moment when you cut into the cake and that warm, gooey chocolate just oozes out. Pure heaven! This recipe is my go-to because it makes something so decadent look like it took ages, but it’s genuinely so straightforward. Even if you’re not a master baker, you’ll nail this. The intense chocolate flavor, usually from good quality semi-sweet stuff, is just incredible. Plus, serving them in individual ramekins makes them look so elegant, perfect for a date night or when you have guests over and want to really wow them without breaking a sweat. I’ve made these dozens of times, and they’ve never, ever let me down. They’re a little bit of pure chocolatey magic, every single time. You can even find recipes for gooey chocolate delights and other easy chocolate lava cakes that are just as amazing!
Gather Your Ingredients for The No Fail Dessert That Always Impresses
Alright, let’s get our mise en place ready! To make these little puddles of chocolatey joy, you’ll need just a handful of things that I bet you probably already have in your pantry. We’re talking:
- 6 ounces of semi-sweet chocolate, all chopped up.
- 1/2 cup (that’s one stick!) of unsalted butter.
- 2 large eggs, the regular kind.
- 2 more large egg yolks – don’t skip these, they make it extra rich!
- 1/4 cup of granulated sugar.
- Just 2 tablespoons of all-purpose flour. Seriously, that’s it!
- A tiny pinch of salt to make the chocolate sing.
- And if you’re feeling fancy for serving, a little powdered sugar for dusting and maybe some fresh berries.
Now, a little secret from me to you: the quality of your chocolate really matters here. Since it’s the star of the show, using good semi-sweet chocolate makes a HUGE difference. It’s like the difference between a good chocolate chip cookie and an REALLY good one, you know? Trust me on this! You can find more ideas for double chocolate goodness over here if you’re curious.
Step-by-Step Guide to Making The No Fail Dessert That Always Impresses
Alright, let’s dive into the fun part! Making these isn’t nearly as intimidating as it sounds, trust me. Just follow these steps, and you’ll have a molten masterpiece in no time. It’s all about a little bit of patience and knowing when to stop!
Preparing the Ramekins and Oven
First things first, crank up that oven to 425°F (that’s 220°C). And grab those two little ramekins you’re going to use for baking. You absolutely have to grease them really well, and then dust them with flour. This little step is super important because it makes sure your gorgeous lava cakes slide right out when they’re done. Nobody wants a stuck lava cake!
Melting the Chocolate and Butter
Now for the star of the show – the chocolate! You can do this one of two ways. The classic is a double boiler: a heatproof bowl over a pot of simmering water, making sure the water doesn’t touch the bottom of the bowl. Just stir until it’s all smooth and melty. OR, if you’re in a hurry like I often am, you can pop it in the microwave in short bursts, stirring in between, until it’s silky smooth. We want zero lumps here!
Creating the Cake Batter
In a separate bowl, whisk together your eggs, those extra yolks, and the sugar until it’s looking pale and a little fluffy. Then, gently pour in that glorious melted chocolate and butter mixture and stir it all up. The next part is key: fold in the flour and salt. Just stir until you don’t see any more dry flour streaks. Seriously, *gently*. Overmixing can make these tough, and we want them tender and gooey!
Baking to Perfection
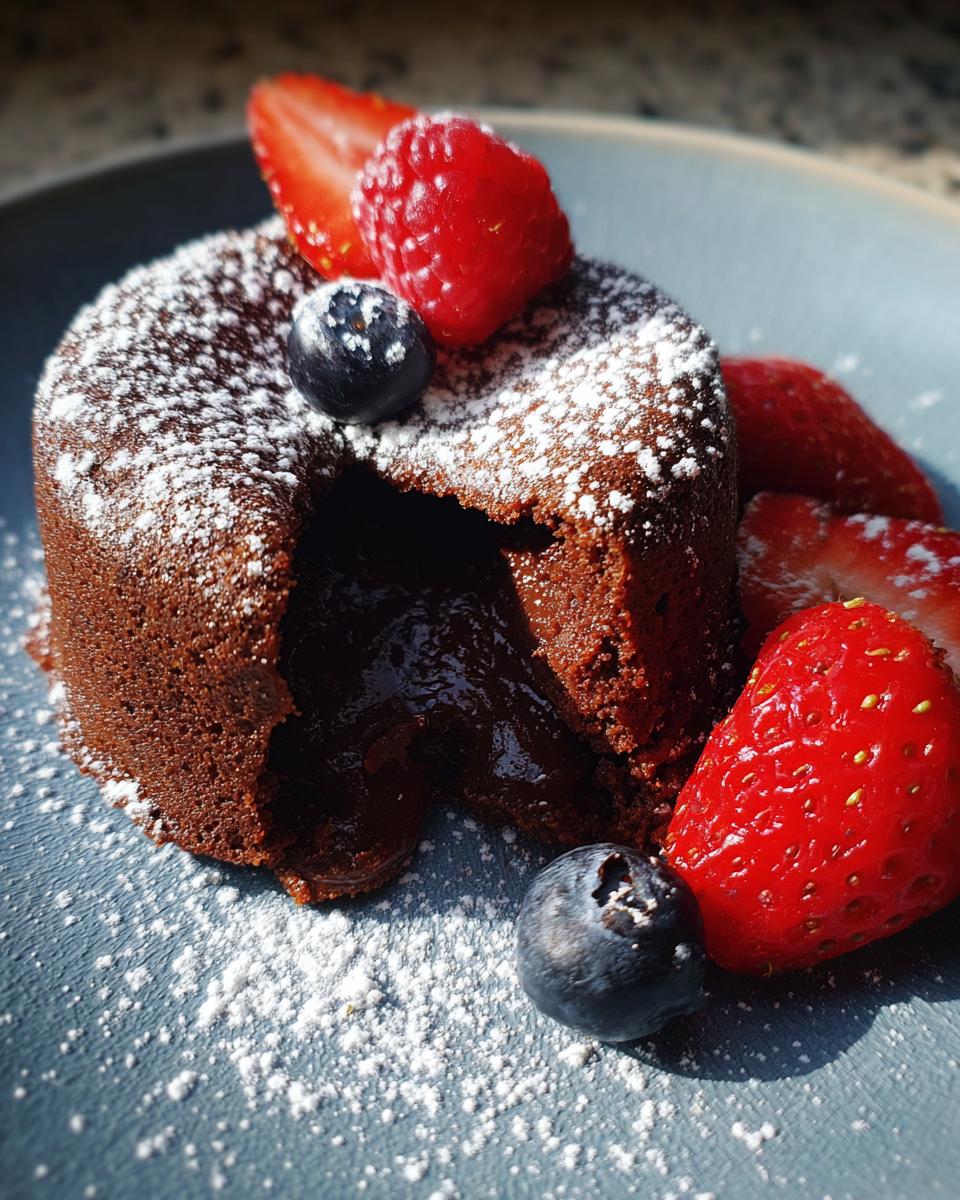
Pour that lovely batter into your prepped ramekins. Now, pop them into your hot oven for about 12 to 15 minutes. You’re looking for the edges to be set, kind of firm to the touch, but the very center should still be soft and jiggly. This is the secret to that molten lava! If you bake them too long, you’ll just have delicious chocolate cupcakes, but no lava. Keep a close eye on them; ovens can be so different! For me, 13 minutes is usually the sweet spot.
Serving Your Impressive Dessert
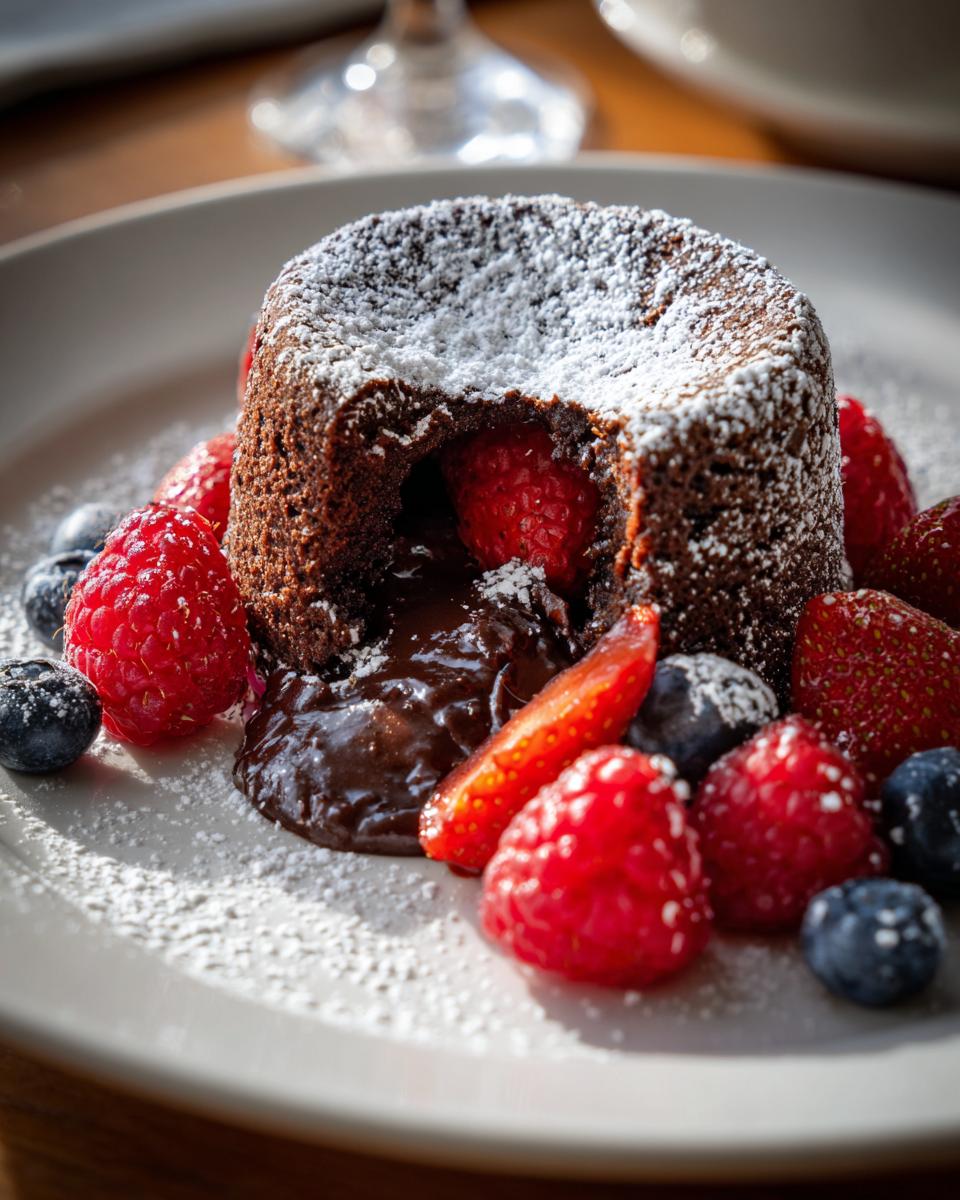
Once they’re done, let them hang out in the ramekins for just a minute or two – don’t leave them too long! Then, carefully flip them onto your serving plates. A little plate, a little shimmy, and voila! You can dust them with some powdered sugar if you like, or pile on some pretty fresh berries. Serve them up right away while they’re still warm and that chocolate lava is at its peak!
If you’re looking for more ideas on how to make amazing desserts, check out these recipes for homemade donuts or more warm molten chocolate lava cakes!
Tips for Success with The No Fail Dessert That Always Impresses
Even though this recipe is pretty foolproof, there are a few little tricks I’ve picked up that make sure these chocolate lava cakes turn out perfectly *every single time*. These are the things that make them truly The No Fail Dessert That Always Impresses for me!
First, I really can’t stress enough how much using good quality chocolate matters. It’s the heart of this dessert! If you use the cheap stuff, it just won’t have that deep, rich flavor. Think about it like baking a really good chocolate chip cookie – the chocolate chips make all the difference. Second, don’t overmix the batter once you add the flour! Overmixing develops gluten, which can make your cakes tough instead of tender and gooey. Just mix until it’s *barely* combined. And the biggest one: watch your baking time like a hawk! Ovens vary like crazy. You want those edges set but the center still jiggly. If you bake too long, you’ll miss out on the molten magic. If you’re ever unsure about how gooey something should be, just check out other gooey chocolate recipes – it’s that same idea!
Ingredient Notes and Substitutions
When you’re making these little chocolate wonders, a few ingredients really set them apart. For the chocolate, I always go for a good quality semi-sweet. It’s got that perfect balance – not too sweet, not too bitter. If you can’t find semi-sweet, a bittersweet chocolate works too, but you might want to add just a touch more sugar to the batter. And butter? Unsalted is best here because it lets you control the saltiness yourself. Using margarine just doesn’t give you that same rich, buttery flavor that makes these cakes so special. The flour is just there to give it a little structure, so don’t think about skipping it, and the eggs are crucial for that melt-in-your-mouth texture and, of course, the lava!
Make-Ahead and Storage Instructions
Okay, here’s a little kitchen magic for you: you can totally make the batter for these lava cakes ahead of time! Just whip it all up according to the recipe, pour it into your greased ramekins, cover them tightly with plastic wrap, and pop them in the fridge for up to 24 hours. When you’re ready to bake, just pull them out, maybe let them sit on the counter for 10 minutes while the oven preheats (since they’re cold), and then bake them a minute or two longer than the recipe states, watching closely. If you have any leftovers (unlikely, but hey!), store them in an airtight container in the fridge. To reheat, zap them gently in the microwave for about 10-15 seconds. You want to warm them just enough to get that center gooey again, not cook them all the way through. It’s like having a fresh lava cake on demand! So convenient, right? You can find tons of make-ahead tips for things like banana bread that might give you ideas too!
Frequently Asked Questions
Got questions? I’ve got answers! Making these molten chocolate cakes is pretty straightforward, but a few things pop up now and then. Here are some common queries:
Can I make these without ramekins?
You sure can! If you don’t have ramekins, you can use a standard muffin tin. Just make sure to grease and flour the cups really well, or even better, use those little paper liners. You might need to adjust the baking time a tiny bit, so keep an eye on them. You can also try using oven-safe mugs if you have those handy!
What if my cake doesn’t have a molten center?
Oh no! This usually happens if you overbake them. The trick is to pull them out as soon as the edges look set but the middle is still a little soft and jiggly. It’s better to err on the side of underbaking slightly! If they come out fully cooked, don’t fret – they’ll still be delicious, just more like a rich chocolate cake. Maybe try baking them for just 12 minutes next time instead of 15. You can also check out other cheesy recipes for inspiration on making things delightfully gooey!
Can I use milk chocolate instead of semi-sweet?
You definitely can, but be aware that milk chocolate is much sweeter. Your lava cakes will turn out sweeter too! If you use milk chocolate, you might want to reduce the sugar in the batter by a tablespoon or two. The texture might also be a little softer. For that classic deep chocolate flavor, semi-sweet or bittersweet is usually best, but by all means, experiment if you love milk chocolate!
Nutritional Information
Just a little heads-up: the nutritional info here is an estimate, okay? It can change depending on the exact brands of chocolate and butter you use, and how big your “generous” dusting of powdered sugar is. But generally, one of these decadent little lava cakes is roughly:
- Calories: 450
- Fat: 30g
- Sugar: 35g
- Carbohydrates: 40g
- Protein: 6g