

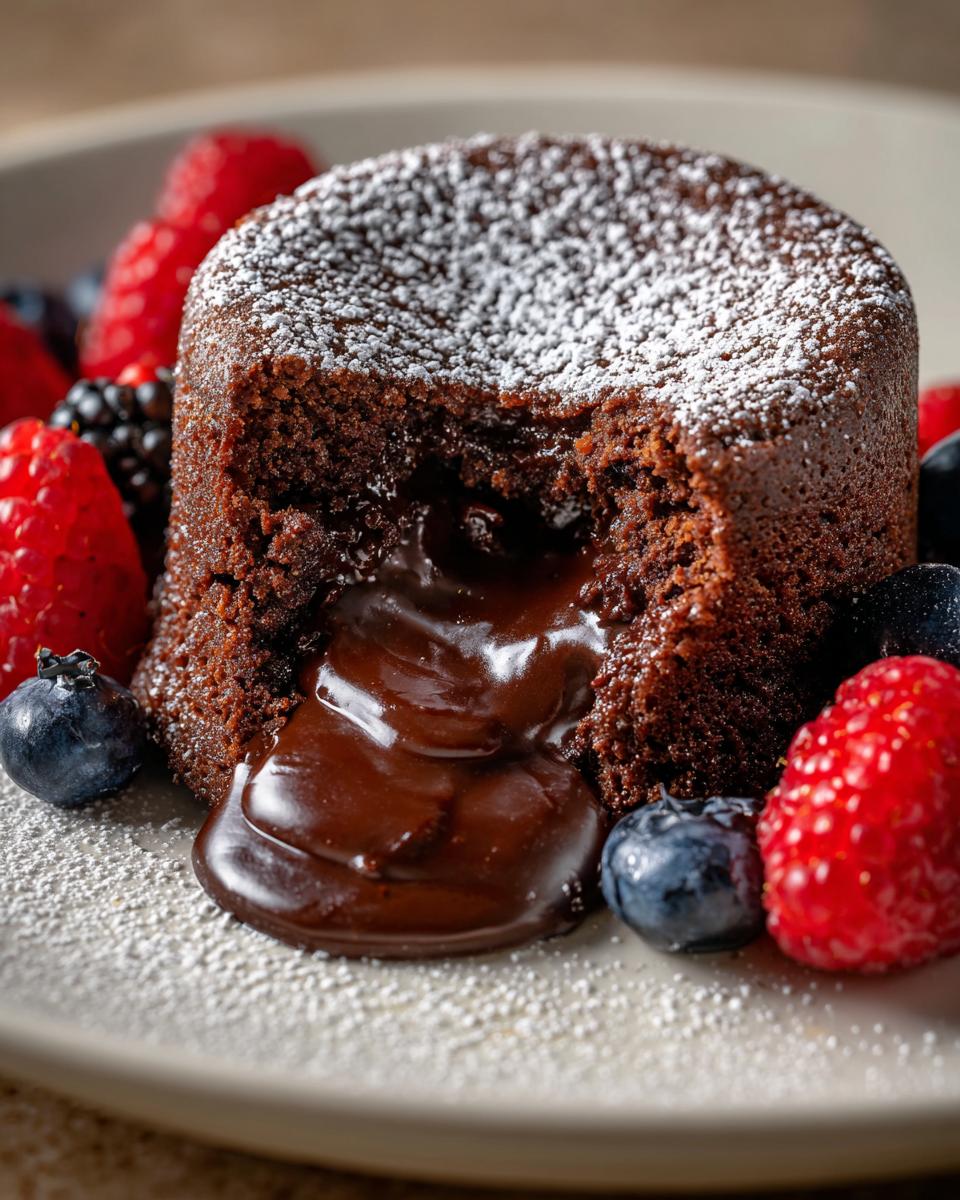
Okay, let’s talk about *the* dessert. The one you whip up when you want to seriously impress, but also, you know, not spend your entire evening in the kitchen. I’m talking about chocolate lava cakes, my absolute go-to for “The No Fail Dessert That Always Impresses.” Seriously, these little beauties are pure magic! Imagine this: a warm, impossibly rich chocolate cake on the outside, and then BAM! A gooey, molten chocolate center that just oozes out when you cut into it. Utter heaven. I remember serving these for the first time at a dinner party years ago, and I was so nervous they wouldn’t turn out perfect, but everyone raved! It’s the kind of dessert that makes you look like a baking genius, even if you barely had to break a sweat. Trust me, you’re going to want to bookmark this recipe.
Why This Chocolate Lava Cake Is The No Fail Dessert That Always Impresses
So, why do I call these chocolate lava cakes “The No Fail Dessert That Always Impresses”? It’s simple, really! First off, they are ridiculously easy to make. Like, you can literally whip up the batter in about 15 minutes flat. And the ingredients? Super basic stuff you probably already have in your pantry. The magic comes from just a few quality items coming together perfectly.
But the real showstopper is how impressive they look. Serving individual little cakes with that oozy chocolate center? Instant gourmet vibes! Nobody needs to know it took minimal effort. Plus, they’re baked fresh to order, so they’re always wonderfully warm and decadent. It really doesn’t get any better for a dessert that’s both comforting and incredibly chic.
Gather Your Ingredients for The No Fail Dessert
Alright, let’s get our ducks in a row! To make these dreamy chocolate lava cakes, you’ll need just a handful of things. Don’t worry, it’s all super standard stuff you likely have on hand. First up, grab 6 ounces of good quality semi-sweet chocolate. Make sure it’s chopped up nice and fine so it melts smoothly. Then you’ll need 1/2 cup (that’s one stick!) of unsalted butter, cut into little pieces so it softens up easily. For that luscious texture, we need 2 large eggs and 2 extra large egg yolks. Don’t skip those yolks – they’re key to the richness!
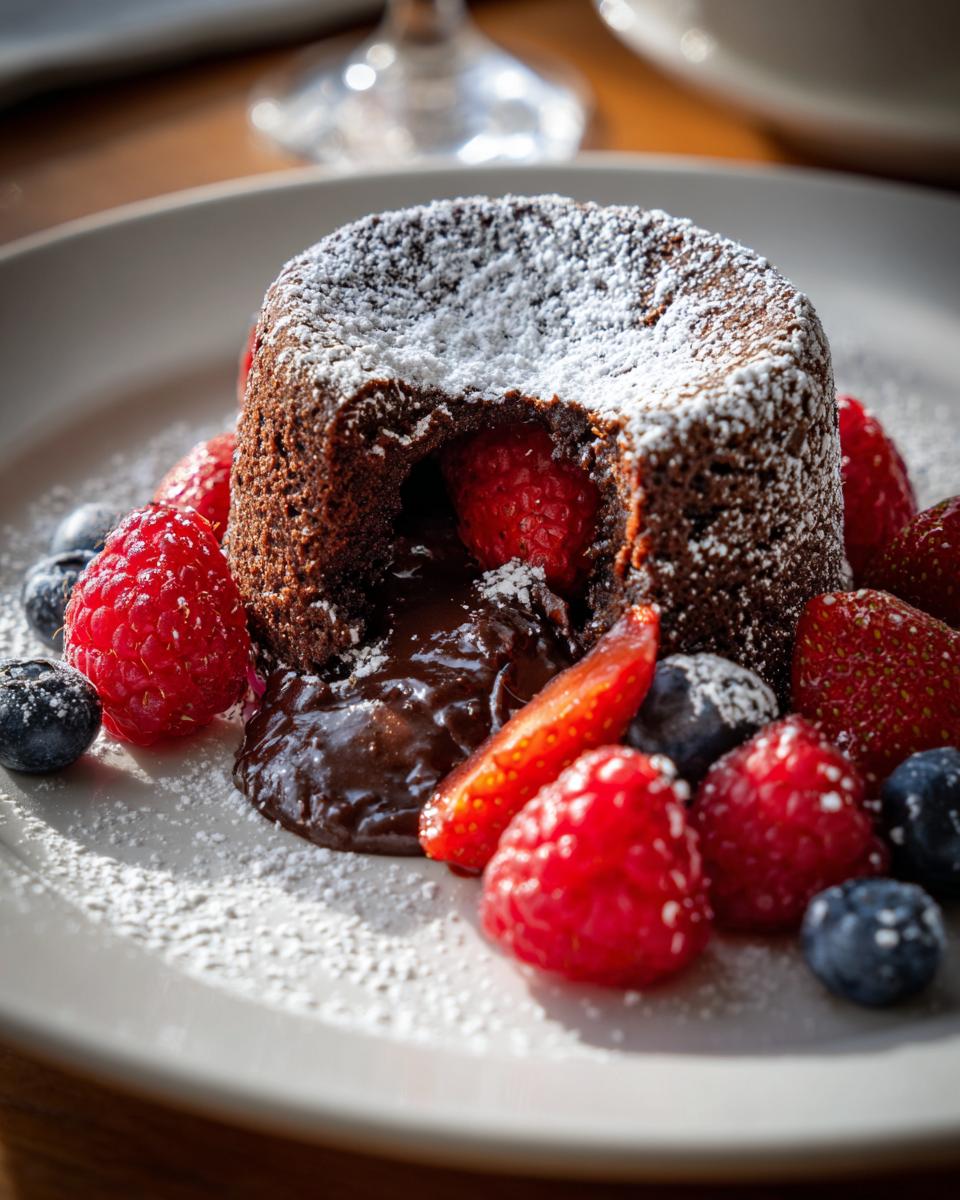
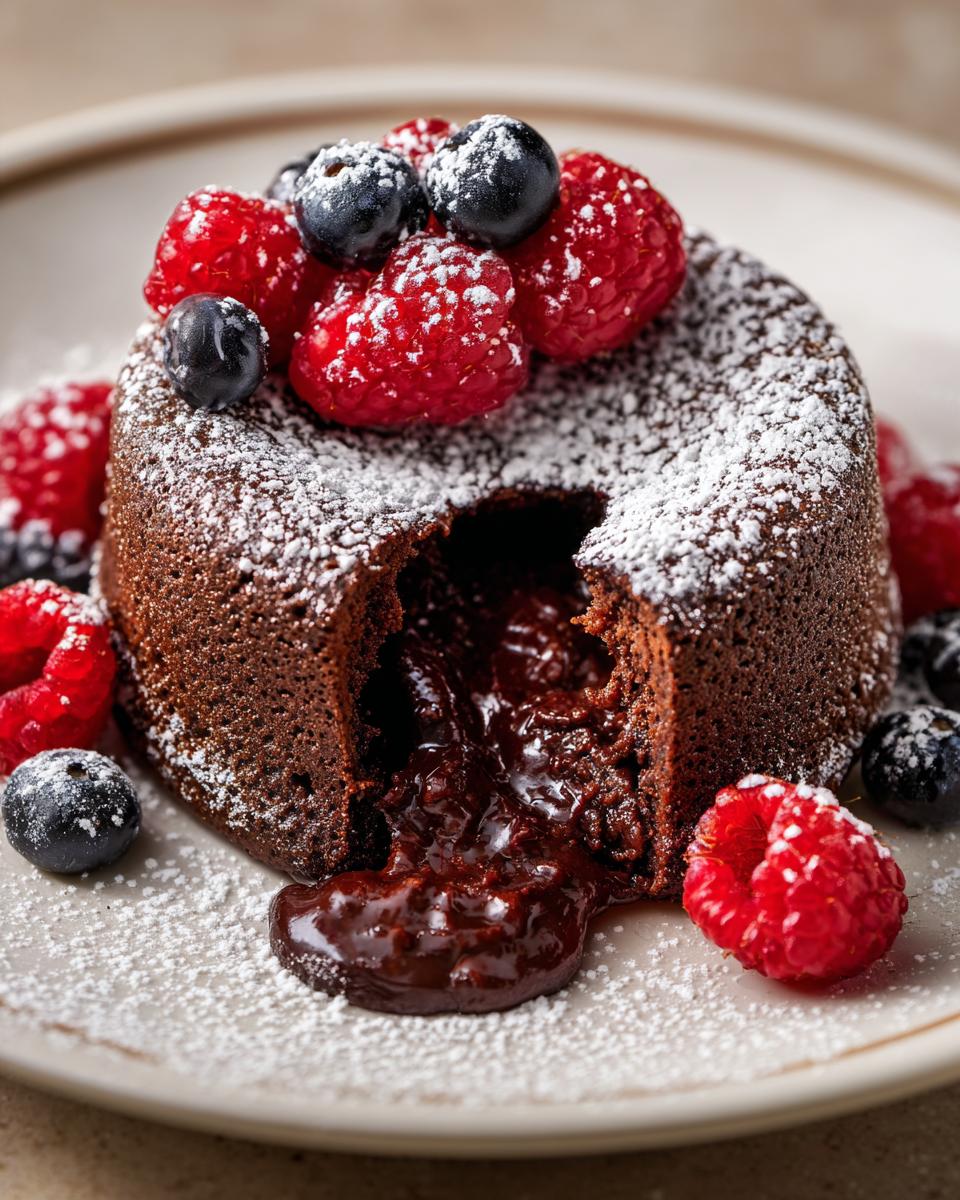
Next, we have 1/4 cup of granulated sugar to sweeten things up just right. Just 2 tablespoons of all-purpose flour are needed; we don’t want too much or it won’t be lava-y! A little pinch of salt goes in to really make that chocolate flavor pop. And if you’re feeling fancy, have some powdered sugar ready for dusting (totally optional!) and maybe a few fresh berries for serving. Simple, right?
Step-by-Step Guide to The No Fail Dessert
Okay, buckle up, because this is where the magic happens! Making these little chocolate lava cakes is surprisingly straightforward. It all starts with getting your oven hot and ready. So, first things first, preheat your oven to a nice, toasty 425°F (that’s 220°C). While that’s heating up, grab two little ramekins – the small oven-safe bowls. You’ll want to generously grease and then flour them. This step is super important, trust me, it makes sure your beautiful cakes slide right out later without any drama. You can find a great tutorial for making warm molten chocolate lava cakes here.
Preparing the Ramekins and Oven
Getting your oven to the right temperature is the first secret to these cakes. A hot oven means they cook up quickly, setting the outside while keeping that glorious molten center. And those ramekins? Greasing and flouring them is non-negotiable for a smooth release. You want these beauties to pop right out onto your plate, looking perfect!
Melting the Chocolate and Butter
Now for the heart of the cake: the chocolate and butter! You can do this a couple of ways. My favorite is using a double boiler – that’s a heatproof bowl set over a gentle simmer of water, making sure the bottom of the bowl doesn’t touch the water. Just stir until everything is smooth and glorious. Or, you can carefully melt it in the microwave in short bursts, stirring in between. The goal is a silky, completely smooth mixture with no lumps whatsoever. If you love chocolate, you might want to check out this double chocolate recipe too!
Creating the Cake Batter
In a separate bowl, it’s time to whisk. Get in there with your eggs, those precious yolks, and the sugar. Whisk them together until they turn a pretty pale yellow and look a bit thicker, almost like a ribbon when you lift the whisk. Then, slowly pour in that warm, melted chocolate and butter mixture, giving it a good whisk until everything is combined. Now, for the final touch: gently fold in your flour and that pinch of salt. Be super gentle here – just mix until you don’t see any dry flour streaks. Overmixing is the enemy of a tender cake!
Baking and Serving The No Fail Dessert
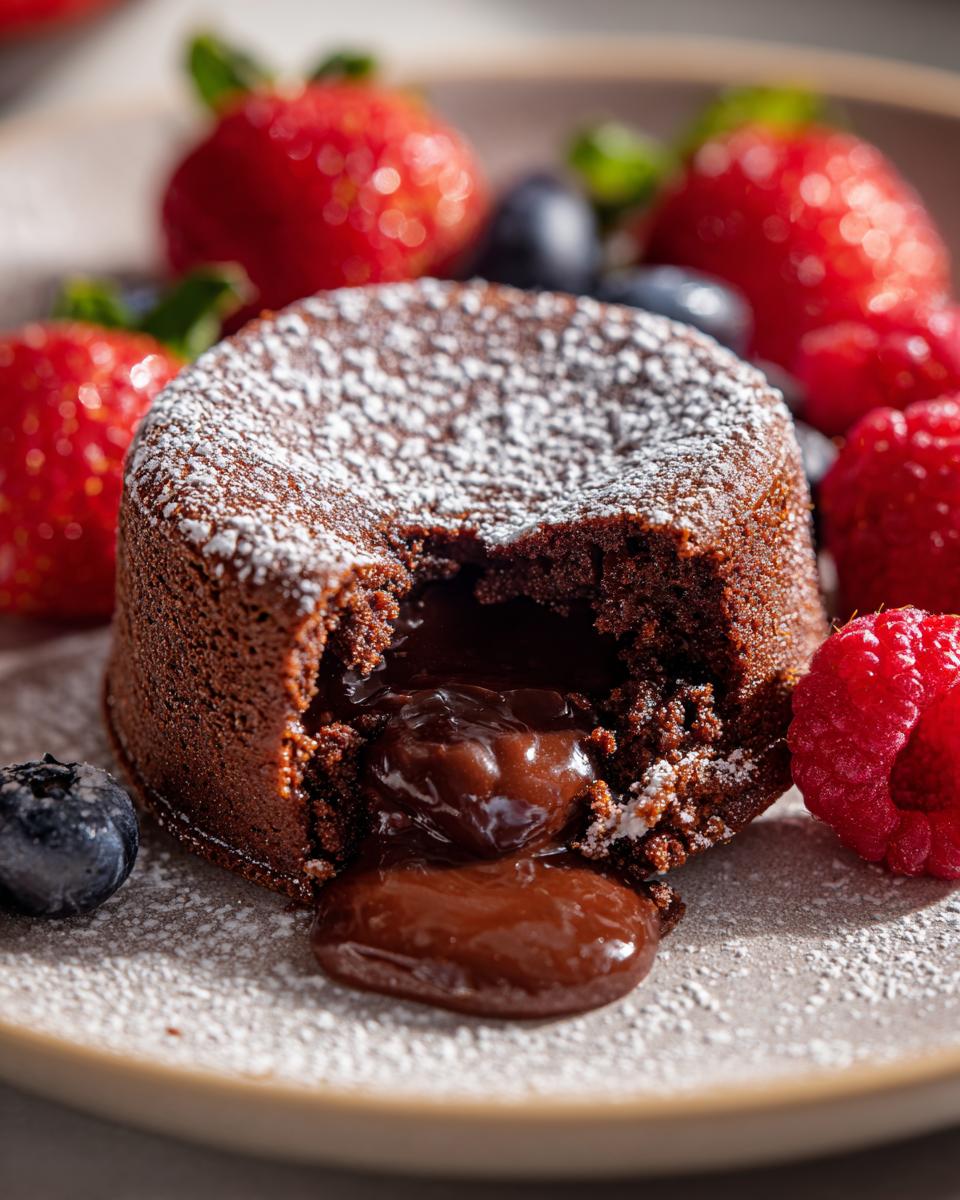
Once your batter is ready, divide it evenly between those prepared ramekins. Resist the urge to fill them to the brim! Now, pop them into that hot oven. You’re looking at about 12 to 15 minutes. The edges should look set and cake-like, but the center should still be a little wobbly and soft – that’s your lava cue! Let them cool for just a minute or two in the ramekins; this helps them firm up a tiny bit. Then, the fun part: carefully invert each ramekin onto a plate. Gently tap the bottom, and hopefully, out slides a perfect little lava cake! Dust with powdered sugar and serve immediately!
Tips for Perfect Chocolate Lava Cakes Every Time
Okay, so you’ve got the recipe, you’re ready to go, but what are the little secrets that make these *perfect* every single time? It’s all about a few key things, trust me! First off, don’t skimp on the chocolate – use good quality stuff, like a nice semi-sweet or bittersweet. It makes a huge difference in that molten center’s flavor! Another biggie is watching the baking time like a hawk. Seriously, ovens can be wild! You want those edges set but the middle still jiggly. If you overbake, you’ll just have a regular (though still delicious!) chocolate cake, and we want that ooze!
If you accidentally overbake them a smidge, don’t despair! They’ll still be yummy. On the flip side, if they look too runny, a minute or two longer in the oven usually does the trick. And remember that batter? You can totally make it ahead of time and pop it in the fridge. Just let it sit out for about 10-15 minutes before baking to take the chill off. Also, don’t be afraid to experiment with adding a little splash of espresso powder to the batter – it just makes the chocolate flavor go wild! For more gooey chocolate goodness, check out this gooey chocolate recipe.
Ingredient Notes and Substitutions
When it comes to these chocolate lava cakes, the ingredients are pretty straightforward, but a few notes can make a big difference! For the chocolate, using a good quality semi-sweet or even bittersweet chocolate really elevates the flavor. I find that chocolate chips can sometimes have stabilizers that make them not melt quite as smoothly, so chopped chocolate bars are my go-to. If you’re a dark chocolate fan, you can totally use that too – just make sure it’s not *too* bitter, or you might want to add a tiny bit more sugar. Want to see chocolate chip cookie perfection? Check out this recipe!
Butter is butter, right? Pretty much! But using unsalted lets you control the saltiness yourself. You can technically use margarine in a pinch, but it just won’t give you that same rich flavor and texture, so I really recommend sticking with real butter if you can. For the flour, we’re using just a small amount, so all-purpose is perfect. We aren’t aiming for a cakey texture here, just enough to bind everything together!
Frequently Asked Questions About This Impressive Dessert
Can I make the chocolate lava cake batter ahead of time?
Oh, absolutely! This is one of my favorite make-ahead desserts. You can prepare the batter up to 24 hours in advance, pour it into your greased and floured ramekins, cover them snugly with plastic wrap, and pop them in the fridge. When you’re ready to bake, just let them sit at room temperature for about 15-20 minutes to take the chill off, and then bake as usual. You might need to add a minute or two to the baking time since they’ll be going in from cold.
What if I don’t have ramekins? Can I use other dishes?
No ramekins? No problem! You can definitely use other small, oven-safe dishes. Muffin tins work great, just make sure you really grease and flour them well, or even use paper liners (though the edges might not get quite as crispy). Small ceramic bowls or even Pyrex custard cups can also work. Just keep an eye on the baking time, as different vessels might heat a little differently. For more fun baking ideas, check out this homemade donut recipe!
How do I know when my lava cakes are perfectly baked?
This is the million-dollar question for lava cakes! You’re looking for the edges of the cake to be set and slightly puffed, almost like a regular cake. But the center should still look a bit soft and wiggly when you gently nudge the ramekin. If you insert a toothpick around the edge, it should come out with moist crumbs, but right in the very center, it should still be gooey. It’s better to slightly underbake than overbake if you want that lava flow!
Can I use different kinds of chocolate?
You sure can! While semi-sweet is my go-to because it hits that perfect balance of sweet and rich, you can totally experiment. Bittersweet chocolate will give you a more intense, less sweet flavor. If you use milk chocolate, be aware it’s sweeter and has more fat, so you might need to adjust sugar or baking time slightly. High-quality chocolate really makes a difference here, so pick something you love to eat on its own!
Nutritional Information
Here’s a little peek at the estimated nutritional info for one of these decadent chocolate lava cakes. Keep in mind, this is just a guideline and can totally change depending on the exact chocolate and butter you use. We’re looking at roughly 450 calories per serving, with about 30g of fat (about 18g of that’s saturated, thanks to all that glorious butter and chocolate!), around 40g of carbohydrates, and about 6g of protein. Enjoy every bite!