
Okay, confession time. I’ve actually made what I can only describe as The Most Addictive Dessert I’ve Ever Made. Seriously, it’s the kind of thing that disappears in minutes, leaving everyone asking for seconds (and thirds!). It all started one crazy afternoon when I needed something sweet, fast, and I just threw a few things together. What came out of the oven was pure magic – a perfect little bite of pure joy. It’s the kind of recipe you’ll want to keep secret, but honestly, it’s too good not to share. I first found a hint of inspiration here, but I’ve tinkered with it until it became *mine*. Trust me, this is your new go-to!
Why This Is The Most Addictive Dessert I’ve Ever Made
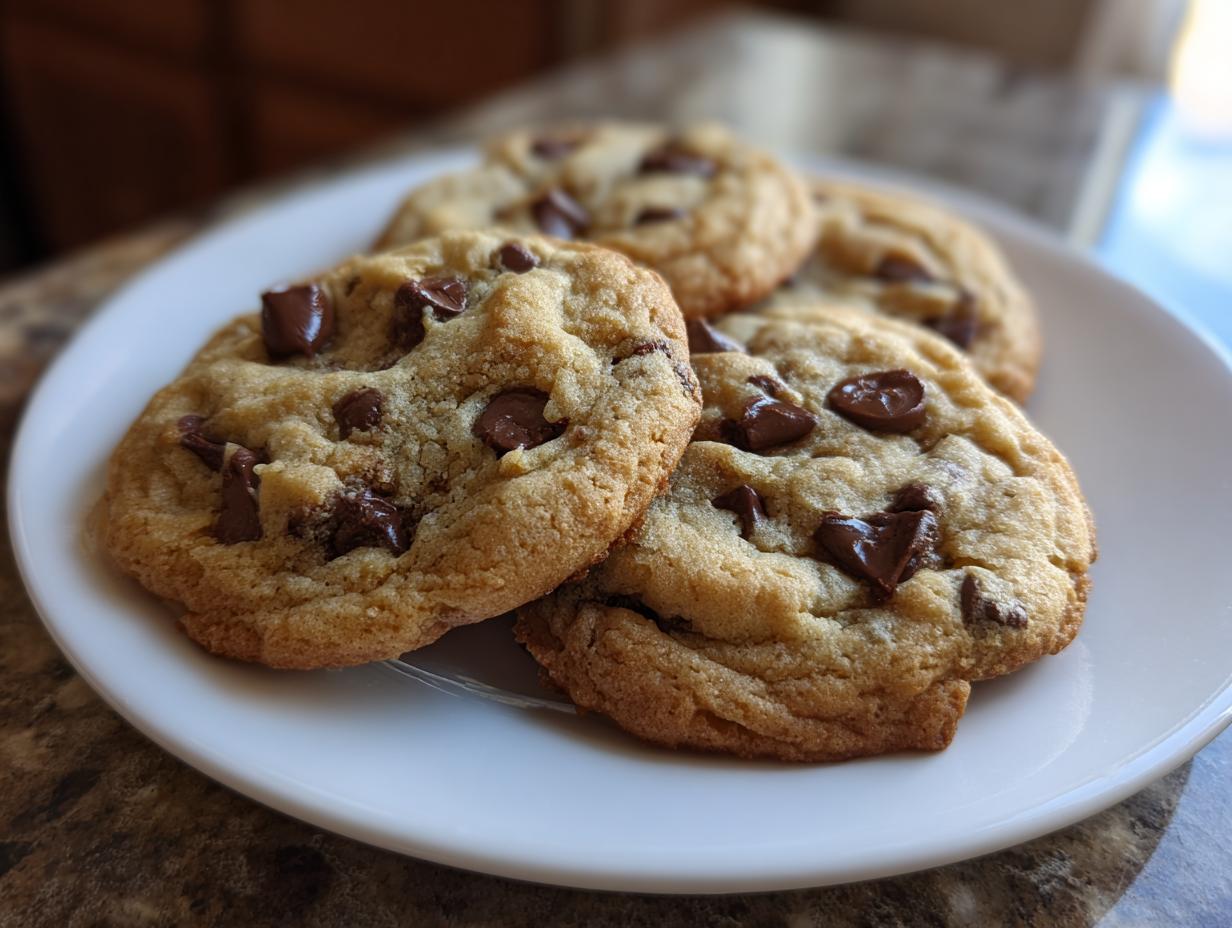
So, what makes this dessert so darn good? Honestly, it’s a combo of things that just sing together! For starters, the texture is insane. You get that perfect little crisp around the edges, but then? BAM! It’s chewy and soft right in the middle. It’s like a little hug in dessert form. And the flavor? Simple, pure, unadulterated deliciousness. It’s not overly complicated, which is part of its charm. Plus, it’s ridiculously easy to whip up. I can have these ready in less than 20 minutes, start to finish, which is a miracle on busy days. Every single person who’s tried them, from my picky nieces to my tough-to-impress neighbor, has absolutely raved. They just disappear like magic!

Gather Your Ingredients for The Most Addictive Dessert
Okay, so you want to make this magic happen, right? The best part about this dessert is that you probably already have most of what you need in your pantry! Grab these simple things:
- 1 cup all-purpose flour
- 1/2 cup granulated sugar
- 1/4 cup packed light brown sugar
- 1/2 teaspoon baking soda
- 1/4 teaspoon salt
- 1/2 cup (1 whole stick!) unsalted butter, melted
- 1 teaspoon pure vanilla extract
- 1/2 cup chocolate chips (my favorite are semi-sweet, but use what you love!)
Seriously, just those few things. And listen, don’t skimp on the butter or vanilla! Using good quality ingredients really does make all the difference, and for something this simple, you want that pure, rich flavor to shine through. These aren’t fancy ingredients, but they’re the stars of the show here.
Step-by-Step Guide to Making The Most Addictive Dessert
Alright, let’s get down to business! Making these addictive little wonders is honestly a breeze. You’re going to feel like a baking superhero, I promise.
Preheating and Mixing Dry Ingredients
First things first, get that oven humming! We want it nice and toasty at 350°F (175°C). While it’s heating up, grab a medium-sized bowl. Toss in your flour, granulated sugar, brown sugar, baking soda, and salt. Give it all a good whisk until everything is happily combined. This makes sure you don’t get a bite with *only* baking soda, you know?
Incorporating Wet Ingredients and Chocolate Chips
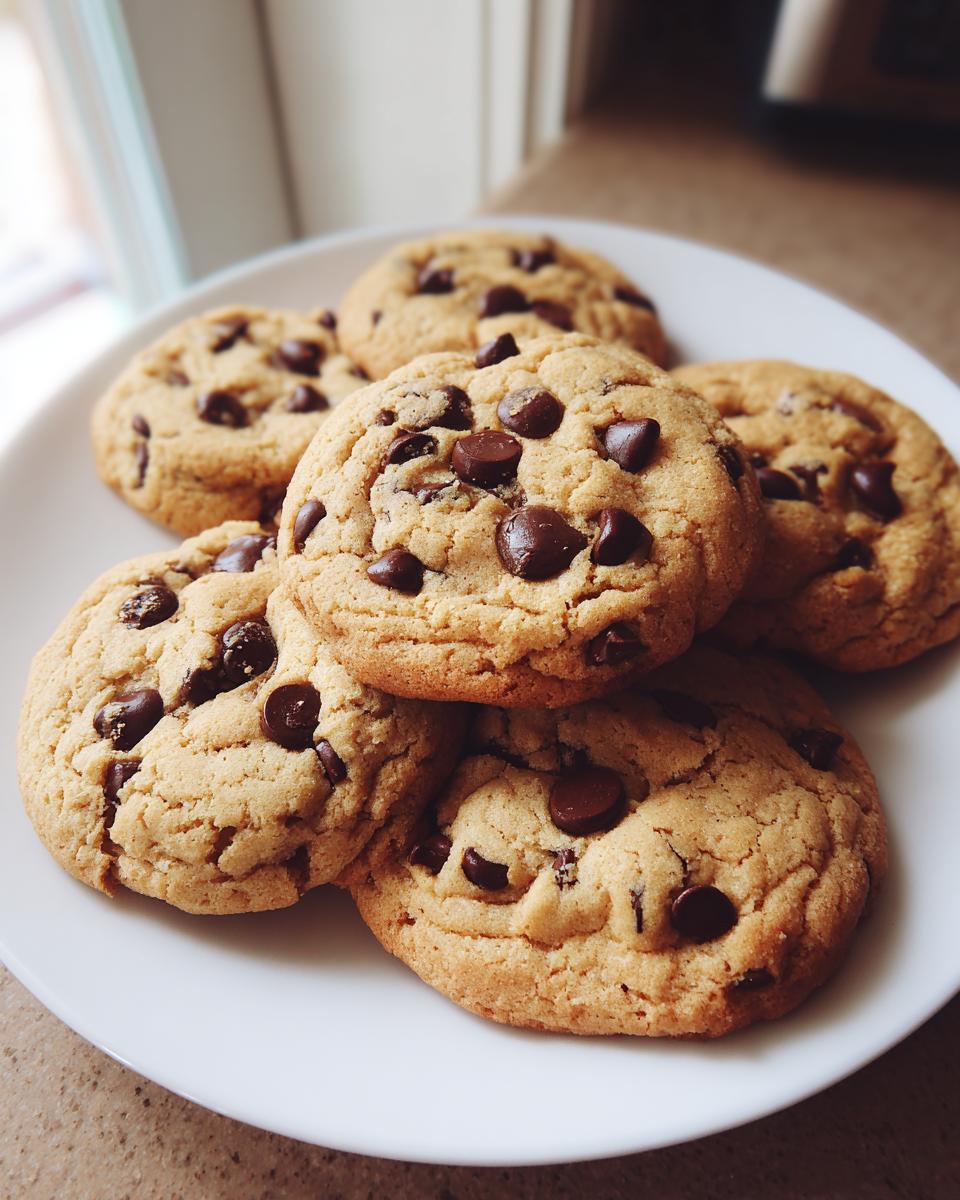
Now, pour in that glorious melted butter and the vanilla extract. Stir it all up until it looks like a shaggy dough – don’t overmix! Once it’s just combined, it’s time for the stars: the chocolate chips! Gently fold them in. You can find some great inspiration for chocolate chip magic here and here if you want to get fancy, but honestly, classic semi-sweet is perfect. My little trick to stop them from sinking? Make sure your dough isn’t too warm!
Portioning and Baking
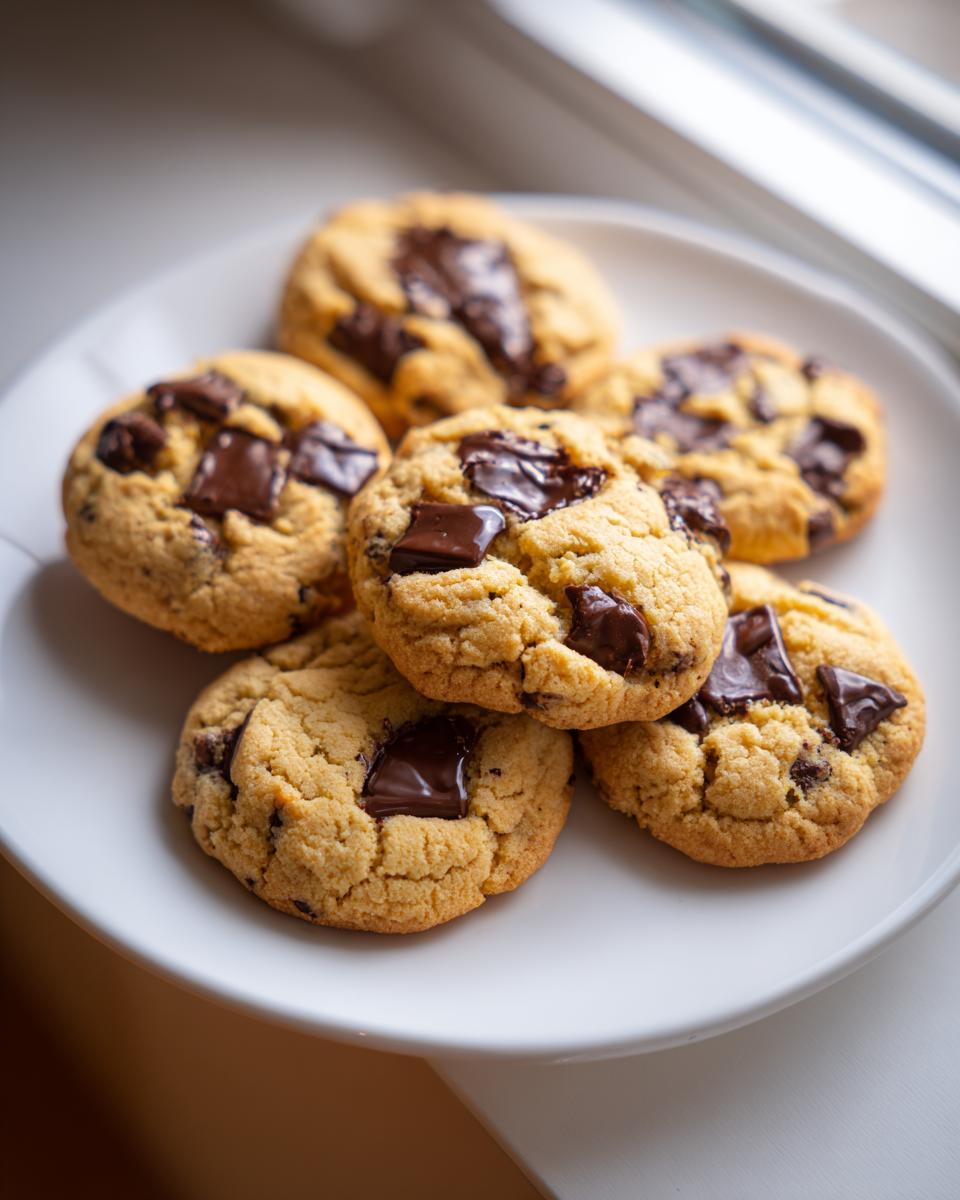
Time to make some dough balls! I like to use a cookie scoop for consistency, but just dropping spoonfuls works great too. Space them out on your baking sheet – they’ll spread a bit. Pop them into the preheated oven. You’re looking for about 8 to 10 minutes. They should be golden brown around the edges, but still a little soft-looking in the center. Trust me on this: for that irresistible chewy texture that makes these so addictive, slightly underbaking them is key! You can always pop them back in for another minute if you’re worried.
Cooling and Serving
Okay, the hardest part: waiting! Let these beauties cool on the baking sheet for about 5 minutes. They’ll firm up here. Then, carefully transfer them to a wire rack to cool completely. And there you have it! The most addictive dessert a few minutes from your oven. They’re perfect all on their own, or with a cold glass of milk. Seriously, try to save some for later, but I know how hard that is!
Tips for Making The Most Addictive Dessert Even Better
Okay, so you’ve mastered the basic recipe, which is already amazing, right? But what if you want to take these little nuggets of joy to the *next* level? I’ve played around with these a ton, and I’ve got a few tricks up my sleeve to make them even more irresistible. First off, let’s talk mix-ins! Chocolate chips are classic for a reason, but don’t be afraid to get creative. A handful of chopped nuts – pecans or walnuts are fantastic – adds a lovely crunch. Or maybe some white chocolate chips for a different flavor profile? I’ve even thrown in dried cranberries for a pop of tartness! For that ultimate chewy texture, remember my tip about slightly underbaking; it’s truly the secret weapon. If they seem a little too soft on the baking sheet, just let them sit there for a minute or two longer before moving them to the cooling rack. It makes all the difference!
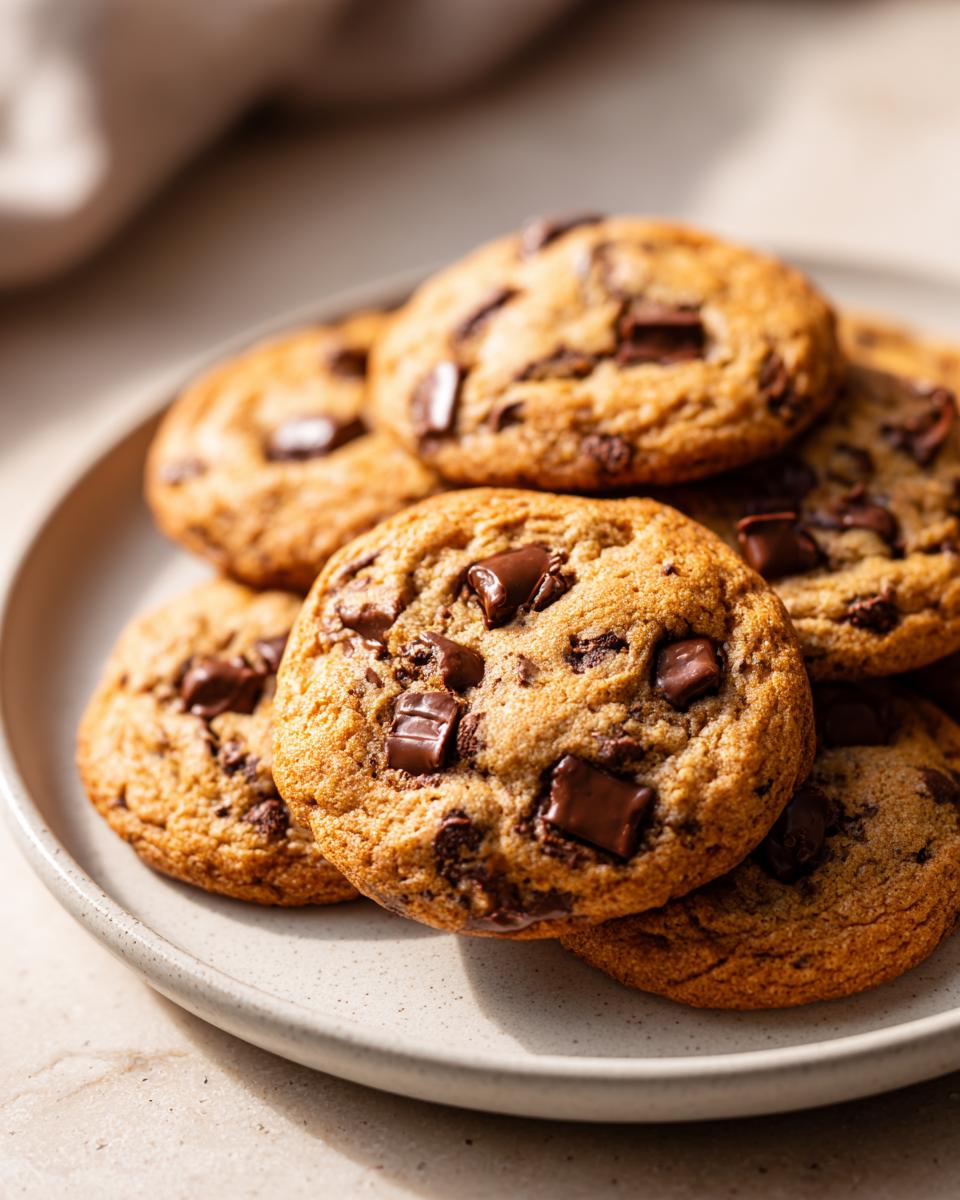
And if you’re a serious chocolate lover, you HAVE to check out some of the other chocolatey goodness I’ve whipped up here and here. Sometimes I’ll even mix in some chopped chocolate bar instead of chips for extra gooey pockets. Honestly, the possibilities are endless, and that’s part of what makes this recipe so fun. It’s super forgiving, so experiment!
Ingredient Notes and Substitutions
Let’s chat about a couple of these ingredients, because they really do make a difference in getting that perfect addictive texture. First up, the sugars! Using both granulated and brown sugar is key here. The granulated sugar gives it a little crispness around the edges, while the brown sugar, with its molasses, brings that lovely chewiness and a hint of caramel flavor. If you’re out of light brown sugar, you can totally use dark brown, it’ll just make them a bit richer.
Now, about the butter. You really, *really* want to use real unsalted butter and melt it. Margarine just doesn’t give you that same rich flavor or texture, trust me on this one. And if you’re watching your diet, you might be tempted to swap things out, but honestly, for these, the full fat butter and sugar are what make them so darn good. It’s a small batch, so a little indulgence goes a long way!
Frequently Asked Questions About This Addictive Dessert
Got questions about whipping up these addictive little treats? I’ve got you covered! Here are some of the things people ask me most often:
Can I make these ahead of time?
Absolutely! You can totally make the dough ahead of time. Just wrap it up snugly in plastic wrap and keep it in the fridge for up to 3 days. When you’re ready to bake, let it sit at room temperature for about 15-20 minutes until it’s scoopable. You can also freeze balls of dough on a baking sheet, then transfer them to a freezer bag. Just bake them straight from frozen, adding a minute or two to the baking time!
What’s the best way to store these cookies?
Storing them is simple! Once they’re completely cool, keep them in an airtight container at room temperature. They’re usually best eaten within 3-4 days, but honestly, they rarely last that long! If you want to keep them even longer, you can try freezing the baked cookies, layered between parchment paper.
Can I add other things to the batter?
Oh, for sure! That’s the beauty of this recipe – it’s so forgiving. Feel free to add chopped nuts (like pecans or walnuts), different kinds of chocolate chips (white chocolate, dark chocolate chunks!), or even a handful of dried fruit like cranberries or raisins. Just keep the total amount of mix-ins around 1/2 to 3/4 cup so you don’t mess with the dough balance too much. Lots of ideas can be found here if you need some inspiration!
Why are my cookies spreading too much?
That can happen! Usually, it’s because the butter was too warm, or the oven temperature was a bit too low. Make sure your butter is melted but not hot when you add it. Also, double-check your oven temperature with an oven thermometer if you can. Letting the dough chill in the fridge for even just 30 minutes can help prevent excessive spreading too!
Nutritional Information
Here’s an estimated breakdown of the nutritional info for one of these little addictive bites:
- Serving Size: 1 cookie
- Calories: 150
- Sugar: 15g
- Sodium: 75mg
- Fat: 8g
- Protein: 2g
Keep in mind these are just estimates, y’know? The exact numbers can change a bit depending on the brands you use and if you decide to add any extra goodies!
Print
Curried Cauliflower & Carrot Soup
- Total Time: 45 min
- Yield: 4 servings 1x
- Diet: Vegetarian
Description
A warming and flavorful soup featuring cauliflower and carrots with a blend of curry spices.
Ingredients
- 1 tablespoon olive oil
- 1 large onion, chopped
- 2 cloves garlic, minced
- 1 teaspoon grated fresh ginger
- 1 teaspoon curry powder
- 1/2 teaspoon ground cumin
- 1/4 teaspoon turmeric
- 1/4 teaspoon cayenne pepper (optional)
- 1 medium head cauliflower, cut into florets
- 2 medium carrots, peeled and chopped
- 4 cups vegetable broth
- 1 cup coconut milk
- Salt and black pepper to taste
Instructions
- Heat olive oil in a large pot or Dutch oven over medium heat. Add onion and cook until softened, about 5-7 minutes.
- Add garlic and ginger and cook for 1 minute more until fragrant.
- Stir in curry powder, cumin, turmeric, and cayenne pepper (if using) and cook for 30 seconds, stirring constantly.
- Add cauliflower florets and chopped carrots to the pot. Pour in vegetable broth.
- Bring the soup to a boil, then reduce heat and simmer, covered, for 15-20 minutes, or until vegetables are tender.
- Carefully transfer the soup to a blender (in batches if necessary) or use an immersion blender to puree until smooth.
- Return the pureed soup to the pot. Stir in coconut milk.
- Heat gently over low heat until warmed through. Do not boil.
- Season with salt and black pepper to taste. Serve hot.
Notes
- For a thinner soup, add more vegetable broth or water until desired consistency is reached.
- Garnish with fresh cilantro or a swirl of extra coconut milk.
- Prep Time: 15 min
- Cook Time: 30 min
- Category: Soup
- Method: Stovetop
- Cuisine: Indian-inspired
Nutrition
- Serving Size: 1.5 cups
- Calories: 250
- Sugar: 10g
- Sodium: 600mg
- Fat: 12g
- Saturated Fat: 8g
- Unsaturated Fat: 4g
- Trans Fat: 0g
- Carbohydrates: 30g
- Fiber: 8g
- Protein: 5g
- Cholesterol: 0mg
Keywords: curried cauliflower soup, carrot soup, vegetable soup, vegan soup, dairy-free soup, spiced soup, healthy soup