
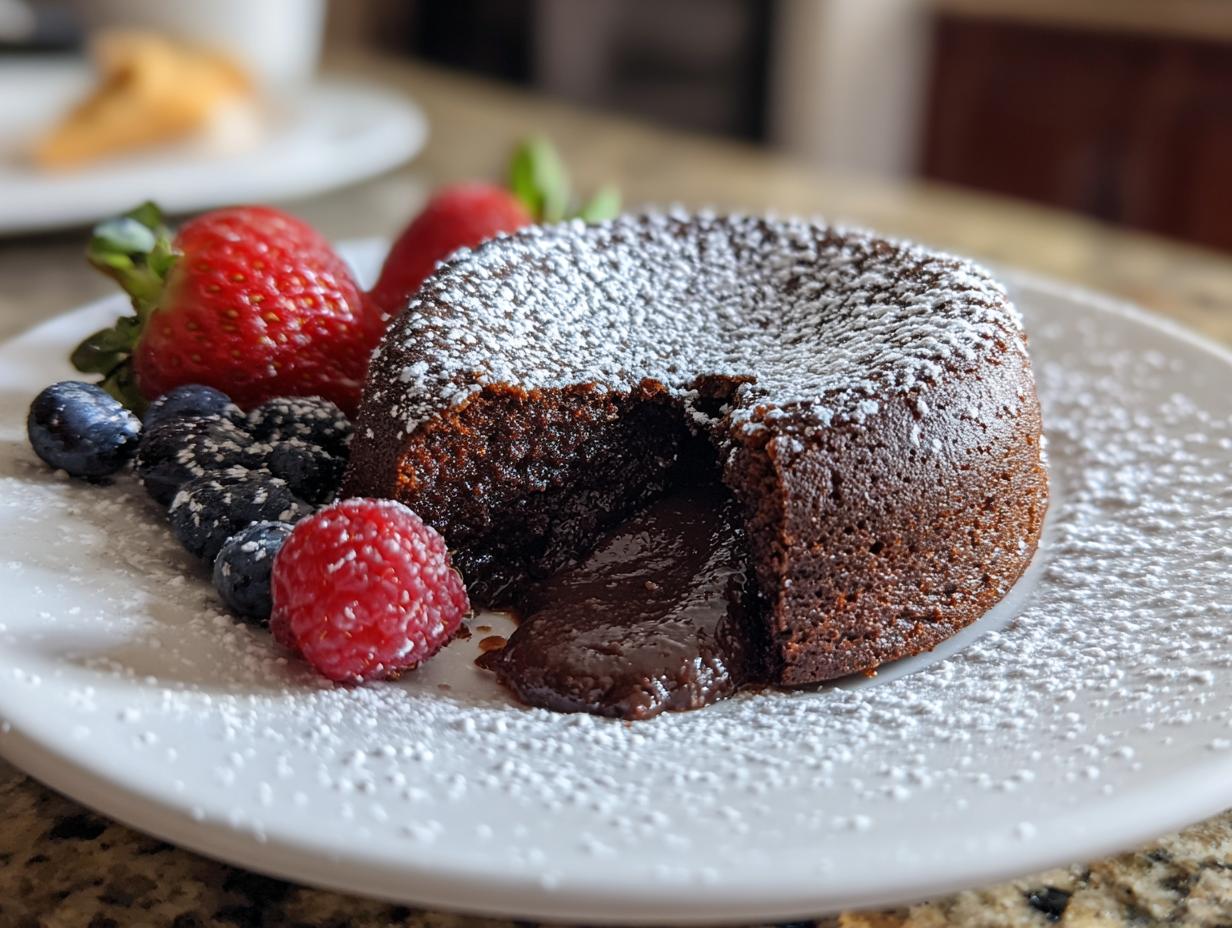
You know those moments when you really want to impress? Like, when friends are coming over, or you just want to feel like a culinary superstar for a night? I totally get it! For me, there’s one go-to treat that never fails: The Dessert I Make When I Want Compliments. Honestly, these little chocolate lava cakes are my secret weapon. Every single time I whip them up, people go wild! They’re so rich and decadent, with that surprise gooey center that just melts in your mouth. And the best part? They look super fancy, but trust me, they’re ridiculously easy to make. It feels like cheating, but it’s just pure chocolatey magic!
Why This Chocolate Lava Cake Is The Dessert I Make When I Want Compliments
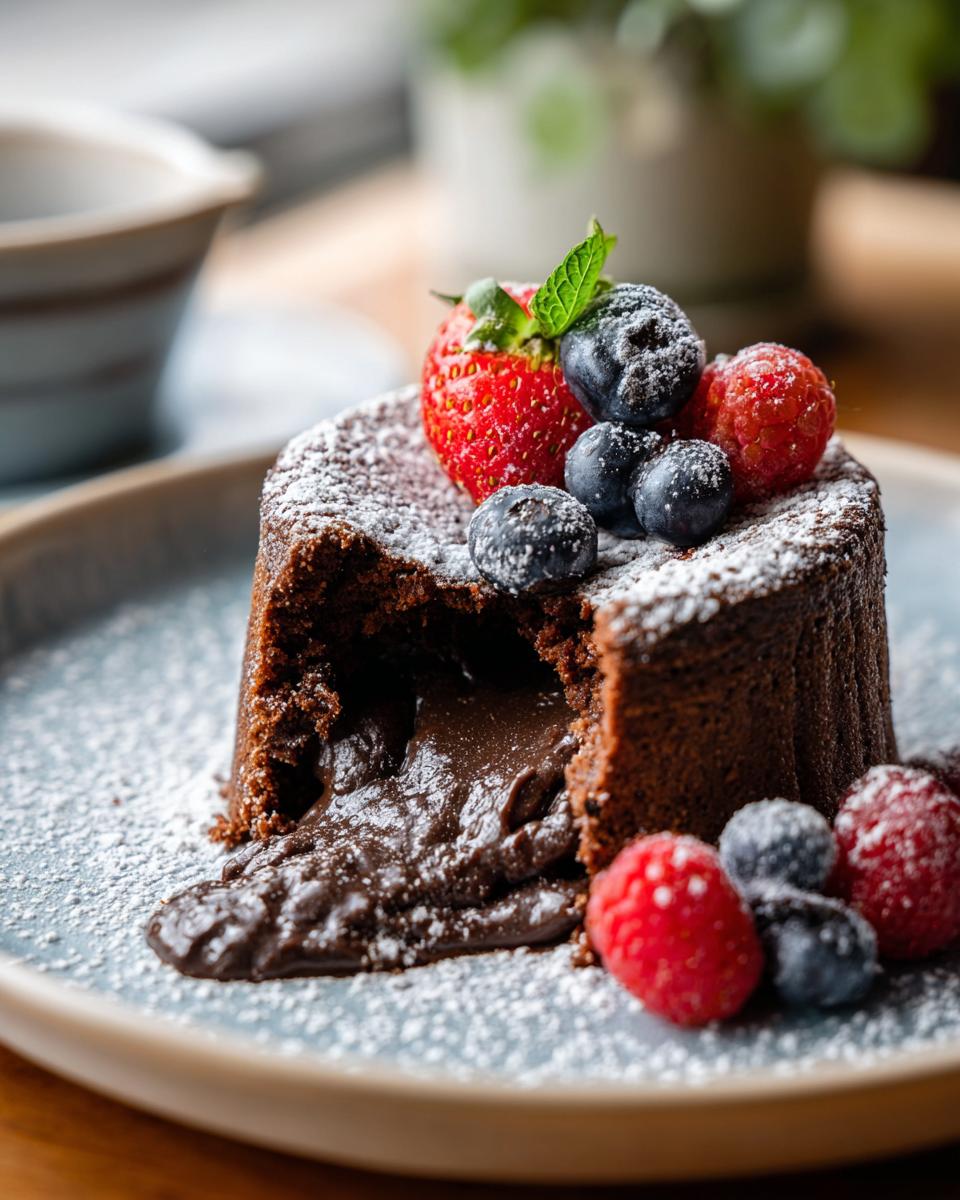
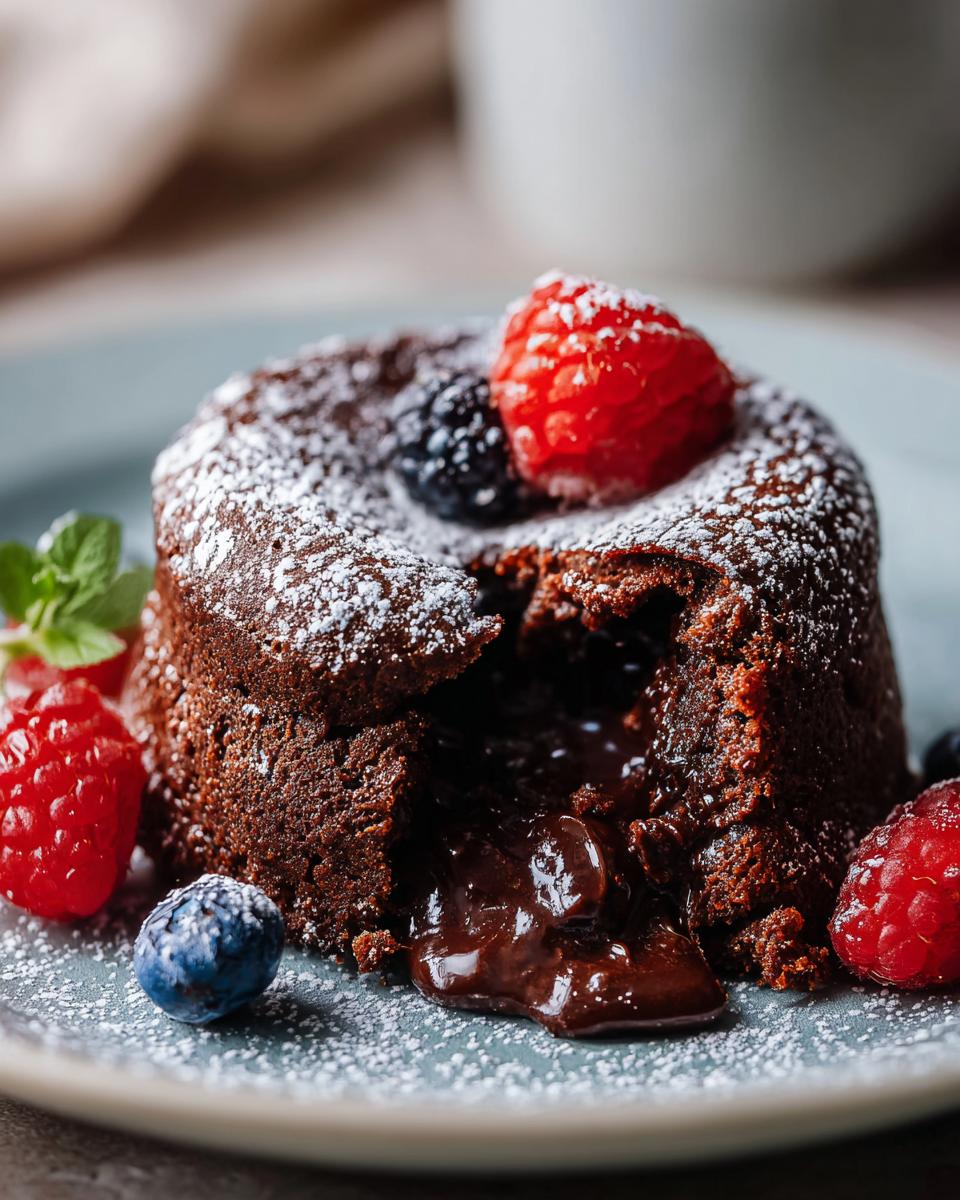
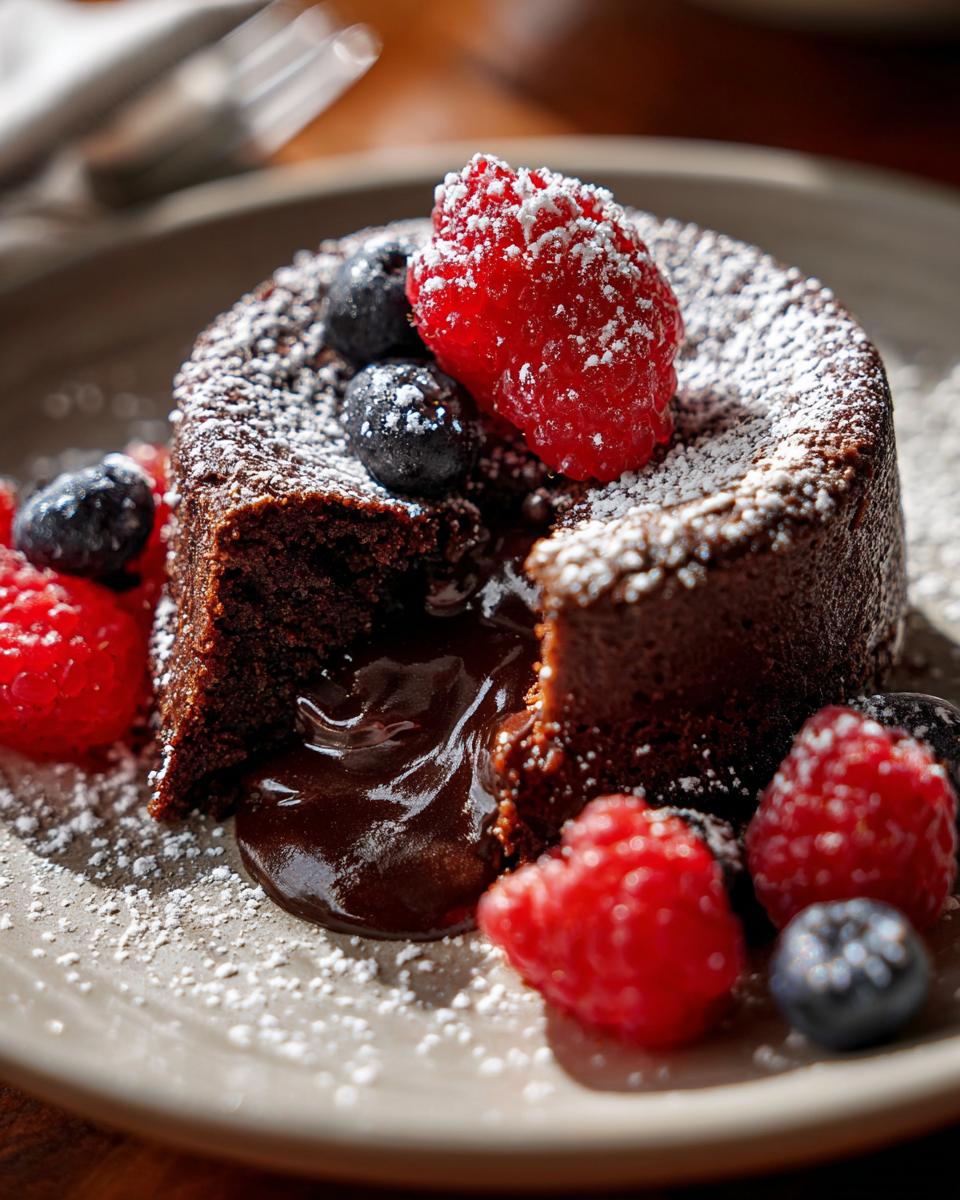
Okay, let’s talk about why these little chocolate volcanoes are my ultimate compliment-getters. It all boils down to that incredible molten center. When you cut into it, that warm, gooey chocolate just oozes out – it’s pure magic! And the flavor? Oh my goodness, it’s intensely chocolatey without being too sweet. It feels so luxurious when you’re eating it, right? Plus, serving them in individual ramekins makes them look like they came straight from a fancy restaurant. People always gasp when they see them, and then they *really* gasp when they take that first bite. The best part is that even though they look and taste super sophisticated, they’re honestly a breeze to whip up. You can even have them ready to bake in the fridge, which is a lifesaver when guests are on their way. It’s the perfect balance of impressive presentation and surprisingly simple execution, which is exactly why it’s my secret weapon for getting rave reviews! It’s the kind of dessert that makes everyone ask for the recipe for a gooey chocolate recipe, and I just smile!
Gathering Your Ingredients for The Dessert I Make When I Want Compliments
Alright, let’s get down to business! To make these show-stopping lava cakes, you’ll need just a few simple things. Seriously, the ingredient list is shorter than you might think! You’ll need about 6 ounces of good-quality semi-sweet chocolate, chopped up nice and small. Then, grab 1/2 cup of unsalted butter – making sure it’s real butter is key for that rich flavor, trust me! For the custardy part, we’ve got 2 large eggs plus 2 extra large egg yolks. Sweetness comes from 1/4 cup of granulated sugar, and just 2 tablespoons of all-purpose flour to give it a tiny bit of structure. Oh, and a little pinch of salt to make all that chocolate sing! If you want to go the extra mile, have some powdered sugar for dusting and maybe some fresh berries for serving. So simple, right?
Ingredient Notes and Substitutions
When it comes to chocolate, I really prefer semi-sweet for these lava cakes because it gives you that perfect balance – chocolatey but not overwhelmingly bitter. If you love a more intense flavor, you can absolutely use bittersweet chocolate, just make sure it’s something you enjoy eating on its own! As for butter, unsalted is best so you can control the saltiness. I haven’t really experimented with butter substitutes here because butter is just *so* crucial for the texture and flavor of these cakes. It’s one of those things where the real deal truly makes a difference!
Step-by-Step Guide to The Dessert I Make When I Want Compliments
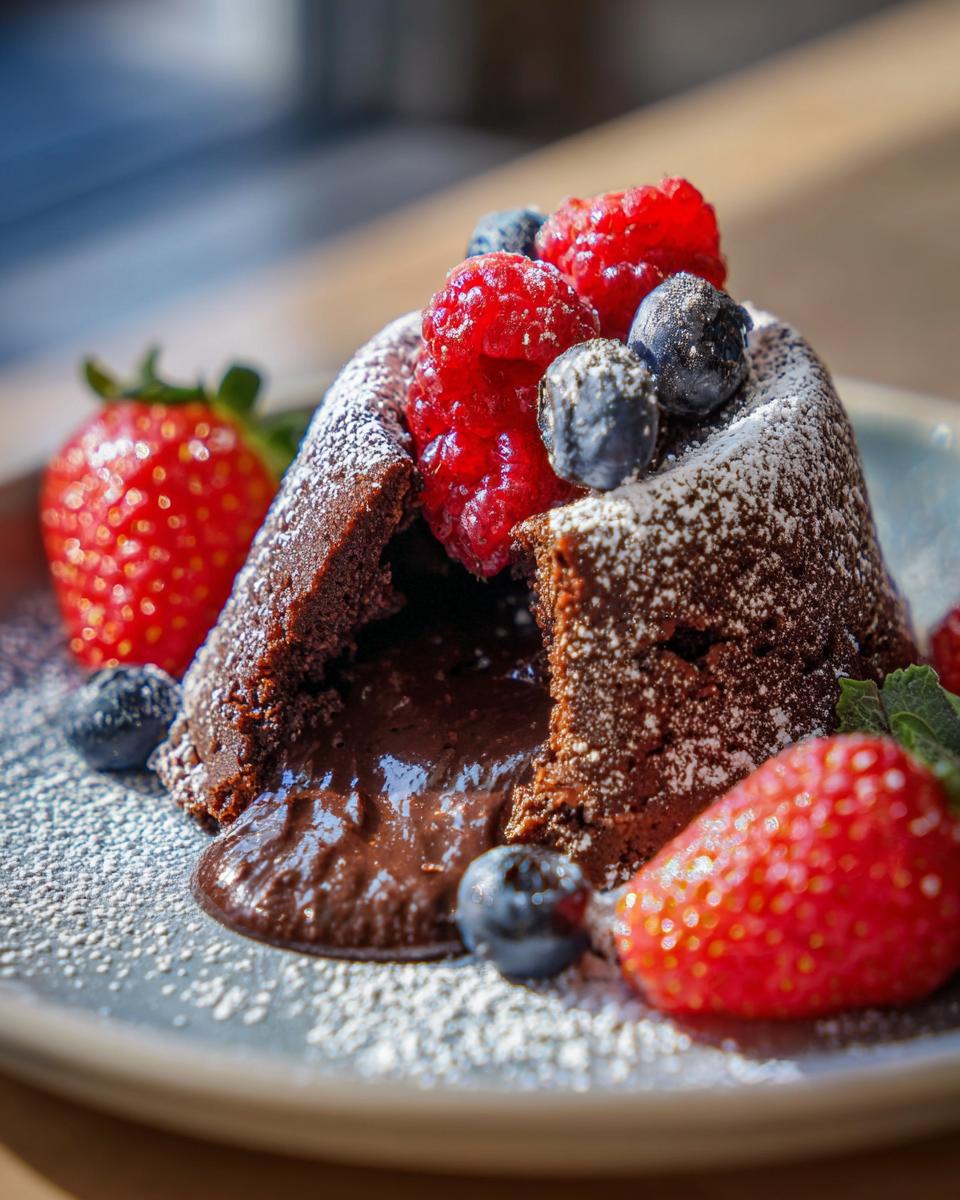
Alright, let’s get down to the actual baking! It’s so much simpler than it looks, I promise. First things first, crank that oven up to 425°F (that’s 220°C). While it’s heating, grab your two little ramekins – we’re going to grease and flour them super well. This is important so they don’t stick later when you’re trying to impress your guests! Next, find a heatproof bowl and set it over a pan of gently simmering water. Toss your chopped chocolate and butter into that bowl. Stir it until it’s all smooth and melty. It smells amazing, right? Once it’s smooth, take it off the heat. In a separate bowl, whisk up your whole eggs, those extra yolks, and the sugar. Just whisk until it’s looking pale and a little thicker. Now, gently pour that melted chocolatey goodness into the egg mixture and whisk it all together until it’s just combined. Then, very carefully, fold in your flour and salt. Be super gentle here – we don’t want to overmix and make these tough. You just want to see the flour disappear. Pour this gorgeous batter evenly into your prepared ramekins. Pop them into the hot oven for about 12 to 15 minutes. You want the edges to look set, but the very center should still be a little jiggly. Trust me, that’s the magic spot! Let them cool for just a minute or two before carefully inverting them onto your serving plates. A little dust of powdered sugar and maybe some berries, and voilà!
Tips for Perfect Lava Cakes Every Time
Okay, listen up, because a few little tricks make *all* the difference for these lava cakes. First, that greasing and flouring of the ramekins? Don’t skimp! A little butter and flour goes a long way to ensure your beautiful cakes slide right out. If you have one, a little cooking spray with flour in it is my favorite shortcut! For that perfect molten center, baking time is crucial. Ovens can be finicky, so keep an eye on them. If the edges look firm and the center still looks way too liquid, they might need another minute. But if the whole thing looks set, they’re probably overdone. Learn to love that slight wobble in the middle – that’s pure gooey happiness! You can absolutely do a practice run if you’re nervous. And when you invert them, a quick little tap on the bottom of the ramekin usually helps release them smoothly. It sounds scary, but it’s surprisingly satisfying when they release perfectly! This recipe is a lifesaver and I found some great tips on a similar easy dessert recipe online that helped me nail it.
Making Ahead and Storage
Since these lava cakes are all about that perfect moment, I love knowing I can get them mostly ready ahead of time. You can totally prepare the batter and spoon it into your greased and floured ramekins, then cover them up tight and pop them in the fridge for a couple of hours. When you’re ready to bake, just pop them straight from the fridge into your preheated oven, but give them a few extra minutes – maybe 2 to 4 minutes more – because they’ll be colder. If you happen to have any leftovers (which is rare in my house!), they’re still delicious. Just store them in the fridge and you can gently reheat them in a low oven or microwave for just a few seconds to get that lava center going again.
Frequently Asked Questions About This Dessert
Can I use different types of chocolate for these lava cakes?
Great question! Yes, you totally can. While I love semi-sweet for that perfect balance, if you’re a dark chocolate fan, use a good-quality bittersweet chocolate. Just make sure it’s something you enjoy eating on its own! Avoid milk chocolate though, as it has too much cocoa butter and sugar, and might not set up right.
What if my lava cakes are overbaked and don’t have a molten center?
Oh no! It happens to the best of us. If your cakes are fully baked through, don’t despair! They’ll still be delicious chocolate cakes, kind of like a rich, fudgy brownie. You can serve them warm with a scoop of ice cream or whipped cream, and they’ll still be a hit. Just remember for next time, slightly less baking time is the key to that lava flow!
Can I make these lava cakes in a muffin tin instead of ramekins?
Absolutely! A standard muffin tin works like a charm. Just make sure you grease and flour the muffin cups really well, or use paper liners. The baking time might be a tiny bit shorter, so keep a close eye on them. They might not have quite the same dramatic presentation as ramekins, but the molten center will be just as heavenly!
How do I store leftover lava cakes?
If you somehow have leftovers (lucky you!), just let them cool completely, then cover them tightly with plastic wrap. You can store them in the refrigerator for about 2-3 days. To reheat, pop them in a low oven (around 300°F or 150°C) for about 5-10 minutes, or until warmed through. You want them just heated, not cooked further!
Where can I find more amazing dessert recipes?
Oh, you’ve come to the right place if you love desserts! For tons of delicious inspiration, definitely check out our Desserts section. You’ll find all sorts of treats, from cookies and cakes to pies and more!
Nutritional Information
Just a heads-up, these numbers are estimates and can totally change depending on the exact ingredients you use. This is for one glorious lava cake, not including any powdered sugar or berries you might add. Expect roughly 450 calories, about 30g of fat (with 18g saturated), 40g of carbs, and 7g of protein per cake. It’s a decadent treat, for sure!
Print
Tuscan White Bean and Spinach Soup
- Total Time: 45 min
- Yield: 6 servings 1x
- Diet: Vegetarian
Description
A hearty and flavorful soup with white beans, spinach, and aromatic vegetables.
Ingredients
- 1 tablespoon olive oil
- 1 medium onion, chopped
- 2 carrots, chopped
- 2 celery stalks, chopped
- 3 cloves garlic, minced
- 1 teaspoon dried rosemary
- 1 teaspoon dried thyme
- 6 cups vegetable broth
- 2 (15-ounce) cans cannellini beans, rinsed and drained
- 1 (14.5-ounce) can diced tomatoes, undrained
- 5 ounces fresh spinach
- Salt and black pepper to taste
Instructions
- Heat olive oil in a large pot or Dutch oven over medium heat. Add onion, carrots, and celery. Cook until softened, about 8-10 minutes.
- Add garlic, rosemary, and thyme. Cook for 1 minute more until fragrant.
- Pour in vegetable broth, cannellini beans, and diced tomatoes. Bring to a boil, then reduce heat and simmer for 15 minutes.
- Stir in spinach and cook until wilted, about 2-3 minutes.
- Season with salt and pepper to taste.
Notes
- For a creamier soup, you can blend a portion of the beans with some broth before adding them back to the pot.
- Serve hot with crusty bread.
- Prep Time: 15 min
- Cook Time: 30 min
- Category: Soup
- Method: Stovetop
- Cuisine: Italian
Nutrition
- Serving Size: 1.5 cups
- Calories: 250
- Sugar: 6g
- Sodium: 600mg
- Fat: 5g
- Saturated Fat: 1g
- Unsaturated Fat: 4g
- Trans Fat: 0g
- Carbohydrates: 40g
- Fiber: 10g
- Protein: 12g
- Cholesterol: 0mg
Keywords: Tuscan white bean soup, spinach soup, vegetarian soup, hearty soup, easy soup recipe