
You know those moments when you want to bake something that just screams “wow” and guarantees you a chorus of oohs and aahs? I totally get it! For me, there’s one dessert that never, ever fails: my Chocolate Lava Cakes. Seriously, these are the dessert I make when I want compliments, and it’s not just because they taste heavenly. I remember the first time I made them for a dinner party; everyone practically fought over the last one! It’s funny, because they look so fancy, but they’re surprisingly simple to whip up. This recipe is a labor of love, and it’s become my go-to for impressing guests. If you’re looking for a chocolate fix that’s both decadent and doable, you’ve come to the right place! For more amazing chocolate creations, check out this easy chocolate lava cake recipe.
Why This Chocolate Lava Cake Recipe is a Compliment Magnet
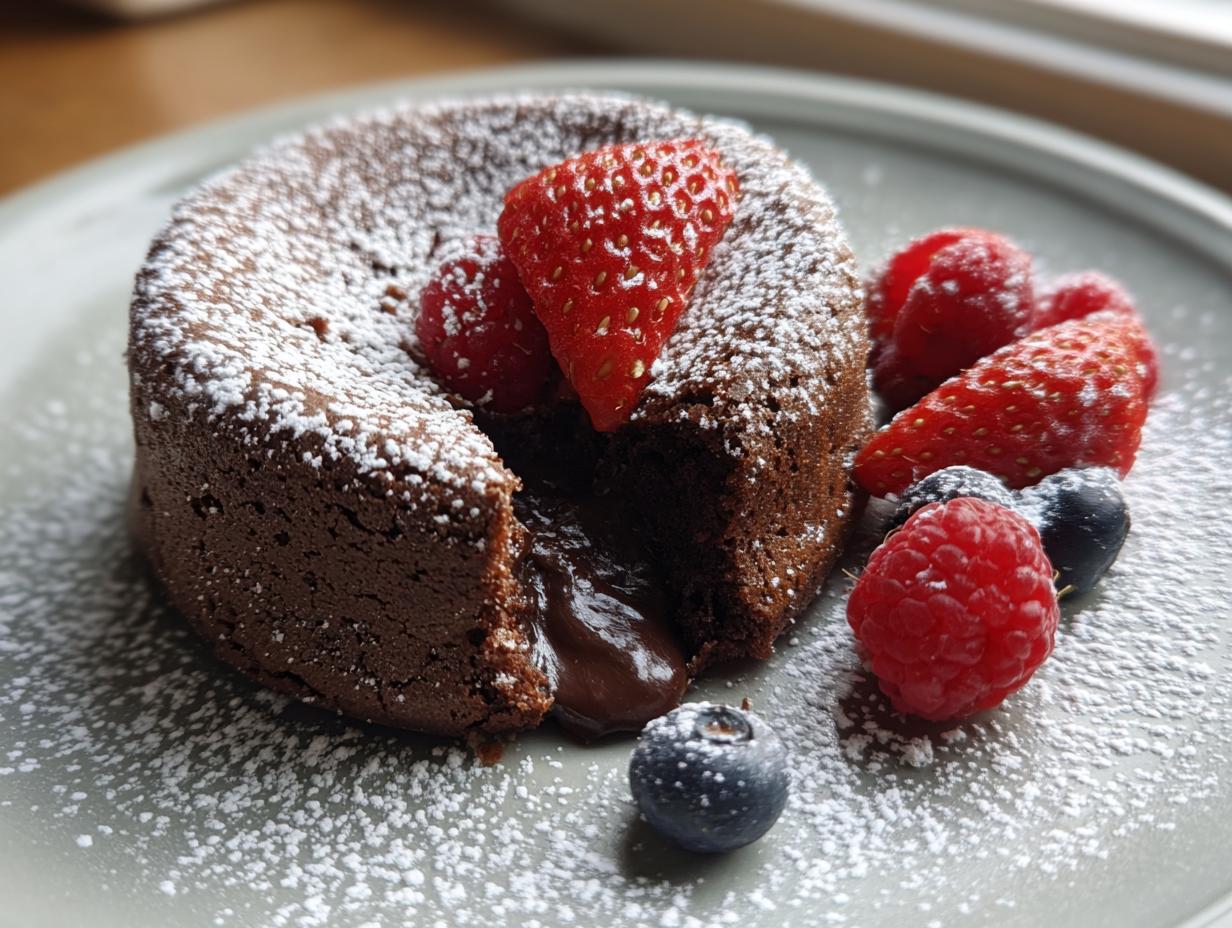
Okay, so why is this particular chocolate lava cake recipe my secret weapon? Well, it’s all about that perfect balance, you know? It’s incredibly rich and decadent, with this dark, luxurious chocolate flavor that just melts in your mouth. But the real star, the thing that makes everyone gasp with delight, is that warm, gooey molten center. It’s like a surprise treasure in every bite! And the best part? It looks and tastes like you spent hours in the kitchen, but honestly, it’s so straightforward. This recipe is truly the dessert I make when I want compliments because it delivers pure chocolate joy without the fuss.
The Magic of the Molten Center
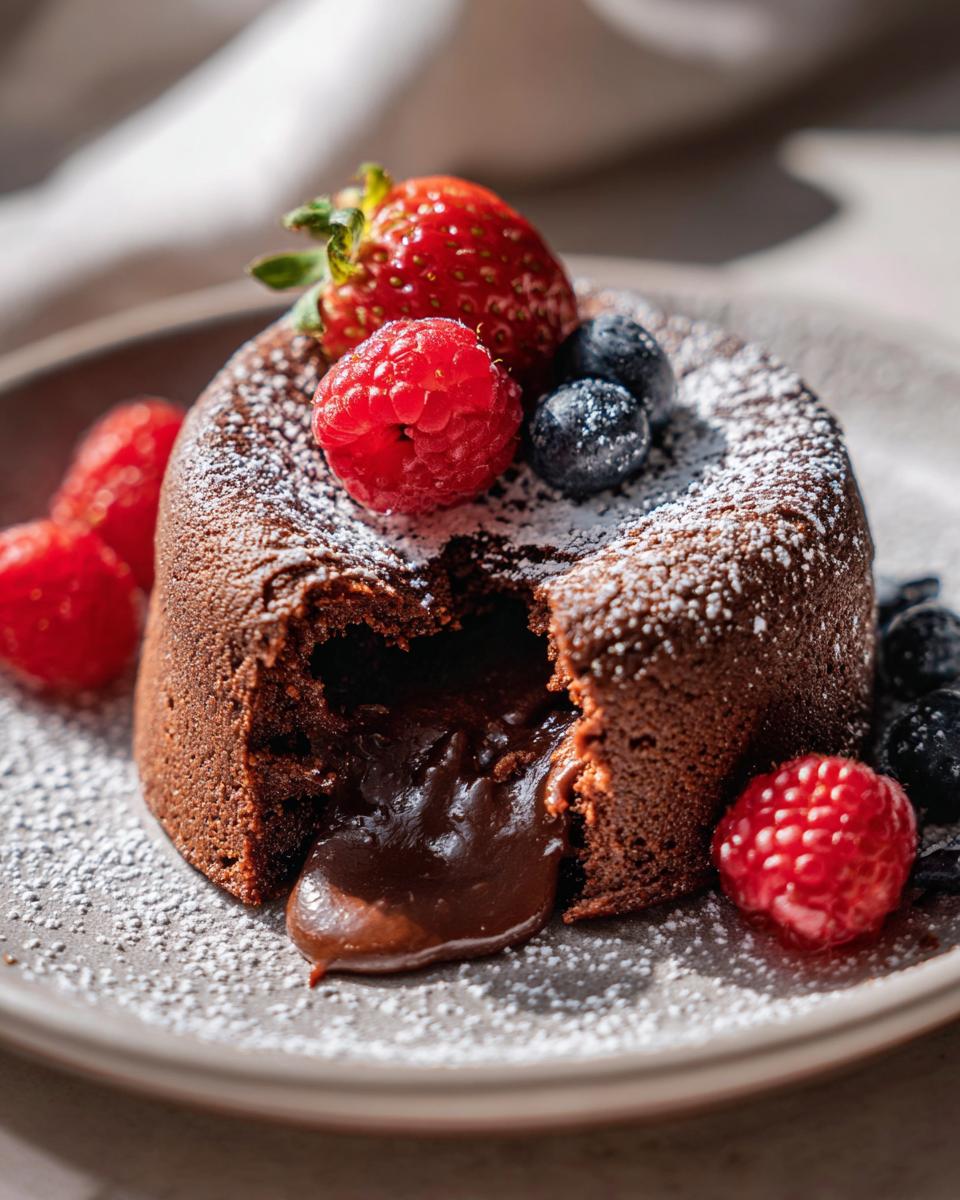
Let’s be real, who doesn’t love a surprise of warm, liquid chocolate? That oozy center is pure magic! It creates this amazing contrast – a perfectly baked, tender cake on the outside with a rich, flowing river of chocolate on the inside. It’s so satisfying and just feels so luxurious. It’s that little burst of intense chocolate that makes everyone go, “Wow!”
Effortless Elegance for Any Occasion
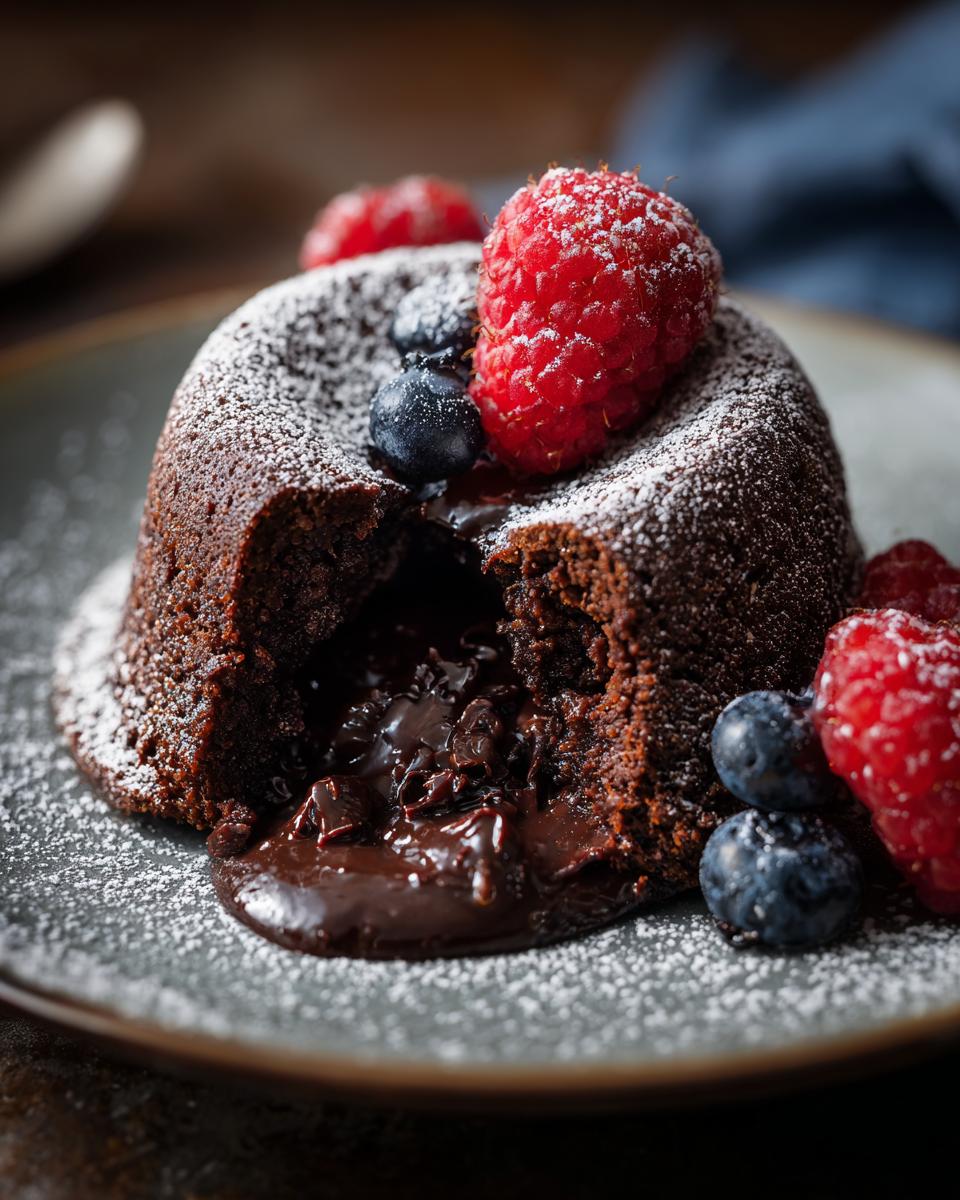
These little cakes look like they came straight from a fancy bakery, right? Served warm, perhaps with a dusting of powdered sugar and a few fresh berries, they just scream elegance. But the beauty is, they’re totally achievable at home. You don’t need a pastry chef’s degree. Whether you’re having a romantic dinner for two or hosting a whole crew, these lava cakes make you look like a baking superstar without breaking a sweat. They’re fuss-free elegance in a ramekin!
Gathering Your Ingredients for The Dessert I Make When I Want Compliments
Alright, let’s get our mise en place ready for the dessert I make when I want compliments! This recipe is pretty straightforward with what you need, but using good quality stuff makes all the difference. You’ll need 6 ounces of semi-sweet chocolate, chopped up nice and small so it melts easily. Then, grab 1/2 cup (that’s one stick) of unsalted butter. For that dreamy lava center, we’re using 2 big eggs and 2 extra egg yolks – don’t skip those yolks, they add richness! You’ll also need 1/4 cup of granulated sugar, just 2 tablespoons of all-purpose flour, and a little pinch of salt to balance everything out. And for that pretty finish? A little powdered sugar for dusting and maybe some fresh berries if you’re feeling fancy!
Ingredient Notes and Substitutions
So, about the chocolate. I swear by good quality semi-sweet chocolate chips or a chopped-up chocolate bar. It really brings out that deep, rich chocolate flavor that people love. If you’re feeling a bit more adventurous, you could totally use bittersweet chocolate, but maybe cut back on the sugar just a hair. For the butter, unsalted is best so you can control the saltiness yourself. Now, a quick note on the eggs: they should ideally be at room temperature; it helps them incorporate better into the batter. While this isn’t really a recipe with easy dairy-free swaps for the eggs, you could try a good quality dairy-free butter if needed, but the texture might change a little!
Step-by-Step Guide to The Dessert I Make When I Want Compliments
Alright, ready to whip up this magic? Making the dessert I make when I want compliments is easier than you think! Let’s dive in:
Preparing Your Ramekins
First things first, grab those two little ramekins. You’ve got to give them a good greasing with butter and then a dusting of flour. Make sure you get into all the nooks and crannies! This is super important so your beautiful lava cakes don’t decide to stick and ruin the presentation. Nobody wants a broken lava cake!
Melting the Chocolate and Butter
Now, for the chocolatey goodness. Pop your chopped chocolate and butter into a heatproof bowl. Set that bowl over a pot of simmering water – kind of like a little chocolate spa! Stir gently until it’s all melty and smooth. Once it’s looking gorgeous and glossy, take it off the heat. Easy peasy! If you love gooey chocolate, you’ll really appreciate this step in this gooey chocolate recipe.
Creating the Batter Base
In another bowl, it’s time to get whisking! Beat those 2 large eggs, the 2 extra egg yolks, and the sugar together until the mixture turns a lovely pale yellow and looks a bit thicker. Think of it as getting everything ready for the main event. Then, slowly whisk in that melted chocolate and butter mixture until it’s all combined beautifully. It’s starting to smell incredible already! If you’re a huge chocolate fan, don’t miss out on this double chocolate delight.
Folding in Dry Ingredients
Okay, here’s where we add the flour and a pinch of salt. The key here is to fold them in *gently*. You don’t want to go crazy mixing it. Just fold until you don’t see any more streaks of flour. Overmixing is a big no-no; it can make your cakes tough instead of tender. We’re aiming for that light, delicate cake texture!
Baking to Perfection
Divide that luscious batter evenly between your prepared ramekins. Pop them into your preheated oven (remember, 425°F or 220°C!). You’ll want to bake them for about 12 to 15 minutes. The edges should look set, almost like a little cake, but the center needs to still be soft and jiggly. That’s what gives you that gorgeous molten center! Keep an eye on them; ovens can be tricky!
Unmolding and Serving
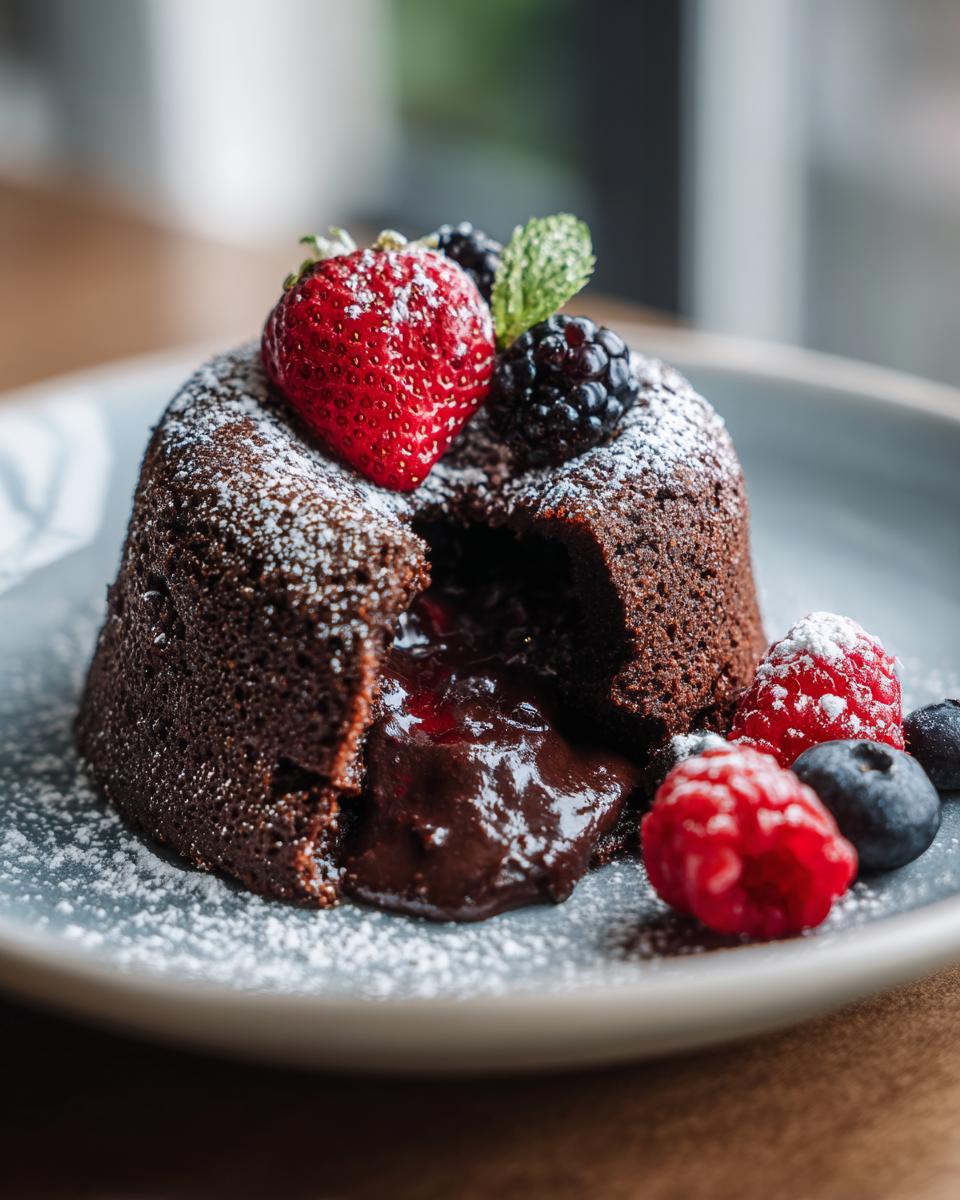
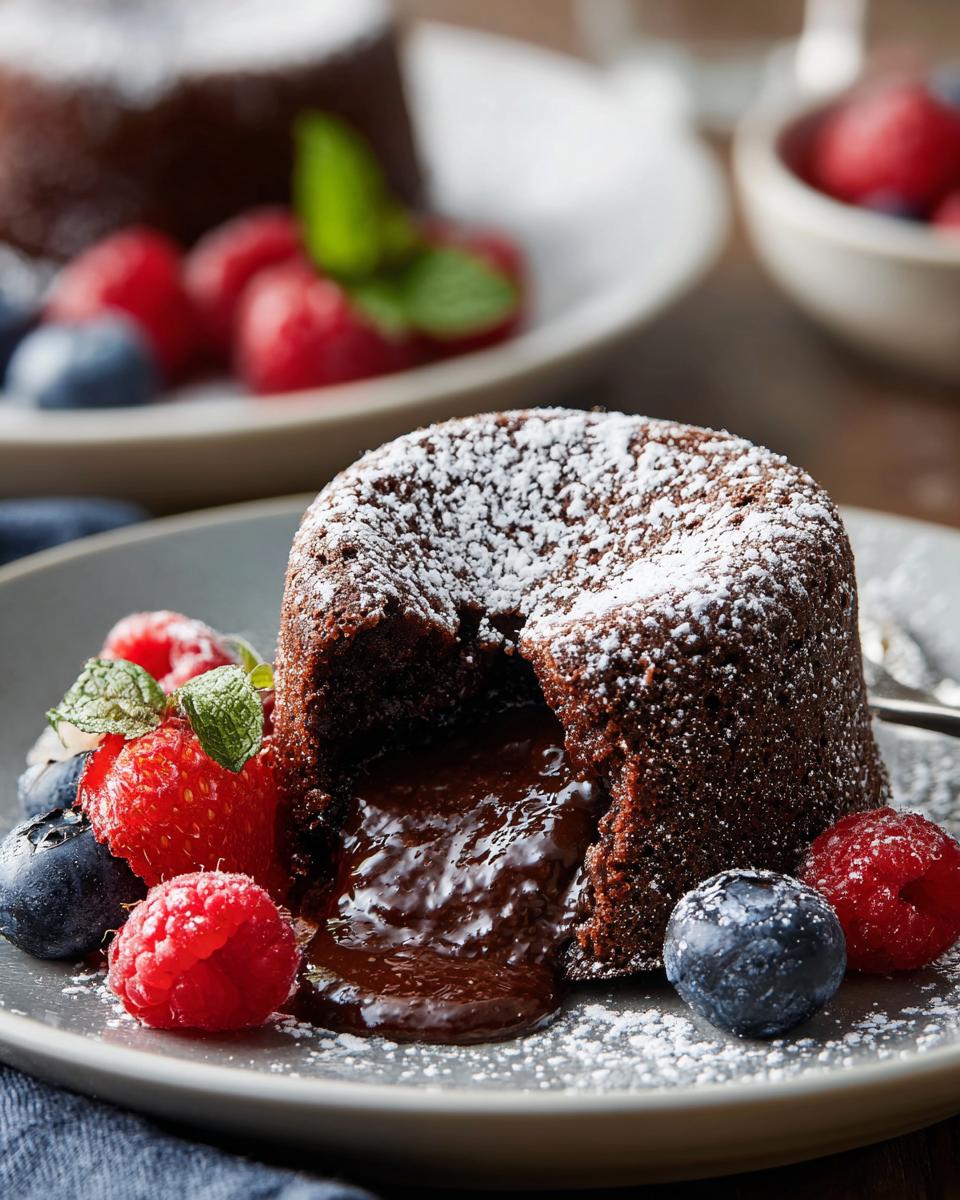
Once they’re baked, let them hang out in the ramekins for just a minute or two. You don’t want them to cool down too much. Then, carefully invert them onto your serving plates. A little tap should do the trick! Dust them with powdered sugar – it looks like a soft snowfall! – and maybe add a few fresh berries on the side. Serve them up warm, and just wait for the applause!
Tips for The Dessert I Make When I Want Compliments Success
You know, even with a great recipe, sometimes things can go a little sideways, right? That’s why I love sharing little tricks that help make sure the dessert I make when I want compliments turns out absolutely perfect every single time. It’s all about a few key points, and trust me, once you know them, you’ll be a lava cake pro! For more amazing baking ideas, check out these homemade Krispy Kreme donuts or my favorite chocolate chip cookies.
Achieving the Perfect Molten Center
The absolute key to that glorious molten center is baking time. You really need to watch these cakes like a hawk! The edges should be set, but the center should still look a little soft and jiggly when you gently shake the ramekin. If your oven runs hot, you might need to pull them out a minute or two sooner. It’s better to have a slightly underbaked cake than one that’s fully cooked through – that’s how you get the goo!
Make-Ahead and Storage
Here’s a fantastic bit of magic: you can totally make the batter ahead of time! Just prepare the batter as directed, spoon it into your greased and floured ramekins, and then cover them tightly with plastic wrap. You can pop them in the fridge for up to 2 hours before you plan to bake. Just add a few extra minutes to the baking time. Leftovers? If you happen to have any (a rare occasion in my house!), let them cool completely, cover them, and they’ll keep in the fridge for a day. You can gently reheat them in the oven or microwave, but they’re best enjoyed fresh!
Frequently Asked Questions About Chocolate Lava Cakes
Got questions about whipping up these amazing lava cakes? I’ve got you covered! These are some things people often ask when they’re diving into this recipe.
Can I make the batter ahead of time?
Oh, absolutely! That’s one of the best parts about this recipe for the dessert I make when I want compliments. You can totally prepare the batter, put it into your greased ramekins, cover them, and pop them in the fridge for a couple of hours before baking. Just remember to add a little extra baking time!
What if my lava cakes don’t have a molten center?
Don’t despair! It usually comes down to baking time. Keep a super close eye on them in the oven. You want the edges to be set but the middle to still look a bit soft. If they come out fully cooked, you might have just baked them a minute or two too long. Next time, try pulling them out slightly sooner!
Can I use different types of chocolate?
You sure can! While semi-sweet chocolate is my go-to for the best balance, you can totally experiment. Bittersweet chocolate is a great option if you like things a little less sweet. Just be aware that using darker chocolate might make the cakes slightly less sweet overall, so taste your batter (carefully!) and adjust sugar if needed.
Nutritional Information (Estimated)
Just a friendly heads-up that these numbers are estimates, as every kitchen is a little different! Based on the ingredients and serving size for these decadent chocolate lava cakes, you’re looking at approximately 450 calories per serving. This includes about 30g of fat (with 18g being saturated), 40g of carbohydrates, 35g of sugar, 3g of fiber, and 7g of protein. These are estimates, of course, and can vary depending on the specific brands of chocolate and butter you use! Enjoy!
Print
Tuscan White Bean and Spinach Soup
- Total Time: 45 min
- Yield: 6 servings 1x
- Diet: Vegetarian
Description
A hearty and flavorful soup with white beans, spinach, and aromatic vegetables.
Ingredients
- 1 tablespoon olive oil
- 1 medium onion, chopped
- 2 carrots, chopped
- 2 celery stalks, chopped
- 3 cloves garlic, minced
- 1 teaspoon dried rosemary
- 1 teaspoon dried thyme
- 6 cups vegetable broth
- 2 (15-ounce) cans cannellini beans, rinsed and drained
- 1 (14.5-ounce) can diced tomatoes, undrained
- 5 ounces fresh spinach
- Salt and black pepper to taste
Instructions
- Heat olive oil in a large pot or Dutch oven over medium heat. Add onion, carrots, and celery. Cook until softened, about 8-10 minutes.
- Add garlic, rosemary, and thyme. Cook for 1 minute more until fragrant.
- Pour in vegetable broth, cannellini beans, and diced tomatoes. Bring to a boil, then reduce heat and simmer for 15 minutes.
- Stir in spinach and cook until wilted, about 2-3 minutes.
- Season with salt and pepper to taste.
Notes
- For a creamier soup, you can blend a portion of the beans with some broth before adding them back to the pot.
- Serve hot with crusty bread.
- Prep Time: 15 min
- Cook Time: 30 min
- Category: Soup
- Method: Stovetop
- Cuisine: Italian
Nutrition
- Serving Size: 1.5 cups
- Calories: 250
- Sugar: 6g
- Sodium: 600mg
- Fat: 5g
- Saturated Fat: 1g
- Unsaturated Fat: 4g
- Trans Fat: 0g
- Carbohydrates: 40g
- Fiber: 10g
- Protein: 12g
- Cholesterol: 0mg
Keywords: Tuscan white bean soup, spinach soup, vegetarian soup, hearty soup, easy soup recipe