
Oh, the holidays! There’s just something magical about the smell of baking wafting through the house, isn’t there? It’s my absolute favorite time to get in the kitchen and whip up something special. And this year, we absolutely *have* to make these adorable Snowman Hat Cookies! They’re not just ridiculously cute, but they’re also surprisingly simple to put together, making them perfect for all your festive baking needs. I remember making these with my kids for the first time a few years back; their little faces lit up with so much joy, and honestly, so did mine. They taste just as good as they look, too!

Why You’ll Love These Snowman Hat Cookies
Trust me, these cookies are a winner! Here’s why you’ll want to make them:
- Super Easy to Make: Even if you’re new to baking, you can totally nail these.
- So Festive! They look like little snowman hats, perfect for any holiday party.
- Deliciously Sweet: A classic sugar cookie taste that everyone adores.
- Fun for Everyone: Kids and adults alike will have a blast decorating and eating them!
Gather Your Snowman Hat Cookies Ingredients
Alright, let’s get our ingredients together for these cute little fellas! You’ll want to have everything prepped and ready to go. Here’s what you’ll need:
- 1 cup unsalted butter, make sure it’s softened – this is key for happy creaming later!
- 1/2 cup granulated sugar.
- 1 large egg.
- 1 teaspoon vanilla extract for that lovely classic flavor.
- 2 1/2 cups all-purpose flour.
- 1/2 teaspoon baking powder.
- 1/4 teaspoon salt to balance the sweetness.
- For decorating: Black decorating icing, orange decorating icing, and some plain white frosting for extra flair.
That’s it! Simple stuff, right?
Essential Equipment for Snowman Hat Cookies
Before we dive into the fun part, let’s make sure you have the right gear! You don’t need anything too fancy, though. Just a few basics will do the trick:
- A couple of mixing bowls
- A sturdy whisk and maybe a spatula
- Baking sheets – a couple of these are handy!
- Round cookie cutters in two different sizes (one for the brim, one for the crown). If you don’t have cutters, no worries, we’ll talk alternatives later!
- A wire rack for cooling – this is a must so they don’t get soggy.
Got these? Great! You’re all set to make some amazing Snowman Hat Cookies.
Step-by-Step Guide to Making Snowman Hat Cookies
Okay, let’s get down to business and turn these simple ingredients into absolutely adorable Snowman Hat Cookies! It’s a process, but a really fun one. Follow along, and you’ll have a whole batch of festive cheer ready in no time. Think of this like making slightly more involved, but way cuter, soft sugar cookies, but shaped like tiny hats!
Preparing the Cookie Dough
First things first, we need to get our cookie dough going. Grab a couple of bowls! In one, cream together that softened butter and sugar until it’s nice and fluffy – think pale yellow and airy. Then, beat in your egg nice and gently, followed by the vanilla extract. In the other bowl, just give your flour, baking powder, and salt a quick whisk to combine them. Now, gradually add the dry stuff to the wet, mixing until it just comes together. Seriously, don’t overmix here; we want tender cookies, not tough ones! If you’re a big cookie fan, you know how crucial this step is, kind of like in my famous chocolate chip cookie recipe.
Chilling and Rolling the Dough
This next part is super important for easy handling. Divide your dough in half, wrap each piece up in plastic wrap, and pop them in the fridge for at least 30 minutes. This chilling time makes the dough firm, so it’s much easier to roll out without getting sticky and messy. Once chilled, preheat your oven to 350°F (175°C) and line a couple of baking sheets with parchment paper. Trust me, parchment paper is your best friend here! Now, lightly flour your surface and roll out one half of the dough nice and even, about 1/4-inch thick. You’ll need this for the hat brims!
Cutting and Baking Your Snowman Hat Cookies
Time to make these look like hats! Use your larger round cookie cutter to cut out circles for the brims. Then, grab a smaller cutter (or even the cap of a bottle if you’re in a pinch!) and cut a circle from the center of each brim piece. For the hat crowns, roll out the second half of the dough and just cut out plain circles. Place these crowns onto your prepared baking sheets. Then, carefully place the brim pieces around the crowns. Bake them for about 10-12 minutes. You’ll know they’re ready when the edges are just barely golden. Let them cool on the sheet for a few minutes before transferring them to a wire rack to cool completely. Patience is key here!
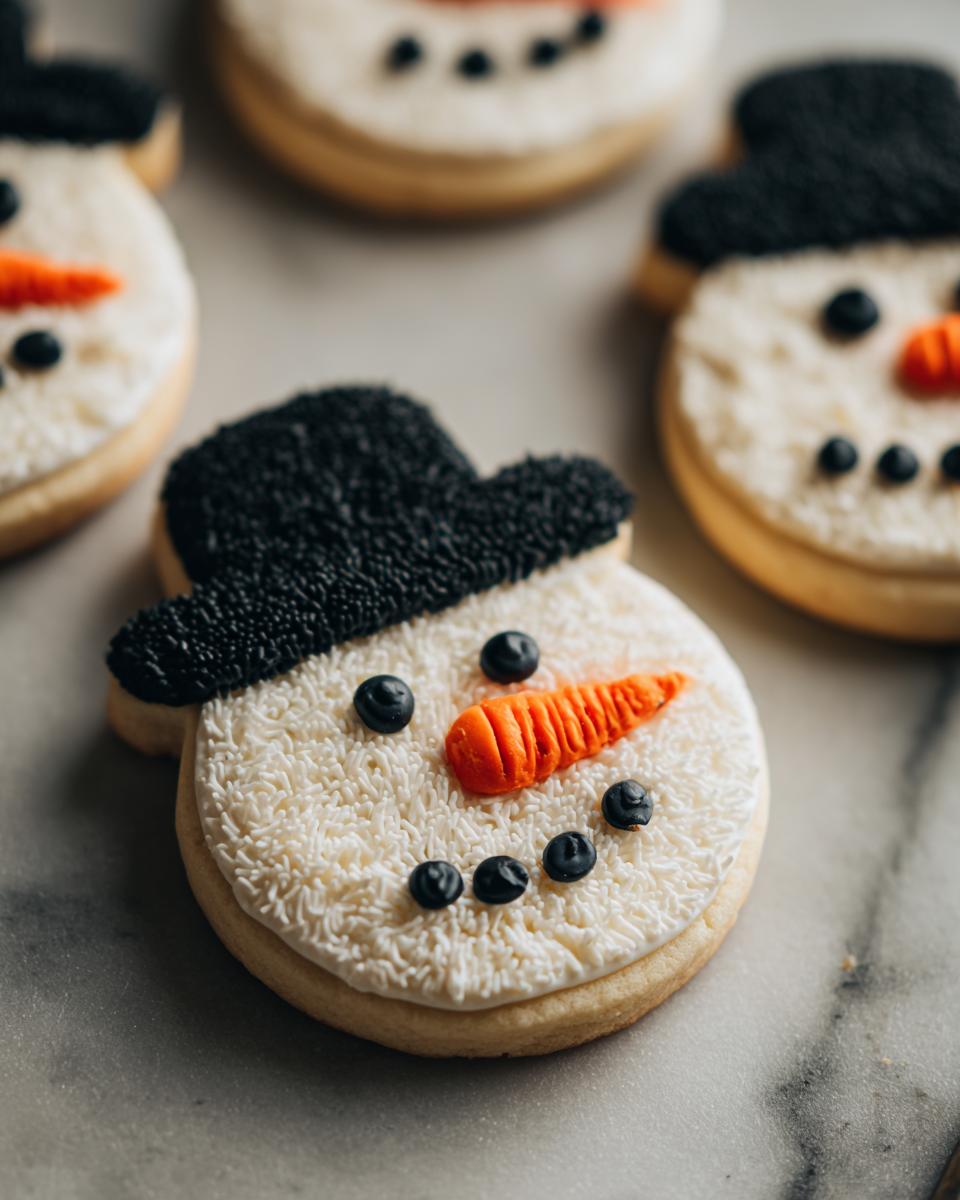

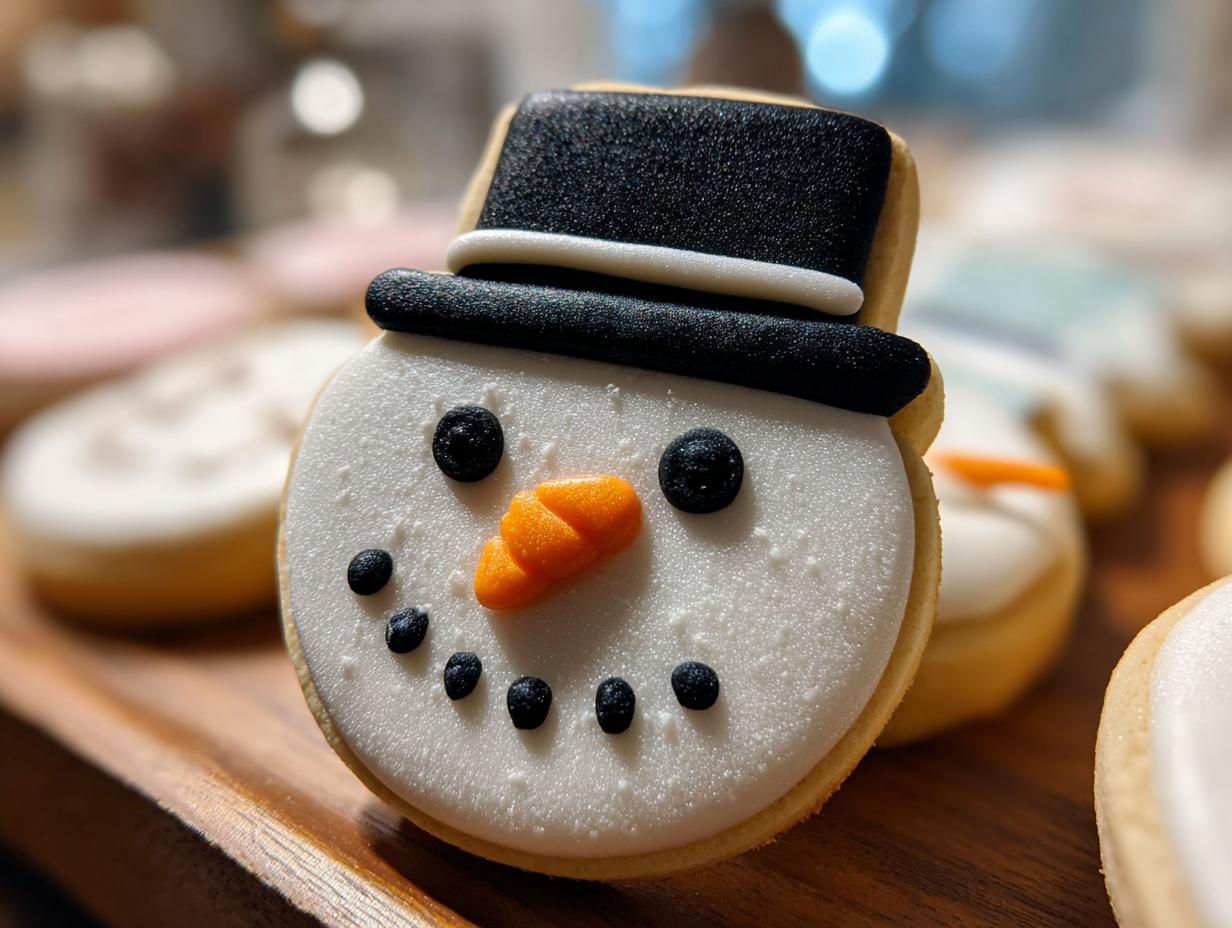
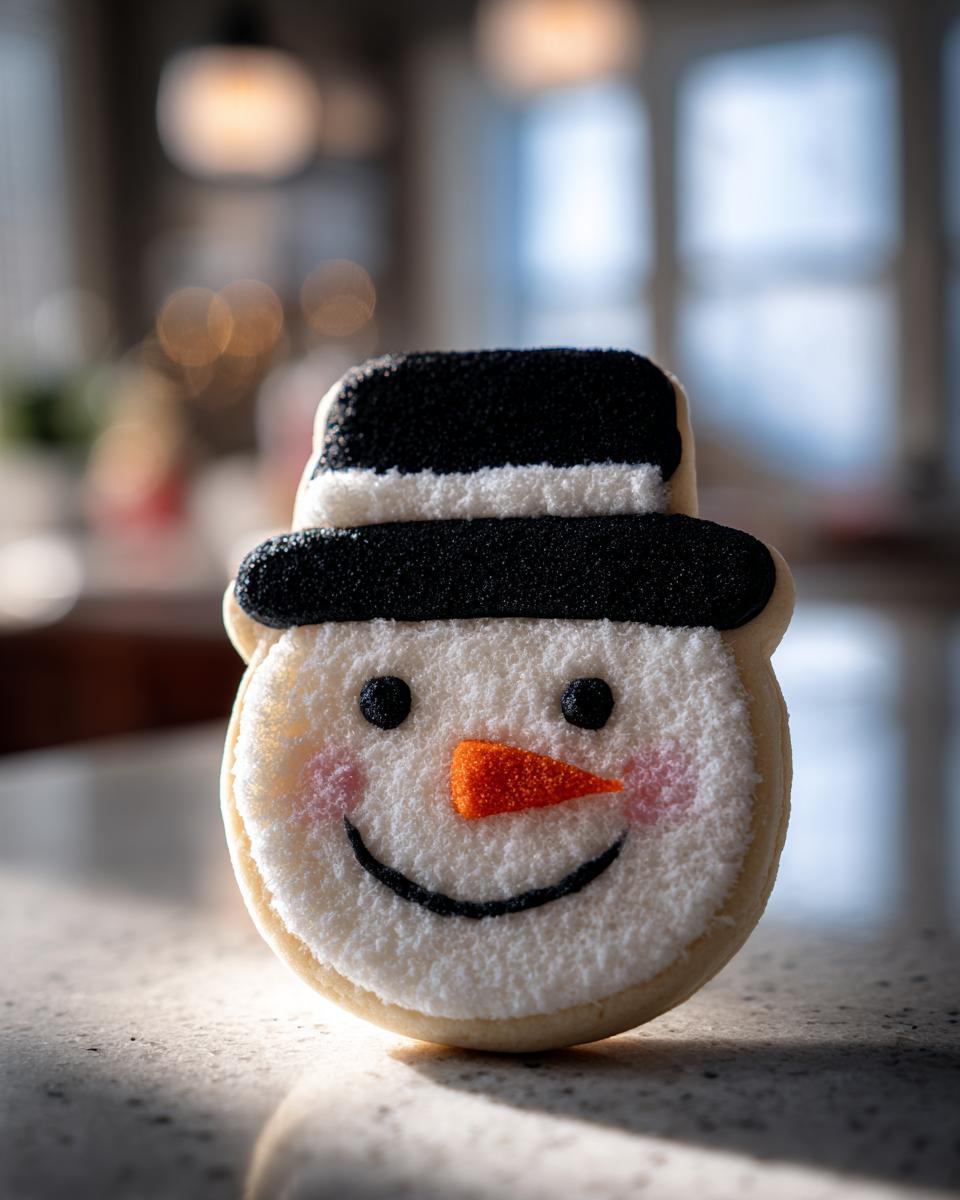
Decorating Your Festive Snowman Hat Cookies
This is where the magic really happens! Once your cookies are totally cool – and I mean completely cool, otherwise, the icing will just melt off – it’s decorating time. Grab that black decorating icing and carefully outline and fill in the circles for the hat crowns. So satisfying! Then, use a little bit more black icing to draw a line connecting the crown to the brim, making it look like one solid hat. Now for the fun part: use the orange icing to draw a cute little carrot nose right on the crown. You can totally get creative here! If you have white frosting, add some buttons down the hat or swirl a little scarf around the base of the crown. Ooh, sprinkles are also a fantastic idea!
Tips for Perfect Snowman Hat Cookies
Okay, listen up, because I’ve made these little guys more times than I can count, and I’ve picked up a few tricks that make them turn out absolutely perfect every single time. First off, the dough consistency is EVERYTHING. If it feels too sticky when you’re rolling, just dust your surface and the top of the dough with a tiny bit more flour – but don’t go overboard, or they’ll be too dry! And about spreading? Chilling the dough properly, like we talked about, is your best defense against cookies turning into puddles. For even baking, try to make sure your hat crowns and brims are roughly the same thickness so they bake at the same rate. If you want to get fancy with decorating, try using easy 3-ingredient Christmas cookies or different colored icings or even add some edible glitter for extra sparkle. These are seriously so much fun to jazz up!
Ingredient Notes and Substitutions for Snowman Hat Cookies
Let’s chat about a couple of things regarding the ingredients, just to make things super clear and easy for you!
For the flour, all-purpose is what works best here to give us that nice, tender cookie texture. If you’re feeling adventurous, you could try a gluten-free blend, but results might vary a bit, so maybe do a test batch first! And for the sugar, stick with granulated sugar for the dough. It gives the cookies that classic sweetness. When it comes to decorating, if you can’t find the black or orange decorating icing, don’t sweat it! You can always use black and orange buttercream frosting. Just make sure your cookies are completely cool, or the frosting will melt right off, and then you’ll have a melty mess instead of cute hats!
Frequently Asked Questions about Snowman Hat Cookies
Got some questions bubbling up about making these cute little cookies? Totally normal! Let me try to answer some of the most common ones I get so your baking adventure is super smooth sailing. These Snowman Hat Cookies are pretty forgiving, but a little info goes a long way! Thinking about holiday goodness makes me want to pull out my Christmas planning checklist!
How should I store my Snowman Hat Cookies?
Just pop ’em into an airtight container once they’re completely cool. They’ll stay yummy at room temperature for about 3 days. Easy peasy!
Can I make the dough ahead of time?
You sure can! Chilled dough is your friend here. Just make the dough, wrap it up tight, and keep it in the fridge. It’ll be good for up to 2 days. Just let it soften up a tiny bit before rolling.
What if I don’t have round cookie cutters?
No problem! You can use the rim of a sturdy glass for the brims and a small juice glass or even a bottle cap for the crowns. Or, just freehand it with a knife! It doesn’t have to be perfect to be cute.
Are there any variations for these Snowman Hat Cookies?
Oh, totally! Feel free to use different colored icings – maybe a green hat or a blue one? You could also press some festive sprinkles into the dough before baking or onto the wet icing for extra sparkle!
Estimated Nutritional Information
Alright, so let’s talk numbers! Keep in mind that these values are just an estimate, as things can change a little depending on exactly what brands you use and how thick you roll your dough. But generally, you’re looking at about 150 calories per cookie, with around 8g of fat (about 5g of that is saturated), 18g of carbs, and 10g of sugar. This also gives you about 2g of protein. It’s a fun treat, so enjoy it!
Share Your Snowman Hat Cookie Creations!
Okay, now it’s YOUR turn! I’d absolutely LOVE to see your finished Snowman Hat Cookies. Did you try any fun new decorations? Maybe you made a whole troop of snowmen? Snap a pic and share it with me! Or, tell me all about it in the comments below. Your feedback and photos make my whole day! You can also feel free to reach out to me directly here: Let’s Chat! And if you want to know more about me, check out my About Me page!
Print
Snowman Hat Cookies
- Total Time: 42 min
- Yield: 24 cookies 1x
- Diet: Vegetarian
Description
Easy and festive cookies shaped like snowman hats, perfect for holiday baking.
Ingredients
- 1 cup unsalted butter, softened
- 1/2 cup granulated sugar
- 1 large egg
- 1 teaspoon vanilla extract
- 2 1/2 cups all-purpose flour
- 1/2 teaspoon baking powder
- 1/4 teaspoon salt
- Black decorating icing
- Orange decorating icing
- White frosting
Instructions
- Cream together the softened butter and granulated sugar until light and fluffy.
- Beat in the egg and vanilla extract.
- In a separate bowl, whisk together the flour, baking powder, and salt.
- Gradually add the dry ingredients to the wet ingredients, mixing until just combined.
- Divide the dough in half. Wrap each half in plastic wrap and chill for at least 30 minutes.
- Preheat your oven to 350°F (175°C). Line baking sheets with parchment paper.
- On a lightly floured surface, roll out one half of the dough to about 1/4-inch thickness.
- Use a round cookie cutter to cut out circles for the hat brim.
- Use a smaller round cutter or a knife to cut out a smaller circle from the center of each brim piece.
- Roll out the second half of the dough and cut out circles for the hat crown.
- Place the hat crowns onto the prepared baking sheets. Place the hat brims around the crowns.
- Bake for 10-12 minutes, or until the edges are lightly golden. Let cool on the baking sheets for a few minutes before transferring to a wire rack to cool completely.
- Once cooled, use black decorating icing to outline and fill in the hat crowns.
- Use black icing to draw a line connecting the crown to the brim.
- Use orange icing to draw a small carrot nose on the crown.
- Use white frosting to add details like buttons or a scarf if desired.
Notes
- You can use store-bought cookie dough for a quicker option.
- Decorate with sprinkles for added flair.
- These cookies can be stored in an airtight container at room temperature for up to 3 days.
- Prep Time: 30 min
- Cook Time: 12 min
- Category: Dessert
- Method: Baking
- Cuisine: American
Nutrition
- Serving Size: 1 cookie
- Calories: 150
- Sugar: 10g
- Sodium: 50mg
- Fat: 8g
- Saturated Fat: 5g
- Unsaturated Fat: 3g
- Trans Fat: 0g
- Carbohydrates: 18g
- Fiber: 1g
- Protein: 2g
- Cholesterol: 25mg
Keywords: snowman cookies, hat cookies, holiday cookies, Christmas cookies, sugar cookies, festive baking, easy cookies