
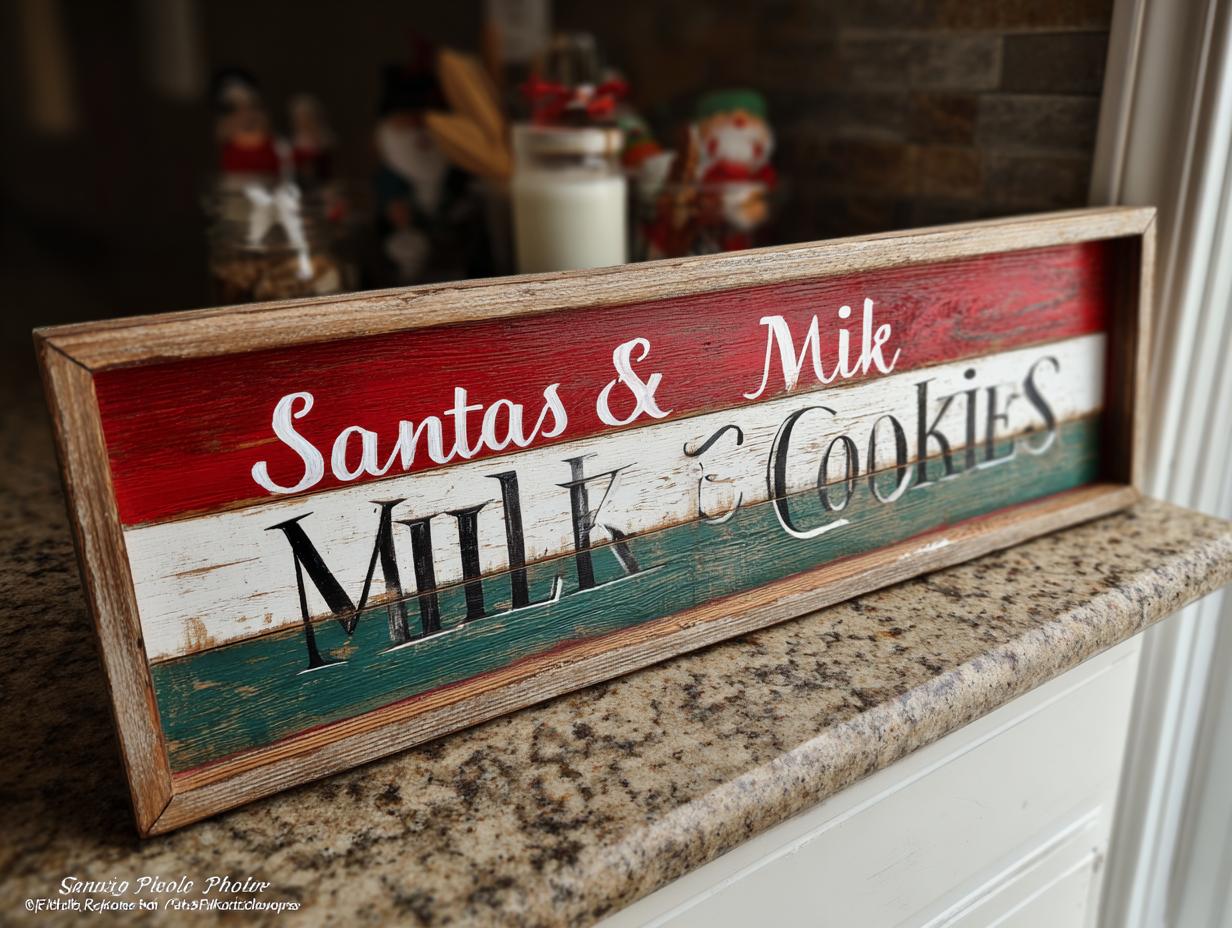
Oh, the magic of Christmas morning! That hushed anticipation, the twinkling lights, and of course, Santa’s imminent arrival. There’s something so special about continuing traditions, and for us, that meant leaving out treats for Santa. This year, I wanted to make it extra memorable with a Santa’s Milk and Cookies Tray DIY project. Honestly, the look on my little one’s face when we laid out the cookies and milk on a special tray we made ourselves? Priceless! It’s these little touches that really make the holidays sparkle, and it felt so good to craft something that adds to that joy.
Why You’ll Love This Santa’s Milk and Cookies Tray DIY
This little DIY project is just fantastic! Here’s why:
- So easy to make! Seriously, even if you aren’t a crafting whiz, you can totally nail this.
- Totally customizable. Make it truly yours with different colors or little extras.
- Memory maker! It’s a special touch that makes Christmas morning even more magical for the kids.
- Super fun for little helpers. Kids can get involved in the painting, making it a sweet bonding activity.
Gather Your Supplies for Your Santa’s Milk and Cookies Tray DIY
Alright, let’s get crafting! You’ll only need a few bits and bobs for this Santa’s Milk and Cookies Tray DIY, and it’s super straightforward to get them. Trust me, the fewer steps, often the better, right? Here’s what you’ll want to have on hand:
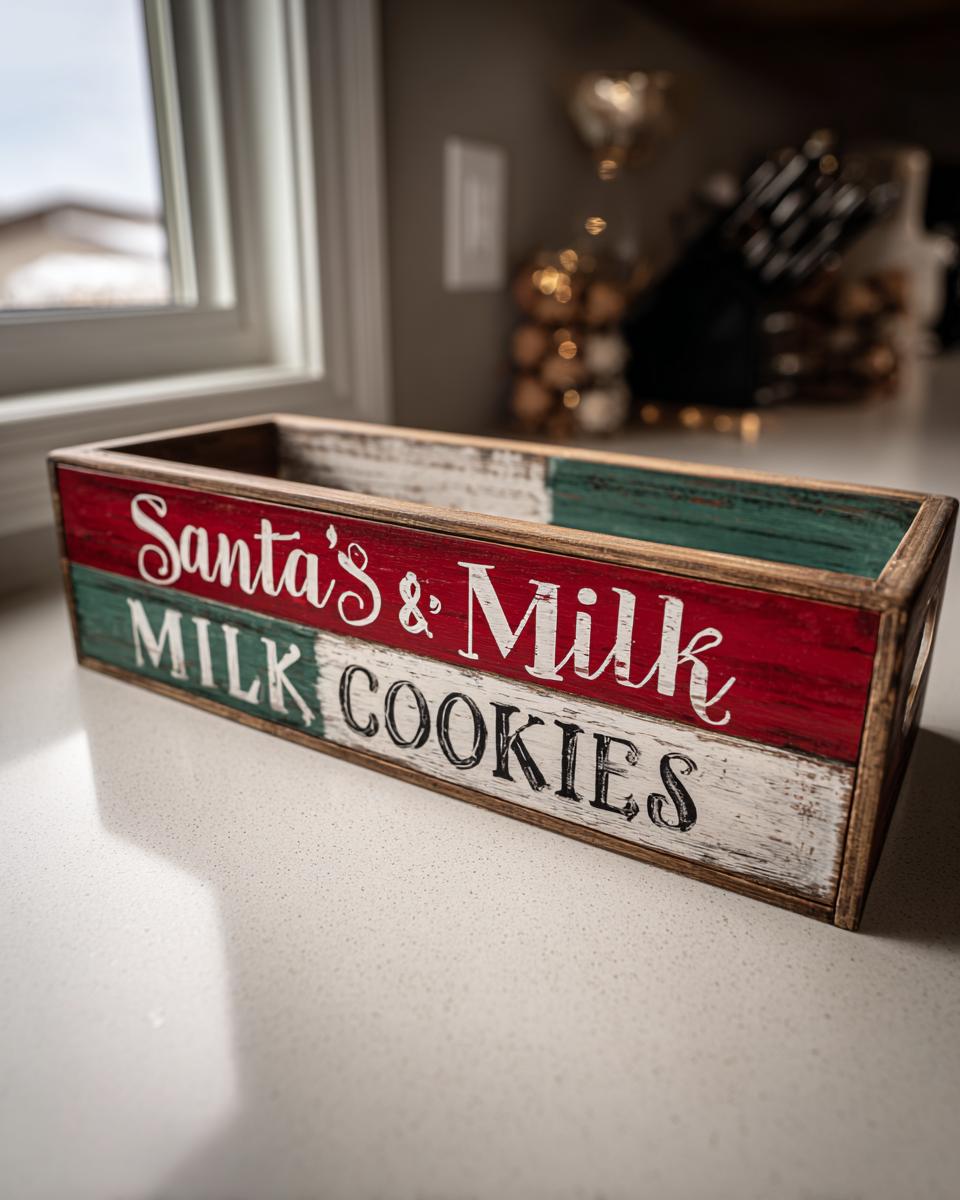
- 1 Wooden Tray: I like one that’s around 12×8 inches, nothing too fancy, but sturdy enough to hold Santa’s treats.
- Acrylic Paints: Grab some non-toxic acrylics in classic Christmas colors – think bright red, crisp white, and a nice holiday green. A little bottle of each is plenty!
- Paintbrushes: A couple of different sizes will be helpful. A wider one for the base coats and a smaller one for details and lettering.
- Clear Sealant: This is important to protect your pretty paint job! A water-based sealant is usually a good bet.
- Optional: Stencils! If your handwriting isn’t your favorite part, stencils for letters make writing ‘Santa’s Milk & Cookies’ a total breeze.
- Optional: Glitter or Embellishments. Feeling extra festive? A sprinkle of glitter or some little stick-on gems can make it pop!
Step-by-Step Guide to Creating Your Santa’s Milk and Cookies Tray DIY
Alright, let’s get down to business and make this tray look amazing! It’s easier than you think, I promise. The key is just being a little patient with the drying times – trust me, it’s worth it! Before you know it, you’ll have a beautiful tray ready for Santa, maybe even with some homemade donuts or cookies on it!
Prepare Your Wooden Tray
First things first, grab your wooden tray. Give it a good wipe down with a damp cloth to get rid of any dust or stray bits. If it feels a little rough, a quick gentle sanding with some fine-grit sandpaper will make it super smooth – like, buttery smooth!
Applying the Base Coat
Now for the fun part! We’re going with a classic Christmas red for the base. Grab your bigger brush and slather on a nice, even coat of red acrylic paint. Make sure you get into all the corners. Don’t worry if it’s not perfectly opaque on the first try; acrylics usually need two coats. Pop this somewhere safe to dry completely. Seriously, wait until it’s dry to the touch, or you’ll be making a mess!
Adding the Border
Once that red is good and dry, it’s time for the crisp white border. You can totally wing this with a smaller brush, but if you want super-straight lines (and who doesn’t?), grab some painter’s tape. Lay it down along the inside edge of the tray, giving yourself about a half-inch border. Paint inside the tape with your white paint. Peel off the tape *while the paint is still slightly wet* – this gives you the cleanest line. Let that dry too!

Incorporating Decorative Accents
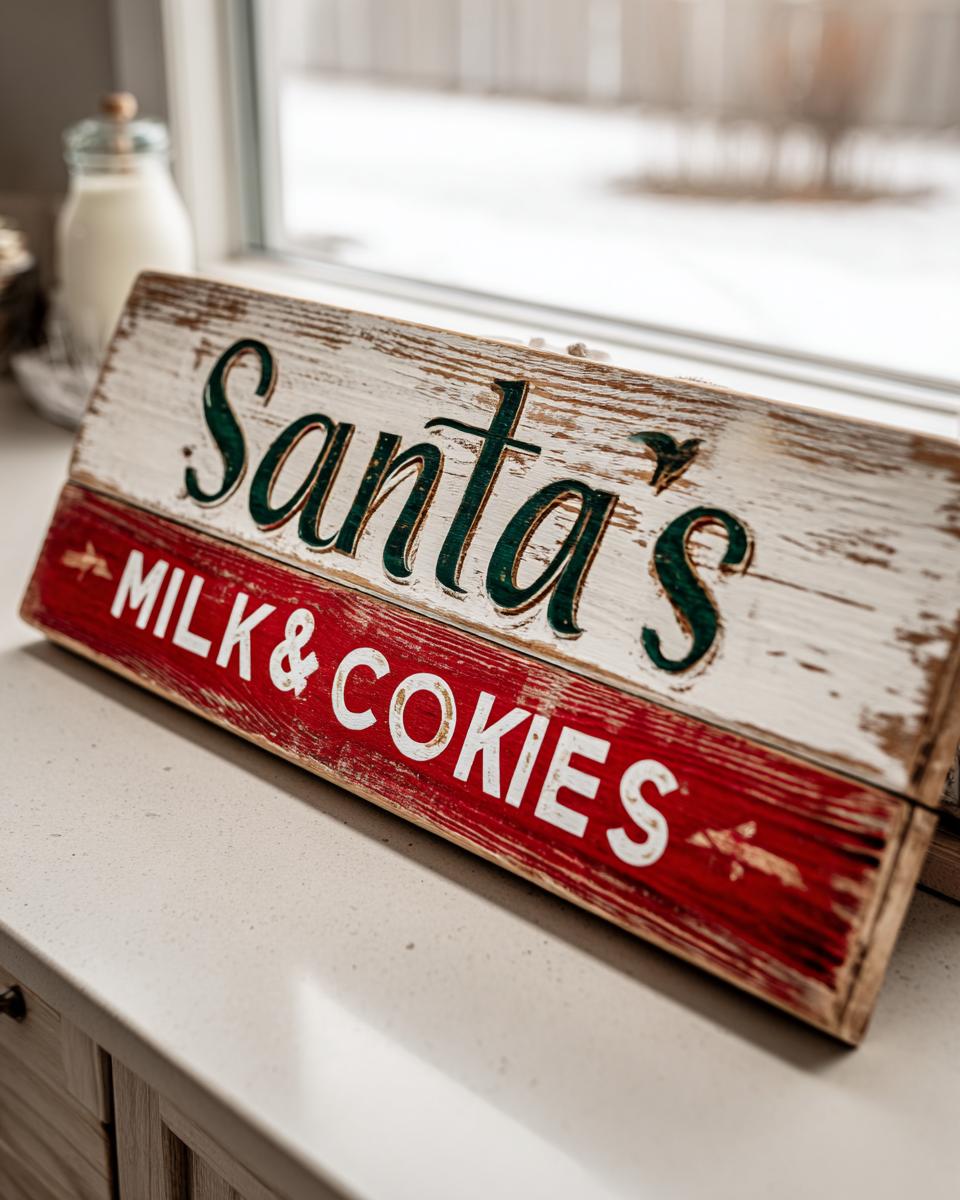
Time to get creative! Grab that green paint and add some festive fun. Think little dots around the edge, some simple stripes, or maybe even some tiny holly leaves. Don’t overthink it; Santa appreciates handmade charm! If you’re feeling adventurous, a few little dabs of white paint can look like snow. Let these little touches dry thoroughly before moving on.
Writing ‘Santa’s Milk & Cookies’
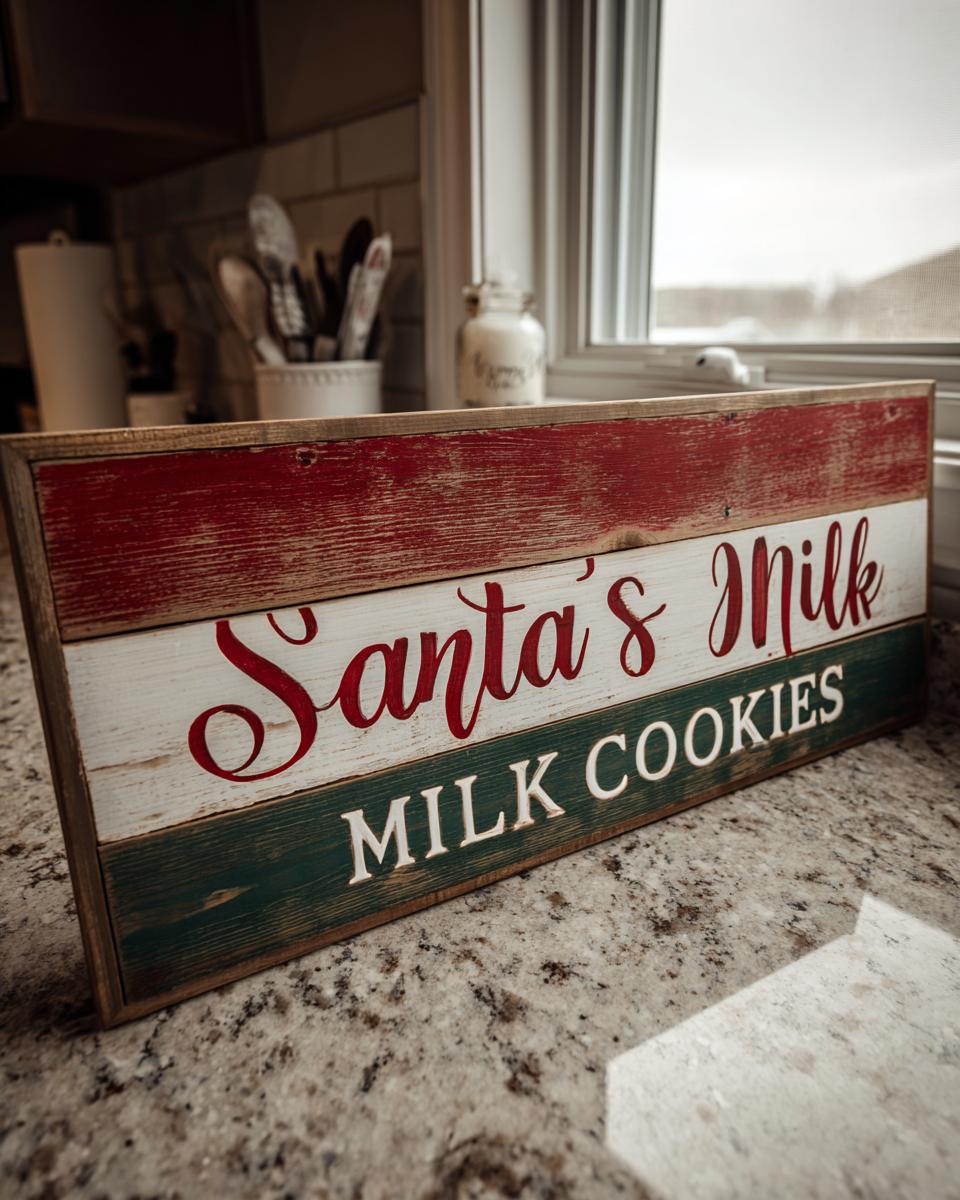
This is where your tray really comes to life! Using your smallest brush and white paint (or a contrasting color if you prefer!), carefully write “Santa’s Milk & Cookies.” If freehand looks a little scary, no worries! You can use those stencils I mentioned. Just position them, trace around them with a pencil very lightly, and then paint over your pencil lines. Make sure it’s nice and centered so Santa can’t miss it!
Oh, and if you mess up a letter, don’t panic! A little dab of the base red paint can usually cover it up, and you can try again once it’s dry. It’s your tray, after all!
Applying the Protective Sealant
Last step, and it’s a crucial one for longevity! Once *everything* is completely dry – and I mean super-duper dry – grab that clear sealant. Apply a thin, even coat over the entire painted surface. This seals in the paint, gives it a nice finish, and protects it from any milk spills or cookie crumbs. Let it cure completely according to the product directions before you even think about adding treats. This can take 24 hours or even longer sometimes, so give it plenty of time!
Tips for a Perfect Santa’s Milk and Cookies Tray
Okay, so you’ve got the basics down, but let me share a few little tricks that really make your Santa’s Milk and Cookies Tray DIY shine. My biggest tip? Don’t rush the drying times! I know, I know, it’s exciting to get it done, but letting each layer of paint and the sealant cure properly makes all the difference. It prevents smudges and makes your tray last for years of Christmases to come.
If you’re going for that crisp white border, a simple trick is to use a hairdryer on a cool setting to speed up drying *slightly*, but don’t blast it! Also, I always recommend using acrylic paints that are labeled ‘non-toxic’ because, well, you never know if little hands might touch it. And for writing the text – if your hand shakes a bit, try using a pencil to sketch it out super lightly first, then paint over it. You can always paint over stray pencil marks with your base color. For personalization, I’ve seen folks add a little dusting of glitter glue *before* the sealant, or even tiny silver beads around the edge! It’s your tray, make it sparkle!
Honestly, the best part is adding the cookies and milk. Make sure to put them on a small napkin or bit of parchment paper directly on the tray – it just keeps everything looking nice and clean. Maybe some of my favorite chocolate chip cookies or some fun homemade donuts for Santa!
Frequently Asked Questions about Santa’s Milk and Cookies Tray DIY
Got questions about whipping up your own Santa’s Milk and Cookies Tray DIY? I’ve got you covered! For more ideas, check out our dessert and dinner recipes!
What kind of paint is best for this Santa’s Milk and Cookies Tray DIY?
You’ll want to grab some good old non-toxic acrylic paints. They work like a charm on wood, are super easy to clean up (yay!), and come in all sorts of fun colors. Just make sure they say ‘non-toxic’ so everyone can help out safely!
How long does it take for the paint and sealant to dry?
Patience, my friend! Acrylic paint usually takes about 20-30 minutes to be dry to the touch, but give it a couple of hours to really set before adding another coat. The sealant can take a good 24 hours, or even longer, to fully cure. Just feel it to make sure it’s not sticky!
Can I personalize the Santa’s Milk and Cookies Tray?
Oh, absolutely! That’s the best part! Feel free to add glitter, little snowflakes, pine sprigs, or even your family name. It’s your tray, so make it as unique and festive as you like!
Is the sealant food-safe?
The sealant is mainly there to protect your beautiful paint job. While it helps, the tray is really more for decoration. It’s best to place Santa’s treats on a little napkin or some parchment paper on the tray, just to be safe. Think of it as a lovely platter, not a plate!
Estimated Nutritional Information
Now, about the nutrition info for this festive Santa’s Milk and Cookies Tray DIY – since it’s a craft project made of wood and paint, it doesn’t actually have any nutritional value. We’re talking zero calories, zero fat, zero carbs. Zilch! It’s purely for making spirits bright and holding delicious treats for Santa. Think of it as pure Christmas magic, not a snack!
Share Your Santa’s Milk and Cookies Tray Creation!
I would absolutely LOVE to see your finished Santa’s Milk and Cookies Tray! Did yours turn out amazing? Please, please leave a comment below and tell me all about it! Or better yet, snap a pic and share it on social media – tag me, I’d be thrilled! Knowing you guys are crafting along with me just makes my whole day. And if you liked this little project, give it a star rating – it really helps people find these fun DIYs! If you have any questions or want to chat more about it, feel free to reach out or even learn about adspace!
Print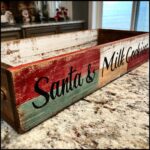
Santa’s Milk and Cookies Tray DIY
- Total Time: 20 min
- Yield: 1 tray 1x
- Diet: Vegetarian
Description
Create a special tray for Santa’s milk and cookies with this simple DIY project.
Ingredients
- 1 wooden tray
- Acrylic paints in red, white, and green
- Paintbrushes
- Clear sealant
- Optional: Stencils for letters
Instructions
- Clean the wooden tray.
- Paint the tray red. Let it dry.
- Paint a white border around the edge. Let it dry.
- Paint green accents or designs on the tray. Let it dry.
- Use white paint to write ‘Santa’s Milk & Cookies’ on the tray. Use stencils if desired. Let it dry.
- Apply a clear sealant over the entire tray. Let it dry completely.
Notes
- Allow adequate drying time between paint coats.
- You can personalize the tray with glitter or other embellishments.
- Prep Time: 20 min
- Cook Time: 0 min
- Category: Holiday Craft
- Method: Painting
- Cuisine: American
Nutrition
- Serving Size: 1 tray
- Calories: 0
- Sugar: 0g
- Sodium: 0mg
- Fat: 0g
- Saturated Fat: 0g
- Unsaturated Fat: 0g
- Trans Fat: 0g
- Carbohydrates: 0g
- Fiber: 0g
- Protein: 0g
- Cholesterol: 0mg
Keywords: Santa tray, milk and cookies, Christmas craft, DIY holiday, Santa Claus, cookie plate