
You know that look your cat gives you? The one that says, “Feed me something spectacular, human!”? Yeah, mine does that all the time. And honestly, I love spoiling my little furball with healthy, tasty treats. That’s exactly why I started making theseSalmon Skin Cat Treats. They’re so incredibly simple to whip up, and the best part is knowing exactly what’s going into them – nothing but pure, wholesome goodness for my furry friend. My cat, Mittens, goes absolutely bonkers for these; she’ll do her little happy dance for them!
Why Your Cat Will Love These Salmon Skin Cat Treats
Okay, so why should you bother making these? Trust me, your cat will thank you! Here’s the scoop:
- Super Natural Goodness: We’re talking one ingredient here – salmon skin! No weird fillers, no artificial anything. Just pure, real food that cats are naturally drawn to.
- Irresistible Taste & Texture: Cats go wild for fish, and the crispy texture of these baked salmon skins is like a little flavor explosion for them. It’s a crunch that’s just *chef’s kiss* for kitty mouths.
- Health Boost Alert: Salmon is packed with omega-3 fatty acids. That means shiny coats and happy joints for your feline friend. It’s a treat that’s actually *good* for them!
- The Joy of Homemade: There’s just something special about giving your pet something you made with your own two hands. You know it’s safe, made with love, and tailored just for them. It’s a total win-win!
Gathering Your Ingredients for Salmon Skin Cat Treats
The best part about these treats? You only need one thing! Seriously, it’s just:
- 1 cup salmon skin, nice and clean and dried off really well.
If you can snag some nice, fresh salmon skin from your fishmonger or the seafood counter, even better! Just make sure it’s good quality.
Simple Steps to Make Delicious Salmon Skin Cat Treats
Alright, let’s get down to business! Making these salmon skin delights is honestly a piece of cake… well, a piece of fish skin! Follow these super simple steps, and you’ll have a batch of happy-cat-approved treats ready in no time. It’s almost too easy, but trust me, the results are *so* worth it.
First things first, get that oven humming! You want it preheated to 350°F (175°C). While it’s warming up, grab a baking sheet. I always line mine with parchment paper – it makes clean-up a breeze and stops anything from sticking. You can thank me later!
Preparing the Salmon Skin
This is probably the most important part for getting that perfect crunch. Make sure your salmon skin is super clean, like, no fishy bits or lingering scales. Then, and this is key, pat it really dry with paper towels. Seriously, get all that moisture out. The drier it is, the crispier your treats will be!
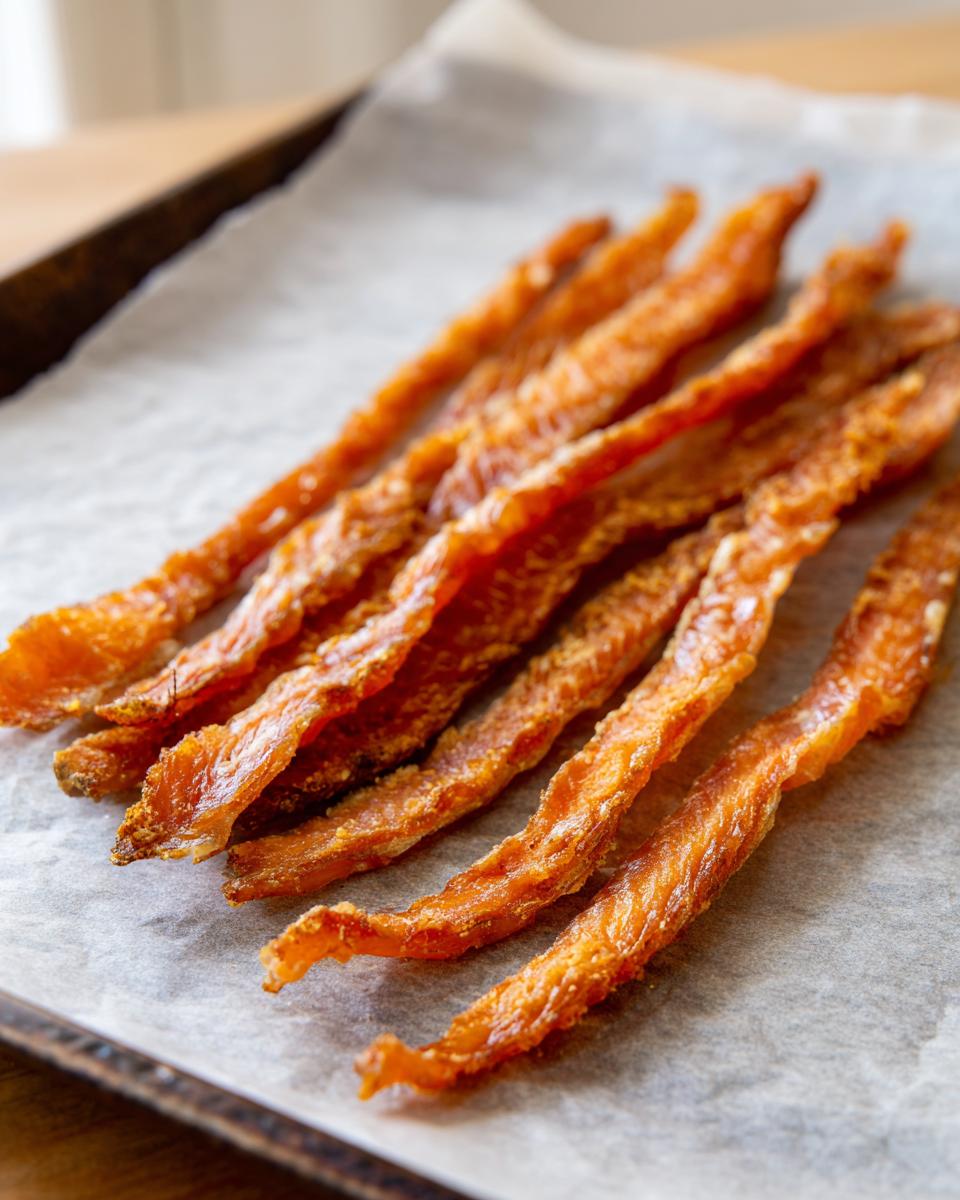
Achieving the Perfect Crispiness
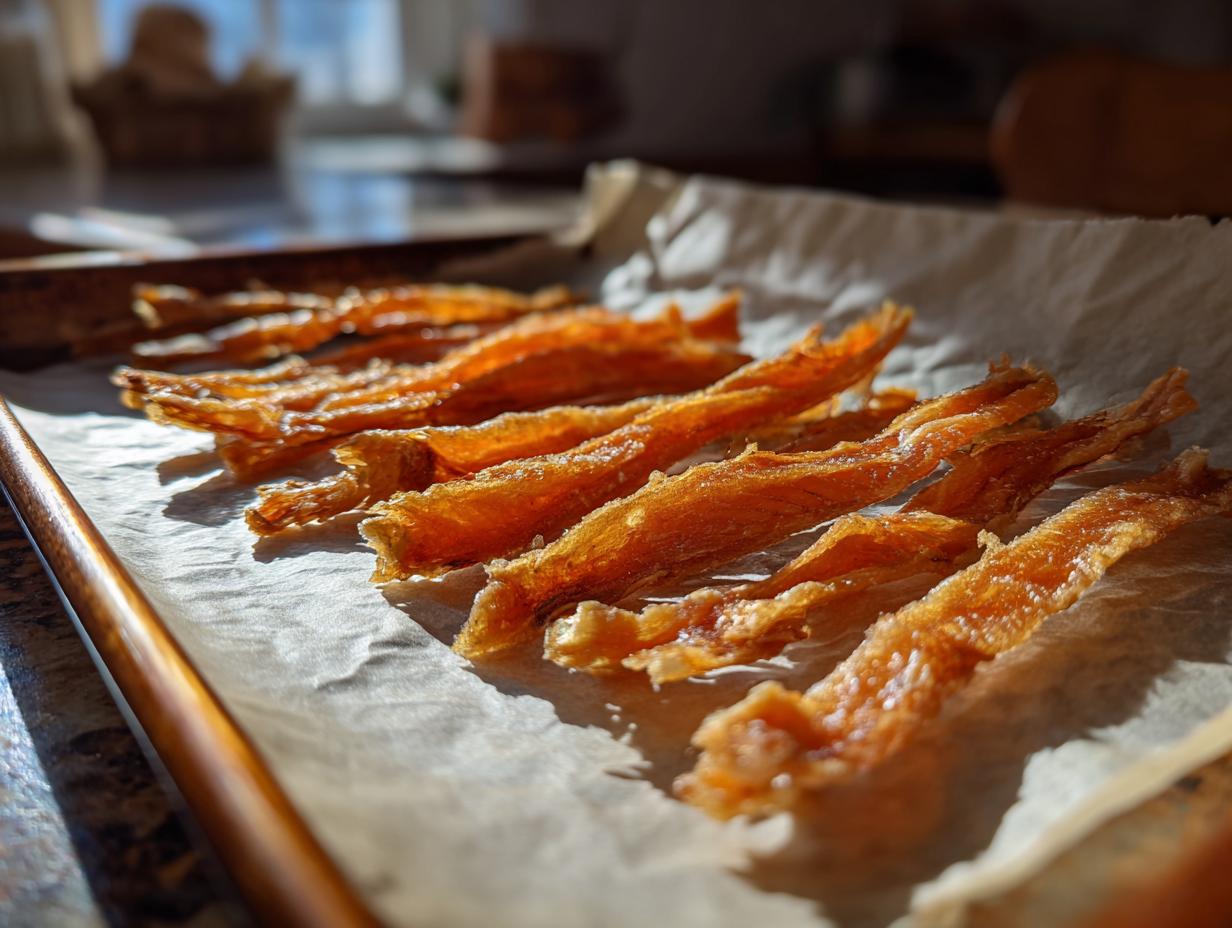
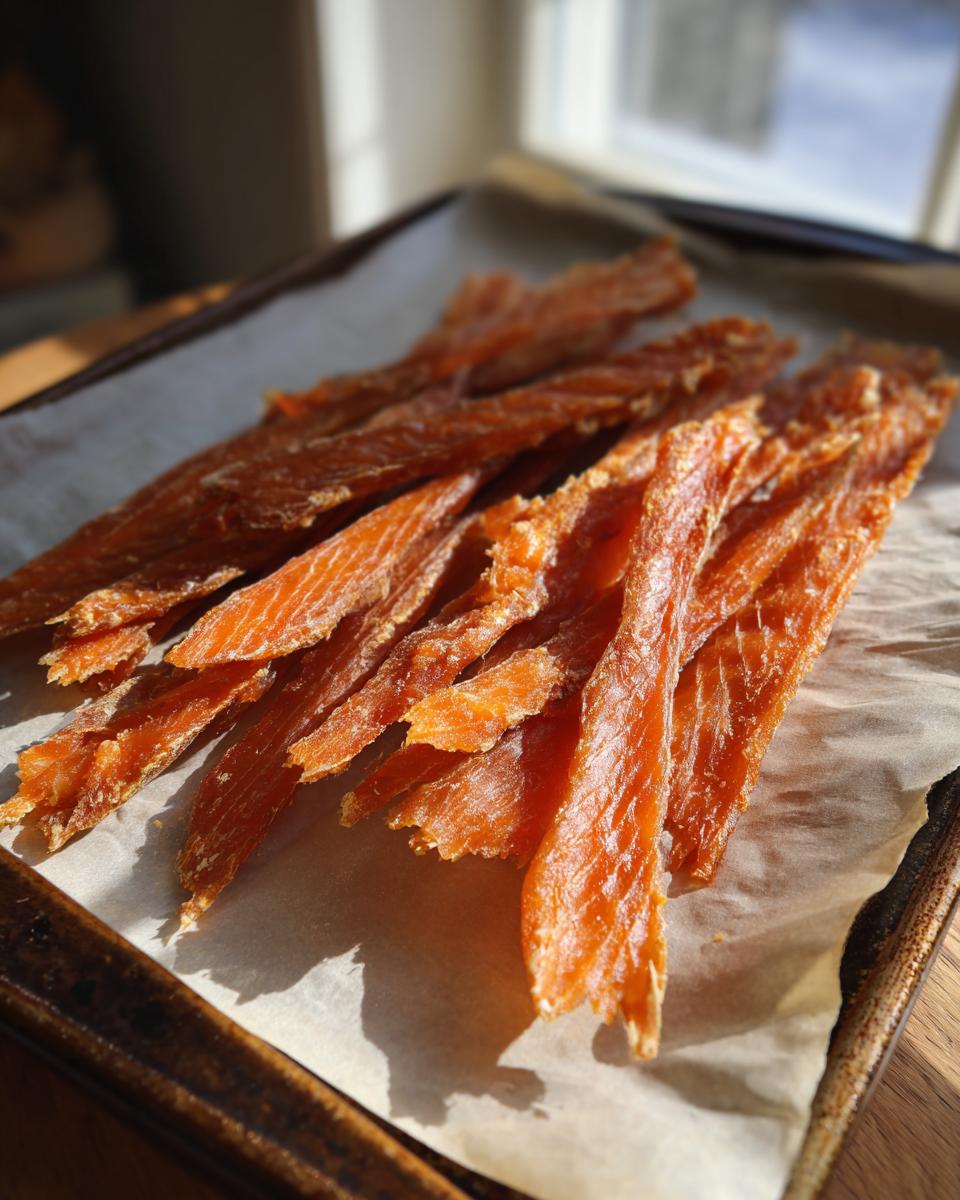
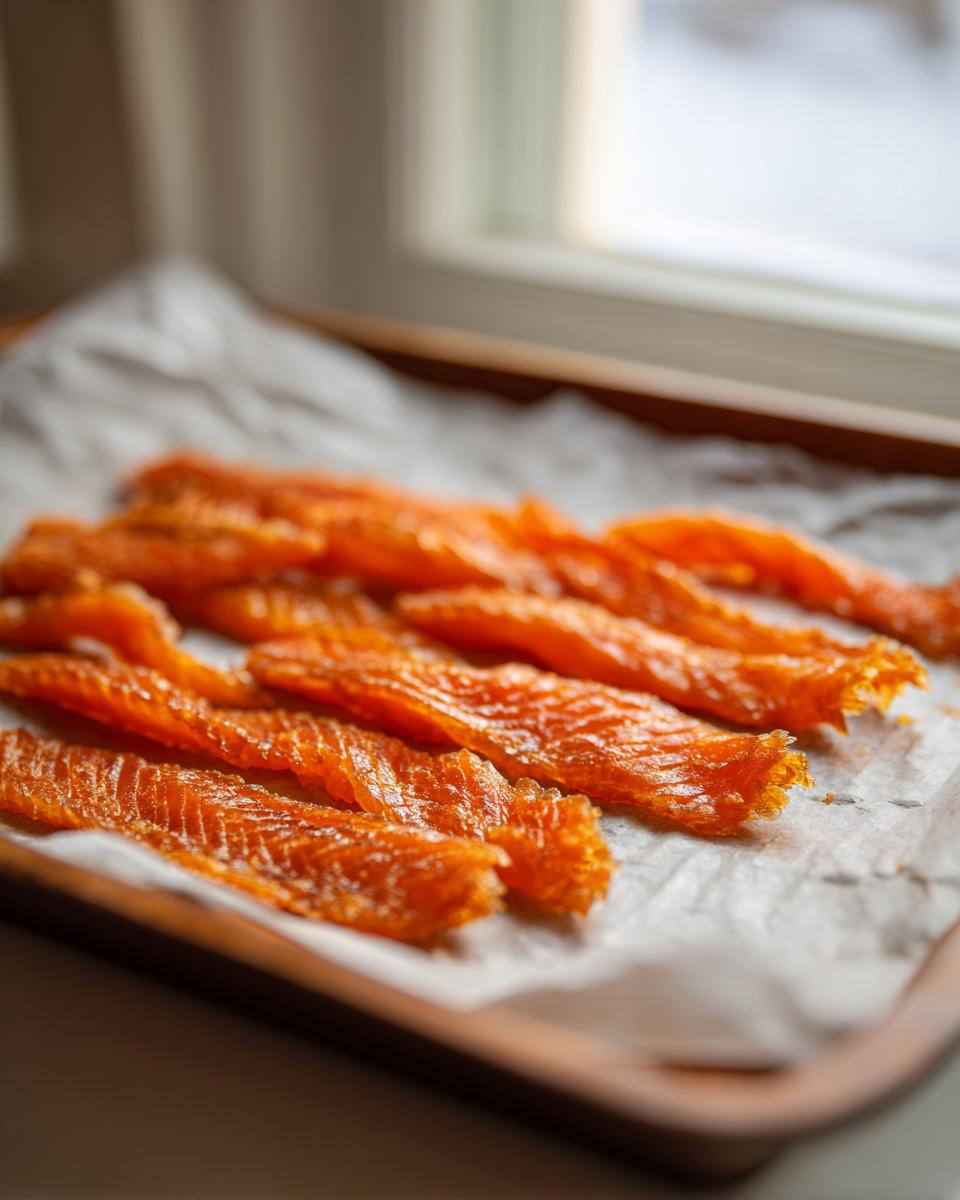
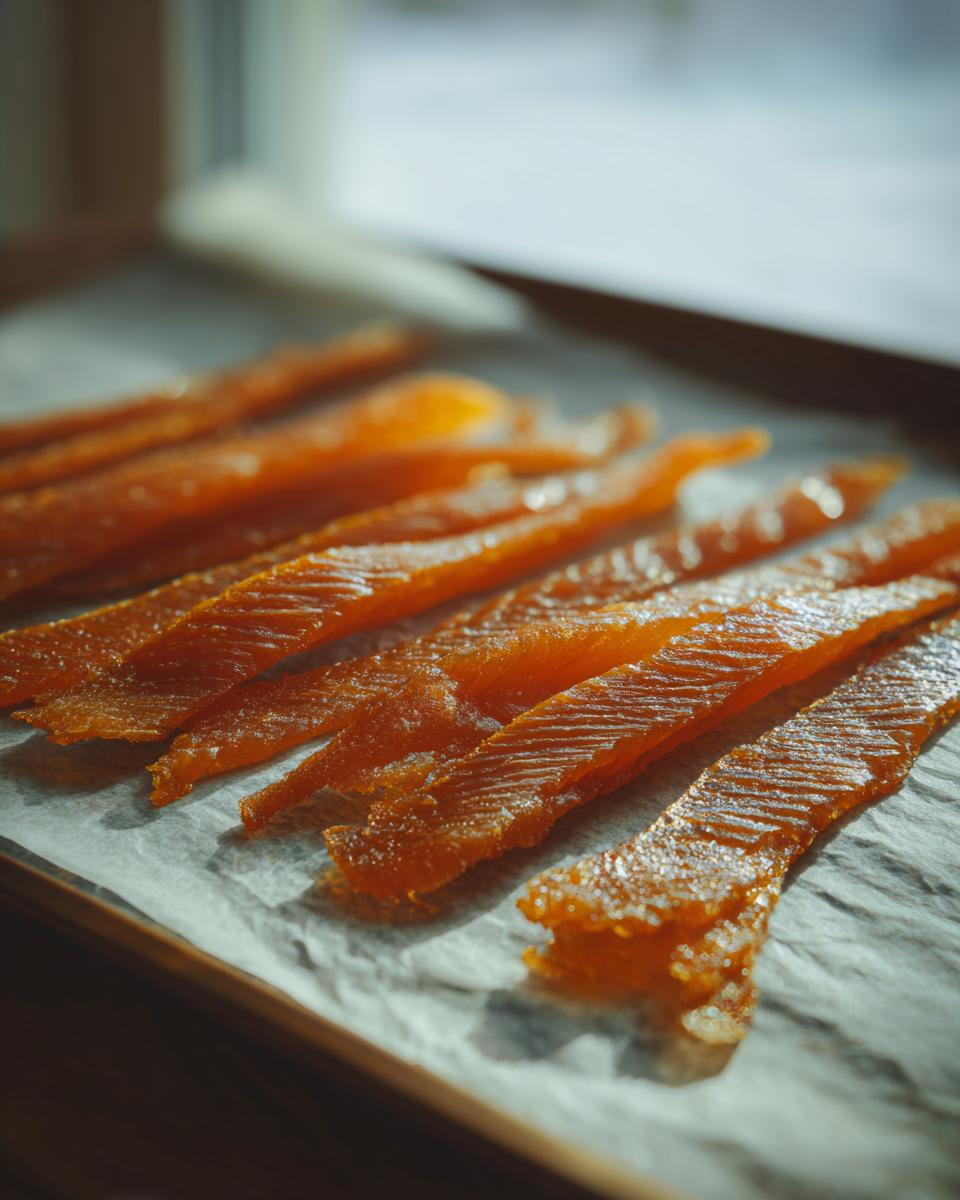
Once your skin is prepped and your oven is hot, cut the skin into small strips, about finger-width. Lay these strips out on your prepared baking sheet, making sure they aren’t overlapping. Pop them into the oven and bake for about 15-20 minutes. You’re looking for them to be golden brown and nice and crispy. A pro tip: if they start to curl up too much, just gently press them down with a spatula halfway through. Make sure they’re totally cool before you serve them up, or you might have a burnt-tongue surprise!
Tips for Perfect Salmon Skin Cat Treats
Okay, so you’ve got the basic idea, but let’s talk about making these treats absolutely purr-fect every single time. Sometimes my oven runs a little hotter than expected, so I always keep an eye on the skin. If yours tends to cook faster, maybe start checking around the 12-minute mark. Little strips are usually a hit with most cats, but if you have a kitten or a smaller cat, don’t be afraid to cut them even smaller. Trust me, one time I went a bit too big, and my cat Bartholomew looked at them like I’d offered him a whole fish!
Ensuring they’re completely dry is also a lifesaver for how long they last. If they have any hint of chewiness left, they won’t stay crispy. My go-to test is to snap a piece – it should break cleanly. If it bends, pop them back in for another few minutes. It’s all about that satisfying crunch for them!
Storing Your Homemade Salmon Skin Cat Treats
Just like us, cats don’t like stale treats! To keep these goodies super fresh and extra crispy, I always store them in an airtight container. You know, the kind that really seals them up tight. This way, they’ll stay yummy for about a week. Proper storage is honestly a game-changer for keeping that satisfying crunch intact, and it makes sure they’re safe and tasty for your furball every single time they get a little reward!
Frequently Asked Questions About Salmon Skin Cat Treats
Got questions about whipping up these tasty salmon skin treats? I’ve got you covered! It’s always good to know the little details, right?
Can I use other fish skins for this recipe?
You totally can! While salmon skin is my go-to because of those awesome omega-3s, you could try other fish skins like trout or even cod skin. Just make sure they’re cleaned really well and dried thoroughly before baking, same as the salmon. They might have a slightly different texture or smell, but most fish-loving cats will probably adore them!
Are these treats suitable for kittens?
Yep, they can be! For tiny kittens, just make sure you cut the skin into super small, manageable pieces that they can easily chew. They’re a great way to introduce new textures and flavors to young kitties, as long as they’ve started eating solid foods. Always supervise your little ones when they’re enjoying a new treat, just to be safe.
What if my cat doesn’t seem keen on fish?
Oh no, a picky eater! Well, if your cat isn’t a huge fan of fishy smells or flavors, you might want to try another type of homemade treat. There are tons of other options out there for cats! But sometimes, even cats who aren’t into plain fish might surprise you with these crispy skin treats. You could also try mixing in just a tiny bit of salmon oil into their regular food first to get them used to the taste.
How do I know if the treats have gone bad?
Good question! Since we’re keeping these simple and natural, the best way to tell is by smell and texture. If they start to smell funky or sour, or if they feel a little soft or oily instead of brittle and crispy, it’s time to toss them. That’s why I always recommend storing them in a truly airtight container to keep them fresh for as long as possible!
Nutritional Information for Salmon Skin Cat Treats
So, what’s in these yummy little snacks? It’s pretty simple! Each strip of these Salmon Skin Cat Treats is estimated to have about 15 calories, with roughly 1 gram of fat and 2 grams of protein. You’ll find they’re basically zero carbs, which is awesome! Just remember, these numbers are just estimates, since the exact amount can vary a bit depending on the specific piece of salmon skin.
Print
Salmon Skin Cat Treats
- Total Time: 25 min
- Yield: 1 cup 1x
- Diet: Low Lactose
Description
Homemade treats for cats using salmon skin.
Ingredients
- 1 cup salmon skin, cleaned and dried
Instructions
- Preheat oven to 350°F (175°C).
- Cut salmon skin into small strips.
- Place strips on a baking sheet lined with parchment paper.
- Bake for 15-20 minutes until crispy.
- Let cool before serving.
Notes
- Store in an airtight container for up to a week.
- Prep Time: 5 min
- Cook Time: 20 min
- Category: Pet Food
- Method: Baking
- Cuisine: N/A
Nutrition
- Serving Size: 1 strip
- Calories: 15
- Sugar: 0
- Sodium: 5
- Fat: 1
- Saturated Fat: 0.2
- Unsaturated Fat: 0.8
- Trans Fat: 0
- Carbohydrates: 0
- Fiber: 0
- Protein: 2
- Cholesterol: 5
Keywords: salmon skin, cat treats, homemade pet food