
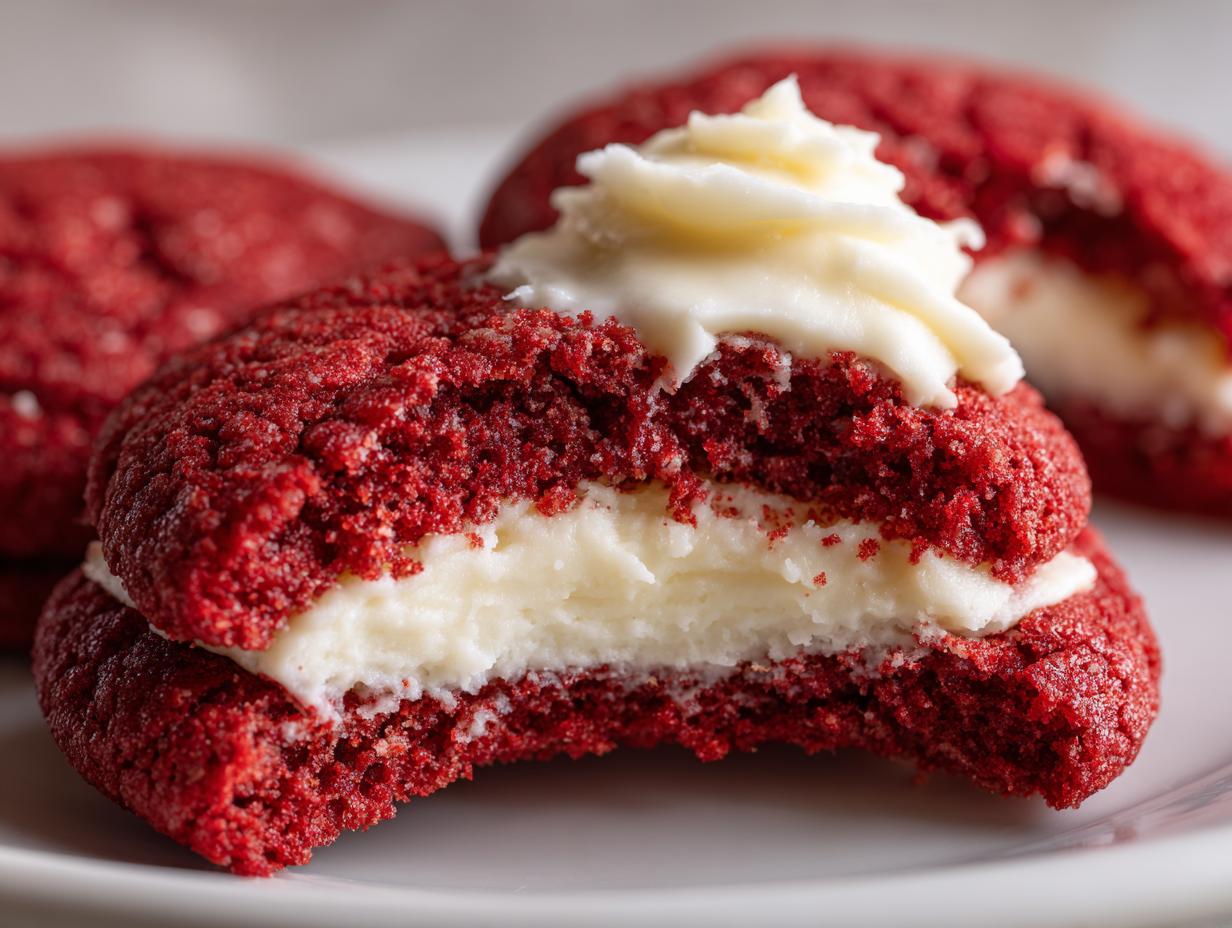
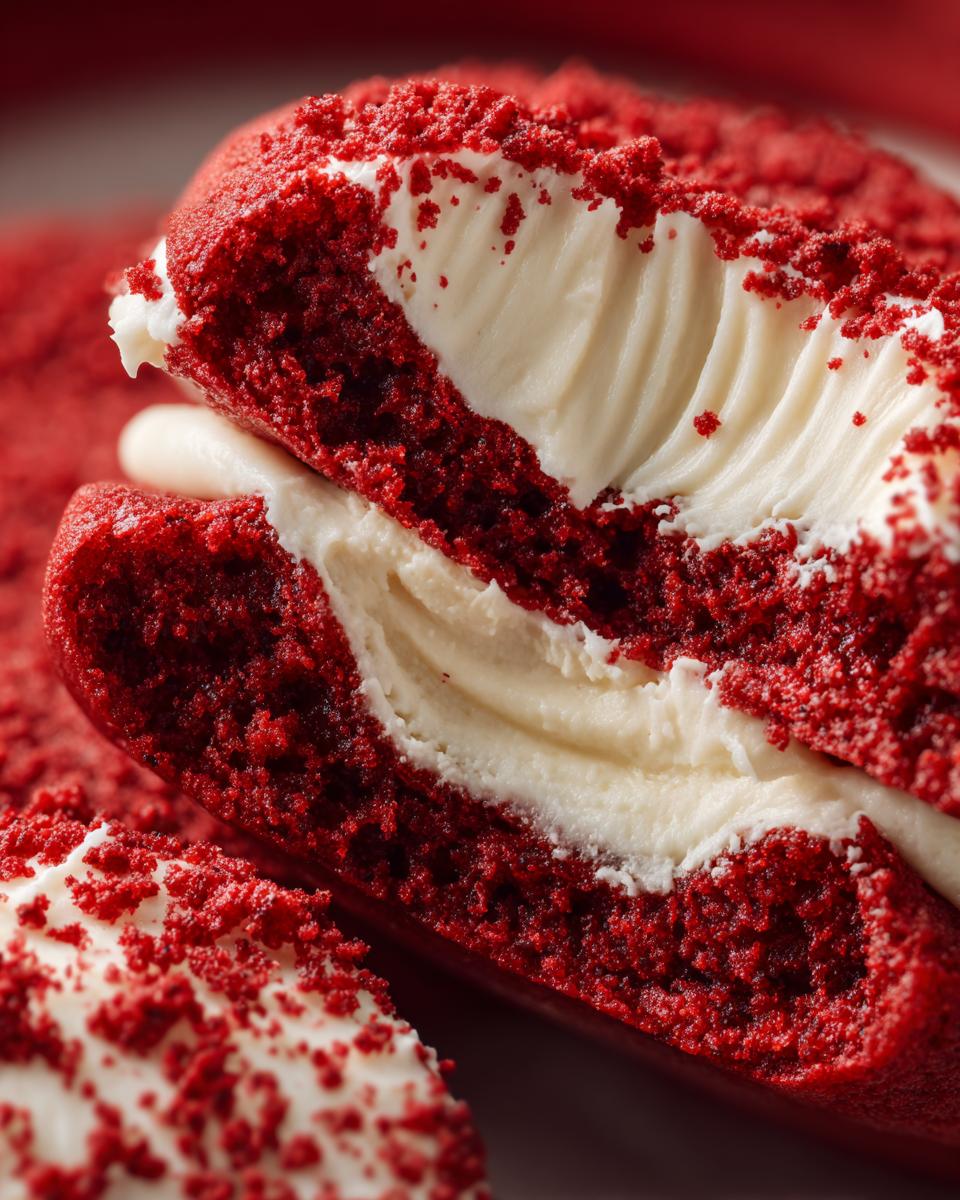
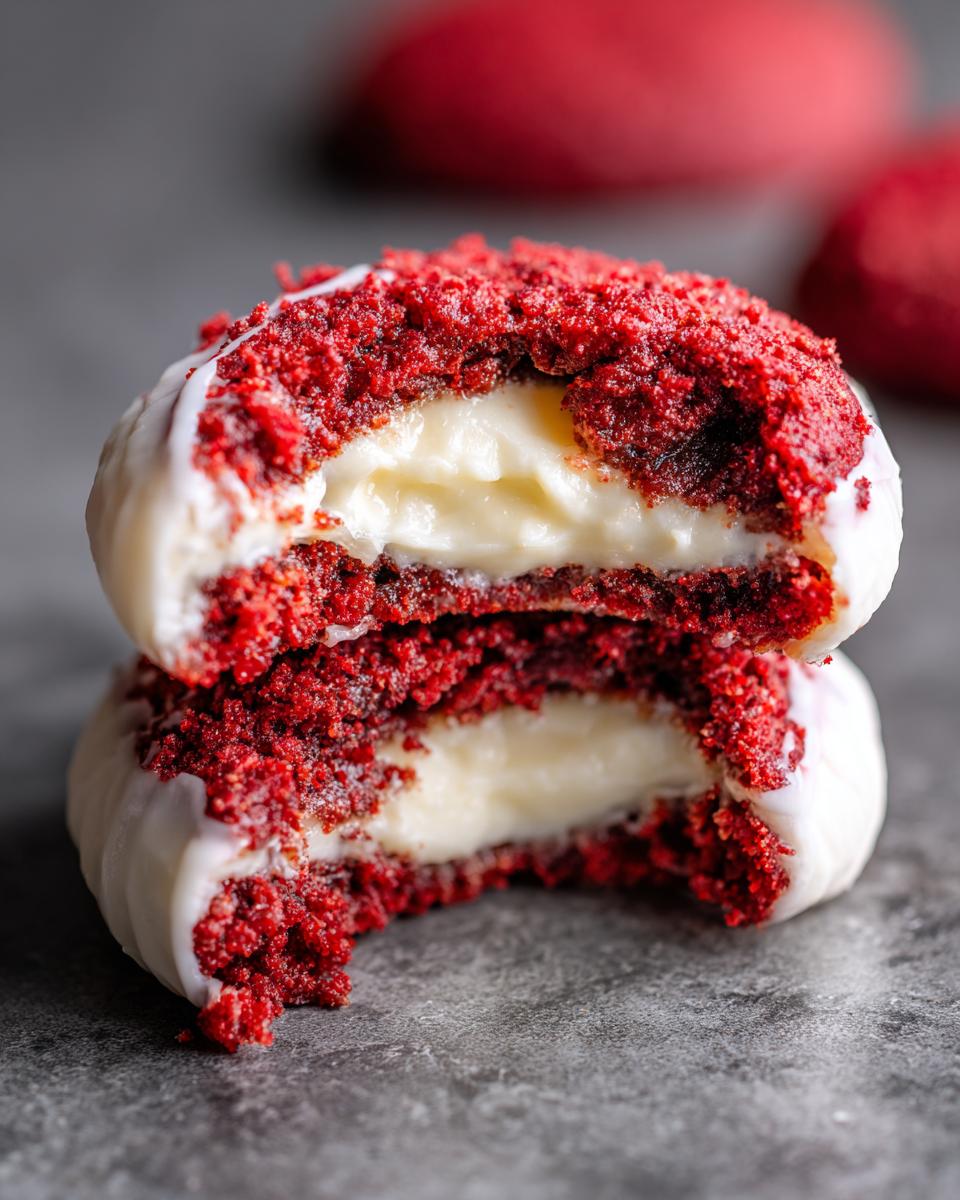
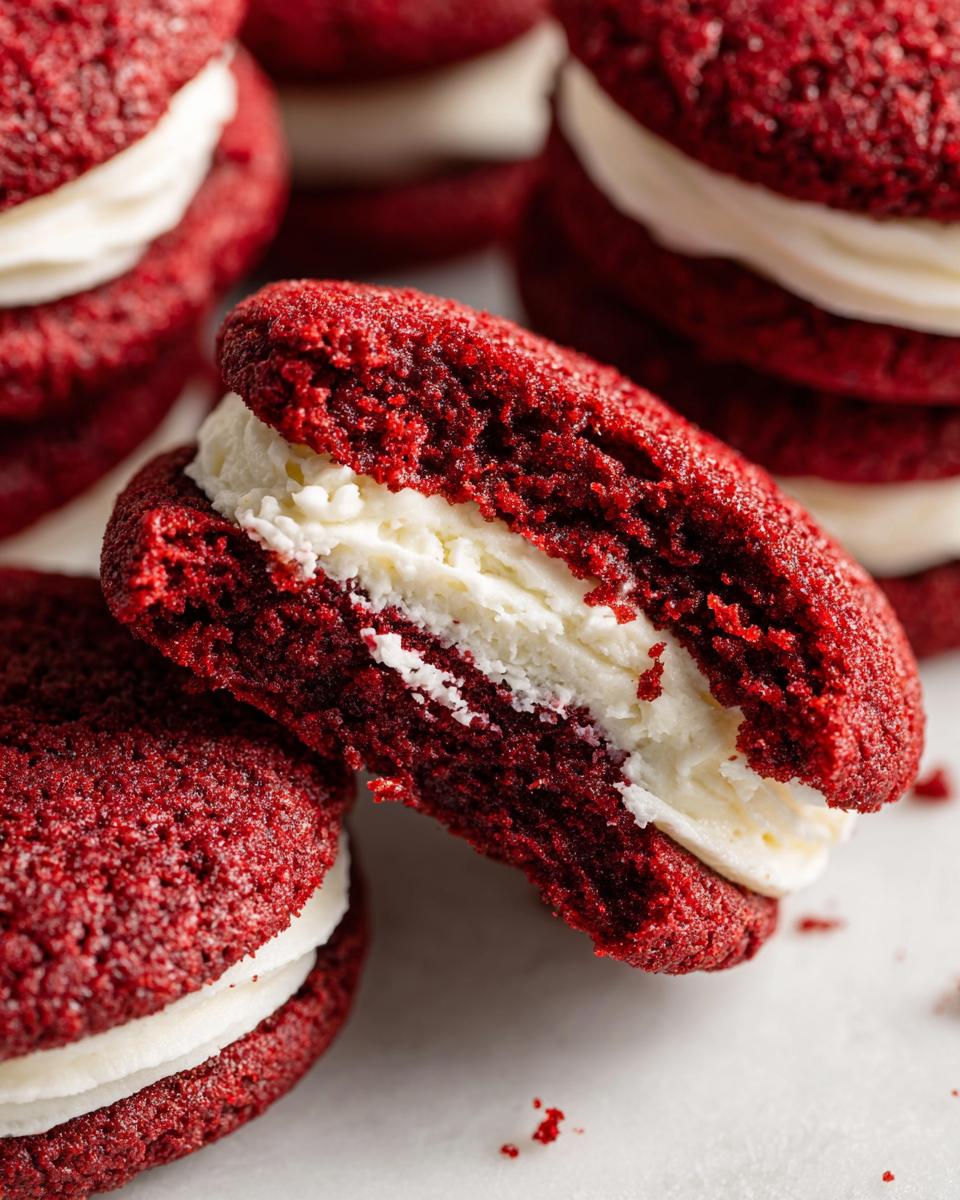
Oh, the magic of a good red velvet! There’s something so inherently festive about that deep, alluring color, isn’t there? It just screams celebration, cozy nights, and pure indulgence. And let me tell you, when you take that classic red velvet flavor and transform it into a chewy, rich cookie with a swirl of tangy cream cheese frosting? Pure bliss! These Red Velvet Cookies have become my go-to for everything from holiday gatherings to just needing a little pick-me-up. I’ve been baking them for years, tweaking them just so, and I can’t wait for you to experience how utterly delicious they are!
Why You’ll Love These Red Velvet Cookies
Seriously, why wouldn’t you love these? They’re:
- Incredibly chewy with those perfect little crisp edges.
- Bursting with rich, classic red velvet flavor.
- Topped with a dreamy, tangy cream cheese frosting that is just out of this world.
- Super easy to whip up, even for a weeknight treat!
- Absolutely gorgeous, making them perfect for parties or just brightening your day.
Gather Your Ingredients for Perfect Red Velvet Cookies
Alright, let’s get our mise en place ready for these incredible Red Velvet Cookies! Having everything prepped makes the whole baking process so smooth and enjoyable. Trust me, the quality of your ingredients really makes a difference here – especially when it comes to getting that gorgeous color and rich flavor!
For the cookies themselves, you’ll need:
- 2 1/4 cups all-purpose flour
- 1 teaspoon baking soda
- 1/2 teaspoon salt
- 1/2 cup unsalted butter, make sure it’s nicely softened (not melted!)
- 1 cup granulated sugar
- 1 large egg, at room temperature is best
- 1 teaspoon vanilla extract
- 1 tablespoon unsweetened cocoa powder (this gives it that subtle chocolatey depth!)
- 1-2 drops red food coloring – a little goes a long way for that vibrant hue!
And for that irresistible cream cheese frosting:
- 1/2 cup cream cheese, also softened
- 1/4 cup unsalted butter, softened
- 1 teaspoon vanilla extract
- 1 1/2 cups powdered sugar, sifted if you want it extra smooth
Having good quality butter and a nice unsweetened cocoa powder really brings out the best in these cookies. Don’t skimp on softening that butter and cream cheese – it’s key for a smooth batter and frosting!
Step-by-Step Guide to Making Red Velvet Cookies
Okay, now for the fun part – actually making these gorgeous Red Velvet Cookies! Don’t worry, it’s super straightforward. I’ve made them a million times, and they always turn out amazing. Just follow these steps, and you’ll be well on your way to cookie heaven. Remember to preheat that oven to 350°F (175°C) and get your baking sheets lined with parchment paper – that’s step one for easy cleanup and perfect baking!
Preparing the Red Velvet Cookie Dough
First things first, let’s get those dry ingredients ready. In a medium bowl, just give the flour, baking soda, and salt a good whisk together. This makes sure everything is evenly distributed so you don’t get any surprise salty bites! Now, in a big bowl, we’re going to cream together our softened butter and sugar. You want this mixture to be nice and light and fluffy – that’s your base for a tender cookie. Beat in the egg and vanilla, then stir in that unsweetened cocoa powder and just a drop or two of red food coloring. Aim for a beautiful, festive red. Like when baking classic chocolate chip cookies, you want to mix just enough without overdoing it. Remember, you can always add more color, but you can’t take it away! This is kind of like making chocolate chip cookies in a way, but with that special red velvet twist!

Baking Your Red Velvet Cookies to Perfection
Now, you’ll want to gently add your dry ingredients to that lovely red mixture, mixing until it’s *just* combined. Seriously, don’t go crazy overmixing here; that’s how you end up with tough cookies instead of wonderfully chewy ones. Drop spoonfuls of the red velvet cookie dough onto your prepared baking sheets, giving them about 2 inches of space to spread out. Pop ‘em in the oven for about 9 to 11 minutes. You’re looking for the edges to be set, but the centers should still look a little soft. They’ll firm up as they cool – trust me on this!
Crafting the Cream Cheese Frosting
While those cookies are doing their thing in the oven, let’s whip up the most divine cream cheese frosting. Just beat together your softened cream cheese and softened butter in a bowl until it’s super smooth and creamy. No lumps allowed! Then, beat in the vanilla extract and gradually add the powdered sugar until you get a nice, luscious frosting. Taste it – it’s supposed to be sweet and tangy, the perfect counterpoint to the rich red velvet.
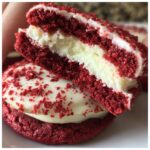
Assembling Your Delicious Red Velvet Cookies
Once your cookies are completely cool – and this is important, folks, don’t frost warm cookies, or you’ll have a melty mess! – it’s time to assemble. Take two cookies, spread a good dollop of that heavenly cream cheese frosting on the flat side of one, and then top it with another cookie. Gently press them together. You can spread it on with a little offset spatula or even pipe it on for a fancy look. Voilà! Instant deliciousness!
Tips for Success with Red Velvet Cookies
You know, baking is all about a little love and a few smart tricks! When it comes to these Red Velvet Cookies, I’ve picked up a few things over the years that really make them shine. Want that perfect chewy texture? Don’t overmix the dough! Once the flour is in, mix *just* until it disappears. Overworking it means a tough cookie, and nobody wants that. For a truly vibrant red, consider using a gel food coloring, which is more concentrated than liquid. It really gives you that show-stopping color you expect from a classic red velvet crinkle cookie! For that dreamy cream cheese frosting, make sure your cream cheese and butter are softened to room temperature – it makes all the difference for a smooth, lump-free spread. It’s these little things, like the attention to detail you’d give to making classic gingerbread cookies, that elevate a good cookie to a great one!
Ingredient Notes and Substitutions
Let’s chat about a few things in this recipe that might need a little explanation or a swap! That cocoa powder? It’s not there to make these a chocolate cookie, but to give the red velvet a subtle depth and richness you can’t get otherwise. If you want a bolder red and are worried about the food coloring, a good quality gel food coloring is your best friend here – it packs a punch without adding too much liquid.
Now, if you’re looking to go dairy-free, you can totally use a good dairy-free butter substitute and dairy-free cream cheese! Just make sure they’re the block-style kind, not the spreadable tubs, as those can be too soft and watery. For gluten-free bakers, a good 1:1 gluten-free flour blend usually works wonders here. Just make sure the blend already contains xanthan gum!
Serving and Storage for Your Red Velvet Cookies
These Red Velvet Cookies are just divine served slightly chilled, with that wonderful cream cheese frosting perfectly set. They’re beautiful on their own, but a little sprinkle of red sugar or a tiny chocolate curl on top doesn’t hurt! If you happen to have any leftovers (which is rare in my house!), store them in an airtight container in the refrigerator. They’ll stay wonderfully fresh like this for about 3-4 days. Just pop them out a few minutes before you want to enjoy them, and they’re good as new! For more yummy ideas for treats, check out these super easy dessert recipes!
Frequently Asked Questions about Red Velvet Cookies
Got questions about whipping up these fantastic Red Velvet Cookies? I’ve got answers! Baking should be fun, not frustrating, so let’s clear up any little doubts you might have.
Can I skip the red food coloring?
You absolutely can! If you’re not keen on using food coloring, or just want a subtler look, you can omit it. Your cookies will still have that delicious cocoa flavor and a lovely reddish-brown hue from the cocoa powder and baking soda reaction. They might not have that signature bright red, but they’ll still be incredibly tasty. If you’re looking for a naturally red option, you could try using a bit of beet powder, but it might slightly alter the flavor.
How do I ensure my cookies are chewy and not cakey?
Ah, the chewy vs. cakey debate! For that perfect chewy texture in these Red Velvet Cookies, the key is not to overmix the dough once you add the flour. Overmixing develops gluten, which leads to a cakier, tougher cookie. Also, be careful not to overbake! Pull them out when the edges are just set and the center still looks a little soft. They’ll continue to bake a bit on the hot baking sheet, and that’s what gives you that wonderful chewiness. Using a good amount of butter and sugar also helps create that lovely tender crumb.
Can I freeze the red velvet cookie dough?
Yes, you totally can! Freezing the dough is a brilliant idea for future cookie cravings. Just scoop the dough into balls, place them on a parchment-lined baking sheet, and freeze until they’re solid. Then, transfer the frozen dough balls to a freezer-safe bag or container. When you’re ready to bake, just pop them straight from the freezer onto a prepared baking sheet and add a couple of extra minutes to the baking time. It’s like having homemade red velvet cookies ready whenever the mood strikes!
Estimated Nutritional Information
Just a friendly heads-up, the nutritional info below is an estimate, like a ballpark figure! It can totally change depending on the brands of ingredients you use and even how big you make your cookies or how much frosting you slather on. But this gives you a good idea of what you’re working with per cookie.
- Serving Size: 1 cookie
- Calories: About 250
- Sugar: Around 25g
- Sodium: Roughly 100mg
- Fat: About 12g
- Saturated Fat: Around 7g
- Carbohydrates: Roughly 35g
- Protein: About 2g
Red Velvet Cookies
- Total Time: 30 min
- Yield: 24 cookies 1x
- Diet: Vegetarian
Description
Chewy and rich red velvet cookies with a cream cheese frosting.
Ingredients
- 2 1/4 cups all-purpose flour
- 1 teaspoon baking soda
- 1/2 teaspoon salt
- 1/2 cup unsalted butter, softened
- 1 cup granulated sugar
- 1 large egg
- 1 teaspoon vanilla extract
- 1 tablespoon unsweetened cocoa powder
- 1–2 drops red food coloring
- 1/2 cup cream cheese, softened
- 1/4 cup unsalted butter, softened
- 1 teaspoon vanilla extract
- 1 1/2 cups powdered sugar
Instructions
- Preheat your oven to 350°F (175°C). Line baking sheets with parchment paper.
- In a medium bowl, whisk together the flour, baking soda, and salt.
- In a large bowl, cream together the softened butter and granulated sugar until light and fluffy.
- Beat in the egg and vanilla extract.
- Stir in the cocoa powder and red food coloring until evenly combined.
- Gradually add the dry ingredients to the wet ingredients, mixing until just combined. Do not overmix.
- Drop rounded tablespoons of dough onto the prepared baking sheets, about 2 inches apart.
- Bake for 9-11 minutes, or until the edges are set and the centers are still slightly soft.
- Let the cookies cool on the baking sheets for a few minutes before transferring them to a wire rack to cool completely.
- To make the frosting, beat together the softened cream cheese and butter until smooth.
- Beat in the vanilla extract and powdered sugar until smooth and creamy.
- Once the cookies are completely cool, spread or pipe the cream cheese frosting onto the bottom of one cookie and top with another cookie.
Notes
- For a stronger red color, you can add another drop of food coloring.
- Store frosted cookies in an airtight container in the refrigerator.
- Prep Time: 20 min
- Cook Time: 10 min
- Category: Dessert
- Method: Baking
- Cuisine: American
Nutrition
- Serving Size: 1 cookie
- Calories: 250
- Sugar: 25g
- Sodium: 100mg
- Fat: 12g
- Saturated Fat: 7g
- Unsaturated Fat: 5g
- Trans Fat: 0g
- Carbohydrates: 35g
- Fiber: 1g
- Protein: 2g
- Cholesterol: 30mg
Keywords: red velvet cookies, cream cheese frosting, chocolate cookies, holiday cookies, dessert recipe