
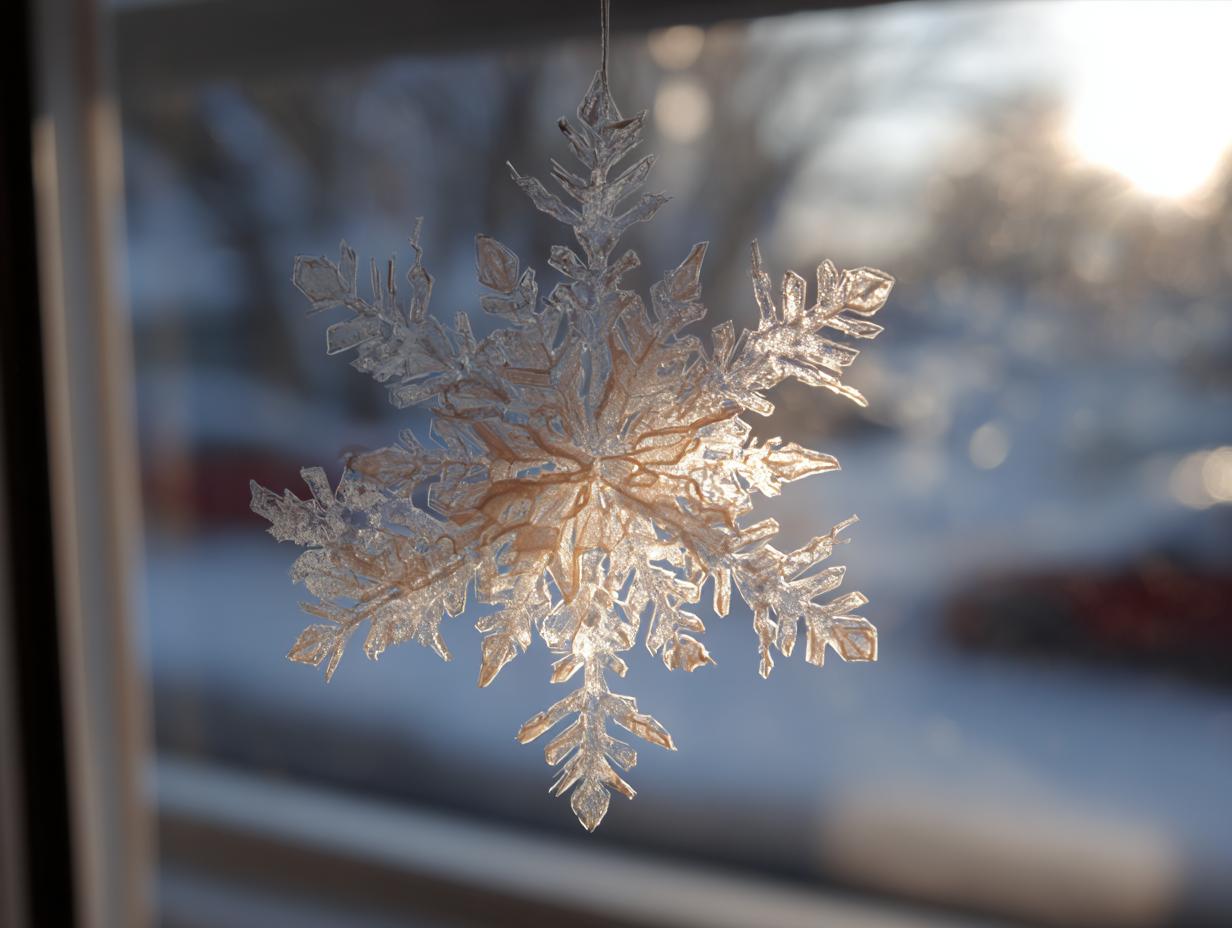
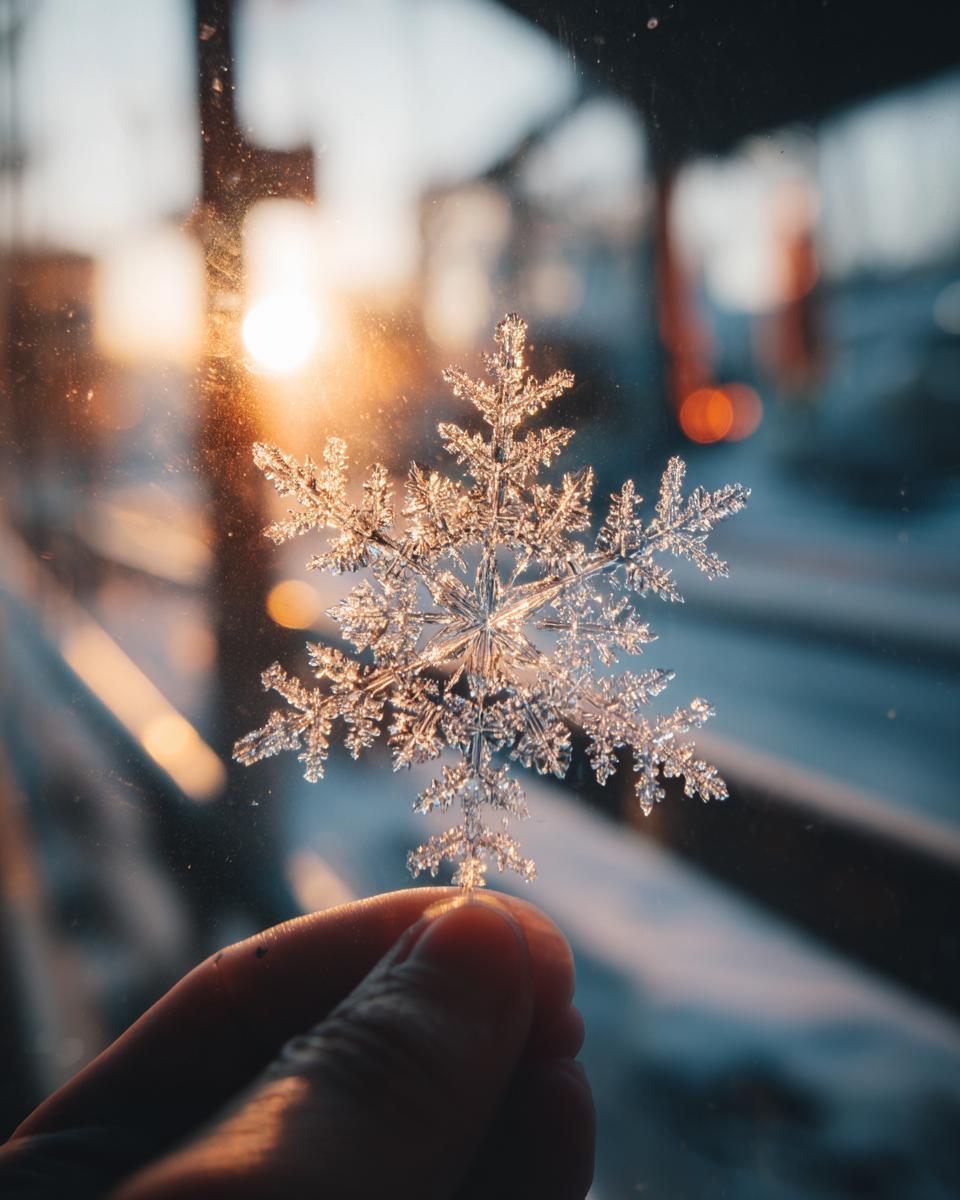
Oh, winter! That magical time when the world outside turns into a sparkling wonderland, and there’s just something about transforming your home into a cozy, festive haven, right? My absolute favorite way to capture that winter magic is by making my own Paper Snowflake Window Decor. Seriously, growing up, my siblings and I would spend hours hunched over the kitchen table, surrounded by paper scraps, trying to outdo each other with the most intricate snowflake designs. It’s such a simple craft, but wow, does it make a window feel special and magical, just like the real thing outside!
Why You’ll Love This Paper Snowflake Window Decor
- It’s super simple! Anyone can make these, even if you don’t think you’re crafty.
- Crazy affordable – all you need is paper and scissors!
- Endless fun: customize every snowflake with unique cuts.
- Instantly makes your windows look like a winter wonderland.
These little beauties bring so much charm without costing a fortune or taking ages. Trust me, you’ll love how easy they are!
Gather Your Supplies for Paper Snowflake Window Decor
Ready to get crafting? You really don’t need much to make these adorable paper snowflakes. Just grab a couple of things that are probably already lying around your house. It’s so easy to get started!
Essential Materials for Your Paper Snowflake Window Decor
For each beautiful paper snowflake you want to create, you’ll need just one single sheet of… well, paper! Regular printer paper works like a charm. I usually go for standard 8.5×11 inch sheets, but honestly, smaller or larger sizes work too for different snowflake effects. And of course, you’ll need a good pair of scissors! Sharp ones make cutting those pretty edges so much easier, but if you have little helpers, kid-safe scissors are perfect too. That’s really it!
Step-by-Step Guide to Creating Paper Snowflake Window Decor
Alright, let’s get down to the fun part! Making these paper snowflakes is like a little dance with paper and scissors. It looks fancy, but trust me, it’s super straightforward once you get the hang of the folds. Each fold is key to getting that classic six-pointed snowflake shape, and before you know it, you’ll be surrounded by your own winter wonderland! It’s almost as satisfying as making homemade donuts, you know?
Folding the Paper for Perfect Paper Snowflake Window Decor
First things first, grab your sheet of paper. Now, fold it in half diagonally to make a big triangle, just like you’re making a kite. Crease it well! Then, take that triangle and fold it in half again, making a smaller triangle. The magic happens next: fold this smaller triangle into thirds. Try to make the folds as even as possible. It might feel a little fiddly at first, but the goal here is to create pleats that distribute evenly around the center, which is what gives your finished snowflake its symmetrical points. Don’t worry if it’s not perfect; a little quirk makes each snowflake unique!
Cutting Your Paper Snowflake Window Decor Designs
Okay, this is where you get to be super creative! With your folded paper triangle in hand, it’s time to just go for it with your scissors. You can cut along the three folded edges and the open edge at the top. Try making little points, little curves, zigzags, or even tiny circles. Think about how you want your snowflake to look. The cuts you make on the folded edges will pop out on the sides of your snowflake, while the cuts on the open edge will appear in the very center. Be careful with your scissors, especially when cutting through multiple layers of paper. If you’re cutting with kids, make sure they’re using scissors they can handle safely. Just have fun with it – there are no wrong shapes!
Unfolding and Displaying Your Paper Snowflake Window Decor
The moment of truth! Gently, carefully, slowly unfold your paper. Watch as your design magically appears! Sometimes the paper can be a bit stubborn, so make sure you don’t rip it. If some edges stick together, just gently separate them. Ta-da! You’ve got a beautiful, unique paper snowflake. Now, you can absolutely make more! Just grab another sheet of paper and repeat those folding and cutting steps. Once you have a nice collection, use a little bit of tape – painter’s tape is great because it usually doesn’t leave residue – to gently stick them onto your windows. Arrange them however you like; a mix of sizes looks extra charming!
Tips for Stunning Paper Snowflake Window Decor
Okay, so you’ve mastered the basic snowflake, which is awesome! But if you want to take your Paper Snowflake Window Decor from cute to absolutely breathtaking, here are a few little tricks I’ve picked up over the years from, well, making probably thousands of these things! Trust me, a few tweaks can make a huge difference. It’s all about making them truly unique and perfectly suited to your style, a bit like how I love tweaking my chocolate chip cookie recipe!
Experimenting with Paper Types for Paper Snowflake Window Decor
While regular printer paper is fantastic, trying different kinds can really change the look. Thinner paper, like the kind you might find in tissue paper or even tracing paper (though be super gentle with that!), creates a really delicate, lacy effect. On the flip side, if you’re feeling brave, try a slightly stiffer cardstock! It’s harder to cut, but gives a really crisp, bold look. Just make sure your scissors are sharp! I’ve even used old book pages or wrapping paper for a really unique, vintage vibe. It’s all about what look you’re going for! It’s almost as satisfying as getting your homemade Krispy Kreme donuts just right!
Creating Unique Cuts for Your Paper Snowflake Window Decor
This is where the real fun begins! Don’t be afraid to get a little wild with your scissors. Instead of just straight lines and simple points, try cutting little curves, tiny circles, or even tiny triangles along the edges. You can also cut notches or slits into the folded edges. When you unfold it, these little cuts create these amazing little gaps and patterns that make your snowflake look super intricate. Honestly, just start snipping and see what happens! Sometimes the most unexpected cuts create the most beautiful designs. It’s like having your own personal winter art studio.
Frequently Asked Questions about Paper Snowflake Window Decor
Are these paper snowflakes easy for beginners?
Oh absolutely! These paper snowflakes are about as beginner-friendly as it gets. You really only need two simple supplies – paper and scissors! Even little ones can get in on the fun after a quick demonstration. Making your own Paper Snowflake Window Decor is super satisfying for everyone wanting to add a touch of winter magic, making your home look like it belongs in a lovely dessert category!
How can I make my paper snowflake window decor last longer?
To make your lovely paper snowflakes last through the season, try avoiding really humid spots, like right next to a steamy window. Using slightly thicker paper, like a standard cardstock (though it’s a bit tougher to cut!), can also help them hold their shape better over time. Just keep them away from moisture and they’ll look fabulous!
What’s the best way to attach paper snowflakes to windows?
My go-to is always painter’s tape for my Paper Snowflake Window Decor because it usually peels off without leaving any sticky residue behind. Small pieces work best! You can also use a tiny dab of double-sided tape, or even just a light spritz of water on the back of the snowflake if you want a super temporary hold that’s easy to remove. Just press gently!
Estimated Nutritional Information
Okay, so we’re crafting these beautiful decorations, not eating them, right? Because they’re made of paper, these lovely Paper Snowflake Window Decor pieces don’t actually have any nutritional value. So, you’ll find zero calories, zero sugar, zero fat – basically, a big ol’ goose egg for all the stats! Just a fun little note for you; this info is mostly for kicks since this is a craft, not a snack!
Share Your Paper Snowflake Window Decor Creations!
I just love seeing what you all come up with! Seriously, if you make these cute Paper Snowflake Window Decor pieces, I’d be so thrilled if you shared them! You can leave a comment below with your favorite designs or reach out to me through my contact page to show me your amazing creations or on social media. I get so excited to see your unique designs and how you’ve decorated your windows. It really brightens my day to see your creativity in action!
Print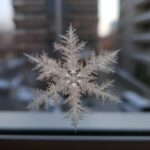
Paper Snowflake Window Decor
- Total Time: 5 min
- Yield: 1 snowflake 1x
- Diet: Vegetarian
Description
Create beautiful paper snowflakes to decorate your windows.
Ingredients
- 1 sheet of paper
- Scissors
Instructions
- Fold the paper in half diagonally to form a triangle.
- Fold the triangle in half again.
- Fold the triangle into thirds.
- Cut shapes along the folded edges.
- Unfold the paper to reveal your snowflake.
- Repeat to make more snowflakes.
- Hang snowflakes on your windows using tape.
Notes
- Use different paper sizes for varied snowflake sizes.
- Experiment with different cut-out shapes for unique designs.
- Prep Time: 5 min
- Cook Time: 0 min
- Category: Crafts
- Method: Cutting
- Cuisine: N/A
Nutrition
- Serving Size: 1 snowflake
- Calories: 0
- Sugar: 0g
- Sodium: 0mg
- Fat: 0g
- Saturated Fat: 0g
- Unsaturated Fat: 0g
- Trans Fat: 0g
- Carbohydrates: 0g
- Fiber: 0g
- Protein: 0g
- Cholesterol: 0mg
Keywords: paper snowflake, window decor, DIY, craft, holiday, winter