
Oh, the joy of a perfectly chosen gift… and then the dread of wrapping it! We’ve all been there, right? Staring down a lumpy teddy bear or a strangely shaped kitchen gadget, wondering if scissors and a prayer are the only tools available. For years, I’ve been wrestling with these awkward shapes, and let me tell you, my crafting table has seen more crumpled paper disasters than I care to admit! But through sheer determination (and maybe a little bit of frantic Googling back in the day), I figured out a few tricks. My goal with this guide on how to wrap odd-shaped gifts is to share those secrets with you, so you too can ditch the stress and make even the trickiest presents look fantastic!
Why Wrapping Odd-Shaped Gifts Can Be Tricky
Okay, let’s be real here. Wrapping standard rectangular boxes is a piece of cake, right? You cut a piece of paper, fold the ends, tape it up, and boom, done. But the moment you introduce anything else – a stuffed animal with floppy ears, a round vase, or a bunch of oddly shaped tools – it feels like you’re trying to solve a Rubik’s Cube blindfolded! The paper just won’t lie flat, it rips in all the wrong places, and those cute little folds you were aiming for end up looking more like a crumpled mess. It’s enough to make anyone want to just shove it in a bag and call it a day, but we can do better than that!
Essential Tools for How to Wrap Odd-Shaped Gifts
Alright, let’s talk about what you’ll need to actually get this done. You don’t need a whole fancy craft store, trust me! A few good basics will make all the difference when tackling those tricky shapes. Think of it like this: a good chef needs good knives, and a good wrapper needs good tools. It’s all about making your life easier and your gifts look way more put-together than if you just grabbed a random piece of paper and hoped for the best.
Choosing the Right Wrapping Paper
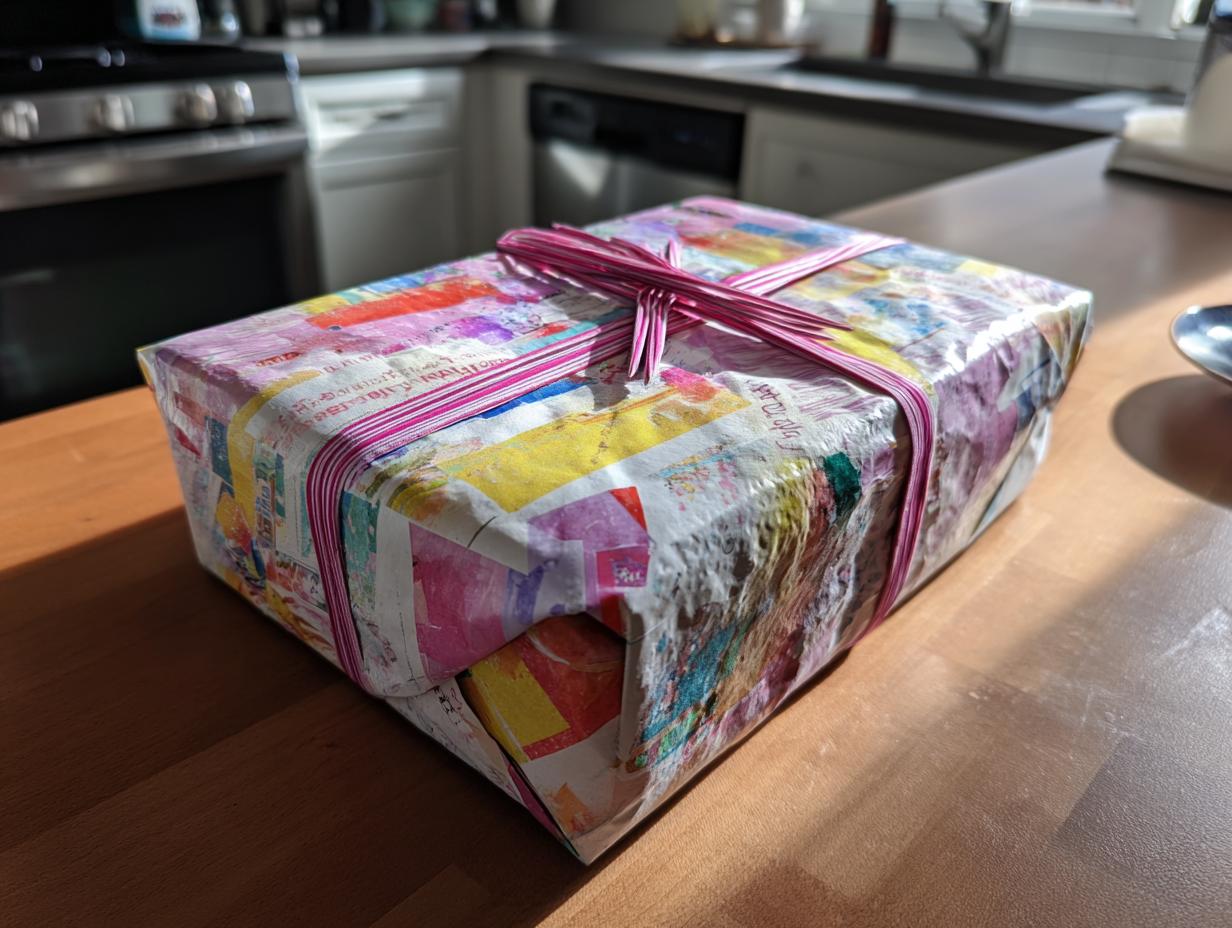
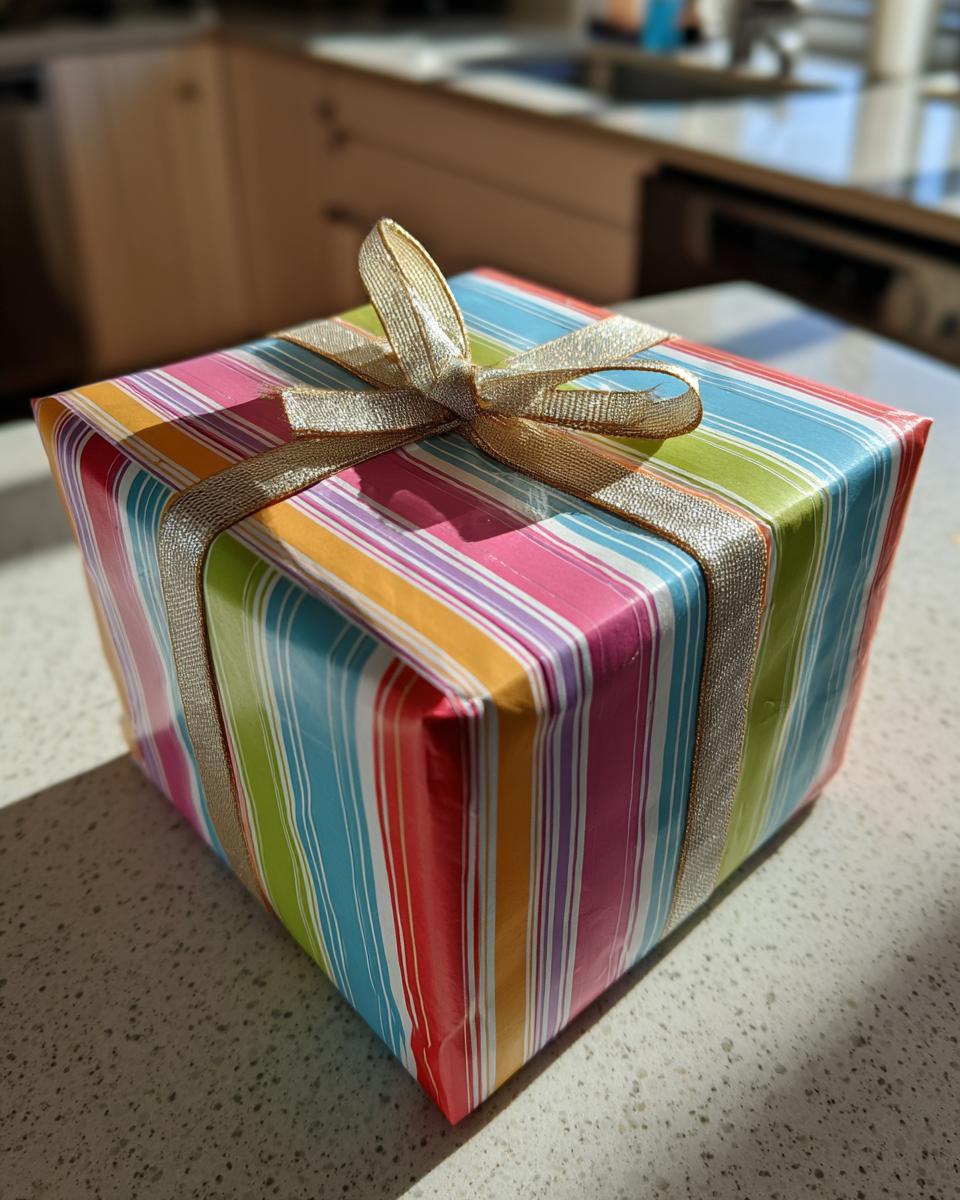
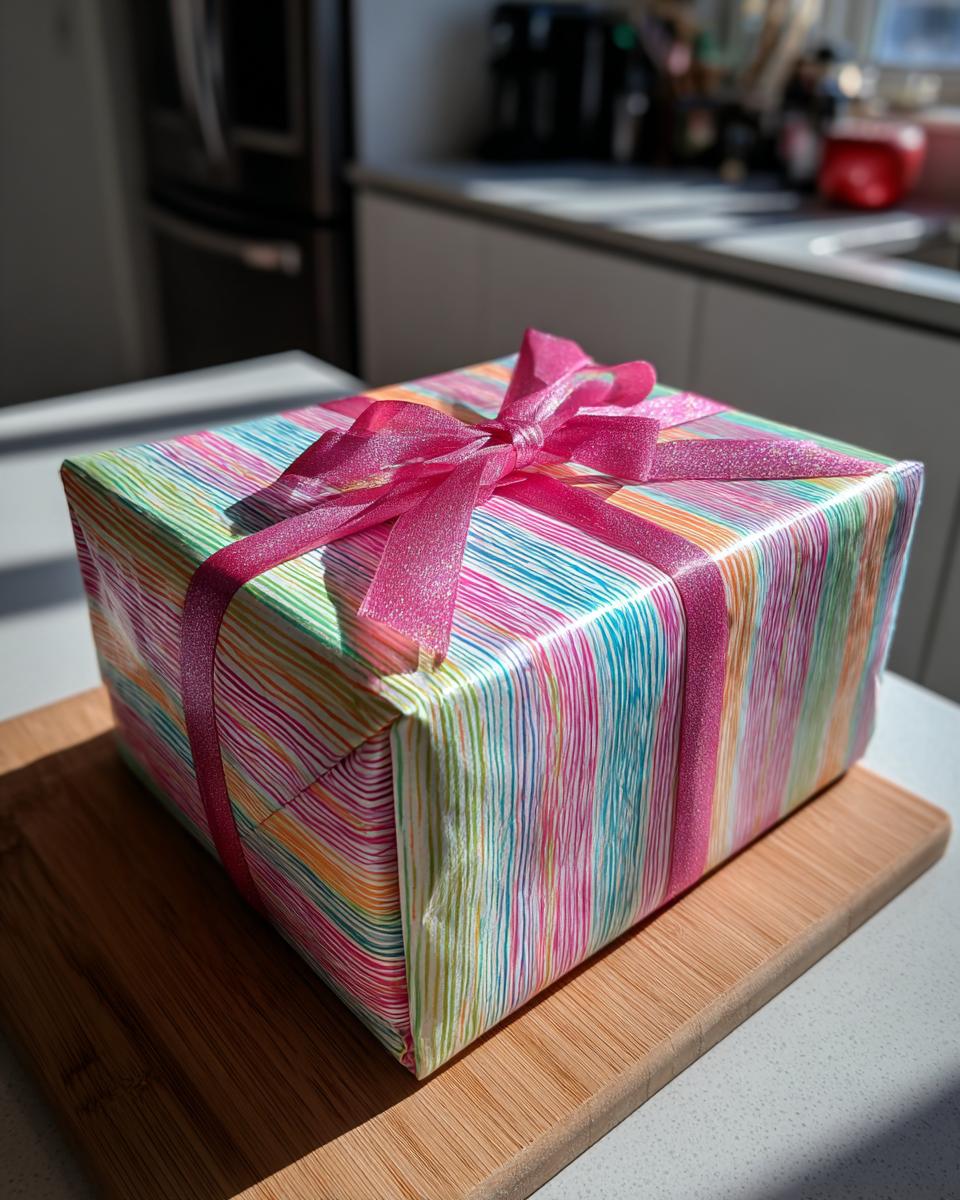
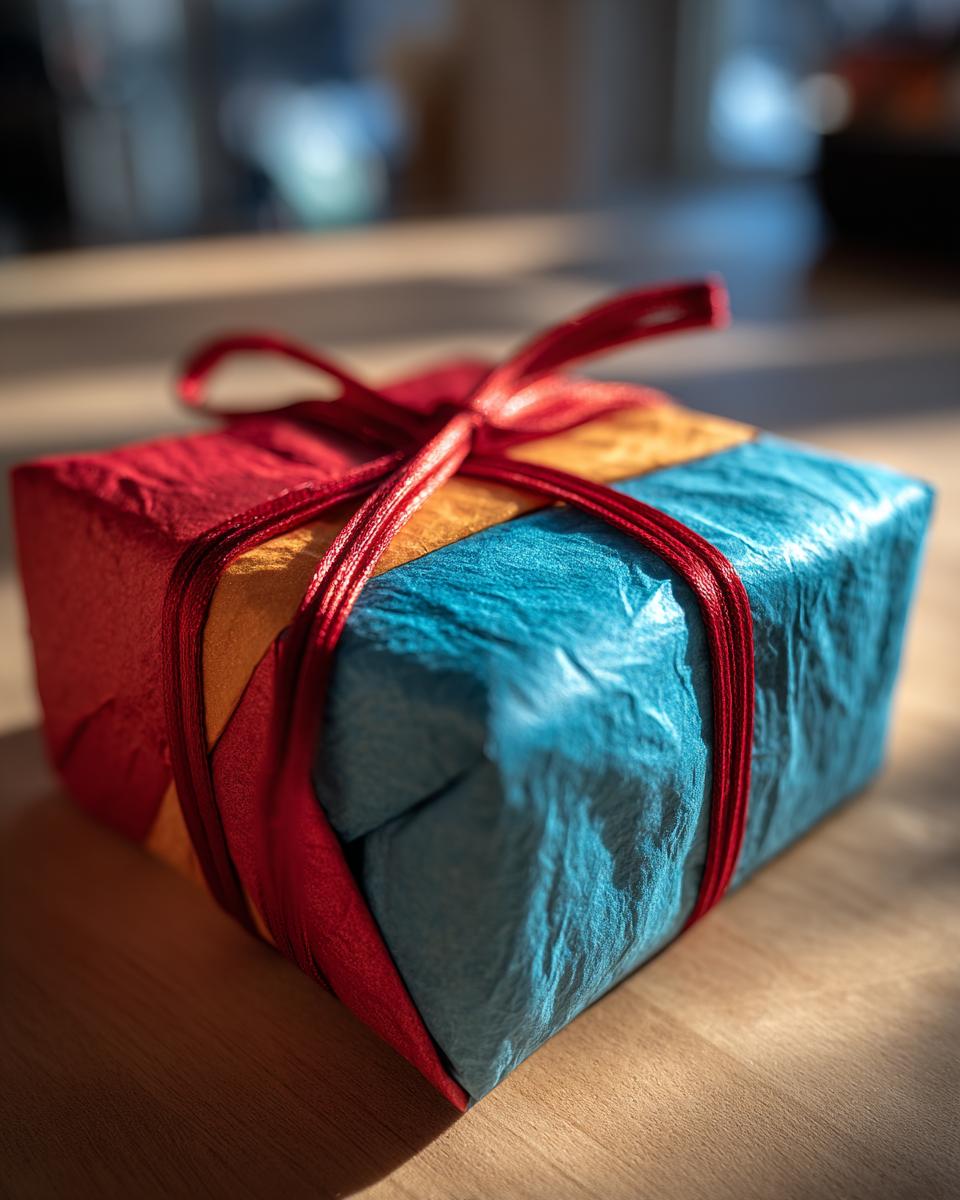
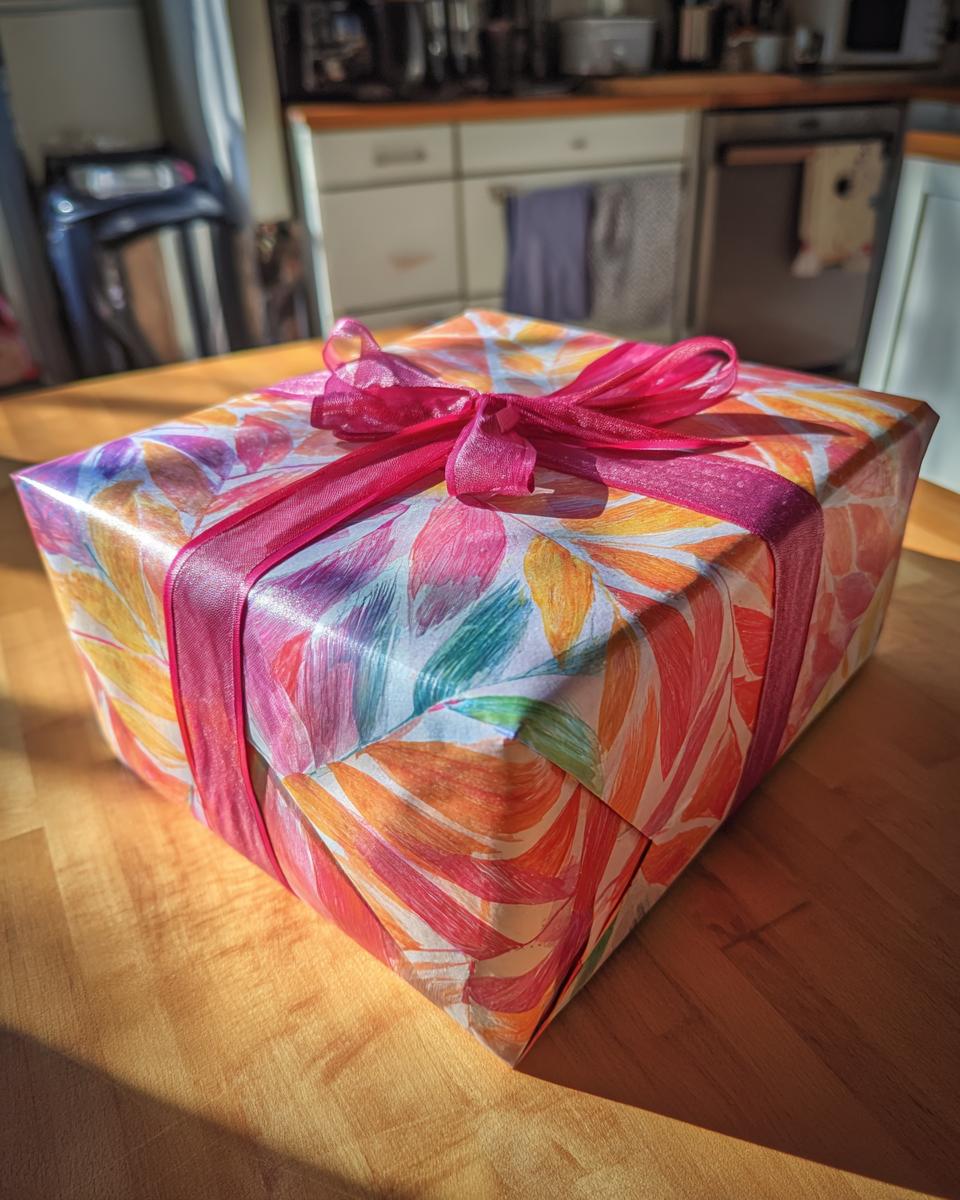
So, for odd shapes, the paper itself matters a lot! You want something that’s not too stiff, or it’ll just resist and rip. I love a paper that has a little bit of give, you know? Something that can bend and curve without cracking. Thicker papers are great for hiding bumps and lumps underneath, which is a lifesaver for weirdly shaped stuff. And don’t be afraid of busy patterns! They’re fantastic for disguising any little mistakes you might make. Seriously, a good busy floral or geometric print is your best friend.
The Best Tape for a Seamless Finish
This is where I actually splurge a little! Regular old Scotch tape works in a pinch, but honestly, it can look a bit… obvious. My secret weapon? Double-sided tape! It’s a game-changer for getting a super clean, professional look because you can’t see any tape at all. If you’re using it, just run a strip along the edge of your paper overlap and press gently. If your budget is tighter, just be mindful and try to place your clear tape on seams where it’ll be less visible, like along the bottom or the spine of the gift.
Mastering the Candy Wrap Technique
Okay, this is one of my absolute favorite tricks for gifts that are kinda soft or round, like a plush toy, a candle, or even a nice bottle of wine! It’s called the candy wrap, and honestly, it makes even the most awkwardly shaped things look super cute and intentional. It’s like giving your gift a little hug with paper. My secret? Make sure your paper is big enough to comfortably overlap, and get those creases nice and sharp. It really just takes a little patience and following these steps, and you’ll have a beautifully wrapped present that looks like it came right from a fancy shop! Maybe it’ll be as perfect as these homemade donuts look!
Step-by-Step: How to Wrap Odd-Shaped Gifts Like Candy
So, how do we get this magic done? First things first, lay out your wrapping paper flat, pretty side down. Place your gift right in the middle. Now, picture wrapping a piece of candy – that’s the vibe! Bring the two opposite sides of the paper up and over the gift so they overlap nicely in the middle. Tape that seam down. Then, you’ll have two open ends. Fold the top edge of each end down about an inch, then fold the sides in to make a neat triangle. Once it looks like a little cone, fold that triangle down and tape it securely. Boom!
The Envelope Fold for Rigid Odd Shapes
Now, what about those gifts that are solid but still have weird edges? Think a board game box that’s a bit chunky, or maybe a small appliance. You can’t really do the candy wrap on those. That’s where the envelope fold comes in, and it’s a total lifesaver! The trick here is to make nice, crisp folds that mimic the flap of an envelope. It takes a little more finesse, but trust me, the result is SO worth it. We’re aiming for clean lines and a snug fit, so the paper doesn’t bubble or sag. It’s all about managing that extra paper and tucking it away neatly. It’s like folding a really good letter – precise and satisfying! It feels almost as good as finishing a batch of these Sloppy Joe Melts!
Securing the Ends: A Key Part of How to Wrap Odd-Shaped Gifts
This is the part that really makes your odd-shaped gift look *wrapped*, not just bundled. Once you’ve got the main body of the gift covered and taped smoothly, you’re left with that excess paper at the ends. For rigid items, you want to treat these ends like you’re folding the flaps of an envelope. First, fold down the top part. Then, take the sides and fold them inwards, creating neat little triangle shapes. You want to push that paper in so you get nice, sharp creases. Finally, fold the last little triangle point down to meet the edge and tape it securely. Doing this carefully means no flapping paper, just a neat, finished edge that makes your gift look like you really put in the effort!
Creative Alternatives: Gift Bags and Fabric Wraps
Okay, so sometimes no matter how hard you try, that gift is just plain *impossible* to wrap nicely, right? We’ve all been there! For those truly awkward shapes – think a big stuffed animal or a collection of tiny, fiddly items – I’ve found that sometimes the best solution is to step away from the wrapping paper entirely! Gift bags are a total lifesaver, and honestly, they look pretty chic. Plus, there’s this amazing eco-friendly trend called fabric wrapping, or furoshiki, that’s super cool and reusable. It’s a fantastic way to be a little kinder to the planet while still making your gift feel special. Seriously, these alternatives can save you so much time and frustration!
Elevating Gifts with Tissue Paper and Gift Bags
Using a gift bag is my go-to for those chaotic shapes. But don’t just shove the gift in and call it a day! A little extra effort goes a long way. Start by crumpling up some tissue paper and shoving it into the bag first to create a soft base. Then, gently place your gift inside. Now’s the fun part: layer a few more sheets of colorful tissue paper on top, fluffing them up so they peek out the top and create a lovely, full presentation. Mixing and matching colors can look really striking!
The Art of Fabric Wrapping (Furoshiki)
Have you ever heard of furoshiki? It’s this Japanese way of wrapping things with fabric squares, and it’s brilliant! You can use scarves, bandanas, or any pretty fabric you have. For something like a bottle or a box, you just lay the fabric down, place your gift in the center, and then tie the corners together up top. It looks so sophisticated and unique, and the best part? The fabric can be reused over and over again! It’s such a sustainable and stylish touch that really makes a gift stand out, sort of like how these radicchio salads are fresh and beautiful.
Tips for Tackling Bulky or Multi-Part Gifts
Okay, wrapping really massive gifts or things that come in a bunch of little pieces can feel like a superhero-level challenge, right? I remember trying to wrap a whole bike for my nephew one year – talk about intimidating! My biggest tip? Don’t be afraid to use bigger sheets of paper, or even tape two pieces together if you have to. If it’s something with lots of small parts, like a toy set, sometimes it’s way easier to pop all the little bits into a box first, wrap that box, and then maybe tie a ribbon around the whole thing. It saves so much hassle and looks way neater. Honestly, using a box can feel like cheating, but it’s a secret weapon for some of the trickiest presents, kind of like how this potato soup is a secret weapon on a cold night!
Frequently Asked Questions About How to Wrap Odd-Shaped Gifts
I get asked about wrapping all the time, and honestly, those awkward shapes are usually the biggest headache! So, let’s tackle some of the most common questions I get. Hopefully, this will save you some serious frustration next time you’re faced with a lumpy present!
What if I run out of wrapping paper mid-wrap?
Oh, the panic! Don’t worry, it happens to the best of us. My go-to is to grab another sheet of wrapping paper and tape it *underneath* the existing paper so the seam isn’t visible from the top. Or, if it’s a really tricky shape, you can embrace the “patchwork” look with a contrasting paper or just strategically place a big ribbon or bow over the join. It totally adds character!
Can I reuse gift bags?
Absolutely! Gift bags are fantastic for this. As long as the bag isn’t ripped or really saggy, just pull out the old tissue paper, pop in your new gift, maybe add some fresh tissue, and you’re good to go. It’s a great way to save money and be a bit more eco-friendly. I always stash away nice gift bags when I receive them!
What’s the easiest way to wrap a wine bottle or bottle of spirits?
This is where the candy wrap trick really shines! Place the bottle in the center of your paper, make sure you have enough paper to go all the way around with a good overlap, and enough to bunch up at the top. Bring the sides together, tape them securely, then fold down the top end like you’re closing a present – pinch those sides to make triangles, then fold them down and tape. It looks so professional, almost as good as a slice of this classic tiramisu!
How do I prevent my wrapping paper from tearing on sharp corners?
Sharp corners are the paper’s worst enemy! My advice is to reinforce them a bit. You can use a small piece of clear tape *before* you even start wrapping to cover the sharpest points. Another trick is to use a slightly thicker or more flexible wrapping paper, as I mentioned earlier. Sometimes, just gently pressing the paper down and creasing it carefully as you go helps a lot too, rather than forcing it flat.
Estimated Nutritional Information
Now, about the calories and all that jazz… when it comes to gift wrapping supplies like paper and tape, the nutritional info is pretty much zero! Honestly, you’re not going to find any sugar or fat in your wrapping paper, which is kind of a bummer if you were hoping for a snack. So, for all intents and purposes, the nutritional value of these materials is negligible. It’s definitely not something you’d find on a food label, and that’s a good thing!
Share Your Gift Wrapping Successes!
So, what are your go-to tricks for wrangling those tricky presents? I’d absolutely love to hear your own secrets for wrapping odd-shaped gifts! Drop your best tips in the comments below, or tag me on social media with photos of your beautiful work. Let’s inspire each other!
Print
How to Wrap Odd-Shaped Gifts
- Total Time: 5 min
- Yield: 1 gift
- Diet: Vegetarian
Description
Learn simple techniques to wrap gifts that are not rectangular or square.
Ingredients
- Gift
- Wrapping paper
- Scissors
- Tape
- Ribbon or bow (optional)
- Gift bag (alternative)
- Tissue paper (alternative)
Instructions
- Measure and cut wrapping paper. For soft items, cut a piece large enough to cover the gift with overlap. For rigid items, cut a piece that wraps around the longest dimension with overlap and is tall enough to cover the ends.
- For soft items: Place the gift in the center of the paper. Bring opposite sides of the paper together over the gift, overlap them, and tape. Fold down the ends like wrapping a candy, creasing sharply, and tape securely.
- For rigid items: Place the gift in the center of the paper. Bring the paper around the longest dimension, overlap, and tape. For the ends, gather the excess paper at the top and fold it down, creasing sharply to create a flat edge. Tape securely.
- Alternatively, use a gift bag. Place tissue paper in the bag, then insert the gift.
- For very awkward shapes, consider using a gift bag or a fabric wrap (like a furoshiki).
Notes
- If your gift is very bulky, you may need to use two pieces of wrapping paper.
- Consider using a gift bag for items like stuffed animals or oddly shaped toys.
- Fabric wraps can be a sustainable and stylish alternative.
- Prep Time: 5 min
- Cook Time: 0 min
- Category: Gift Wrapping
- Method: Wrapping
- Cuisine: General
Nutrition
- Serving Size: 1 gift
- Calories: 0
- Sugar: 0g
- Sodium: 0mg
- Fat: 0g
- Saturated Fat: 0g
- Unsaturated Fat: 0g
- Trans Fat: 0g
- Carbohydrates: 0g
- Fiber: 0g
- Protein: 0g
- Cholesterol: 0mg
Keywords: gift wrapping, odd shaped gifts, how to wrap, unusual gifts, wrapping techniques, gift ideas