
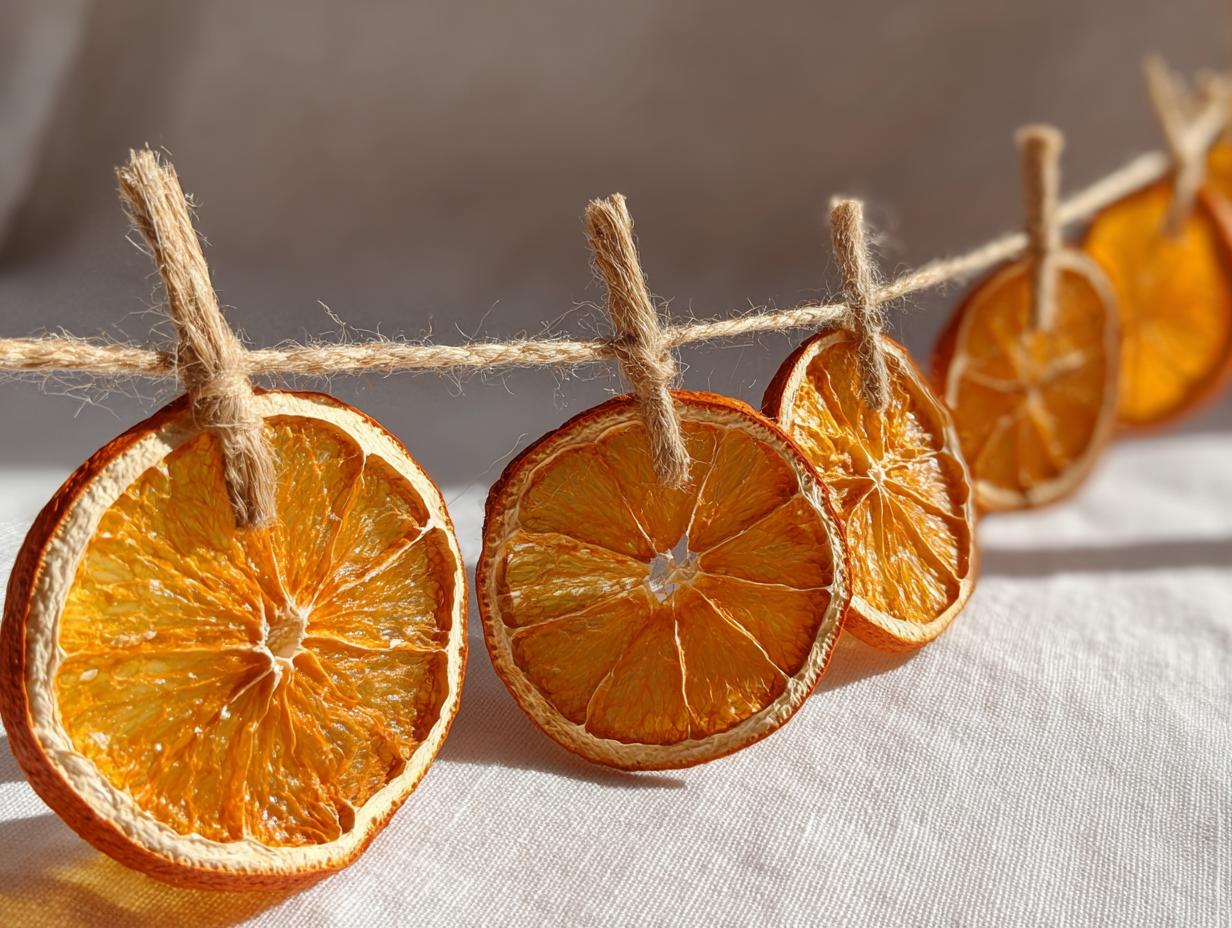
There’s just something so wonderfully cozy and natural about bringing the outdoors in, especially when it comes to holiday decorating, right? Forget all those plastic, sparkly things that just end up in a landfill. For me, the real magic lies in creating decorations with my own two hands using simple, beautiful ingredients. And let me tell you, learning how to make dried orange garland has been an absolute game-changer for my home. It’s surprisingly easy, smells divine, and instantly adds this warm, rustic charm that store-bought stuff just can’t replicate. It’s become a favorite little tradition of mine, making my kitchen smell like a cozy autumn hug while I work!
Why You’ll Love This How to Make Dried Orange Garland Recipe
Honestly, I think you’re going to be obsessed with making these! They’re just so darn satisfying.
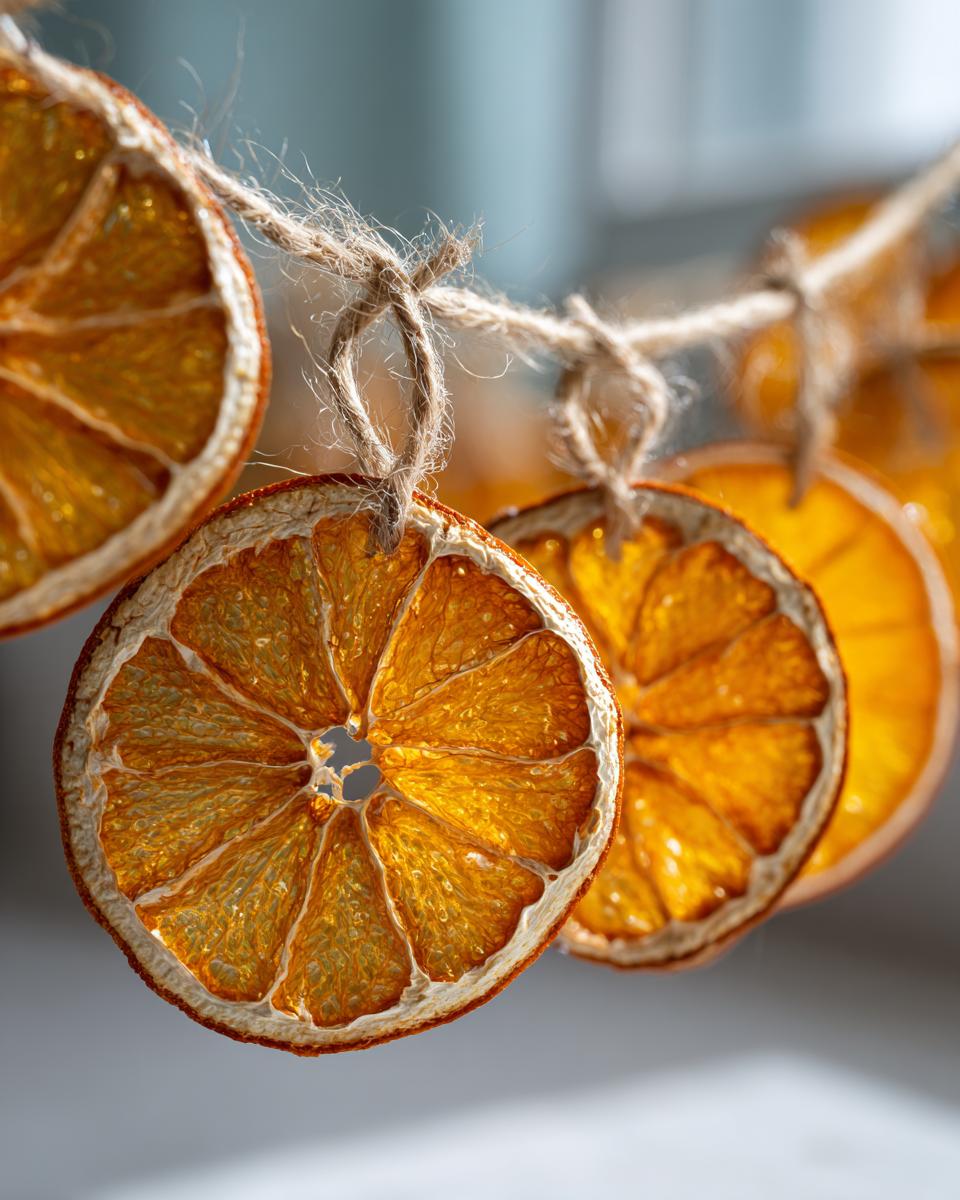
- Naturally Beautiful: They look stunning, like little sunshine jewels, and add such a warm, rustic touch.
- Super Easy: Seriously, if you can slice an orange and pop it in the oven, you can do this.
- So Versatile: Hang them anywhere! Your tree, the mantel, windows – they look great everywhere.
- Eco-Friendly Fun: It’s a fantastic way to use up oranges and create decor without loads of plastic.
- Smells Amazing: While they dry, your whole kitchen smells like pure, cozy happiness.
Gather Your Supplies: What You Need for How to Make Dried Orange Garland
Okay, so gathering your supplies is actually the easiest part! You probably have most of this stuff lurking in your kitchen already. It’s like a treasure hunt before the real fun begins. Trust me, having everything ready makes the whole process flow so much smoother, and you won’t be frantically searching for a decent knife mid-slice!
Essential Ingredients for Your Dried Orange Garland
For the stars of the show, you’ll want about 2 to 3 large oranges. I usually grab navel or Valencia oranges because they’re nice and plump. Just make sure they’re firm to the touch – that’s key! You don’t need anything fancy, just good, happy oranges ready to be transformed into sunshine slices.
Tools for Crafting Your Orange Garland
You’ll need a good, sharp knife – I find a thin-bladed one really helps get those super thin, even slices. Parchment paper is your best friend here to line your baking sheets so nothing sticks. And for the actual garland part, some natural twine or sturdy cotton string works beautifully. You’ll also need scissors, of course, and maybe a needle if you prefer that to tying knots around each slice!
Optional Additions for Extra Flair
Here’s where you can really let your creativity shine! If you want to add even more festive smells and visual interest, grab some cinnamon sticks, star anise, or even bay leaves. Tucking these in between the orange slices adds a wonderful cozy dimension and makes your garland smell absolutely divine.
Step-by-Step Guide: How to Make Dried Orange Garland
Okay, let’s get this gorgeous garland made. It’s really not complicated at all, I promise! It’s all about a little patience and a lot of love (and the smell of oranges, of course!).
Preparing the Oranges for Drying
Alright, first things first! We need to get these oranges ready. Pop your oven on to preheat to a nice, low 200°F (that’s 95°C). While that’s warming up, give your oranges a good scrub under cool water – we want them nice and clean! Now, grab that sharp knife. The trick to beautifully even slices is to use the straightest part of the orange as your base, and slice them about 1/4-inch thick. Try to keep them as uniform as possible; it really helps them dry evenly. I usually aim for around 15-20 slices per garland, depending on how long I want it!
The Drying Process: Oven Method
Once they’re all sliced, carefully lay them out in a single layer on your parchment-lined baking sheets. No overlapping, really! Now, pop them into that preheated oven. They’ll need anywhere from 2 to 4 hours. Yes, it takes a bit, but they’re just gently drying, not baking into chips! About halfway through – so maybe after 2 hours – give them a gentle flip. You’ll know they’re ready when they feel a little leathery and stiff, but still a *tiny* bit pliable. They shouldn’t feel wet at all. Once they’re dried, just turn off the oven and leave them inside with the door cracked open a bit to cool down completely. This extra time helps them get totally dry and prevents them from getting sticky.
Alternative Drying Method: Air Drying
If you’re not keen on using the oven or just want another option, you can totally air dry them! Just lay them out on parchment paper in a super warm, super dry spot in your house. It can take a few days, maybe 3 to 5, depending on your humidity. You just need to keep an eye and make sure they’re fully dry before you use them.
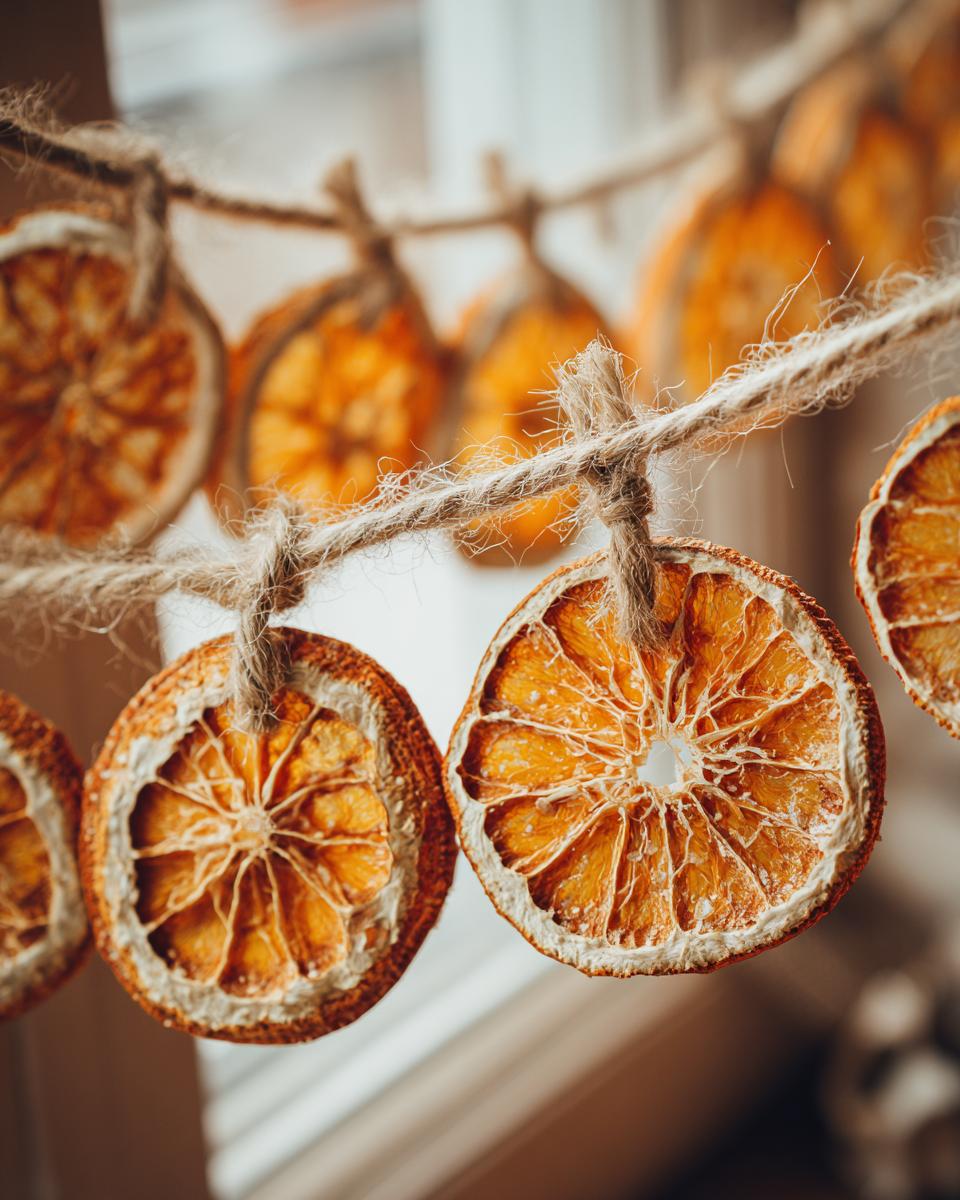
Assembling Your Dried Orange Garland
Okay, the fun part! Grab your twine or string and your now-dry orange slices. Gently thread your needle (if you’re using one) and carefully go through the center of an orange slice, or tie small knots around each slice to secure it. Space them out however you like! If you’re adding those cinnamon sticks or star anise, just thread them on between the oranges. Be super gentle when you’re handling the dried slices because they can be a little brittle, but don’t worry too much – a little crack here or there just adds to the handmade charm, right? Keep going until your garland is as long as you want it!
Tips for the Perfect Dried Orange Garland
Alright, so you’ve got your oranges ready and you’re about to embark on this super fun project. Here are a few little secrets I’ve picked up that make all the difference between a good garland and a *great* one. Trust me, these little tricks will save you a headache or two!
First off, pick oranges that are nice and firm. Mushy oranges just won’t dry as well. And when you’re slicing them, thin and even is the name of the game. Seriously, an even slice means an even dry! If they’re too thick, they might stay a bit damp inside, and nobody wants moldy citrus decor, right?
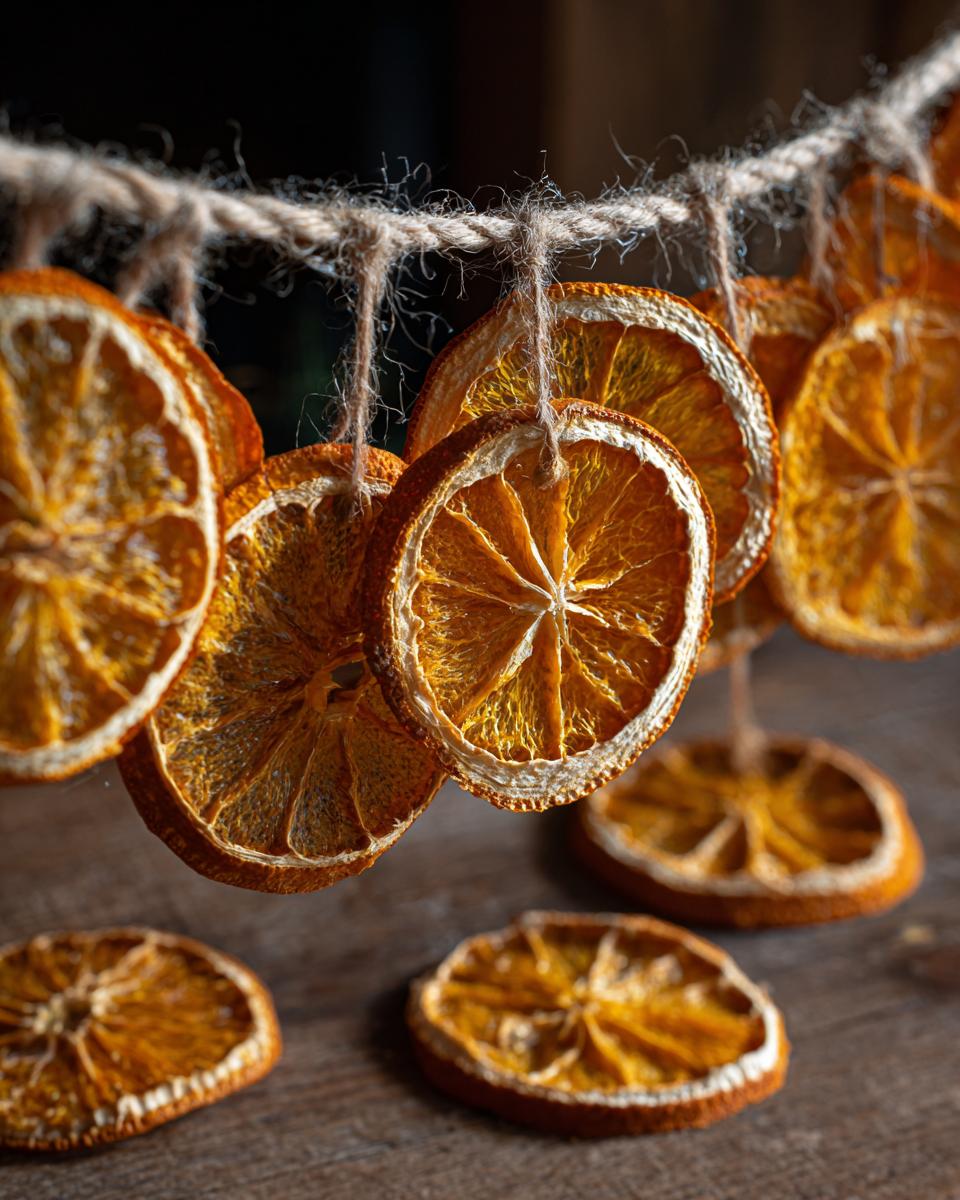
When you’re drying them, keep an eye on them. Low and slow is key! You’re aiming for dry and leathery, not brittle and burnt. And when you’re threading them, be gentle! They can snap if you’re not careful, but honestly, a little imperfection just adds to the handmade charm. I’ve found that tying a little knot around each slice works wonders for keeping them in place.
Creative Ways to Use Your Dried Orange Garland
Once your beautiful dried orange garland is all strung up, the fun really begins! Don’t just limit it to the mantelpiece, though that’s gorgeous. I love draping mine around the branches of my Christmas tree – it adds this amazing natural pop and smells so good! You could also lay it down the center of your holiday table as a unique runner, or even weave it into your gift wrapping for a really special, handmade touch. They honestly look fantastic anywhere you want a little bit of natural festive cheer! For a truly festive spread, check out this Christmas Fruit Cake recipe to complement your decor!
Storage and Longevity of Your Garland
So, you’ve created this absolutely stunning dried orange garland – yay! Now, let’s talk about keeping it looking fabulous. The most important thing is to store it in a cool, dry place, completely away from any moisture. Think about a closet or a box in a temperature-controlled room. If it gets humid, those lovely orange slices can start to get a bit sticky or even worse, develop mold, and we definitely don’t want that! If stored properly, your beautiful garland can last from one holiday season to the next, sometimes even longer!
Frequently Asked Questions About Dried Orange Garland
Got questions about making your own dried orange garland? I totally get it! It’s always good to have a few pointers. Here are some things I get asked a lot:
Can I dry oranges without an oven?
Oh, absolutely! While the oven is super quick, you can totally air dry your orange slices. Just lay them out on parchment paper in a warm, dry spot in your house. It usually takes about 3-5 days, depending on how humid it is, but it works like a charm if you have the patience!
How long does dried orange garland last?
If you store your garland properly – meaning in a cool, dry place away from any dampness – it can actually last for a really, really long time! I’ve had mine looking beautiful for a couple of holiday seasons. Just make sure they’re completely dry before storing them to avoid any mold issues.
What kind of oranges are best for drying?
Honestly, most common oranges work great! I usually reach for navel or Valencia oranges because they’re nice and juicy. The most important thing is that they’re firm and fresh. Avoid any that feel soft or have blemishes. The flatter, rounder ones tend to lay nicely for drying, too!
My orange slices look too brittle, what did I do wrong?
Don’t worry too much about that! Dried orange slices are naturally a bit delicate. It’s actually better if they are a little brittle than still moist inside. If they feel like dried leather and are firm but still have a *slight* give, they’re probably perfect. If they are still bendy and moist, they just need a little more time in the oven or air drying. You can always find more tips on baking perfection with my apple pie recipe!
Nutritional Information Disclaimer
Okay, so real talk: this gorgeous dried orange garland is purely for decoration, not for snacking! Because it’s a DIY project and not a food item, it’s pretty much impossible to give exact nutritional info. It really depends on the oranges you use and if you add any of those yummy cinnamon sticks or star anise. So, while it’s beautiful and smells divine, please don’t try to eat it!
Print
How to Make Dried Orange Garland
- Total Time: 2 hours 15 minutes
- Yield: 1 garland 1x
- Diet: Vegetarian
Description
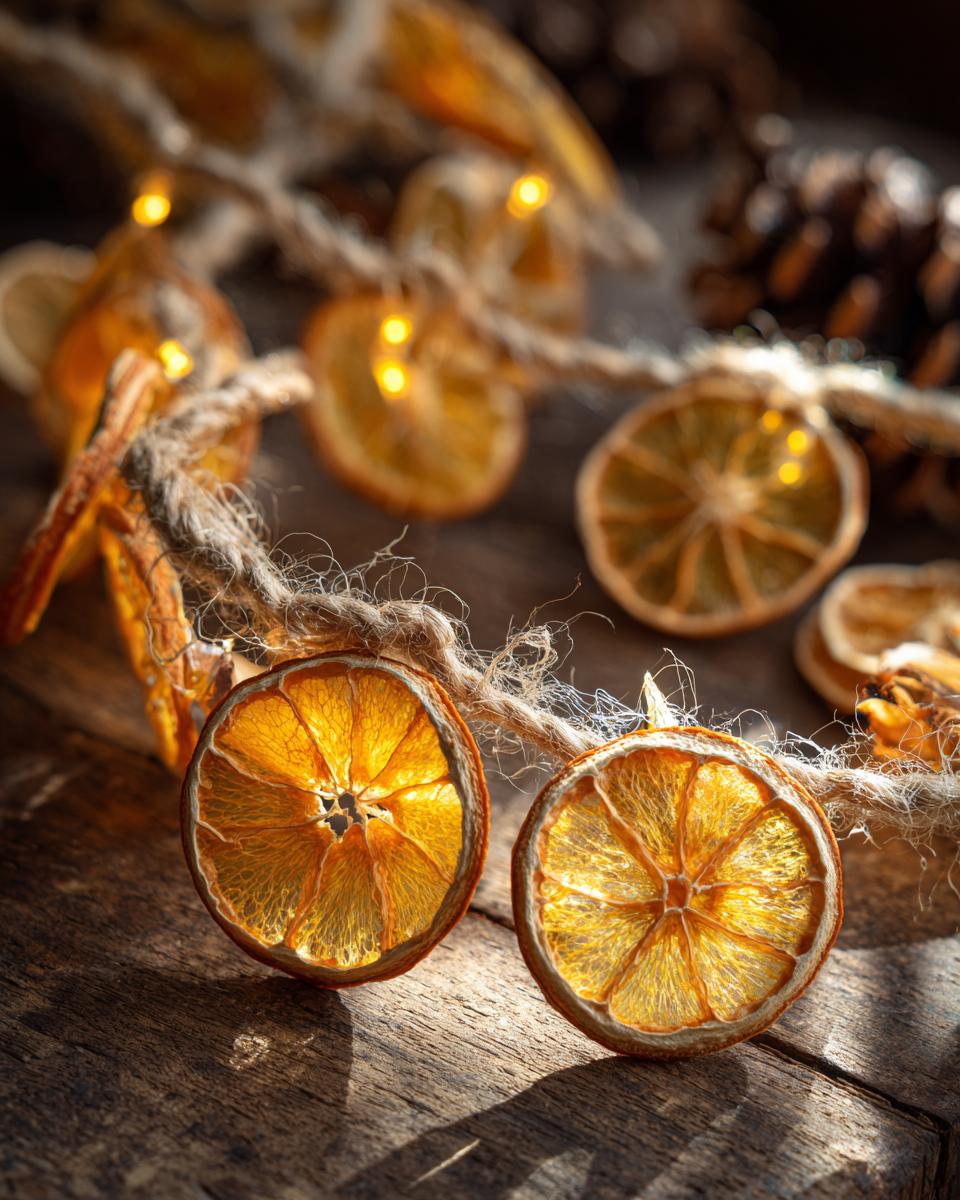
Create a beautiful and natural dried orange garland for festive decorations.
Ingredients
- 2–3 large oranges
- Sharp knife
- Baking sheets
- Parchment paper
- Twine or string
- Scissors
- Optional: cinnamon sticks, star anise, bay leaves
Instructions
- Preheat your oven to 200°F (95°C).
- Wash the oranges thoroughly.
- Slice the oranges into thin rounds, about 1/4 inch thick.
- Arrange the orange slices in a single layer on baking sheets lined with parchment paper.
- Bake for 2-4 hours, flipping the slices halfway through, until they are dry and slightly stiff.
- Turn off the oven and leave the orange slices inside to cool completely.
- Once cooled, carefully thread the dried orange slices onto twine or string using a needle or by tying knots around each slice.
- Add optional decorative elements like cinnamon sticks or star anise between the orange slices if desired.
- Continue threading until your garland reaches the desired length.
- Hang your dried orange garland as a festive decoration.
Notes
- Ensure the orange slices are completely dry to prevent mold.
- You can also air dry the orange slices in a warm, dry place for several days.
- Be gentle when handling the dried orange slices as they can be brittle.
- Prep Time: 15 minutes
- Cook Time: 2-4 hours
- Category: Decorations
- Method: Baking
- Cuisine: General
Nutrition
- Serving Size: 1 garland
- Calories: 0
- Sugar: 0g
- Sodium: 0mg
- Fat: 0g
- Saturated Fat: 0g
- Unsaturated Fat: 0g
- Trans Fat: 0g
- Carbohydrates: 0g
- Fiber: 0g
- Protein: 0g
- Cholesterol: 0mg
Keywords: dried orange garland, DIY decoration, holiday decor, natural garland, orange slices, craft