
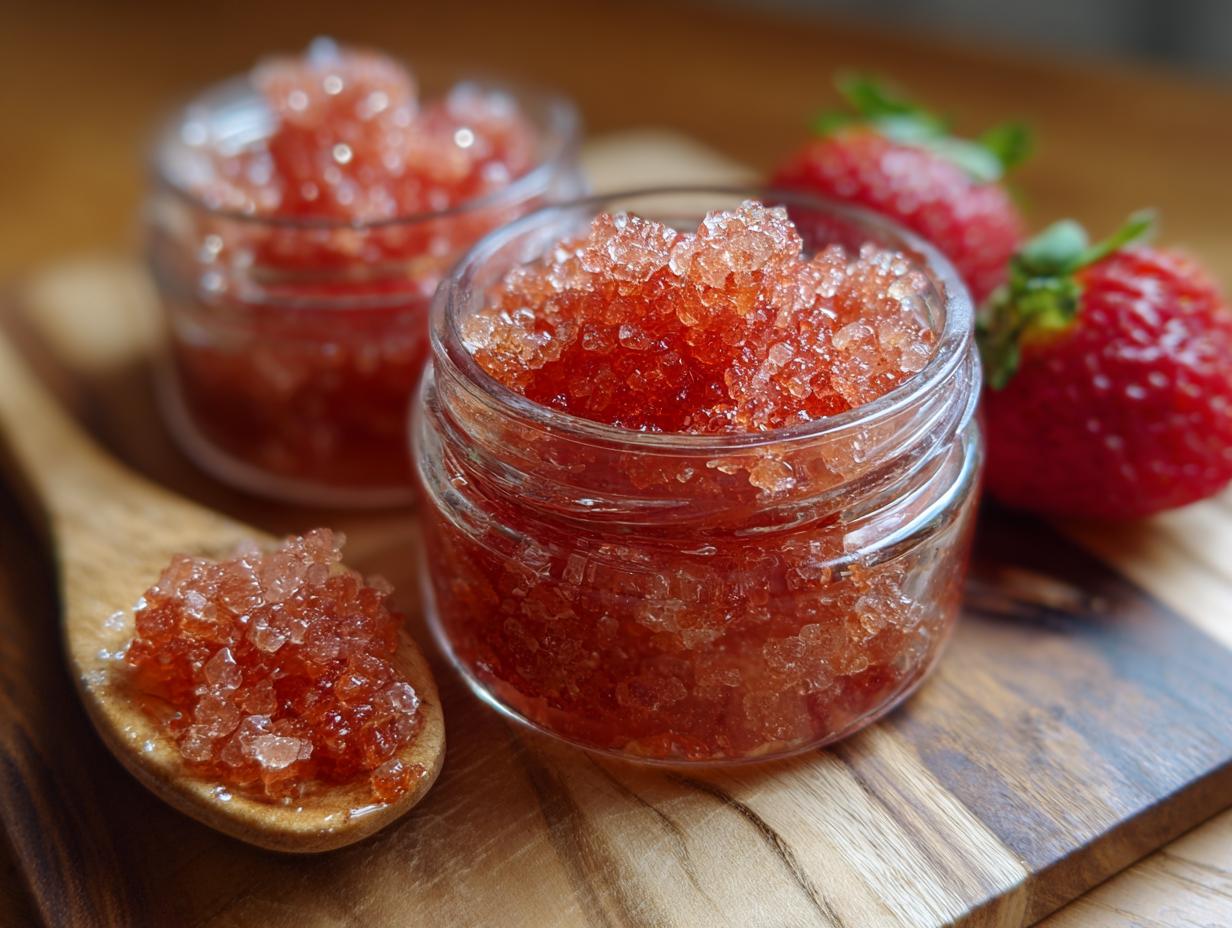
Oh, there’s just something SO special about a gift that comes straight from the heart, isn’t there? I still remember the little jam jar a friend gave me years ago, filled with a homemade scrub. It wasn’t fancy, but the thought behind it! It got me thinking, and now, putting together Homemade Sugar Scrub Jars for Gifts has become my go-to for birthdays, holidays, or just because. You get to make something beautiful and beneficial, and your loved ones get a little pampering treat. It’s a win-win, truly!
Why Homemade Sugar Scrub Jars for Gifts Are a Perfect Choice
Honestly, when it comes to gifting, you just can’t beat something you’ve made yourself. And these Homemade Sugar Scrub Jars for Gifts? They’re a total home run! First off, they are SO budget-friendly. You probably already have most of the stuff in your pantry, which is way cheaper than hitting the department store. Plus, you get to pick *exactly* what goes into them. Love lavender? Go for it! Want a zesty grapefruit scent? Easy peasy! You know it’s packed with good stuff, not weird chemicals. It’s a great way to get some lovely delicious dinner ideas from your pantry.
But the best part, I think, is the personal touch. It shows you took the time, that you really care. It’s not just a present; it’s a little bit of your effort and love bottled up. My friends always go nuts for them, and once you start whipping them up, you’ll see why they’re such a popular DIY gift!
Gathering Your Ingredients for Homemade Sugar Scrub Jars
Alright, time to get our hands on the good stuff! Making these sugar scrubs is super easy, and it all starts with a few simple ingredients. For a standard batch, you’ll need about 1 cup of granulated sugar to start. Then, we’ll add 1/2 cup of your favorite carrier oil – this is what makes it spreadable and hydrating. If you’re feeling fancy, you can toss in 10-15 drops of essential oil for a beautiful scent, and maybe a little 1/4 teaspoon of vitamin E oil; it helps it last a bit longer. And of course, you’ll need some cute jars to put it all in!
Choosing Your Carrier Oil
This is where you can really customize! Coconut oil, especially fractionated, is amazing because it stays liquid and feels super luxurious. Almond oil is fantastic for dry skin, it’s so nourishing. Or, if you’ve only got olive oil kicking around, that works great too, though it has a stronger scent. Honestly, just grab what you have! They all do a wonderful job of making the sugar scrub glide on your skin.
Selecting Essential Oils for Scent and Benefits
Essential oils are like magic potions for scent and mood! Lavender is a classic for relaxation, plus it’s super gentle. Peppermint is so invigorating and nice for tired feet, but be careful, it can be a bit tingly! Citrus oils like lemon or orange are wonderfully uplifting – just be sure to use them when you won’t be in the sun right afterward, as they can make your skin a bit more sensitive. Start with about 10 to 15 drops total for your sugar and oil mix; you can always add a tiny bit more if you want a stronger fragrance.
Step-by-Step Guide to Making Your Homemade Sugar Scrub
Okay, getting these Homemade Sugar Scrub Jars for Gifts ready is honestly the fun part! It’s more like mixing a fun concoction than actual baking. You just need a medium-sized bowl to get started. Grab your sugar – I usually do about a cup – and pour your chosen carrier oil right in there. Give it a good stir until all those sugar crystals are nicely coated. You want it to look like wet sand, not clumpy or oily. It’s really that simple to get the base ready!
Mixing the Base Ingredients
So, you’ve got your sugar and oil in the bowl. Now, just stir it all up! I like to use a spoon or a spatula. My trick is to keep mixing until you don’t see *any* dry sugar left. It should all look nice and uniform, like a lovely, moist sand. If it feels too dry, add a tiny bit more oil. If it seems too soupy, add a bit more sugar. Easy adjustments!
Adding Scent and Preservation (Optional)
This is where you can really make it your own! If you’re using essential oils, now’s the time to add them. I usually go for about 10-15 drops per cup of sugar. And if you’re adding that vitamin E oil – such a good idea for making it last longer – just add that in too. Give it one last really good stir to make sure all those fragrant oils and the vitamin E are blended in evenly. Honestly, the smell at this point is just heavenly!
If you’re looking for some awesome dessert inspiration while you’re mixing, you absolutely have to check out these delicious donut recipes! They’re just as fun and rewarding to make as this scrub.
Packaging Your Homemade Sugar Scrub Jars for Gifts
Now for my favorite part of making Homemade Sugar Scrub Jars for Gifts – making them look SO pretty! The scrub inside is great, but a little bit of packaging magic makes it feel super special. You’ll want to think about what kind of jars to use. Little glass jars are always a hit; they just look so chic and feel substantial. You can find them at craft stores or even reuse pretty jam jars! Just make sure they have a good, tight-fitting lid so your scrub stays fresh and doesn’t spill.
Choosing the Right Jars
For sugar scrubs, definitely go for jars that have wider openings. It makes scooping out the scrub so much easier! Little 4-ounce or 8-ounce jars are usually perfect for a single gift. Glass is my top pick because it feels more upscale and you can see the pretty scrub inside, but sturdy plastic jars are a good idea too, especially if you’re worried about breakage.
Creative Decoration Ideas
This is where you can really let your personality shine! Honestly, a simple piece of pretty ribbon or some rustic twine tied around the lid can make a world of difference. You can also cut out little circles of fabric and secure them with a rubber band or twine over the lid for a farmers’ market vibe. And don’t forget labels! You can buy cute pre-made ones, print your own, or just grab a tag and write “Handmade with Love” or the scent name. Sometimes I even add a little sprig of dried lavender or a tiny pinecone tied on with the ribbon. Check out these donut recipes for more inspiration on making things look amazing!
Tips for Success with Your Sugar Scrub Gifts
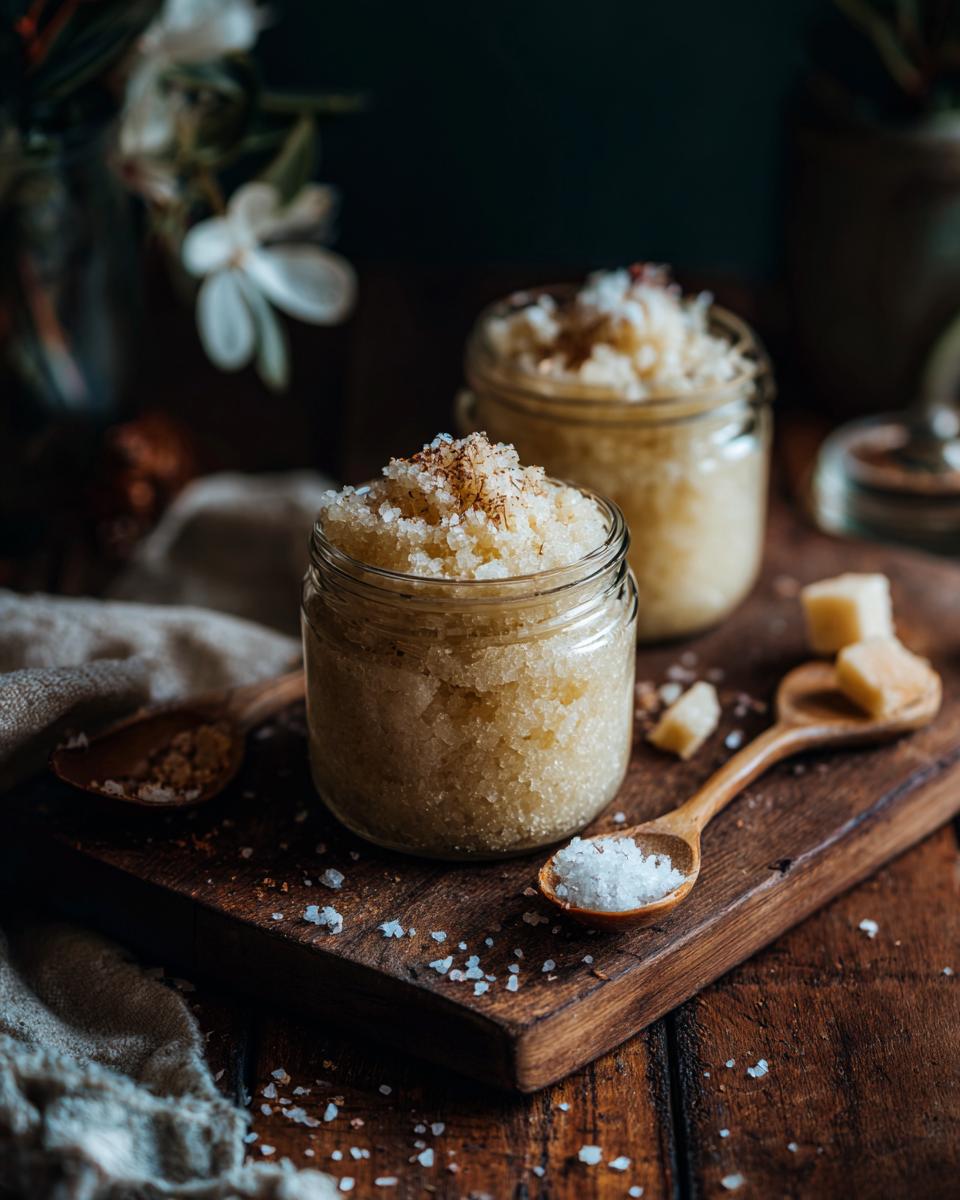
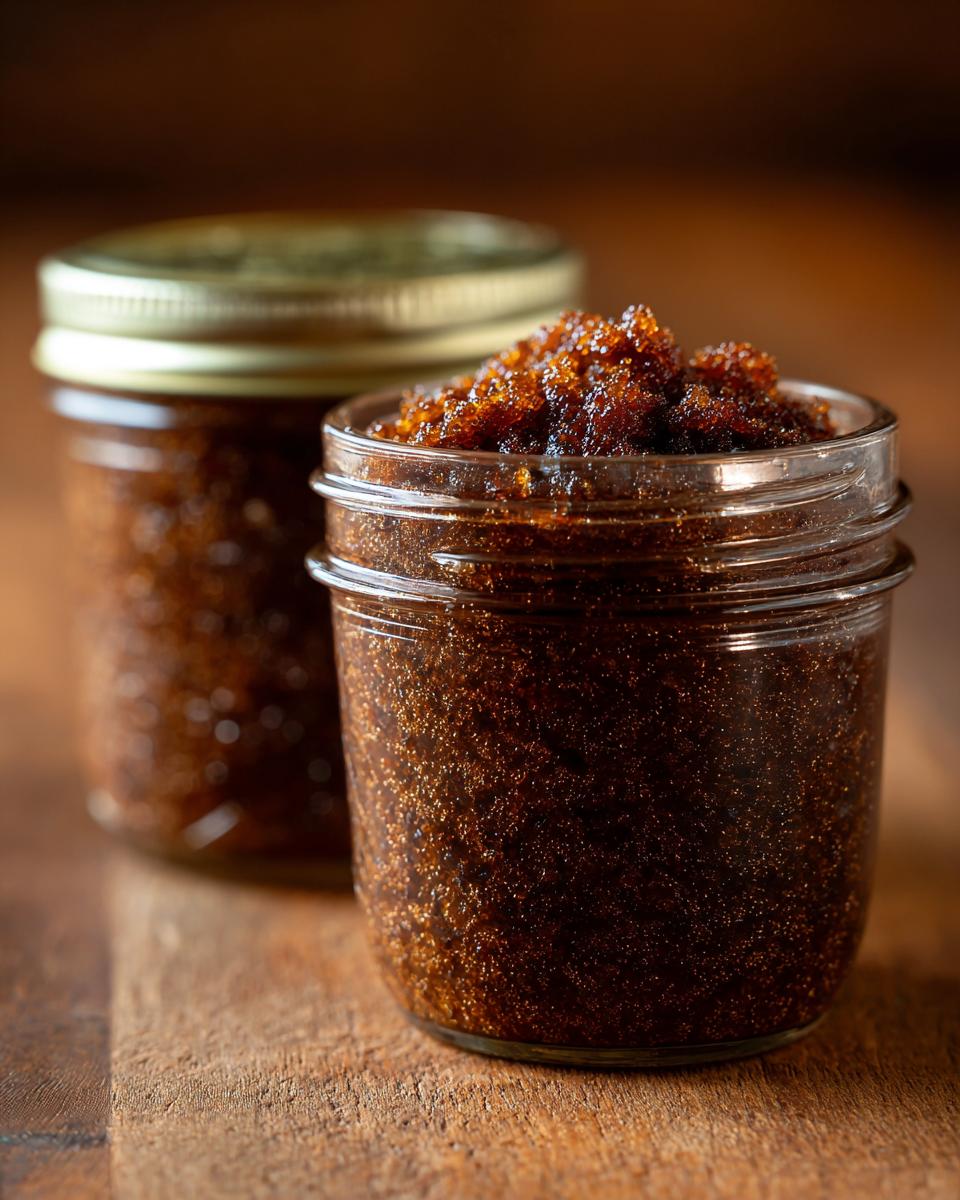
Alright, let’s talk about making these Homemade Sugar Scrub Jars for Gifts absolutely perfect every single time! Trust me, a few little tricks can make a big difference. First off, the sugar consistency is key. If you want a gentler scrub, stick with regular granulated sugar. For something a bit more exfoliating, raw sugar or even brown sugar works wonders, though brown sugar can make the final scrub a bit darker. Just a heads-up!
When it comes to the oil-to-sugar ratio, aiming for that 2:1 sugar-to-oil ratio is usually spot-on. You want it wet enough to mix well but not so oily that it separates immediately. If it *does* separate a bit when it sits, don’t panic! Just give it a quick stir before gifting or using. And for scent strength, remember that essential oils can be potent, so start with a smaller amount and add more if needed. You can always add, but you can’t take away! These little bits of advice really help make your sugar scrub gifts shine. If you need even more inspiration for homemade goodies, check out these super easy dessert recipes – they’re as fun to make as this scrub!
Variations to Personalize Your Homemade Sugar Scrub
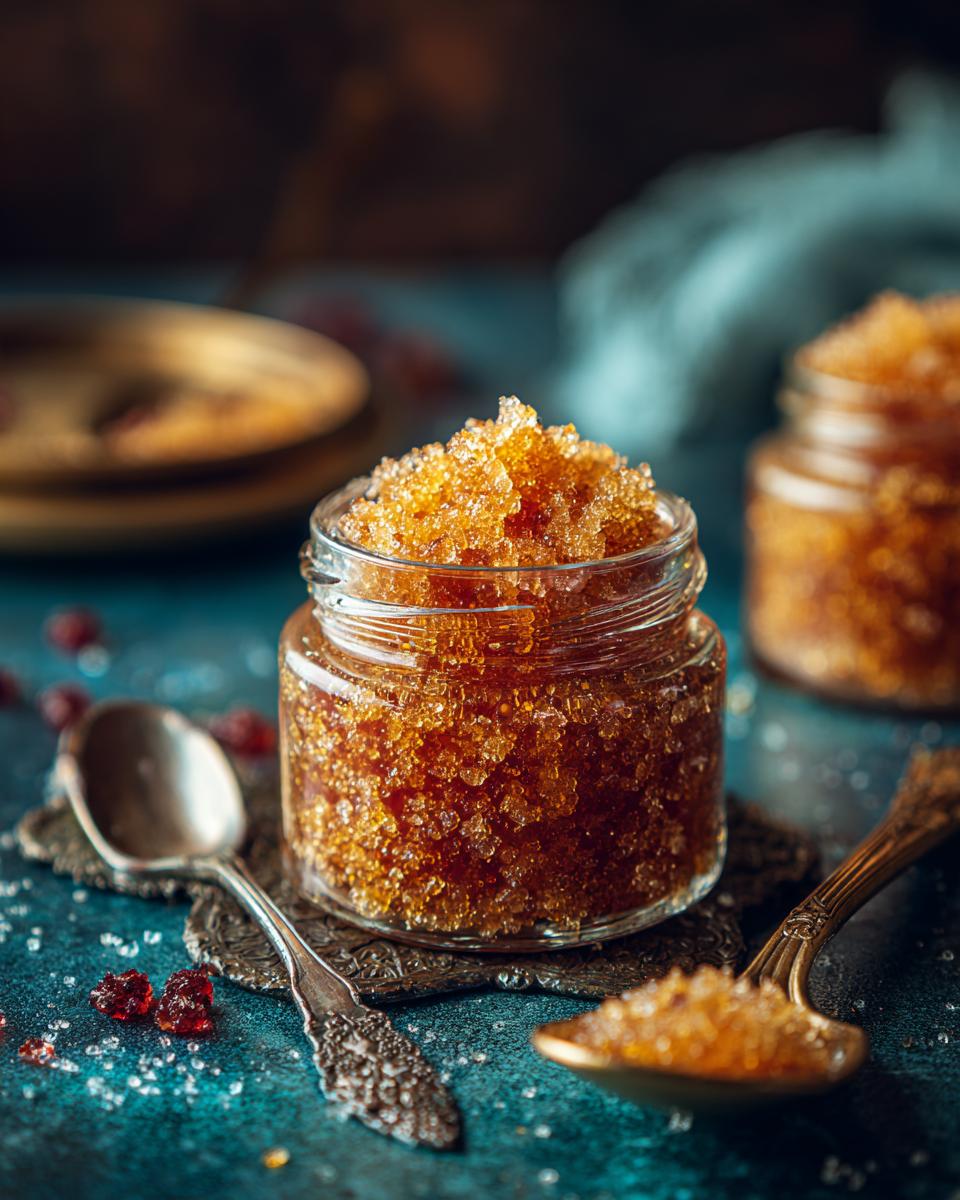
Okay, so you’ve mastered the basic Homemade Sugar Scrub Jars for Gifts, but what if you want to get *really* creative? That’s the beauty of DIY! Instead of just granulated sugar, try swapping it out for brown sugar. It’s a little softer and has this amazing warm, caramel-y scent that feels so cozy. Or, for a REALLY exfoliating scrub, raw sugar crystals are fantastic. My friends love it when I add a tablespoon or two of coffee grounds – it smells amazing and is supposed to be great for your skin!
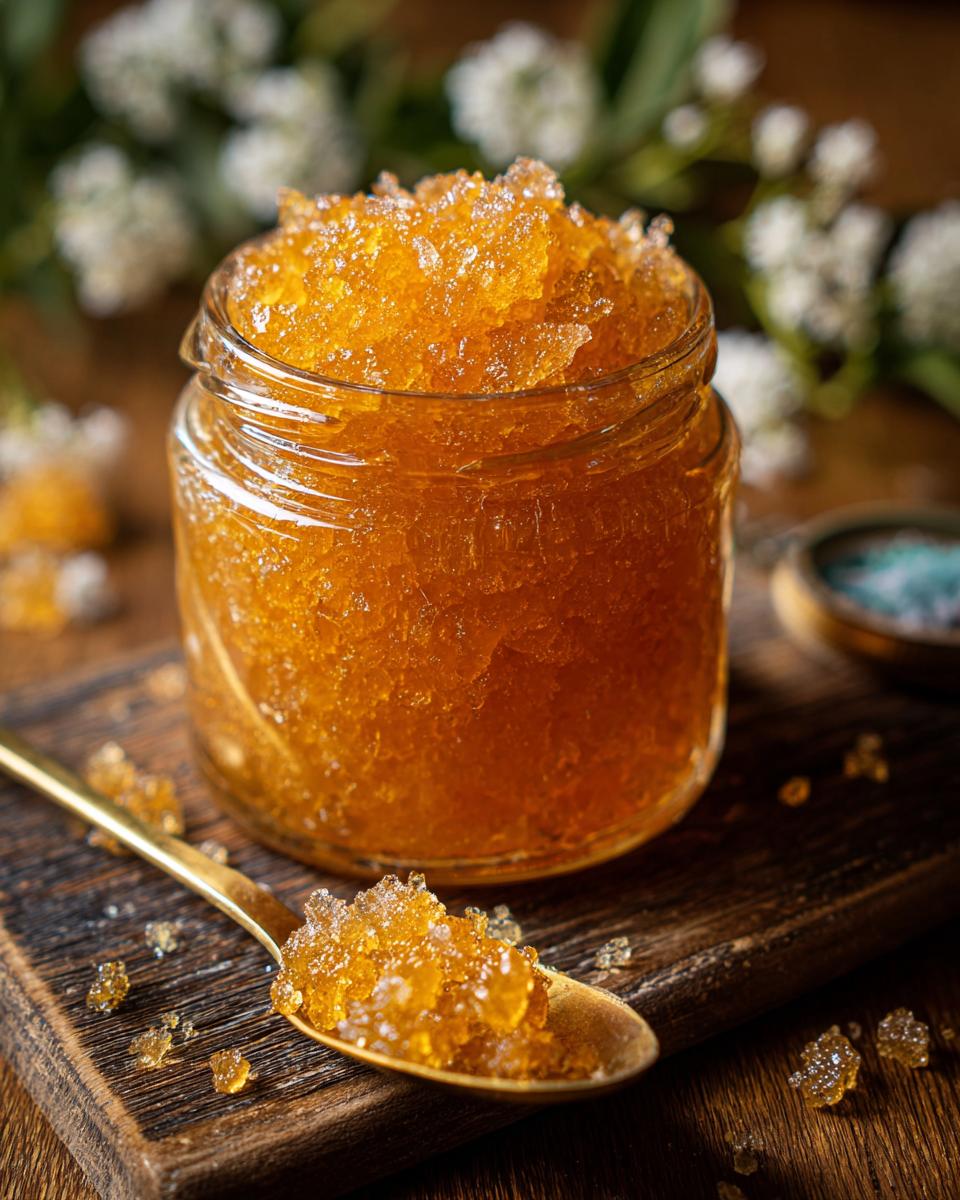
Another fun trick is to add a little bit of honey. It’s a natural humectant, so it draws moisture to your skin, plus it has lovely antibacterial properties. Just stir in a tablespoon or two after you’ve mixed the oil and sugar. Sometimes I even add a dollop of plain yogurt for an extra creamy, lactic-acid-boosted scrub, but you’ve got to use those jars up pretty quickly if you do that! And if you’re an apple pie lover, you might want to check out this amazing apple pie recipe for even more homemade goodness inspiration!
Frequently Asked Questions About Homemade Sugar Scrub Jars
I get asked a lot of questions about making and gifting these Homemade Sugar Scrub Jars, and it’s totally understandable! Here are some of the most common ones I hear:
How long does homemade sugar scrub last?
Great question! If you make it with just sugar, oil, and essential oils (and no water-based ingredients), it can last a good 6 months to a year, especially if you keep it sealed tight and out of direct sunlight. Vitamin E oil helps a bit with preservation too. Just give it a sniff before you use it, and if it smells off, time for a new batch!
Can I use regular sugar?
Absolutely! Regular granulated sugar is perfect for a nice, smooth exfoliation. It’s my go-to for a reason. You can also try brown sugar for a gentler scrub, or raw sugar for something a bit more coarse. Just remember that different sugars will give you a slightly different feel and look in the jar!
Is it safe for sensitive skin?
Generally, sugar scrubs are pretty gentle, especially when made with soothing oils like almond or fractionated coconut oil. However, everyone’s skin is different! If you have super sensitive skin, a patch test is always a good idea. You might also want to stick to milder essential oils or skip them altogether. Make sure the oil you choose is okay for sensitive skin, too!
How should I store it?
Keep your homemade sugar scrub jars sealed tightly in a cool, dry place. The bathroom is usually fine, but try to keep it away from direct heat or moisture like right next to the shower, as extra water getting in can shorten its shelf life. Because it’s oil-based, a little separation might happen over time – no worries, just give it a quick stir before you use it!
If you have any other questions after trying this out, please feel free to reach out! I’m always happy to help.
Estimated Nutritional Information
Okay, so when we’re whipping up these homemade sugar scrub jars for gifts, thinking about nutrition might feel a little funny, right? But just for fun, here’s a rough idea – this is just an estimate, y’know, since it really depends on the exact oils and sugars you use! A tablespoon has about 100 calories, mostly from the oil. You’ll get around 6g of fat, with maybe 1g saturated. There are about 12g of carbs (that’s the sugar!) and zero protein or fiber. So, it’s a little treat for your skin!
Print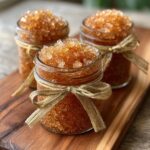
Homemade Sugar Scrub Jars for Gifts
- Total Time: 10 min
- Yield: Depends on jar size
- Diet: Vegetarian
Description
A simple recipe for creating homemade sugar scrubs that make thoughtful and customizable gifts.
Ingredients
- 1 cup granulated sugar
- 1/2 cup carrier oil (e.g., coconut oil, almond oil, olive oil)
- 10–15 drops essential oil (optional, for scent)
- 1/4 teaspoon vitamin E oil (optional, for preservation)
- Jars for packaging
Instructions
- In a medium bowl, combine the granulated sugar and your chosen carrier oil.
- Stir the mixture until the sugar is evenly coated with the oil.
- If using, add the essential oil and vitamin E oil. Mix well.
- Spoon the sugar scrub into clean, dry jars.
- Seal the jars tightly.
- Decorate the jars as desired for gifting.
Notes
- You can use different types of sugar, such as brown sugar or raw sugar, for a coarser scrub.
- Experiment with different essential oil combinations for unique scents.
- Add dried herbs or flower petals for visual appeal.
- Prep Time: 10 min
- Cook Time: 0 min
- Category: Beauty
- Method: Mixing
- Cuisine: Not Applicable
Nutrition
- Serving Size: 1 tablespoon
- Calories: 100
- Sugar: 12g
- Sodium: 0mg
- Fat: 6g
- Saturated Fat: 1g
- Unsaturated Fat: 5g
- Trans Fat: 0g
- Carbohydrates: 12g
- Fiber: 0g
- Protein: 0g
- Cholesterol: 0mg
Keywords: homemade sugar scrub, sugar scrub gifts, DIY beauty, body scrub, spa gifts, natural skincare