
Okay, let’s talk about treating our furry little overlords, shall we? My own cat, Chairman Meow, is super picky, but he goes absolutely bonkers for these Homemade Salmon Cat Biscuits. Seriously, the moment I start mixing the ingredients, he’s doing figure eights around my ankles just begging for a taste. The best part? They’re incredibly simple to whip up with stuff you probably already have, and you know exactly what’s going into them – no weird fillers or mystery ingredients here! It makes me feel so good giving him something healthy that he absolutely devours.
Why Your Cat Will Love These Homemade Salmon Cat Biscuits
Trust me, your cat will go absolutely wild for these! Here’s why:
- Irresistible Flavor: Real salmon? Yes, please! It’s a taste cats can’t resist.
- Satisfying Texture: They have that perfect little crunch that cats love to sink their teeth into.
- Healthy Goodness: Packed with protein and omega-3s from the salmon, these are treats you can feel great about.
- Homemade Love: Nothing beats the joy of giving your furball a treat made with your own hands. My Chairman Meow practically does backflips for these!
Gather Your Ingredients for Homemade Salmon Cat Biscuits
Alright, let’s get our paws on these ingredients! You’ll need:
- 1 cup canned salmon, drained really well and flaked
- 1 cup whole wheat flour
- 1 large egg
- 1 tablespoon olive oil
That’s it! Super simple, right?
Step-by-Step Guide to Making Homemade Salmon Cat Biscuits
Alright, let’s get this party started! Making these homemade salmon cat biscuits is honestly a breeze, and it’s so much fun. Just follow these simple steps:
Preheating and Mixing Your Homemade Salmon Cat Biscuits Dough
First things first, get that oven warming up! We want it nice and toasty at 350°F (175°C). While that’s heating, grab your biggest mixing bowl. Toss in that drained salmon (make sure it’s flaked real good!), the whole wheat flour, the egg, and that little splash of olive oil. Mix it all up with your hands or a sturdy spoon until it starts coming together into a dough. You want it to be just combined – don’t overmix, or you won’t get that nice texture! For a little extra salmon goodness hint, you could even check out some fun salmon recipes here, though remember, this recipe is just for your kitty!
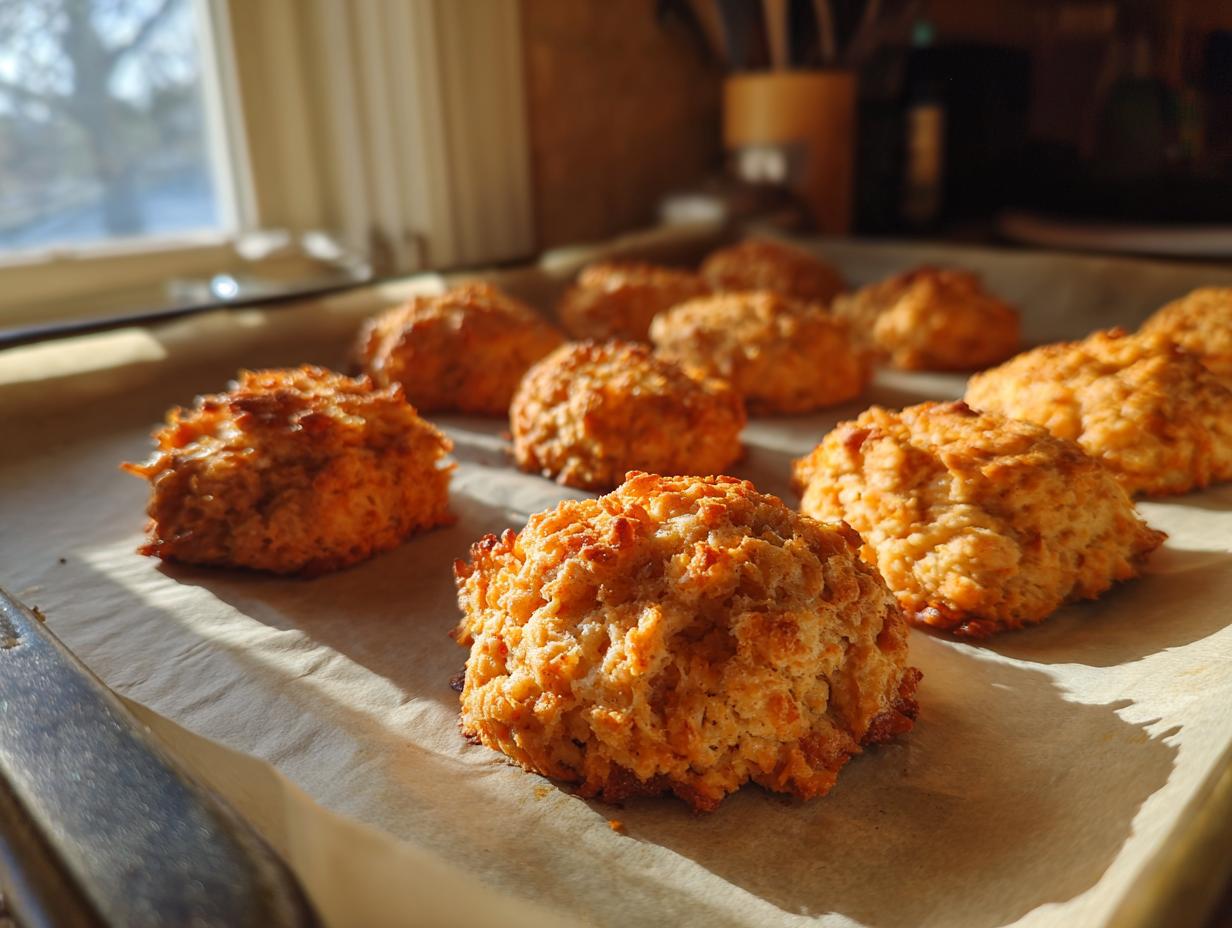
Shaping and Baking Your Delicious Cat Biscuits
Now for the fun part! Take about a tablespoon of dough at a time and roll it into little balls. Then, just gently flatten each ball into a cute little biscuit shape. Pop these onto a baking sheet that you’ve lined with some parchment paper so they don’t stick – trust me, it makes cleanup way easier! Pop them into the preheated oven and bake for about 15 to 20 minutes. You’re looking for them to be golden brown around the edges. Once they’re out, let them cool completely on a wire rack. It’s super important they’re totally cool before you give them to your kitty!


Tips for Perfect Homemade Salmon Cat Biscuits
You know, even with simple recipes like these, a few little tricks can make all the difference. Here are my go-to tips to make sure your Homemade Salmon Cat Biscuits turn out purrfect every single time!
- Freshness is Key: Always use good quality canned salmon. If it smells ‘off’ to you, trust your nose – your cat will too! And use fresh flour; stale flour can give them a funny taste.
- Dough Consistency: If your dough feels too sticky to handle, just add a tiny bit more whole wheat flour, like a teaspoon at a time. If it feels too dry and crumbly, a *tiny* splash more olive oil (like half a teaspoon) should help. You want it pliable, not sticky!
- Not Too Golden: Keep an eye on them while baking! Since we’re not adding any sugar, they can go from golden to browned pretty fast. For my Chairman Meow, I like them just lightly golden, so they’re extra soft and chewy inside.
- Cool Completely: This is crucial! Warm biscuits can be too soft and might stick together or even get a bit mushy. Letting them cool completely on a wire rack ensures they get that lovely little crisp on the outside.
Storing Your Homemade Salmon Cat Biscuits
So, you’ve made these amazing Homemade Salmon Cat Biscuits and your kitty absolutely loves them! Now, how do you keep them fresh? Easy peasy! Just pop any leftover biscuits into an airtight container. I like to use a small plastic container with a good seal, but a resealable zip-top bag works great too. They’ll stay nice and yummy for up to a week when stored this way. Just be sure they’re completely cool before you seal them up, otherwise, you might get some yucky condensation!
Frequently Asked Questions About Homemade Salmon Cat Biscuits
Got questions about these tasty little salmon treats? I’ve got answers!
Can I use fresh salmon instead of canned?
You absolutely can, but you’ll need to cook it first! Bake or pan-fry a small piece of fresh salmon until it’s fully cooked, then flake it well. Make sure there are no bones and that it’s cooled before mixing it into the dough. It’ll change the moisture content a bit, so you might need to adjust your flour slightly – just add a little more if the dough seems too sticky.
Are these homemade salmon cat biscuits safe for kittens?
These biscuits are generally safe for kittens, but it’s always best to check with your veterinarian first, especially for very young kittens or those with specific dietary needs. Kittens have delicate tummies, so start with just a tiny piece to see how they react. We all want what’s best for our little ones!
Can I add other ingredients to these cat biscuits?
Because our cats can be a bit sensitive, I usually stick to the basics. However, a *tiny* pinch of cat-safe herbs like dried parsley (for freshness!) or crushed dried catnip (if your cat likes it!) could be fun additions. Just make sure whatever you add is safe for cats and use it sparingly. When in doubt, skip it!
How often can I give my cat these homemade treats?
These are treats, so they should be given in moderation! Think of them as a special reward. A biscuit or two a day is usually fine, but remember they add calories and nutrients to your cat’s diet. Always ensure your cat has access to plenty of fresh water, especially if they’re enjoying these delicious baked goodies!
Nutritional Information for Homemade Salmon Cat Biscuits
Just a little heads-up, these numbers are estimates, okay? They can change a bit depending on the exact brands of salmon and flour you use. But generally, for each Homemade Salmon Cat Biscuit (that’s about 1/12th of the batch):
- Calories: Around 45
- Fat: About 2g
- Protein: Roughly 3g
- Carbohydrates: Around 4g
These are yummy, but remember, they’re treats!
Print
Homemade Salmon Cat Biscuits
- Total Time: 30 min
- Yield: 12 biscuits 1x
- Diet: Low Lactose
Description
Simple and healthy salmon biscuits for your cat.
Ingredients
- 1 cup canned salmon
- 1 cup whole wheat flour
- 1 egg
- 1 tablespoon olive oil
Instructions
- Preheat your oven to 350°F (175°C).
- Mix the salmon, flour, egg, and olive oil in a bowl until combined.
- Roll the dough into small balls and flatten them into biscuit shapes.
- Place the biscuits on a baking sheet lined with parchment paper.
- Bake for 15-20 minutes or until golden brown.
- Let the biscuits cool completely before serving.
Notes
- Store the biscuits in an airtight container for up to a week.
- Prep Time: 10 min
- Cook Time: 20 min
- Category: Pet Food
- Method: Baking
- Cuisine: Pet
Nutrition
- Serving Size: 1 biscuit
- Calories: 45
- Sugar: 0
- Sodium: 50
- Fat: 2
- Saturated Fat: 0.5
- Unsaturated Fat: 1
- Trans Fat: 0
- Carbohydrates: 4
- Fiber: 0.5
- Protein: 3
- Cholesterol: 10
Keywords: homemade, salmon, cat biscuits, pet food