
You know, there’s just something special about adding that little extra touch to a gift, right? It’s like the cherry on top! I remember one Christmas, I was running around like crazy, but I really wanted to make everything feel super personal. So, I spent just a few minutes putting together these little beauties, and trust me, the smiles they got were HUGE. This Handmade Gift Tags Tutorial is my little secret weapon for making any present feel extra-thoughtful, super easily. Forget boring store-bought tags; we’re going to make some magic that’ll make your gifts stand out before they’re even unwrapped!
Why You’ll Love This Handmade Gift Tags Tutorial
Honestly, who doesn’t adore a gift that looks and feels totally unique? This tutorial is a total game-changer because:
- It’s ridiculously easy and quick to whip up a bunch!
- You can make them totally *you* with endless personalization.
- Your wallet will thank you – super budget-friendly!
- That personal touch? Priceless!
Get ready to add that perfect finishing sparkle to every present!
Gather Your Supplies for Your Handmade Gift Tags
Alright, let’s get our craft on! You don’t need a fancy art studio for this, just a few simple things. First up, grab some cardstock – I love using a mix of colors and weights, maybe a nice sturdy 80lb or 110lb so they don’t bend easily. You’ll want about 10 sheets to start, in case you want to make a bunch! Then, you’ll need scissors, or if you want *super* neat edges, a craft knife and ruler. A standard hole punch is a must, and don’t forget some ribbon or twine – about 12 inches per tag should do the trick. Oh, and if you’re feeling fancy, those stamps, ink pads, pens, and markers are totally optional but make things extra fun!
Step-by-Step Handmade Gift Tags Tutorial
Okay, now for the fun part – actually making these beauties! This Handmade Gift Tags Tutorial is super straightforward, I promise. You’ll have a whole pile of gorgeous, custom tags in no time. Just follow along, and get ready to impress everyone with your crafty skills! You can find more fun craft ideas over at our crafts section.
Cutting Your Cardstock for Handmade Gift Tags
First things first, we need to get our tag base ready. Grab your cardstock and let’s get cutting! I usually go for a simple rectangle, about 2 inches wide by 3.5 inches tall – it’s a good size for most gifts. But honestly, you can make them any shape you like! Circles, little banners, even a wonky heart shape if you’re feeling whimsical. If you want super straight edges, use a ruler and a craft knife; it makes a world of difference and keeps things looking really professional. Just make sure whatever shape you choose, it’s not *too* tiny, or you won’t have much space to write your lovely message later!
Punching Holes for Your Handmade Gift Tags
Next up, we need a way to attach these tags to our gifts, right? So, grab your trusty hole punch. I like to place the hole about half an inch from the top edge, right in the center. This way, when you thread your ribbon or twine through, it hangs nicely and doesn’t flop around too much. A standard hole punch works perfectly fine, but if you have a decorative one, now’s the time to use it! A scalloped edge or a star shape can add a little extra something special, even before you start decorating.
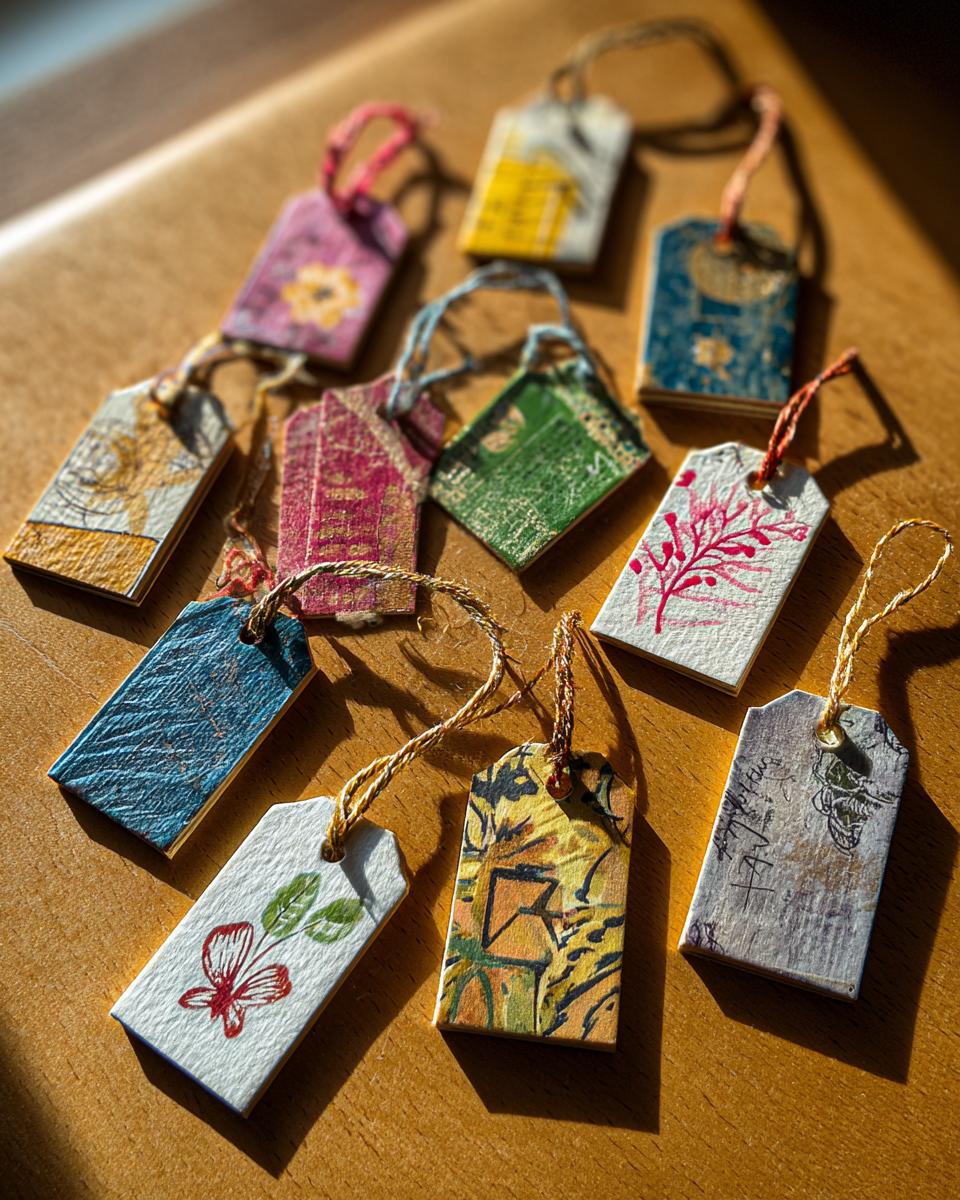
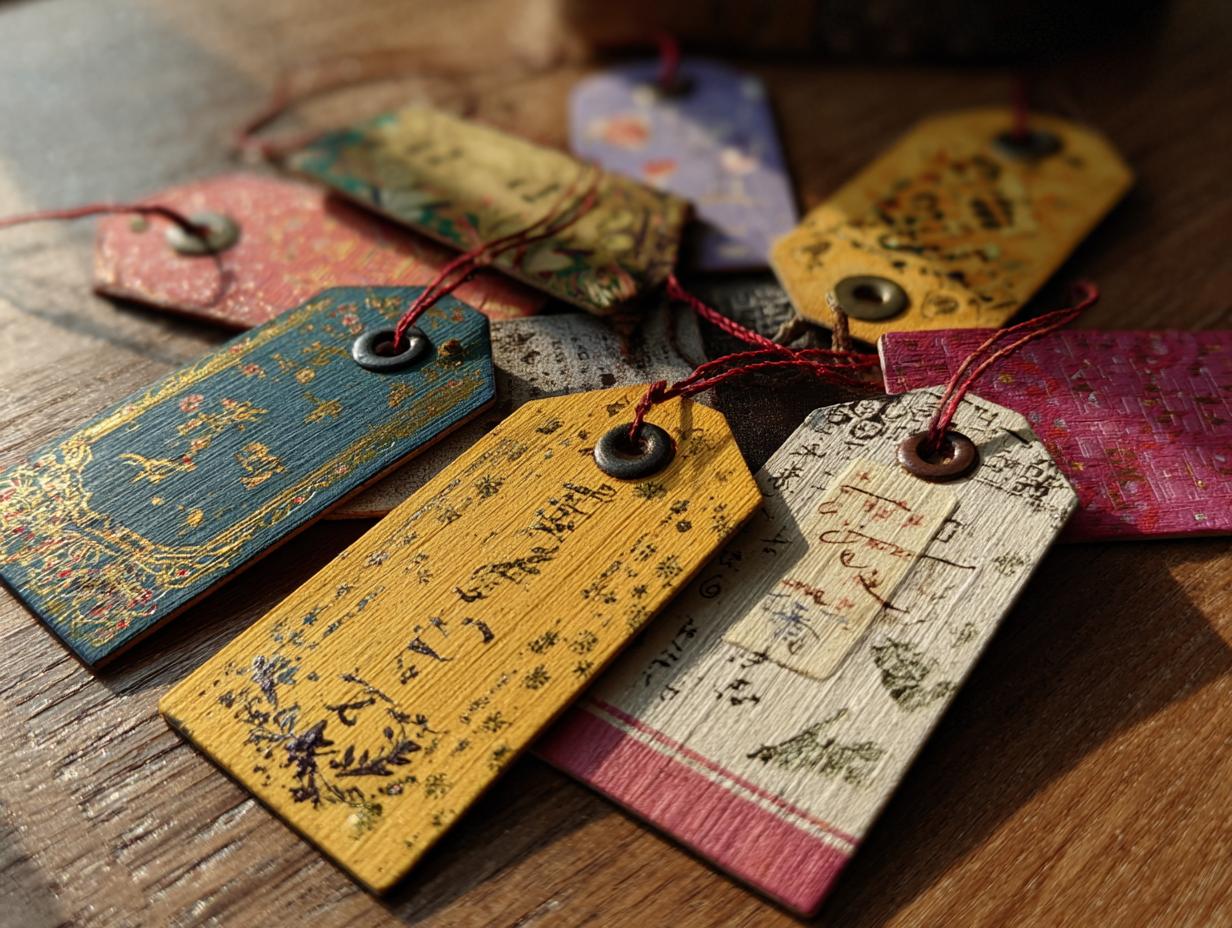
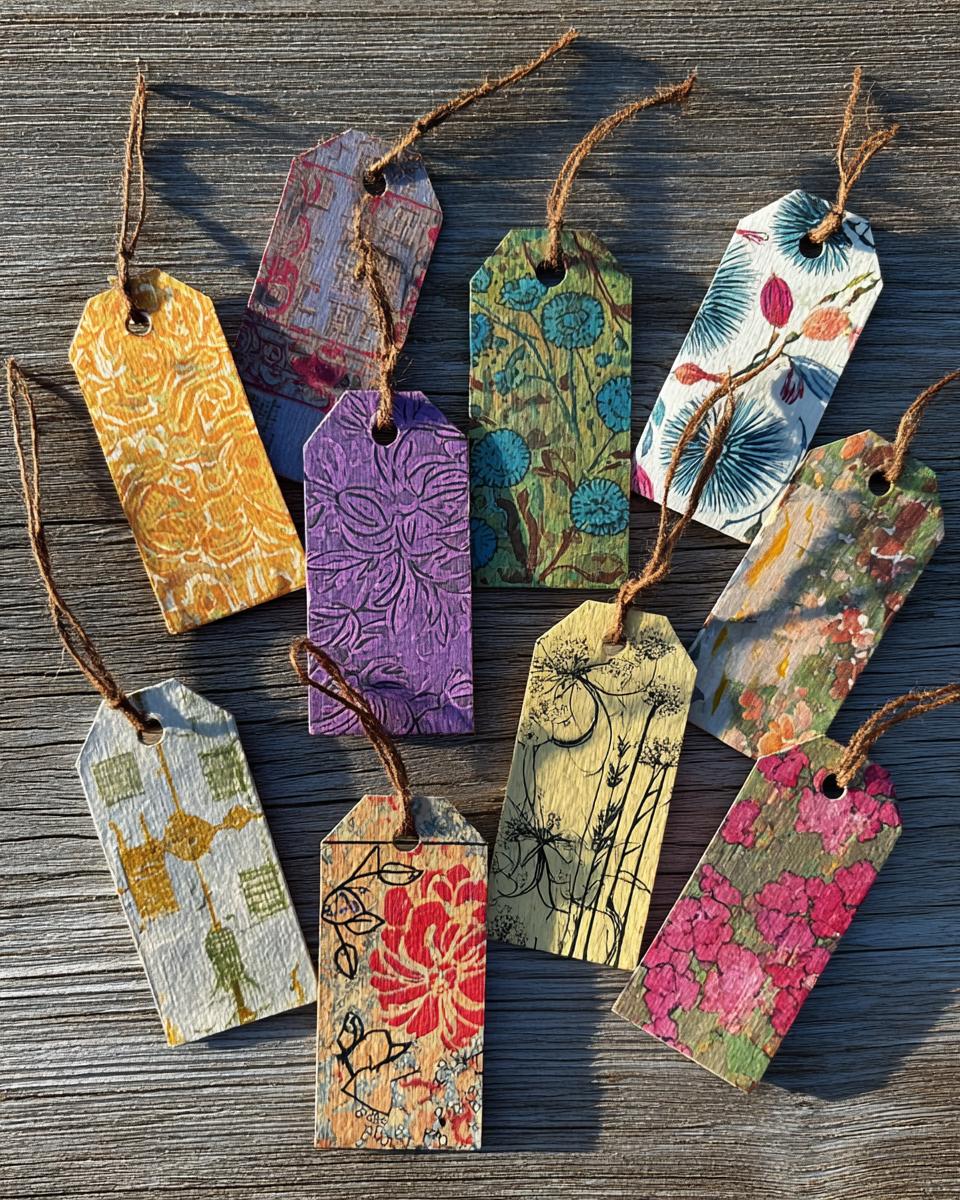
Decorating Your Custom Handmade Gift Tags
This is where your personality really shines! I absolutely love using stamps and ink pads. You can get all sorts of fun little designs – little leaves, stars, cute little animals, or just bold letters for initials. A simple “To:” and “From:” stamp set is also a lifesaver! If stamps aren’t your jam, don’t sweat it. Markers and pens work wonderfully. I’ve used metallic gel pens for a little shimmer, or just a nice black fine-liner for a clean look. Sometimes, I even add a tiny bit of glitter glue around the edges, or stick on a small sticker for extra flair. The key is to have fun and make it look like YOU!

Attaching Ribbon or Twine to Your Handmade Gift Tags
Almost done! Now for the final touch – attaching your ribbon or twine. Cut a piece about 12 inches long; this gives you plenty to work with for tying a nice bow or knot. Thread it through the hole you punched earlier. I usually loop it and then tie a simple knot, leaving a little tail. Then, I tie it onto the gift. You can use plain jute twine for a rustic feel, colorful ribbons for a pop of fun, or even a bit of metallic thread for a touch of glam. Whatever you choose, make sure it’s tied securely so your beautiful handmade tag doesn’t fall off on the way to its new home!
Tips for Perfect Handmade Gift Tags
Okay, you’ve got the basics down, but let me share a few little secrets that take these handmade gift tags from good to *gorgeous*! For starters, cardstock weight really matters. If it’s too thin, it’ll bend and feel flimsy, so aim for something 80lb to 110lb. Trust me, it makes a world of difference. When you’re stamping, always do a test run on a scrap piece of cardstock first! Sometimes inks can bleed or colors look different than you expect, and you don’t want that surprise on your final tag. Also, if you’re layering things like stickers or die-cuts, use a good quality adhesive – nothing worse than a little embellishment falling off!
And here’s a personal tip: don’t be afraid to mix and match! Try using a textured cardstock for one layer and plain for another, or layer a pretty ribbon *under* your twine. It adds so much depth and visual interest. Oh, and keep a small bin nearby for any scraps or little bits you cut off – they can sometimes be perfect for layering or adding as tiny accent pieces on a tag!
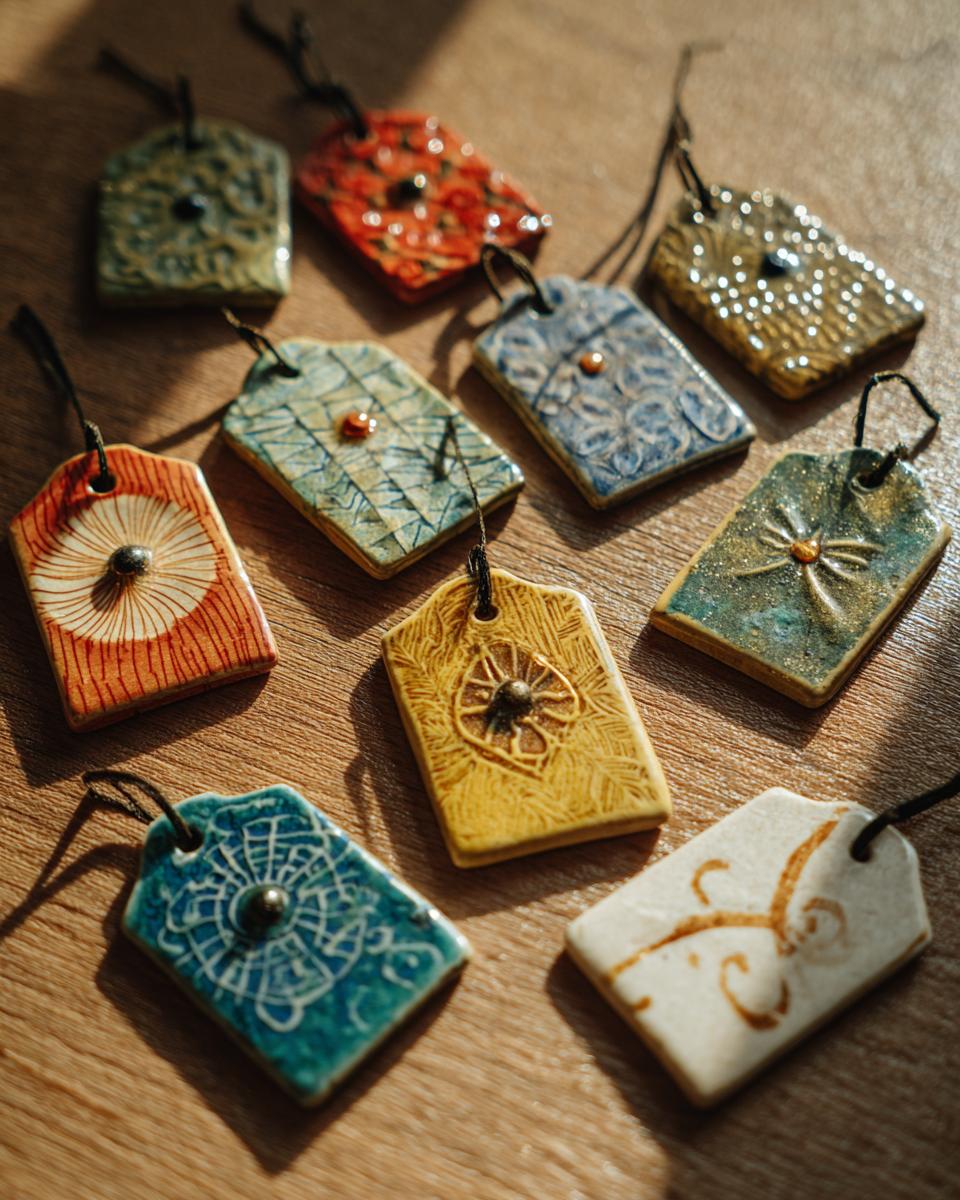
Creative Variations for Your Handmade Gift Tags
Once you’ve got the hang of the basic tutorial, the sky’s the limit! Think outside the simple rectangle. You can try cutting your tags into fun shapes like little leaves, stars, or even little spooky ghosts for Halloween – we have a great ghost pizza recipe that would pair well with spooky tags! Or, what about using textured cardstock for a totally different feel? Think subtle linen finishes or even a bit of faux leather paper if you’re feeling adventurous. And don’t forget special occasions! For Christmas, you could add some tiny pine sprigs or use sparkly paper – we’ve done similar fun ideas with our Christmas bread. Seriously, just play around and see what amazing custom tags you can dream up!
Frequently Asked Questions About Handmade Gift Tags
Got questions about making your own awesome gift tags? I get it! Crafting should be fun and fuss-free, so let’s clear up any little jitters you might have.
Can I use regular paper instead of cardstock for handmade gift tags?
Great question! While you *can* use regular paper, it won’t give you that nice sturdy feel that cardstock does. Regular paper can wrinkle or tear really easily when you’re punching holes or tying on ribbon. For the best results and a tag that holds up well, I really recommend sticking with cardstock. It makes your handmade gift tags look and feel so much more professional and durable!
How can I make my handmade gift tags waterproof?
Making them totally waterproof is tricky with paper, but you can definitely make them more water-resistant! If you’re decorating with markers or pens, make sure they’re waterproof ones. Then, a super easy trick is to seal the whole tag with a clear spray sealant or even Mod Podge. Just give it a light coat, let it dry completely, and it’ll give it a bit of a shield against splashes. It’s perfect if your gift might get a little damp or if you want to add extra pizzazz with glitter that could otherwise run!
What are the best tools for cutting cardstock for gift tags?
For simple tags, a good sharp pair of scissors is totally fine! But if you want those super crisp, clean edges that look like they came from a professional craft store, a ruler and a craft knife are your best friends. And for making those holes for the ribbon? A basic hole punch works like a charm. You can even get decorative edge punches if you want to add a bit of flair right when you’re punching the hole. Really, you don’t need anything super fancy to make amazing custom gift tags!
Estimated Nutritional Information
So, about those nutrition facts for your gorgeous handmade gift tags… let’s be real, these are way more about love than lettuce! But for fun, we can estimate that one plain cardstock tag with a bit of twine has roughly 5 calories, with maybe 0g of fat and under 1g of carbs. If you go wild with glitter glue or fancy ribbons, all bets are off, of course! Think of them as virtually calorie-free, pure joy-adders.
Print
Handmade Gift Tags
- Total Time: 10 min
- Yield: 10 tags
- Diet: Vegetarian
Description
Create personalized gift tags for any occasion.
Ingredients
- Cardstock
- Scissors
- Hole punch
- Ribbon or twine
- Stamps and ink (optional)
- Markers or pens (optional)
Instructions
- Cut cardstock into desired tag shapes and sizes.
- Punch a hole at the top of each tag.
- Decorate the tags using stamps, markers, or pens.
- Thread ribbon or twine through the hole.
- Tie the ribbon or twine to secure the tag to your gift.
Notes
- Experiment with different cardstock colors and textures.
- Add glitter or embellishments for extra flair.
- Personalize tags with names or short messages.
- Prep Time: 10 min
- Cook Time: 0 min
- Category: Crafts
- Method: Handmade
- Cuisine: N/A
Nutrition
- Serving Size: 1 tag
- Calories: 5
- Sugar: 0g
- Sodium: 0mg
- Fat: 0g
- Saturated Fat: 0g
- Unsaturated Fat: 0g
- Trans Fat: 0g
- Carbohydrates: 1g
- Fiber: 0g
- Protein: 0g
- Cholesterol: 0mg
Keywords: handmade gift tags, DIY gift tags, custom gift tags, paper crafts, holiday crafts