
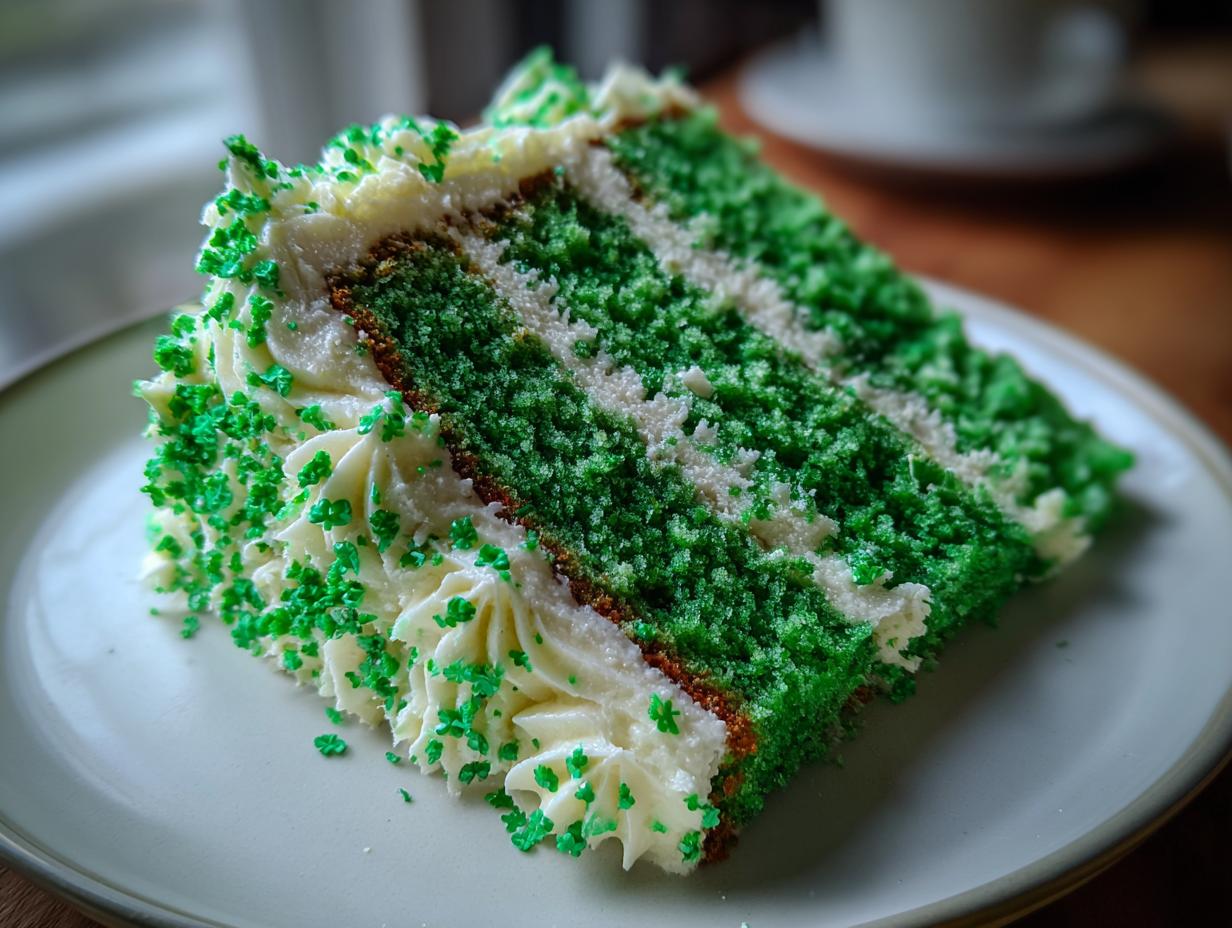
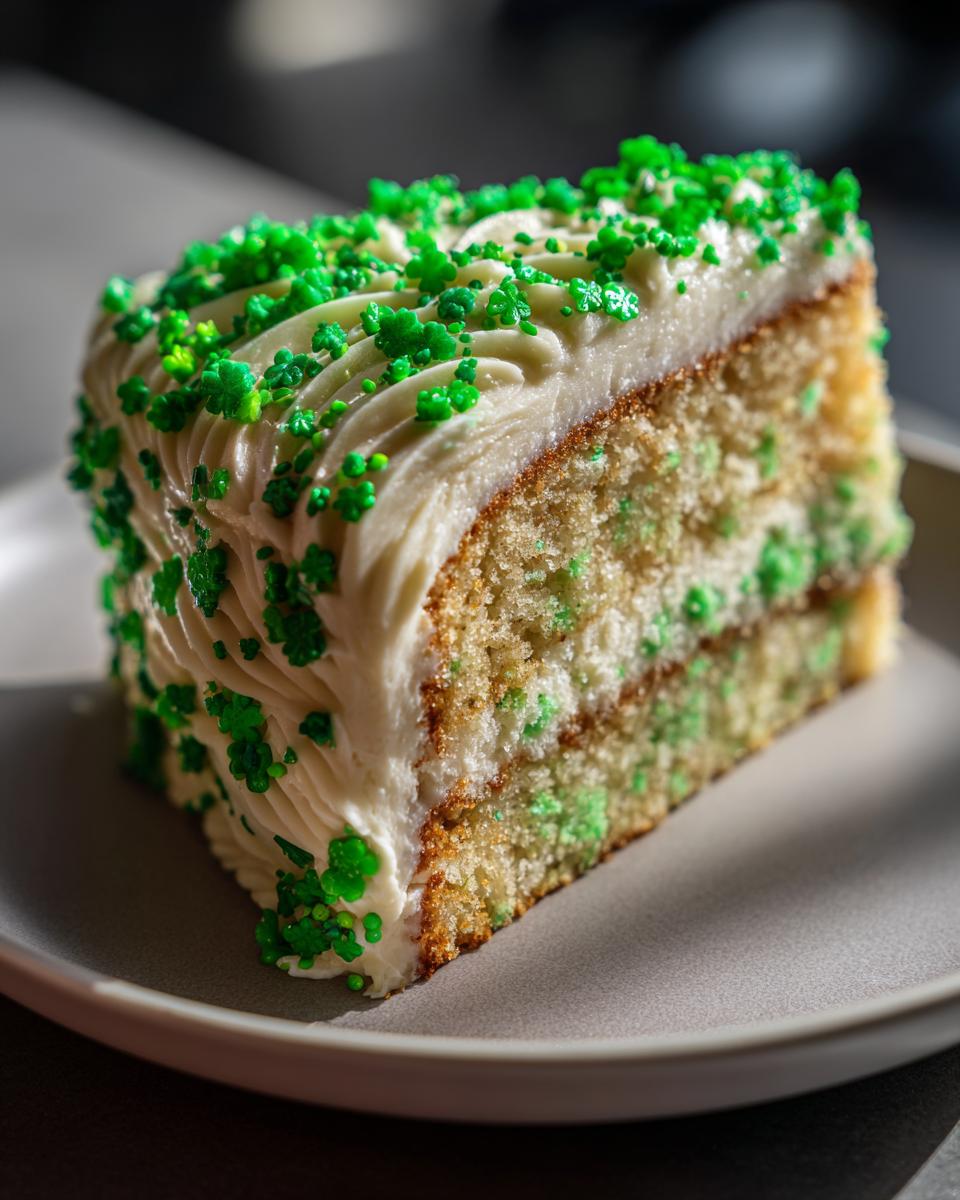
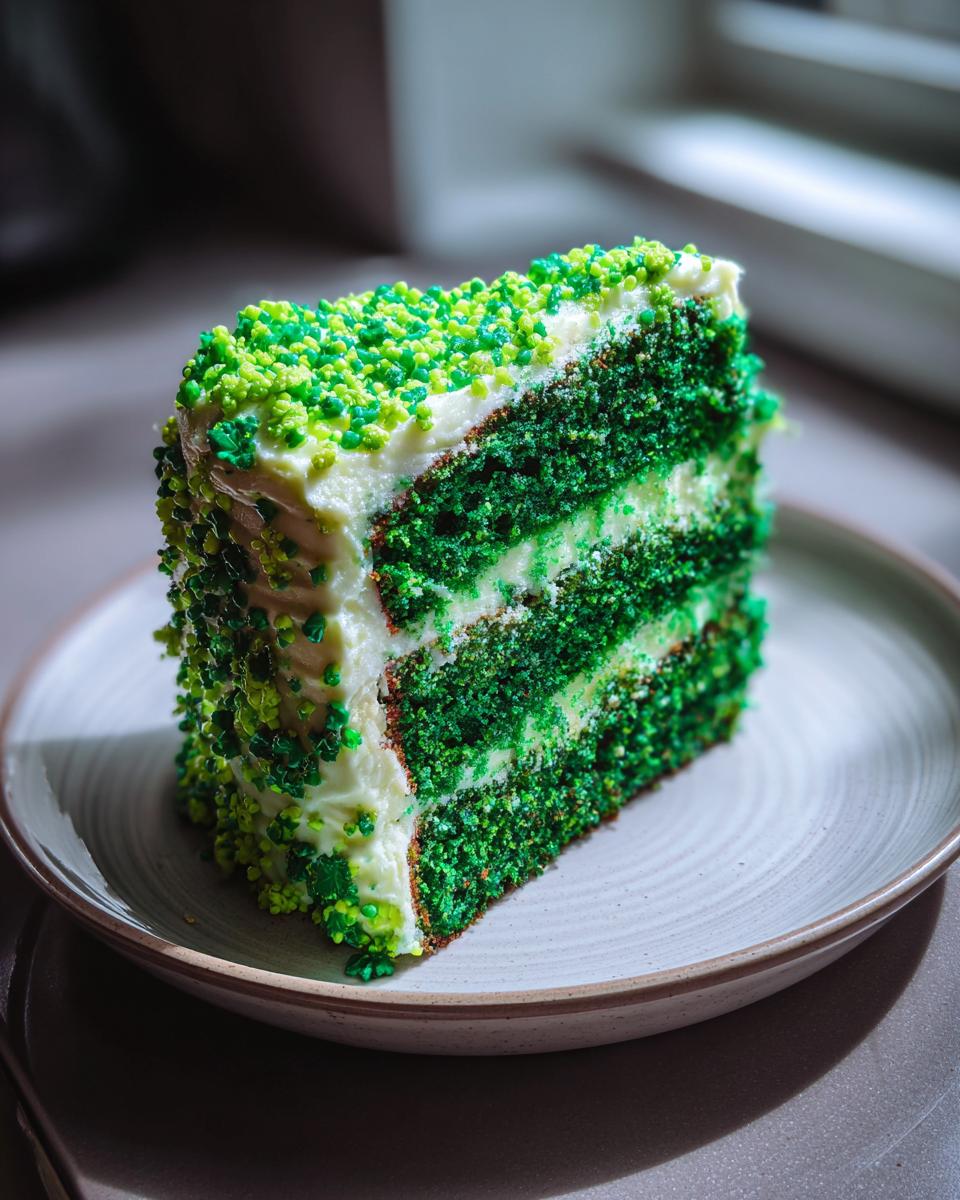
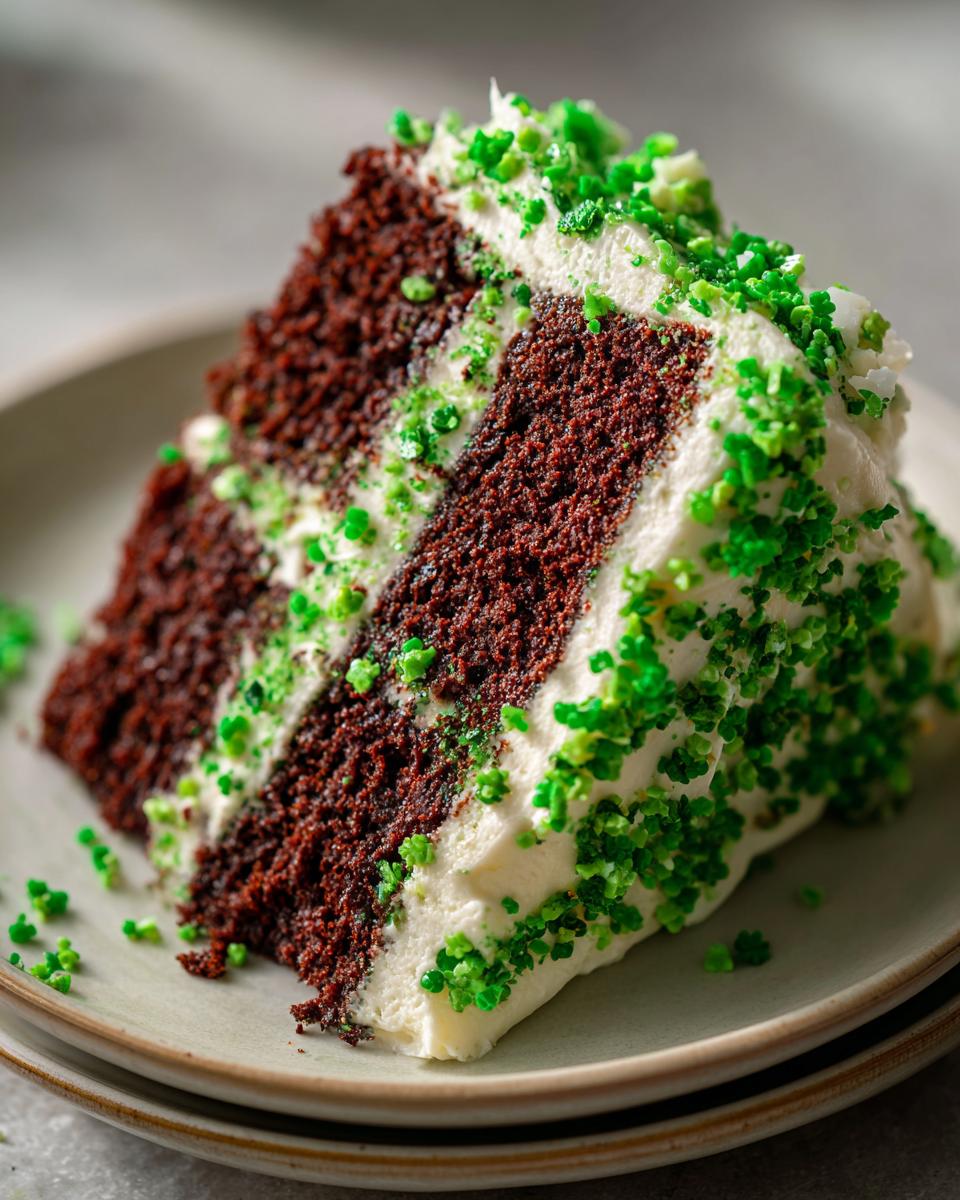
Get ready to pucker up for St. Patrick’s Day with our absolutely dazzling Green Velvet Cake with Shamrock Sprinkles! I still remember the first time I made this for a family party – the gasp when everyone saw that vibrant green crumb! It’s not just a pretty cake, though. It’s got that super moist, tender texture velvet cakes are famous for, with a yummy cream cheese frosting that just sings. This recipe is my go-to for adding a pop of fun and flavor to any celebration, guaranteed to make your guests green with envy (in the best way, of course!).
Why You’ll Love This Green Velvet Cake with Shamrock Sprinkles
Seriously, this cake is a winner on so many levels!
- Incredible Taste & Texture: It’s unbelievably moist and has that melt-in-your-mouth velvet crumb that’s just divine.
- Eye-Popping Color: That bright green is so festive and fun, perfect for St. Patrick’s Day or any celebration needing a playful touch.
- Easy to Make: Even if you’re not a pro baker, this recipe is straightforward. You’ll have a gorgeous cake without the fuss!
- Dreamy Frosting: The creamy, tangy cream cheese frosting is the perfect partner for the slightly sweet cake.
- Total Showstopper: Those shamrock sprinkles just tie it all together. It’s guaranteed to be the star of your dessert table!
Gather Your Ingredients for Green Velvet Cake
Alright, let’s get our mise en place ready! Having everything measured out makes baking so much more enjoyable, trust me. Here’s what you’ll need to create this St. Paddy’s Day masterpiece:
For the Cake:
- 2 ½ cups all-purpose flour
- 1 teaspoon baking soda
- ½ teaspoon salt
- 2 cups granulated sugar
- 1 cup vegetable oil (or other neutral oil like canola)
- 2 large eggs, at room temperature
- 1 teaspoon vanilla extract
- 1 cup buttermilk, at room temperature
- 1 ounce green gel food coloring (this is key for that awesome color without thinning the batter!)
- 1 teaspoon white vinegar (this helps activate the baking soda for a great lift!)
For the Cream Cheese Frosting:
- 1 cup (2 sticks) unsalted butter, softened (but not melty, please!)
- 4 cups powdered sugar, sifted if you’re feeling fancy
- ½ cup milk
- 1 teaspoon vanilla extract
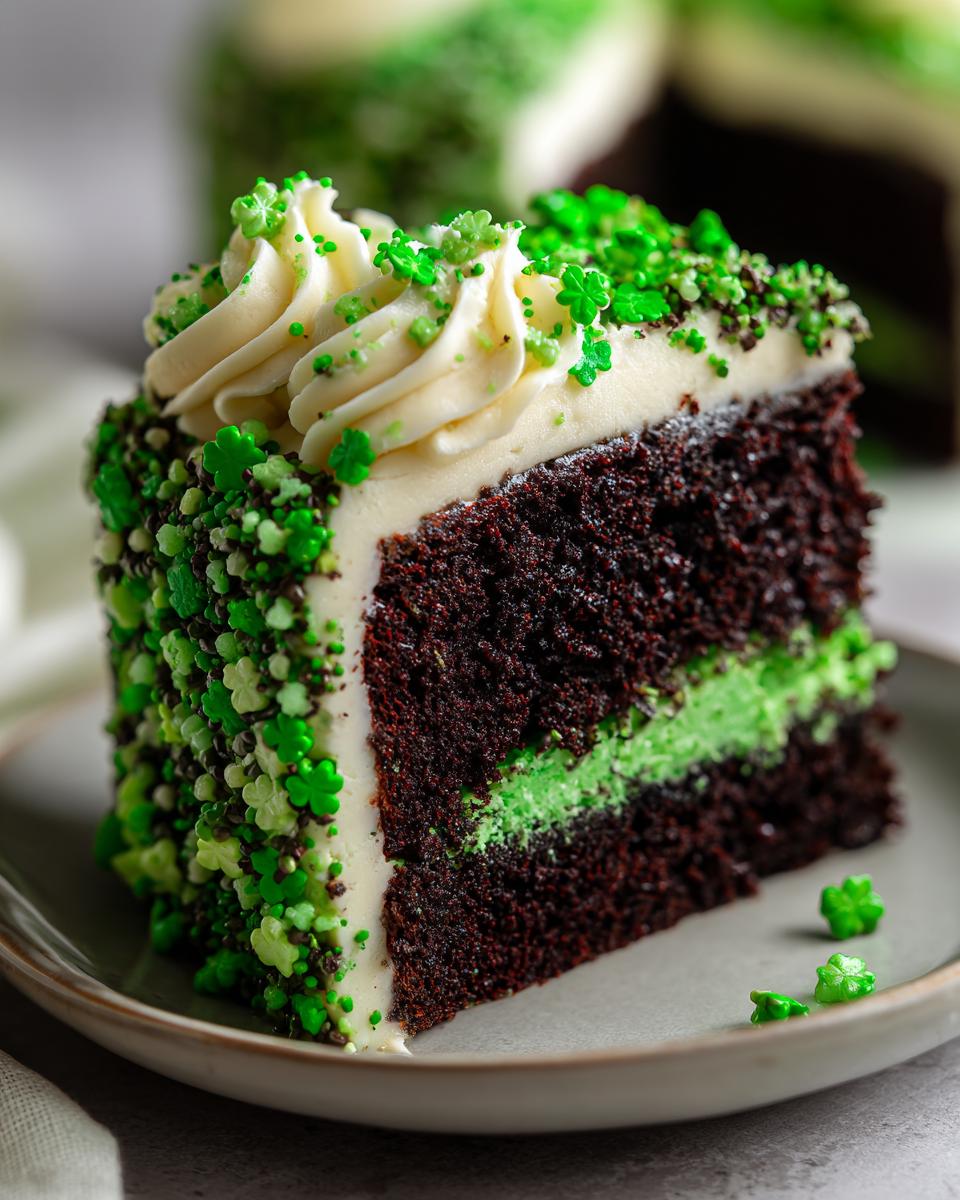
- Shamrock sprinkles, for that essential festive finish!
Essential Equipment for Baking Your Green Velvet Cake
To whip up this lovely Green Velvet Cake, you’ll want to gather a few key players from your kitchen. Grab your favorite electric mixer, two 9-inch round cake pans, a sturdy set of mixing bowls, and a wire cooling rack. Oh, and don’t forget spatulas and measuring cups and spoons – they’re total game-changers!
Step-by-Step Guide to Making Green Velvet Cake
Alright, let’s get this party started! Making this Green Velvet Cake is honestly so much fun, and seeing that vibrant color come to life is half the magic. Don’t worry if things seem a little overwhelming at first; we’ll take it one step at a time, just like my grandma taught me. And hey, if you need a little pre-baking pep-me-up, a quick green smoothie or even thinking about those amazing homemade donuts, maybe even the second batch you’ve been dreaming of, can definitely get the kitchen vibes going!
Preparing the Cake Batter
First things first, let’s get that oven preheating to 350°F (175°C), and give your two 9-inch round cake pans a good grease and flour. Nobody wants a cake stuck to the pan, right? Now, in a medium bowl, whisk together your flour, baking soda, and salt. This just makes sure everything is evenly distributed, no clumps allowed! In a separate, bigger bowl, cream your sugar and oil together. I usually use a stand mixer for this part, but a hand mixer works like a charm too. Once it’s nice and fluffy, add your eggs one at a time, beating well after each one. Stir in that lovely vanilla extract. Now for the fun part: in a little bowl, combine your buttermilk, that gorgeous green gel food coloring – don’t be shy, use the whole ounce! – and the white vinegar. This combo is what makes our cake so brilliantly colored and tender.
Baking Your Green Velvet Cake
With your batter all ready to go, it’s time to get these beauties into the oven. Carefully divide the batter evenly between your prepared cake pans. Pop them in the preheated oven and let them bake for about 30-35 minutes. You’ll know they’re done when a toothpick inserted right into the center comes out clean – no wet batter clinging to it! Once they’re baked, let them hang out in the pans for about 10 minutes to cool down a bit. Then, gently invert them onto a wire cooling rack to cool completely. Patience here is key; warm cakes and frosting are a recipe for a gooey mess!
Crafting the Cream Cheese Frosting
While those cakes are cooling off, let’s whip up that dreamy cream cheese frosting. Make sure your butter is nice and soft – we’re talking room temperature, not melted! Beat that softened butter in your mixer until it’s super smooth and creamy. Then, start gradually adding the powdered sugar, alternating it with the milk. I usually add a little sugar, then a splash of milk, and keep going until it’s all incorporated. Stir in the vanilla extract. Now, beat it on medium-high speed until it’s light and fluffy, like a delicious cloud. If it seems a bit too thick, add another tiny splash of milk; too thin? A bit more powdered sugar. You’re looking for that perfect spreadable consistency.
Assembling and Decorating Your Green Velvet Cake
Once your cakes are completely cool – and I mean *completely* cool, otherwise, your frosting will melt right off! – it’s time for the grand finale. Place one cake layer on your serving plate or cake stand. Spread a generous layer of that luscious cream cheese frosting over the top. Then, carefully place the second cake layer on top. Frost the entire cake – sides and top – making it as smooth or rustic as you like. Now for the best part: rain down those adorable shamrock sprinkles all over the top and sides! It’s that little touch that makes this Green Velvet Cake with Shamrock Sprinkles truly special and ready for any St. Paddy’s Day celebration.
Tips for the Perfect Green Velvet Cake
Okay, you’ve got the recipe, you’re excited, but how do we make sure this Green Velvet Cake with Shamrock Sprinkles is absolutely, positively perfect every single time? I’ve learned a few tricks over the years, and honestly, they make all the difference. These are the little things that take a good cake to a “wow, I need the recipe RIGHT NOW” cake!
First off, **room temperature is your best friend.** Seriously, for both your eggs and your buttermilk! When they’re at the same temperature, they incorporate so much better into the batter, creating that super smooth, tender crumb we’re after. Cold ingredients can shock the butter and oil, leading to a denser cake. If you forget to take them out early, no worries! Pop your eggs in a bowl of warm water for about 5 minutes, and microwave your buttermilk for about 10-15 seconds – just warm, not hot!
My second big tip? **Don’t overmix the batter!** Once you add the dry ingredients to the wet, mix *just* until everything is combined. A few tiny streaks of flour are totally okay. Overmixing develops the gluten in the flour, and that can make your cake tough instead of that lovely, tender velvet texture. Remember, we’re aiming for delicate and fluffy here, not chewy.
And for the frosting, remember my note about **softened butter, not melted**? This is crucial! Melted butter will make your frosting greasy and runny. You want it soft enough to mash easily with a spoon, but it should still hold its shape. This ensures a thick, creamy frosting that holds its shape beautifully when you frost and decorate your cake. Oh, and if you ever need a little culinary inspiration before you bake, maybe a quick sip of a green smoothie could get your creative juices flowing!
Ingredient Notes and Substitutions
Let’s chat about some of the ingredients in this Green Velvet Cake recipe, because a few little details can really make a difference! First up, that green gel food coloring. Trust me on this, try to find the gel kind, not the liquid! Liquid food coloring adds a lot of extra moisture and can mess with your cake’s texture. Gel coloring is super concentrated, so you get that vibrant green without thinning out your batter. If you absolutely can’t find gel, just use a tiny bit less liquid and be prepared for a slightly lighter green.
For the buttermilk, don’t sweat it if you don’t have any on hand! You can easily make your own substitute by putting a tablespoon of white vinegar or lemon juice into a measuring cup and then filling it up to the 1-cup line with regular milk. Let it sit for about 5 minutes, and voilà! Instant buttermilk.
Frequently Asked Questions About Green Velvet Cake
Can I make this Green Velvet Cake dairy-free?
You sure can! Swap the buttermilk for your favorite dairy-free milk with a touch of vinegar, and use a dairy-free butter substitute and milk for the frosting. It’ll still be delicious!
How do I store leftover Green Velvet Cake?
Keep this lovely cake fresh by storing it in an airtight container in the refrigerator. It should stay yummy for about 3-4 days. Let it warm up a bit before serving for the best texture!
Can I use liquid food coloring instead of gel for my Green Velvet Cake?
While gel food coloring is best for that vibrant color without affecting texture, you can use liquid. Just be aware you’ll need more of it, and it might make your cake a bit more dense.
What’s the secret to that “velvet” texture?
It’s all about the buttermilk reacting with the vinegar and baking soda, plus using oil instead of butter in the cake batter itself! It creates a super tender, moist crumb that just melts in your mouth.
Nutritional Information
Just a heads-up, this is an estimate, because we all know baking can vary a little! This information is for one slice of our fabulous Green Velvet Cake with Shamrock Sprinkles. You’re looking at roughly 450 calories, 25g of fat (about 15g saturated), 55g carbohydrates, and around 50g of sugar. Enjoy every delicious bite!