
You know, sometimes I look at the ingredient lists on store-bought cat treats and I just cringe! So many fillers and things I can’t even pronounce. My little guy, Whiskers, has a sensitive tummy, and I always worried about what those mystery ingredients were doing to him. That’s exactly why I started whipping up my own homemade goodies. This recipe for Grain-Free Fish Cat Treats is a lifesaver! It’s ridiculously simple – seriously, just three ingredients! – and Whiskers goes absolutely bonkers for them. He’s usually pretty picky, but these fishy little bites? Pure bliss. It makes me feel so good knowing I’m giving him something healthy and delicious that I made myself.
Why Your Cat Will Love These Grain-Free Fish Cat Treats
Honestly, cats are such discerning little creatures, aren’t they? But trust me on this one – they go absolutely bonkers for these treats! Here’s why:
- All-Natural Goodness: We’re talking real fish and simple ingredients here, no weird fillers or artificial stuff.
- Grain-Free Goodness: Perfect for kitties with sensitive tummies or anyone trying to avoid grains.
- Irresistible Fishy Flavor: The scent alone is enough to make your cat do a little happy dance.
- Super Easy to Make: Seriously, you can whip these up in minutes – way faster than a trip to the store!
- Healthy & Wholesome: You know exactly what you’re feeding your furry friend, which always gives me peace of mind.
Essential Ingredients for Grain-Free Fish Cat Treats
Okay, so the beauty of these treats is that you only need a few things you probably already have in your pantry! It’s so simple it almost feels like magic. But trust me, these basics are exactly what make them so great for your furry little fish-lover.
Here’s the rundown of what you’ll need:
- 1 cup canned tuna or salmon: Make sure it’s packed in water, not oil, and drained really well. We want that fishy goodness, but not a greasy mess! You can even use the little packets if you have those. My Whiskers absolutely goes wild for salmon, but tuna works just as well.
- 1 large egg: This is our binder, holding all that yummy fish together! Just crack one large egg into the bowl. No need to beat it beforehand or anything fancy.
- 1/2 cup coconut flour: This is our grain-free star! It’s a fantastic alternative to regular flour and works like a charm here. It soaks up all the moisture and helps the treats hold their shape.
Step-by-Step Guide to Making Your Grain-Free Fish Cat Treats
Alright, let’s get down to business! Making these treats is honestly so easy, you’ll find yourself whipping them up all the time. It’s all about a few simple steps to turn those few ingredients into something your feline overlord will go absolutely nuts for. We’ll go from bowl to oven and then to happy cat in no time. I even link to a yummy chicken and rice recipe if you get hungry while you’re at it!
Preheating and Mixing Your Grain-Free Fish Cat Treats
First things first, preheat that oven to 350°F (that’s 175°C for those of you with fancy ovens!). While it’s heating up, grab your mixing bowl. Dump in your drained tuna or salmon, the egg, and the coconut flour. Now, get in there with a fork or a spoon and just mix it all up! You’re looking for a consistency that’s like a thick, moist dough. It should hold together when you squeeze it. If it feels a *little* too wet, add just a tiny pinch more coconut flour; if it’s too dry, a splash of water or even a tiny bit more fish juice (if you have any!) can help.
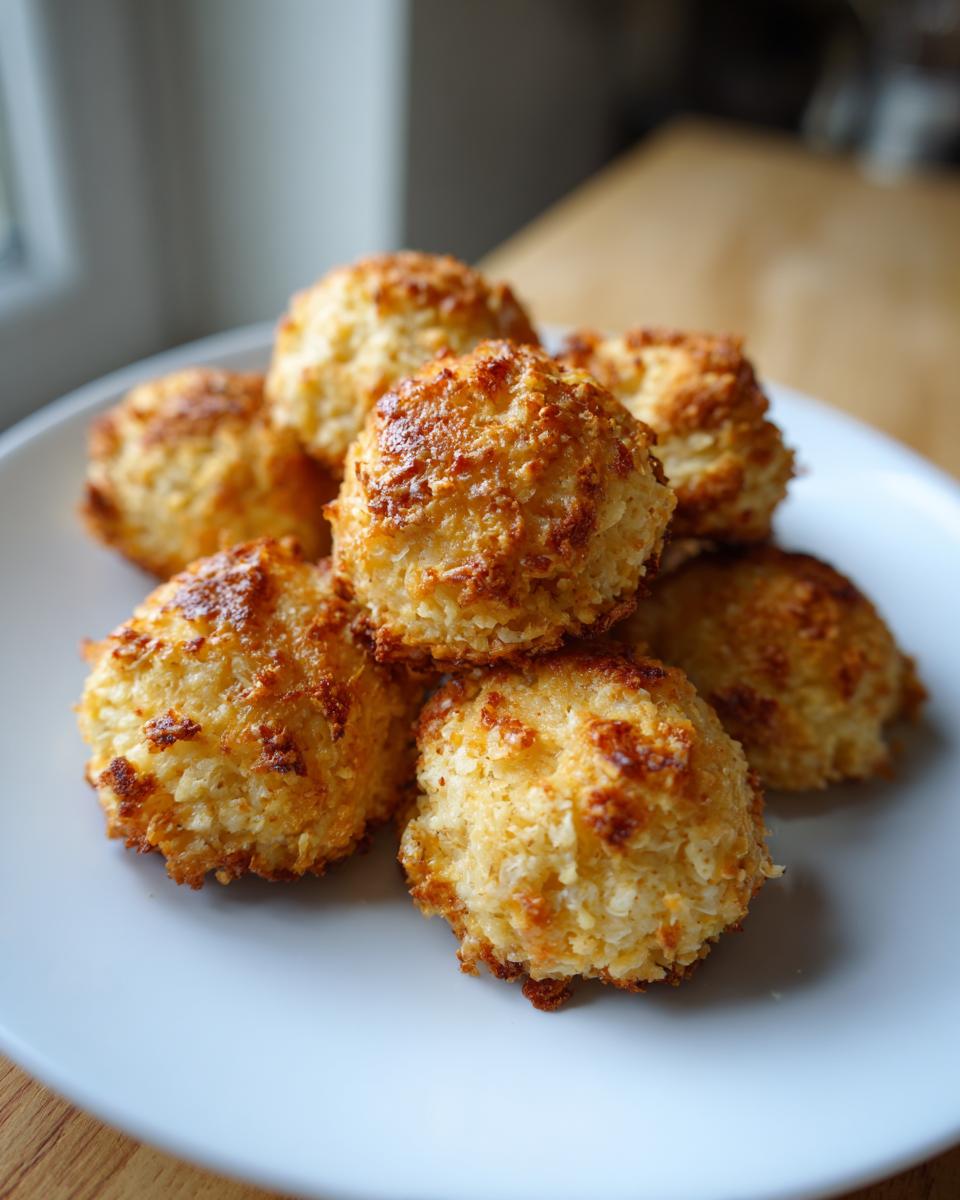
Shaping and Baking Your Grain-Free Fish Cat Treats
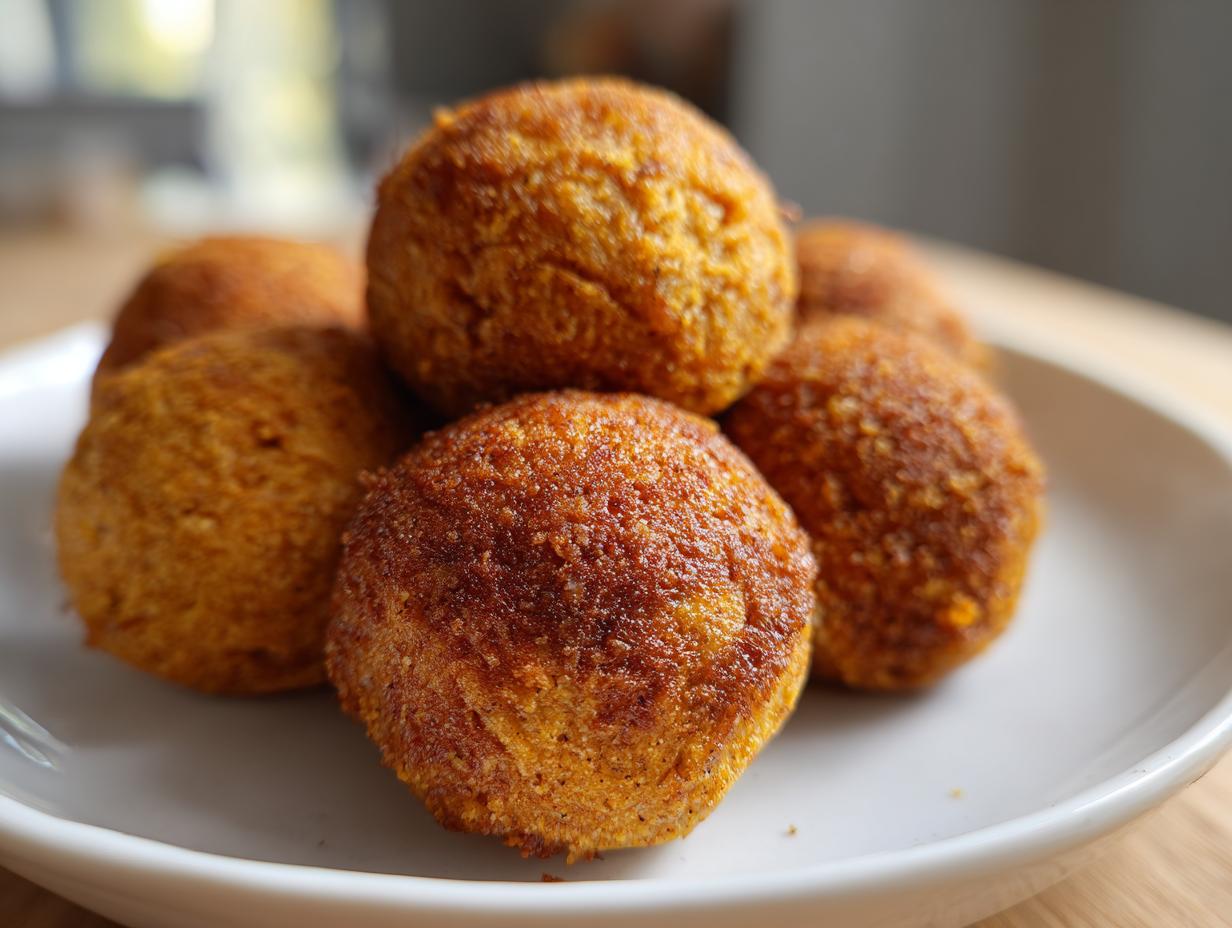
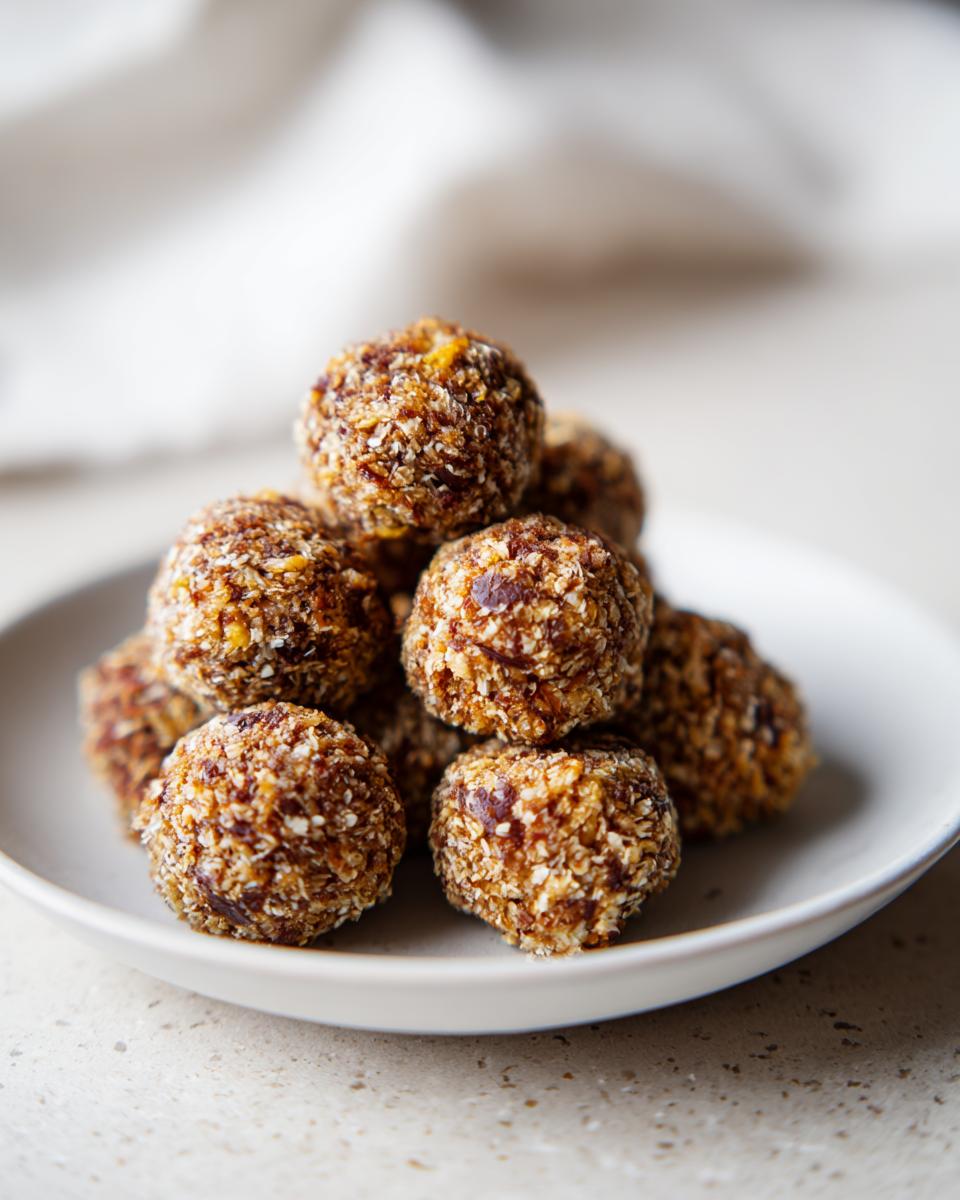
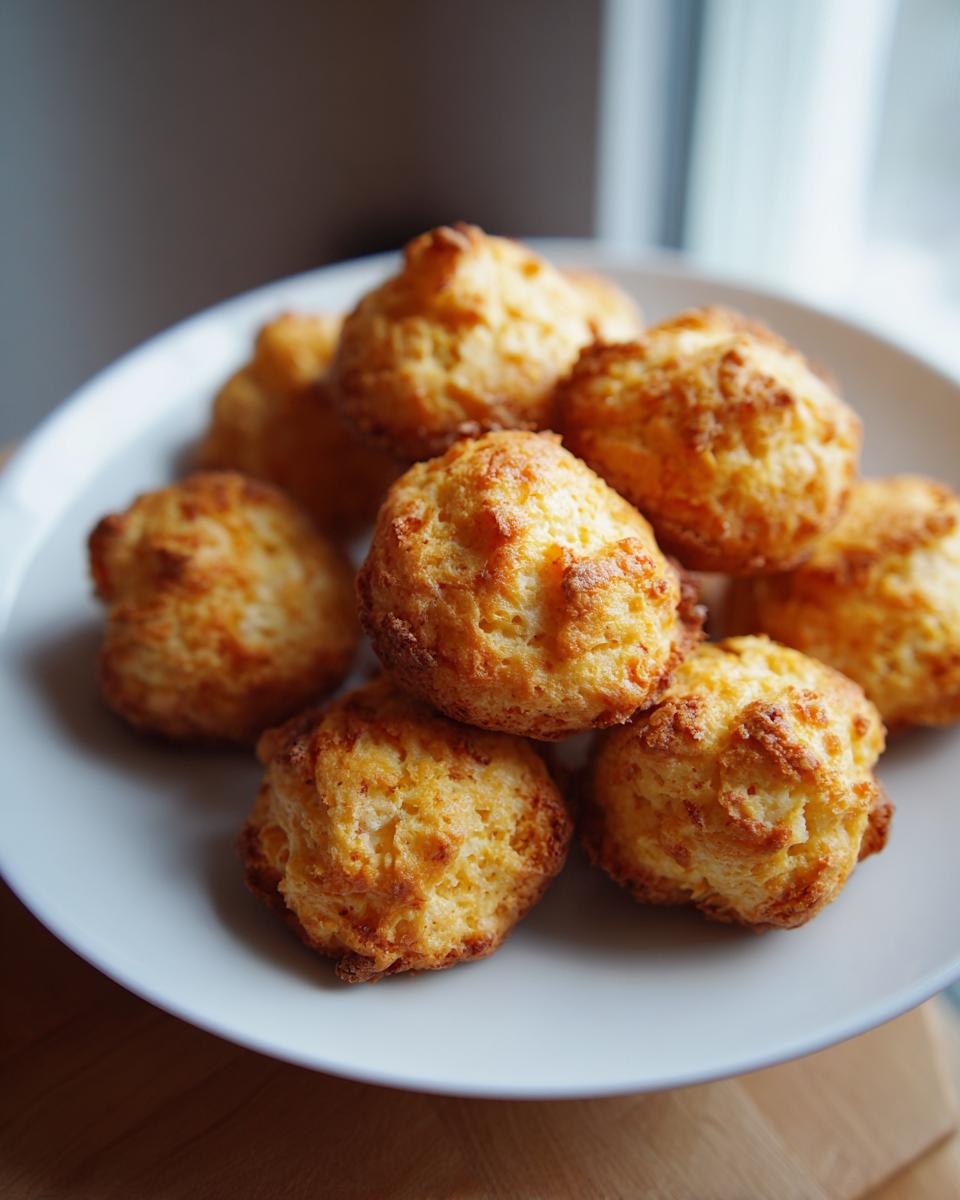
Once you’ve got that lovely fishy dough, it’s time to make some treats! The easiest way is just to roll little balls with your hands, about the size of a marble or a big pea. Don’t make them too big, or your cat might struggle to chew them. Place these little balls onto a baking sheet. I like to line mine with parchment paper just to make cleanup a breeze, but it’s not strictly necessary. Leave a little space between them so the heat can get around and bake them evenly. Pop them in the oven for about 10 to 12 minutes. You want them to be firm to the touch, not squishy, but not so hard they’re rock solid.
Cooling and Serving Your Cat Treats
This is the hardest part, I know! You’ll want to give them to your eager kitty right away, but you absolutely *have* to let them cool down completely. Those baked treats are going to be super hot straight out of the oven, and you don’t want to burn your cat’s mouth, right? Let them cool on the baking sheet for a few minutes, then transfer them to a wire rack to finish cooling. Once they’re nice and cool, you can present them to your discerning feline. Whiskers usually does a little happy meow-dance when I offer him one!
Tips for Perfect Grain-Free Fish Cat Treats Every Time
Okay, so these treats are super forgiving, but there are a few little tricks I’ve picked up that make them even better, and definitely avoid any crumbly mishaps! My Whiskers is a bit of a food critic, so I learned pretty quickly what works and what doesn’t. These little tips will make sure your cat thinks you’re the best treat-maker ever.
First off, the fish! While tuna and salmon are awesome (and so easy to find – you can even use leftover tuna melt if you’re feeling it!), don’t be afraid to experiment. White fish like cod or even sardines (though those are strong-smelling, so maybe do that when your cat is the only one home!) can be great options too. Just make sure it’s plain and cooked, and remember to drain it really, really well. Soggy fish equals sad, crumbly treats, and nobody wants that!
If your treats are coming out a bit too crumbly, it usually means they’re a little too dry. Just add a *tiny* splash of water or fish juice to your mixture next time. If they’re too soft and gooey, a smidge more coconut flour should do the trick. It’s really about finding that just-right, pliable dough that holds its shape when you roll it. Don’t overbake them either – they should be firm, not hard!
Storing and Serving Your Homemade Cat Treats
Alright, so you’ve made these amazing little fishy delights for your kitty, and they’re all gone in about five seconds flat, right? LOL! But if, by some miracle, you have a few leftovers (or you’ve doubled the batch – good thinking!), you’ll want to store them properly so they stay fresh and yummy. The best way to keep these homemade gems just right is to pop them in an airtight container. I usually just use a good old Tupperware or a mason jar with a tight lid. Store them in the refrigerator – they’ll be good for about a week. If they start to get a little dry or lose their scent, it’s time to toss them and whip up a fresh batch!
Frequently Asked Questions About Grain-Free Fish Cat Treats
Got questions? I’ve got answers! It’s totally normal to wonder about a few things when you’re making homemade treats for your furry friend. Here are some common ones I get:
Can I use different types of fish for these treats?
Absolutely! While tuna and salmon are my go-to because they’re super easy to find and Whiskers loves them, feel free to get creative. Many other plain cooked fish work great. Think cod, tilapia, or even sardines if you’re brave enough for the smell! Just make sure whatever fish you use is cooked, plain (no sauces or spices!), and drained super well. You can even check out this recipe for blackened salmon or tilapia for flavor ideas if you were making it for yourself, but keep it plain for the kitties!
Are these treats suitable for kittens?
Generally, yes! Kittens, once they’re weaned and eating solid food, can usually enjoy these simple treats. The texture is soft enough, and the ingredients are wholesome. However, kittens have tiny tummies, so I’d start with just one or two small treats to see how they do. Always introduce any new food slowly!
How often can I give these treats to my cat?
These are meant to be treats, not a meal replacement, so moderation is key! They’re packed with protein and fishy goodness, which is great in small doses. I usually give Whiskers 2-3 treats a day as a little reward or during training. You know your cat best, so just keep it as a special little something extra!
My treats are too crumbly. What went wrong?
Oops! That’s usually because the mixture was a bit too dry when you rolled it. Don’t worry, it happens! Next time, try adding just a teaspoon or two more of water or even a little bit of the fish juice from the can (if you didn’t drain it completely dry) to the dough. It should feel like a pliable, soft dough that holds together nicely. If it’s too sticky, though, a tiny pinch more coconut flour will help!
Nutritional Information for Grain-Free Fish Cat Treats
Just a little heads-up, these numbers are estimates since every can of tuna or salmon is a bit different, and brands can vary! But this gives you a general idea of the goodness packed into each tiny fishy bite. These treats are low in carbs and calories and give your kitty a nice protein boost!
Per Treat (approximate):
- Calories: 15
- Protein: 2 g
- Fat: 1 g
- Carbohydrates: 1 g

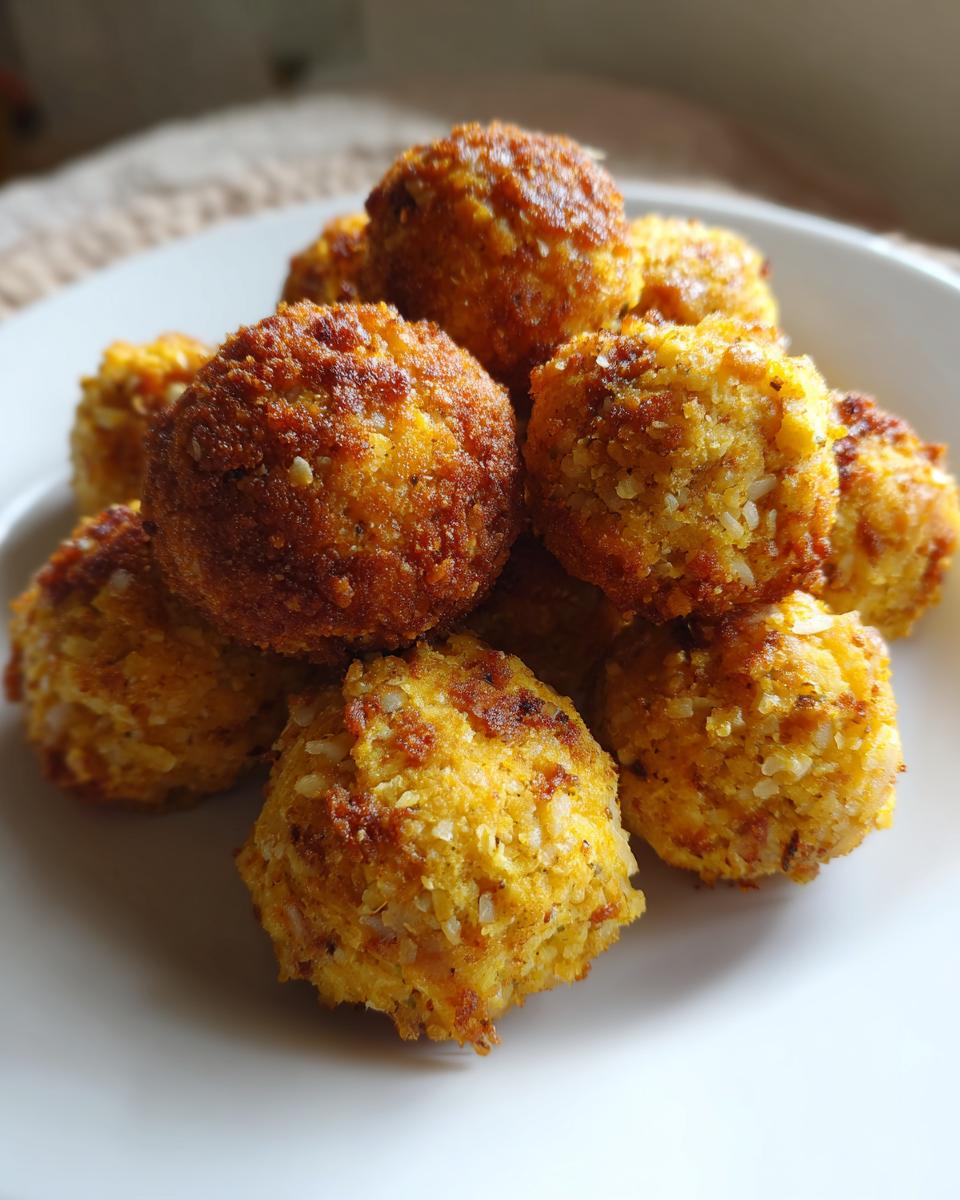
Grain-Free Fish Cat Treats
- Total Time: 17 min
- Yield: 20 treats 1x
- Diet: Low Lactose
Description
Simple homemade treats for your cat, made with fish and no grains.
Ingredients
- 1 cup canned tuna or salmon
- 1 egg
- 1/2 cup coconut flour
Instructions
- Preheat your oven to 350°F (175°C).
- Mix the tuna or salmon, egg, and coconut flour in a bowl until combined.
- Roll the mixture into small balls and place them on a baking sheet.
- Bake for 10-12 minutes or until firm.
- Let cool before serving to your cat.
Notes
- Store in an airtight container in the refrigerator for up to a week.
- Prep Time: 5 min
- Cook Time: 12 min
- Category: Pet Food
- Method: Baking
- Cuisine: Pet
Nutrition
- Serving Size: 1 treat
- Calories: 15
- Sugar: 0 g
- Sodium: 10 mg
- Fat: 1 g
- Saturated Fat: 0.5 g
- Unsaturated Fat: 0.3 g
- Trans Fat: 0 g
- Carbohydrates: 1 g
- Fiber: 0.5 g
- Protein: 2 g
- Cholesterol: 5 mg
Keywords: grain-free, cat treats, fish, homemade, pet food