
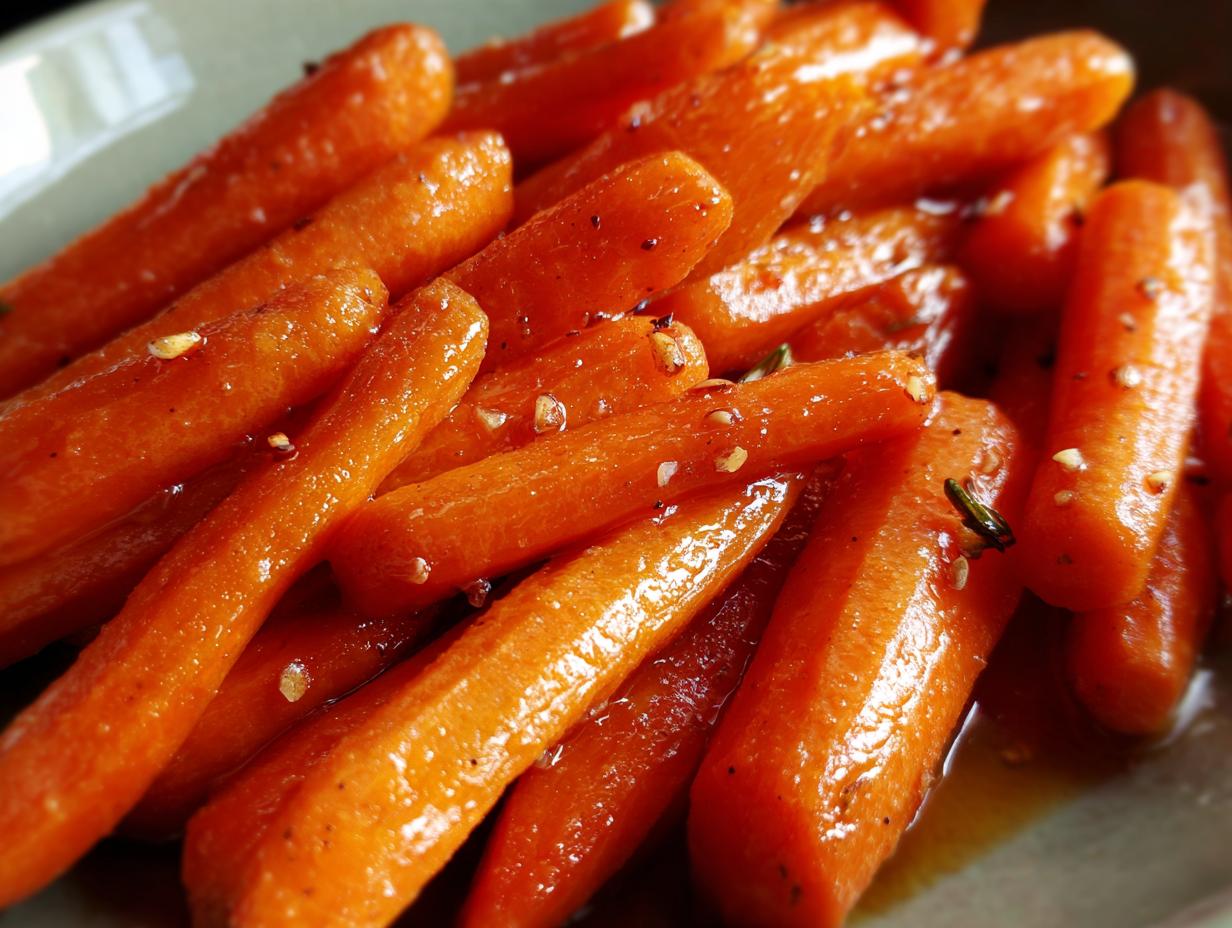
Okay, so you need a side dish that’s super quick, ridiculously easy, and tastes absolutely amazing? Well, let me tell you about these Glazed Carrots. Honestly, they’re a lifesaver on busy weeknights, but they dress up a fancy dinner table just as easily. I’ve been making variations of these for years, and it all started when I needed something simple to go with a roast chicken and realized I only had a few sad-looking carrots and some pantry staples. Wowza, did they turn out! This recipe is proof that you don’t need a million fancy ingredients to make something truly special. It’s my go-to for a reason!
Why You’ll Love These Glazed Carrots
Seriously, these carrots are a weeknight warrior and a dinner party star all rolled into one. If you’re looking for a side dish that practically makes itself, you’ve found it. Here’s the lowdown on why these will become a staple in your kitchen:
- Super Speedy: I’m talking less than 30 minutes from start to finish. Perfect for when you’re in a rush but still want something delicious.
- Ridiculously Easy: Just a handful of common ingredients and a little time on the stove is all it takes. No fancy tricks needed!
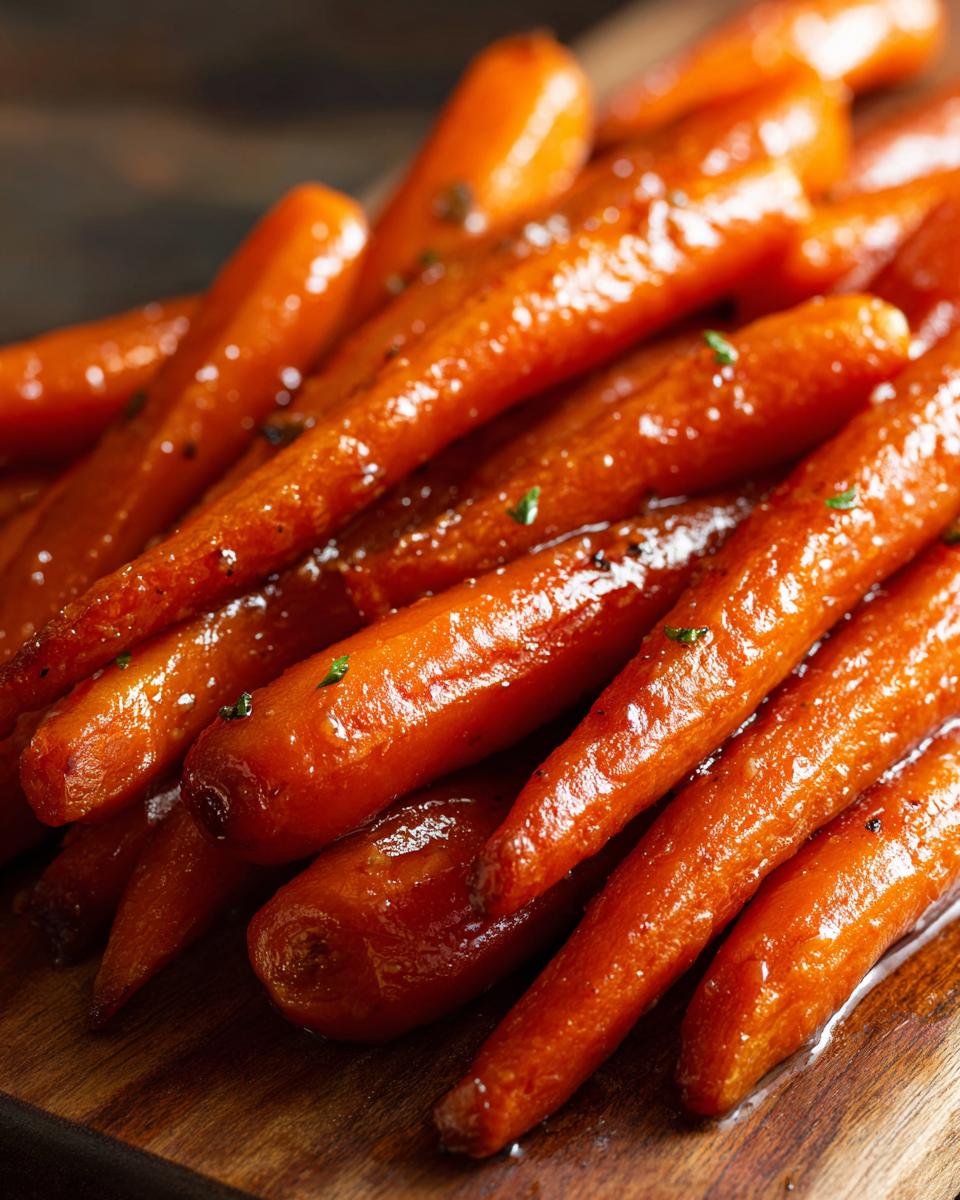
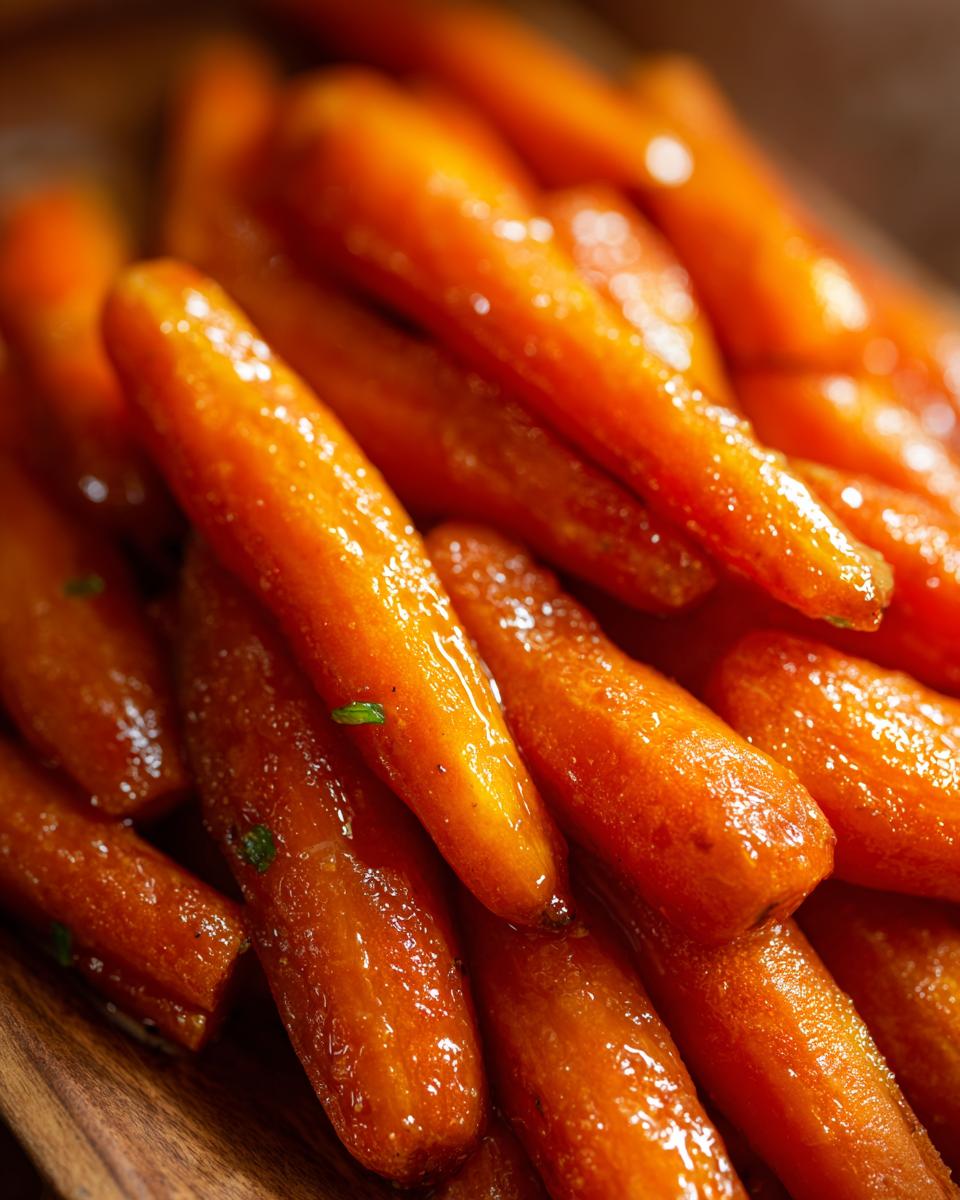
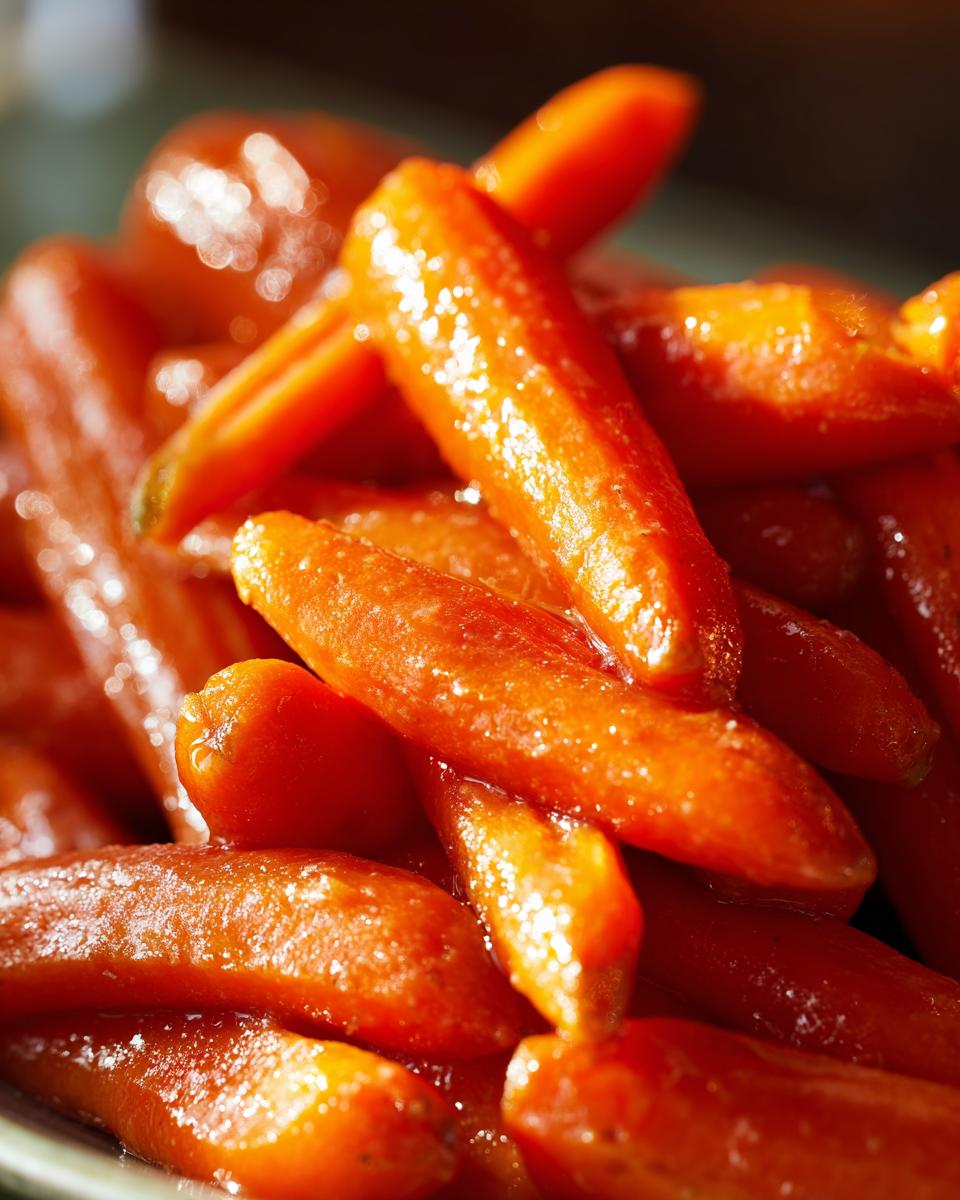
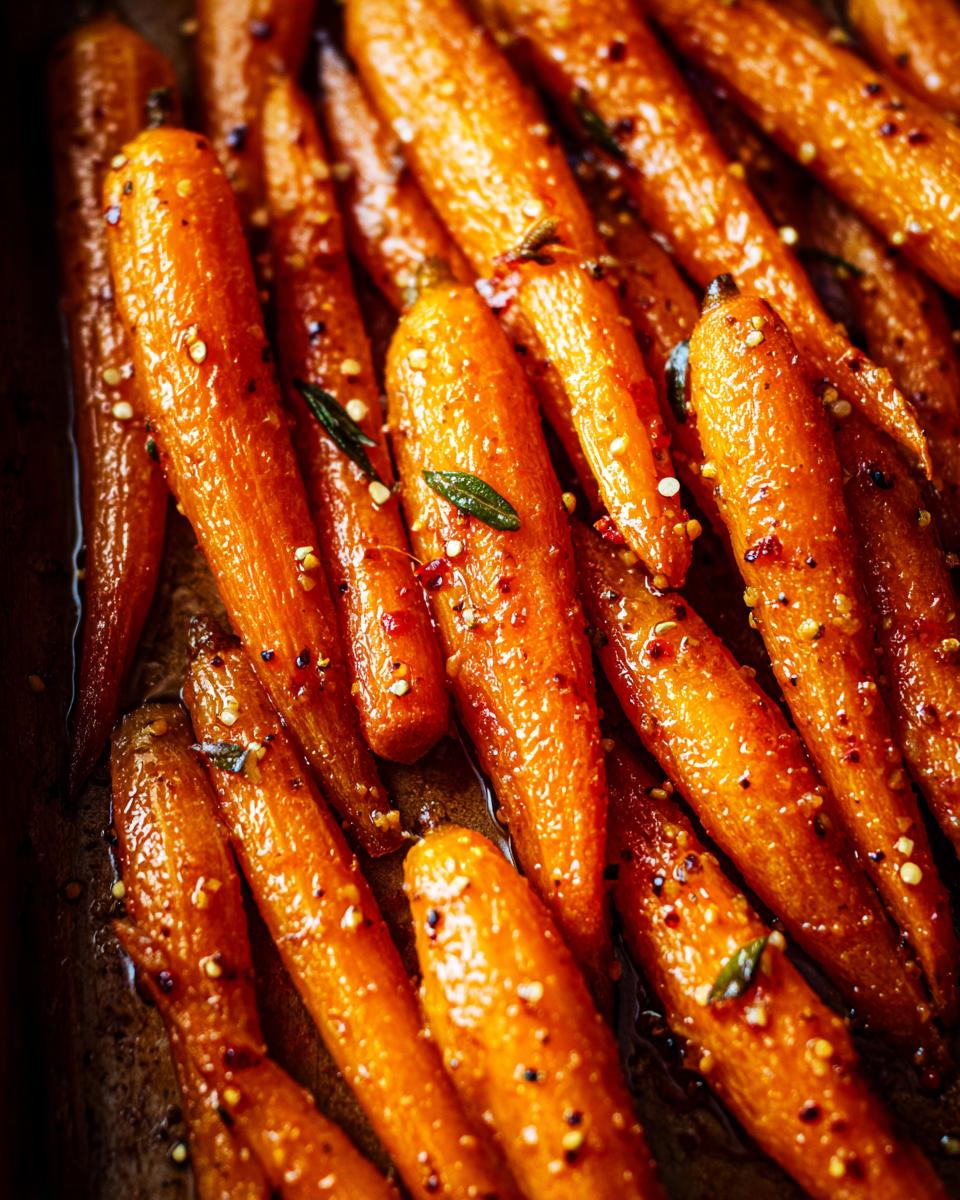
- That Perfect Sweetness: The glaze made from butter and brown sugar is just heavenly. It coats the carrots beautifully, making them tender and subtly sweet without being *too* much.
- So Versatile: These go with pretty much anything. Think roast chicken, pork tenderloin, grilled steak, or even a simple salmon fillet. They’s the ultimate crowd-pleaser.
- A Hit with Everyone: Even folks who claim they don’t like carrots? They tend to gobble these up because they’re just so tasty and tender.
- Naturally Good for You: They’re vegetarian, packed with vitamins, and a wonderful way to add some colorful goodness to your plate.
Ingredients for Simple Glazed Carrots
Okay, so here’s what you’ll need to whip up these glorious glazed carrots. The beauty is, it’s all stuff you probably already have hiding in your pantry or fridge!
- 1 pound carrots, peeled and sliced into about 1/4-inch thick rounds
- 2 tablespoons butter (the good stuff makes a difference!)
- 2 tablespoons brown sugar (light or dark, whatever you’ve got!)
- 1/4 cup water
- A good pinch of salt
- A little sprinkle of black pepper, too
That’s it! Simple, right? Making sure those carrot slices are pretty uniform means they’ll cook up evenly, and nobody likes a mix of mushy and crunchy carrots in the same bite.
Mastering the Art of Glazed Carrots
Alright, let’s get these easy-peasy carrots on the stove! It’s really a cinch, but paying attention to a few little things makes all the difference. You’ll be amazed at how quickly these go from humble root vegetables to a beautiful, shiny side dish. Trust me, it’s almost magical watching them transform! They’re so good, you might even find yourself sneaking a bite straight from the pan, just like I do. For more ideas on how to make carrots shine, check out these other glazed carrot recipes.
Preparing Your Carrots for Glazing
First things first, get those carrots prepped. You want to peel them nice and clean, then slice them up. Aim for slices that are all about a quarter-inch thick. It really matters that they’re roughly the same size. If some are super thick and others are thin, you’ll end up with a mix of cooked-to-death mush and still-crunchy bits. We want them all perfectly tender at the same time!
Creating the Perfect Glaze for Glazed Carrots
Now for the fun part – the glaze! Toss your carrot slices right into the saucepan. Don’t even worry about pre-cooking them. Add the butter, brown sugar, and that bit of water. That water is key to getting the sugar to dissolve and create that syrupy goodness. As it heats up, the butter will melt and mix with the sugar, and the water helps everything come together into a lovely base for our **Glazed Carrots**. It smells amazing even at this stage!
Simmering to Tender Perfection
Once you’ve got everything in the pan, turn the heat up to medium-high and bring it all to a boil. Let it bubble for just a minute or two, then immediately turn the heat down to low. Pop a lid on that pan – this traps the steam, which helps cook the carrots tender. Let them simmer away for about 10 to 15 minutes. You’ll want to check them after 10 minutes. They should be tender when you poke them with a fork, but still have a little bite, not totally mushy. If they’re not quite there yet, give them another few minutes. Carefully lift the lid slightly to let some steam escape if the glaze looks too watery.
Tips for Perfect Glazed Carrots Every Time
Look, anyone can make these, but a few little tricks will take your **Glazed Carrots** from good to absolutely spectacular! It’s all about those little details that make a huge difference. I’ve learned a few things over the years, and trust me, using the best ingredients you can find really makes these shine.
Ingredient Quality Matters
It sounds basic, but using fresh, vibrant carrots makes a world of difference. Choose carrots that are firm and bright orange. And for the butter? Using real butter, not margarine, gives a richer flavor, and that’s really what makes the glaze so luscious. It’s a simple side, but good ingredients really let the natural sweetness of the carrots and the richness of the butter come through beautifully.
Customizing Your Glazed Carrots
Now, if you’re feeling a little adventurous, you can totally jazz up these **Glazed Carrots**! Want to add a little warmth? Toss in a tiny pinch of nutmeg or cinnamon right at the beginning with the other ingredients. It adds this cozy, deep flavor that’s just delightful, especially in the fall or winter. A little splash of orange juice instead of some of the water can also be lovely, giving them a brighter, citrusy tang that cuts through the sweetness. You could even stir in some fresh parsley right at the end for a pop of color and freshness!
Serving and Storing Your Glazed Carrots
These **Glazed Carrots** are honestly so flexible, they fit in everywhere! They’re perfect alongside a big Sunday roast – think turkey, ham, or even a beef tenderloin. They also shine next to simpler meals, like baked salmon or grilled chicken. Honestly, they’re a fantastic addition to your favorite classic American dinner recipes, or even as a sweet, colorful side for those diner-style comfort meals. They’re just happy little carrots!
Got leftovers? Lucky you! Let them cool completely, then pop them into an airtight container in the fridge. They’ll keep well for about 3-4 days. To reheat, I usually just pop them back in a small saucepan over low heat with a tiny splash of water. You can also gently warm them in the microwave. Just be careful not to overcook them, or they’ll turn to mush! Stir them often so that lovely glaze coats them again.
Frequently Asked Questions About Glazed Carrots
Got questions? I’ve got answers! After making these a million times, I’ve heard it all. Here are a few things people often wonder:
Can I use pre-sliced carrots for glazed carrots?
You totally can, but I’d really try to avoid it if you can! Pre-sliced carrots are often drier and not as uniform. This means they might cook unevenly, leaving you with some super soft and others still a bit firm. Freshly sliced is always best for that perfect texture.
How to make glazed carrots less sweet?
If you want them a little less sweet, you can easily dial down the brown sugar to maybe 1 or 1.5 tablespoons. Another trick is to add a tiny splash of lemon juice or orange juice right at the end of cooking. That little bit of tartness balances the sweetness beautifully!
What are the best carrots for glazing?
Honestly, any fresh carrots will work! But medium-sized ones tend to be the sweetest and most tender. Just make sure they’re firm and bright orange. Baby carrots are also an option if you have them – just slice them in half lengthwise so they cook evenly with the glaze.
Nutritional Information for Glazed Carrots
Just to give you a heads-up, these numbers are *estimates* based on my recipe, because, you know, every carrot is a little different! This is for roughly one serving.
- Calories: Around 120
- Fat: About 6g (mostly from that lovely butter!)
- Protein: Just 1g
- Carbohydrates: Roughly 18g
- Sugar: Around 15g (that’s most of the carbs, thanks to the glaze!)
- Sodium: About 150mg
Remember, using more or less butter or sugar will change these numbers, so think of this as a general guide!
Share Your Glazed Carrots Experience!
I really hope you give these simple carrots a try! They’re such a straightforward way to add some serious deliciousness to any meal. Did you make them? Did you add your own little twist? I’d absolutely LOVE to hear all about it! Drop a comment below, rate the recipe, or even share a pic on social media. Seeing your creations makes my day!
Print
Simple Glazed Carrots
- Total Time: 25 min
- Yield: 4 servings 1x
- Diet: Vegetarian
Description
A straightforward recipe for sweet and tender glazed carrots.
Ingredients
- 1 pound carrots, peeled and sliced
- 2 tablespoons butter
- 2 tablespoons brown sugar
- 1/4 cup water
- Salt to taste
- Black pepper to taste
Instructions
- Place sliced carrots in a saucepan.
- Add butter, brown sugar, and water to the saucepan.
- Bring the mixture to a boil over medium-high heat.
- Reduce heat to low, cover, and simmer for 10-15 minutes, or until carrots are tender.
- Season with salt and pepper to taste.
- Serve hot.
Notes
- For a richer flavor, you can add a pinch of nutmeg or cinnamon.
- Ensure carrots are cut into uniform slices for even cooking.
- Prep Time: 10 min
- Cook Time: 15 min
- Category: Side Dish
- Method: Stovetop
- Cuisine: American
Nutrition
- Serving Size: 1/4 of recipe
- Calories: 120
- Sugar: 15g
- Sodium: 150mg
- Fat: 6g
- Saturated Fat: 3.5g
- Unsaturated Fat: 2g
- Trans Fat: 0g
- Carbohydrates: 18g
- Fiber: 3g
- Protein: 1g
- Cholesterol: 15mg
Keywords: glazed carrots, sweet carrots, easy side dish, vegetable recipe, stovetop carrots