
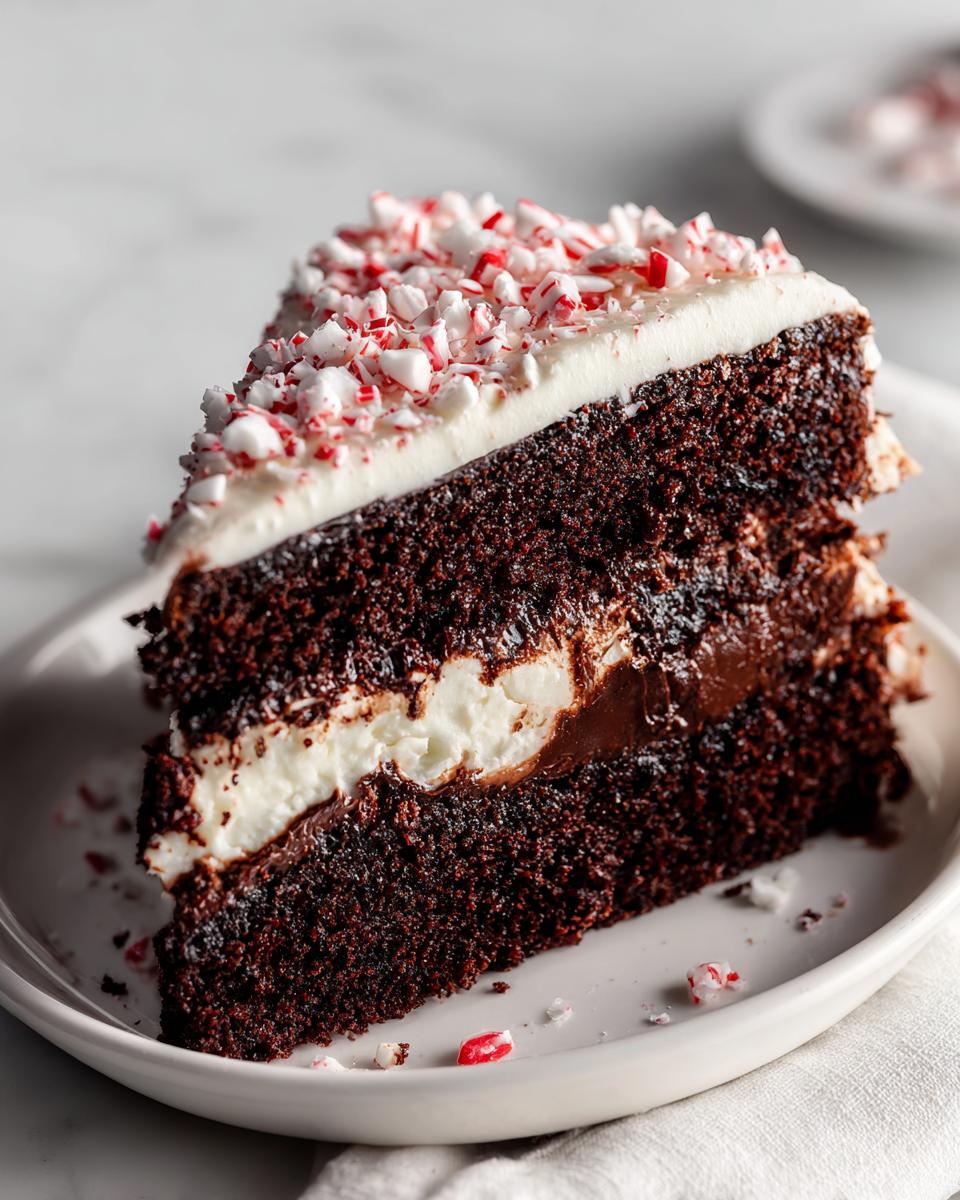
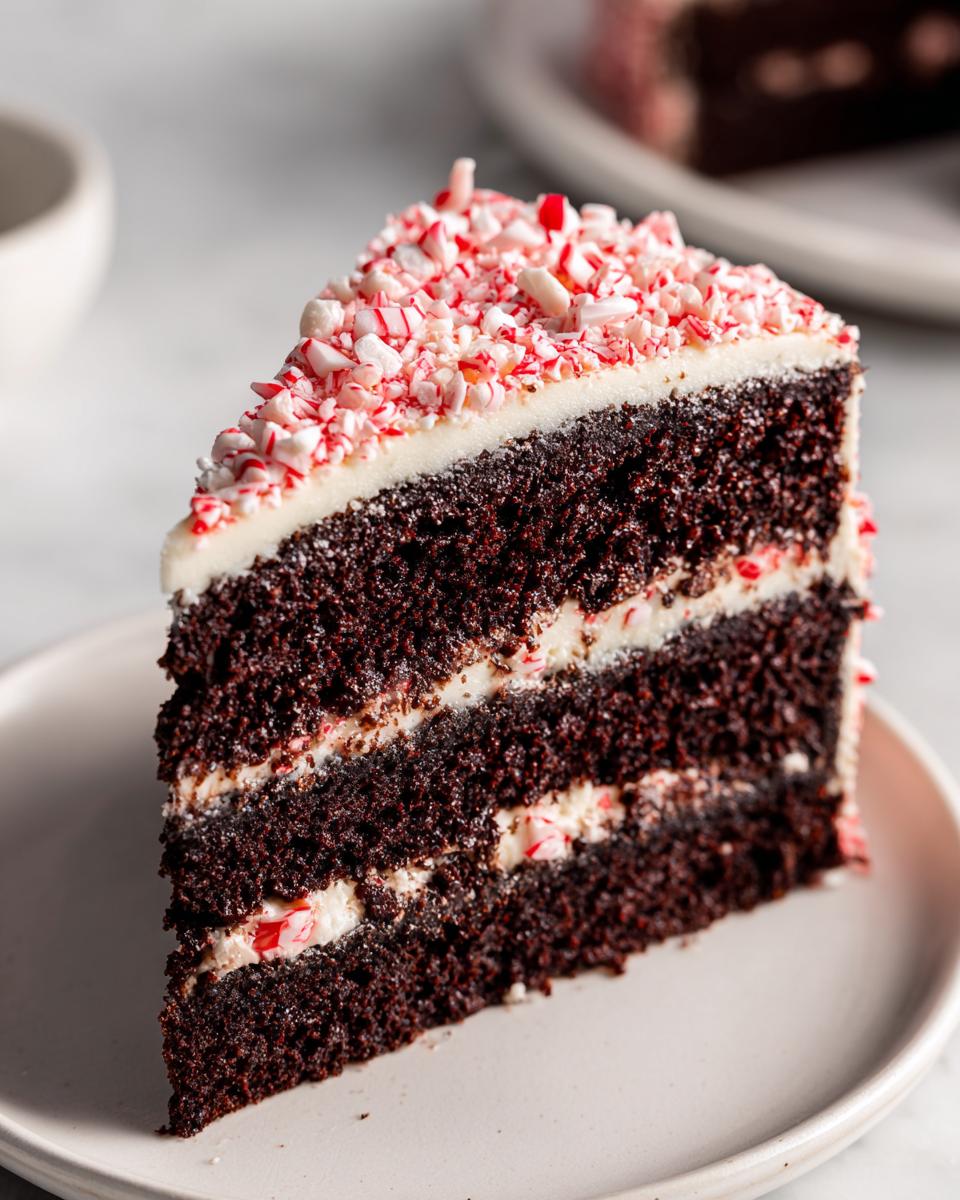
Nothing says holidays quite like the magical combo of chocolate and peppermint! This easy chocolate peppermint layer cake has been my go-to holiday dessert for years – simple enough for busy bakers but impressive enough to wow guests. I’ll never forget the first time I made it for our family’s cookie exchange; my aunt actually thought I’d bought it from a bakery! Rich chocolate layers pair perfectly with that cool peppermint frosting, while crushed candy canes on top give that festive crunch. Best part? You probably have most ingredients in your pantry already. Let’s make some holiday magic!
Why You’ll Love This Easy Chocolate Peppermint Layer Cake for the Holidays
This chocolate peppermint layer cake has become my holiday staple for good reason – here’s why it’ll be yours too:
- Effortless elegance: Looks fancy but comes together in under an hour (perfect for last-minute holiday parties!)
- Festive flavor combo: That rich chocolate-peppermint pairing screams “holidays” in every bite
- Crowd-pleaser: Kids go crazy for the candy topping while adults appreciate the sophisticated balance
- Make-ahead magic: Tastes even better the next day as flavors meld together
- Customizable: Swap white chocolate ganache for frosting or add peppermint extract to the cake batter for extra minty-ness
Trust me – this cake disappears faster than holiday wrapping paper! You can find more holiday recipes on our Pinterest.
Ingredients for Easy Chocolate Peppermint Layer Cake for the Holidays
Grab your mixing bowls – here’s everything you’ll need for this holiday showstopper! I’ve grouped them neatly so you can check things off as you go:
For the Chocolate Cake Layers:
- Dry Ingredients: 2 cups all-purpose flour (spooned & leveled), 1 3/4 cups granulated sugar, 3/4 cup unsweetened cocoa powder (I use Dutch-processed for extra richness), 2 tsp baking powder, 1 1/2 tsp baking soda, 1 tsp fine salt
- Wet Ingredients: 2 large eggs (room temperature), 1 cup whole milk (slightly warmed), 1/2 cup vegetable oil, 2 tsp pure vanilla extract, 1 cup boiling water (yes, boiling!)
For the Peppermint Frosting & Decor:
- 1 1/2 cups (3 sticks) unsalted butter, softened but still cool
- 4 cups powdered sugar, sifted
- 2 tsp peppermint extract (not mint!)
- 2-3 tbsp heavy cream or whole milk
- 1/2 cup crushed peppermint candies or candy canes (I use a zip-top bag and rolling pin)
Ingredient Notes & Substitutions
Here’s my cheat sheet for when you’re in a pinch:
- Milk swap: Buttermilk works beautifully instead of whole milk – adds lovely tang!
- Dairy-free? Use almond milk and dairy-free butter sticks (the baking kind)
- Cocoa powder: Natural works if that’s all you have, but Dutch-process gives deeper flavor
- Peppermint extract: Start with 1 tsp if you’re unsure – you can always add more
- Candy crunch: No peppermints? Crushed starlight mints or even Andes bits work
Pro tip: Measure your flour correctly by spooning it into cups – no scooping! Makes all the difference.
Equipment You’ll Need
- Two 9-inch round cake pans
- Hand mixer or stand mixer (my trusty KitchenAid never lets me down!)
- Cooling rack – crucial for preventing soggy bottoms
- Rubber spatula for scraping every last bit of batter
- Parchment paper or nonstick spray for easy release
- Serrated knife for leveling cake layers (if you’re fancy like that)
That’s it! No fancy gadgets needed – just simple tools most bakers already have. For more baking tips, check out our pages.
How to Make Easy Chocolate Peppermint Layer Cake for the Holidays
Now for the fun part – let’s turn these simple ingredients into a holiday masterpiece! I’ve been making this chocolate peppermint layer cake so often I could do it in my sleep, and soon you’ll be able to too. Follow these steps for perfect results every time.
Step 1: Prepare the Cake Batter
First, preheat your oven to 350°F (175°C) – this gives the pans time to heat evenly while you mix. In your largest bowl, whisk together all the dry ingredients (flour through salt). Here’s my trick: I sift the cocoa powder to prevent lumps – it makes such a difference!
Add eggs, milk, oil, and vanilla to the dry mix. Beat with a mixer on medium for exactly 2 minutes – set a timer! The batter will be thick but smooth. Now the magic: slowly pour in boiling water while mixing on low. It’ll look thin and weird, but trust me – this creates the moistest chocolate cake ever!
Step 2: Bake & Cool the Layers
Divide the batter between your prepared pans (I use a measuring cup for even layers). Bake for 30-35 minutes until a toothpick comes out with just a few moist crumbs. Don’t overbake – that’s the #1 cake killer!
Let cakes cool in pans for 10 minutes exactly – this lets them set but not steam. Then run a knife around edges and flip onto a cooling rack. Wait until completely cool before frosting (about 1 hour). I know – the wait is torture, but warm cakes make runny frosting!
Step 3: Make the Peppermint Frosting
While cakes cool, beat the butter until it’s light and fluffy – about 3 minutes on medium-high. Here’s where patience pays off! Gradually add powdered sugar on low speed (unless you want a sugar cloud in your kitchen).
Add peppermint extract and 2 tbsp cream. Beat on high for 2 minutes until silky smooth. Need it thinner? Add cream 1 tsp at a time. Too thin? More powdered sugar. Taste as you go – add an extra drop of extract if you want more minty punch!
Step 4: Assemble & Decorate
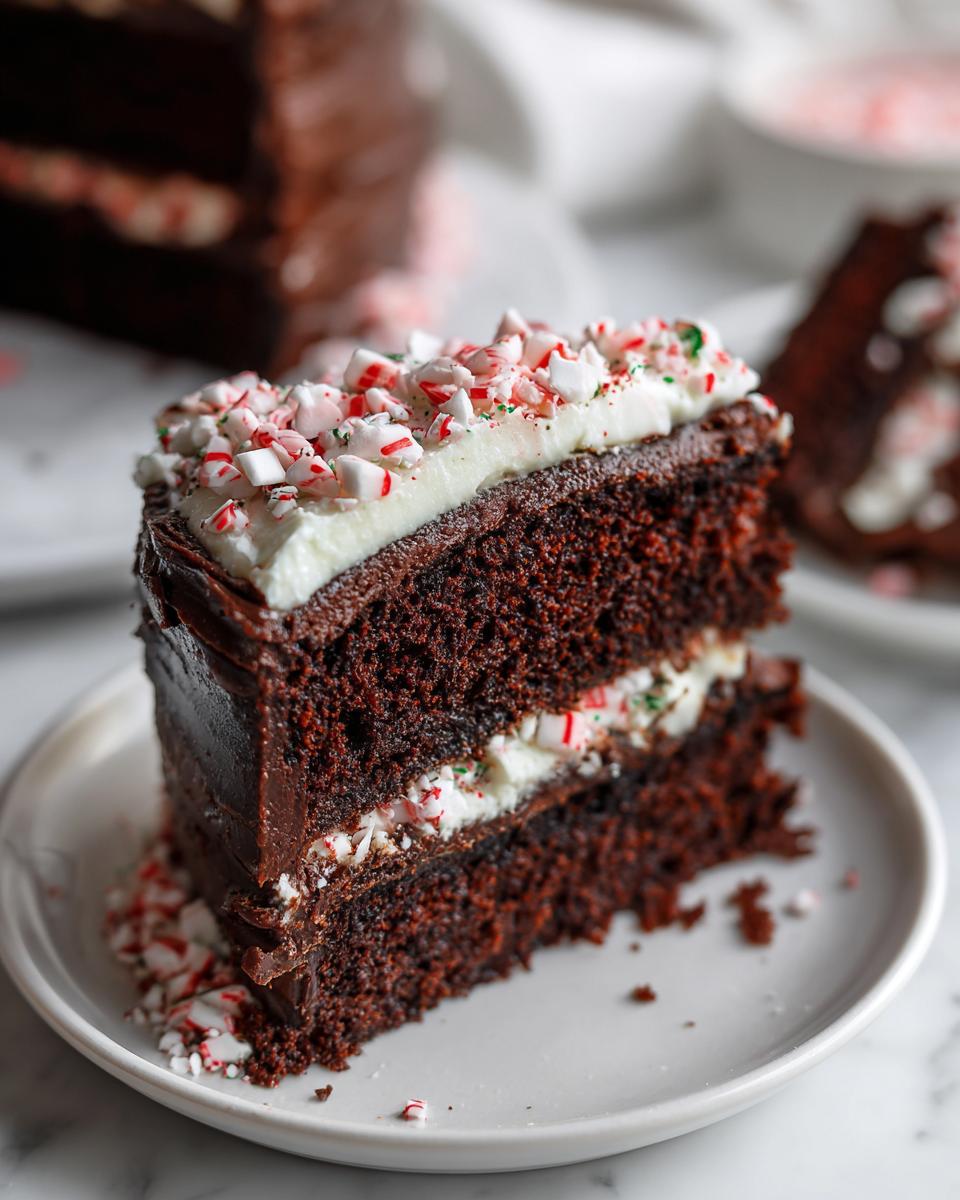
Place one cake layer on your serving plate. Spread with about 1 cup frosting – I use an offset spatula but a butter knife works too. Top with second layer and frost the top and sides. Don’t stress about perfection – the candies will hide any flaws!
Now the fun part: gently press crushed peppermints onto the sides or just sprinkle over top. For extra flair, pipe swirls around the edges. Voila! Your easy chocolate peppermint layer cake is ready to wow your holiday guests.
Tips for the Perfect Easy Chocolate Peppermint Layer Cake for the Holidays
After making this cake more times than I can count, here are my foolproof secrets:
- Sift that cocoa! No one wants lumpy batter – takes 30 seconds but makes all the difference
- Room temp is key – cold eggs and butter just won’t incorporate properly
- Crush candies fine – big chunks slide right off the frosting (learned that the hard way!)
- Frost at room temp – warm cakes melt frosting, cold cakes make it slide off
- Extra minty? Add 1/4 tsp extract to the cake batter too – just don’t overdo it
Follow these and you’ll get rave reviews – promise! For more recipe ideas, see our posts.
Storage & Reheating
This cake keeps like a dream! Just cover it tightly with plastic wrap or store in an airtight container at room temperature for up to 3 days (if it lasts that long!). The flavors actually get better as they mingle. For longer storage, you can refrigerate it for up to a week – just let it come to room temp before serving so the frosting softens back up. I don’t recommend freezing the frosted cake, but the naked layers freeze beautifully for up to 3 months!
Nutritional Information
Just so you know, these nutritional values are estimates – they’ll vary based on your exact ingredients and how big you slice that cake! Each serving comes in around 450 calories with that perfect balance of rich chocolate and refreshing peppermint. Remember, it’s the holidays – calories don’t count when it’s this delicious!
Frequently Asked Questions
Over the years, I’ve gotten so many great questions about this chocolate peppermint layer cake – here are the ones that come up most often:
Can I make this cake ahead for holiday parties?
Absolutely! The flavors actually improve after a day. Bake the layers up to 2 days early, wrap them tightly in plastic, and frost the day of serving. The assembled cake holds beautifully at room temp for 8 hours.
How do I prevent a dry chocolate cake?
Three secrets: 1) Don’t overbake – pull it when moist crumbs cling to the toothpick, 2) Use boiling water (it “blooms” the cocoa), and 3) Measure flour correctly (spoon & level!).
Can I use candy canes instead of peppermints?
Yes! Just unwrap and crush them the same way. Pro tip: If they’re super sticky, pop them in the freezer for 10 minutes first – crushes like a dream!
Why did my frosting turn out gritty?
Probably didn’t sift the powdered sugar – those tiny lumps are sneaky! Also make sure your butter is truly room temp before creaming.
Can I make cupcakes instead?
You bet! Fill liners 2/3 full and bake 18-20 minutes. Gets you about 24 festive peppermint chocolate cupcakes!
Final Thoughts
There you have it – my foolproof recipe for the easiest, most festive chocolate peppermint layer cake! I can’t wait for you to experience that first bite of rich chocolate paired with cool peppermint crunch. Trust me, this will become your new holiday tradition. Snap a pic and tag me when you make it – I love seeing your creations!