
Oh, the holidays! Nothing brings me more joy than getting my hands messy with my little ones, and our absolute favorite tradition? Making DIY Salt Dough Ornaments for Kids! Seriously, there’s something so magical about turning simple pantry staples–flour, salt, and water–into precious keepsakes that twinkle on the tree. I remember making these with my own grandma years ago, and now, seeing my kids’ excited faces as they stamp out shapes and carefully paint them… it’s just the best. It’s not just a craft; it’s a memory-maker, and honestly, they turn out so much cuter than you’d think!
Why You’ll Love Making DIY Salt Dough Ornaments for Kids
Honestly, these little salt dough creations are just the best for so many reasons! They’re ridiculously affordable – you probably have everything you need in your kitchen right now!
- Super budget-friendly: Seriously, just flour, salt, and water! You can’t beat that for holiday crafting.
- Easy-peasy for little hands: Even tiny tots can help mix, roll, and cut out shapes. It’s a fantastic way to get kids involved.
- A fantastic creative outlet: My kids go wild with paint and glitter! It’s so much fun watching their imaginations come to life on each ornament.
- Sentimental keepsakes: These aren’t just decorations; they’re tiny pieces of art that you’ll treasure for years to come. Each one tells a story!
Gathering Your Supplies for DIY Salt Dough Ornaments
Okay, so getting ready to make these awesome salt dough ornaments is actually super simple! You really only need things you probably already have in your pantry or craft drawer. It makes it so easy to just decide one afternoon to get crafting. Let’s go through what you’ll need to whip up these little treasures.
Essential Ingredients for Salt Dough Ornaments
The magic really happens with just three basic ingredients, and trust me, the ratios are key! You’ll need:
2 cups all-purpose flour: Just your regular white flour works perfectly. No need for anything fancy!
1 cup salt: This is super important for the dough’s preservation and texture. Just plain table salt is fine.
3/4 cup water: You might need to add a tiny bit more or less, depending on how your dough feels. Start with 3/4 cup and go from there! Sometimes I find I only need a smidge less, so just keep an eye on it.
Tools You’ll Need for This Kids Craft
Now for the fun stuff! You’ll want:
Cookie cutters: Any shapes you like! Stars, hearts, gingerbread men – whatever screams holiday to you. Even just a simple round one is great.
A straw: This is our little secret weapon for making the perfect hanging hole. Just a regular drinking straw works like a charm!
Baking sheets: You’ll need a couple of these to bake your creations.
Parchment paper: Oh, this is a lifesaver for preventing sticking and making cleanup a breeze. Highly recommend!
A rolling pin: To get that perfect 1/4 inch thickness.
Paint, glitter, ribbon: And all your favorite decorating supplies for making them sparkle!
Step-by-Step Guide to Making DIY Salt Dough Ornaments
Alright, let’s get down to business! Making these adorable DIY Salt Dough Ornaments for Kids is actually way simpler than it looks. It’s all about a few easy steps, and you’ll have a whole batch of cuties ready to go. Just follow along, and don’t worry if it’s your first time – it’s super forgiving!
Mixing the Perfect Salt Dough
First things first, let’s make our dough! Grab a big bowl, the biggest one you have, because we’re going to mix up our dry stuff: 2 cups of flour and 1 cup of salt. Give that a good whisk to get it all combined. Now, slowly start adding in your 3/4 cup of water. I like to add it a little at a time, stirring as I go with a spoon, or even just my hands! You’re looking for a stiff dough – something that pulls away from the sides of the bowl and feels firm, not sticky. If it feels a bit too dry and crumbly, add just a teaspoon more water. If it’s too sticky, a tiny pinch more flour should do the trick. Once it’s looking good, plop it out onto a lightly floured surface and knead it for about 5-10 minutes, just like you would when making Dutch oven bread, until it’s super smooth, like play-doh but a bit firmer.
Shaping and Cutting Your Ornaments
Now for the really fun part! Take your smooth dough and roll it out. I try to aim for about 1/4 inch thick. A good rolling pin makes this easy, but even a sturdy can of soup or a wine bottle can work in a pinch! You want it even so everything bakes nicely. Then, grab those cookie cutters! Press them down firmly into the dough and twist a little to get clean shapes. Have your baking sheet lined with parchment paper all ready to go. Carefully lift each shape and place it onto the parchment. Before you bake them, grab that straw and make a hole at the top of each ornament – this is where your ribbon will go later! Make sure the hole is big enough that the ribbon will fit through easily, even after baking.
Baking Your Salt Dough Creations
Okay, oven time! Preheat your oven to a nice low 250°F (120°C). This low and slow baking is key to drying them out without burning them. Carefully place your baking sheets into the preheated oven. Now, we bake for a good while – think 2 to 3 hours. They need to be completely dry and hard. You’ll know they’re ready when they feel solid all the way through and are a nice, light golden color. Once they’re done, take them out of the oven and let them cool completely on the baking sheet. Seriously, let them cool all the way down before you even think about decorating, or you’ll have a melty mess!

Decorating Your DIY Salt Dough Ornaments
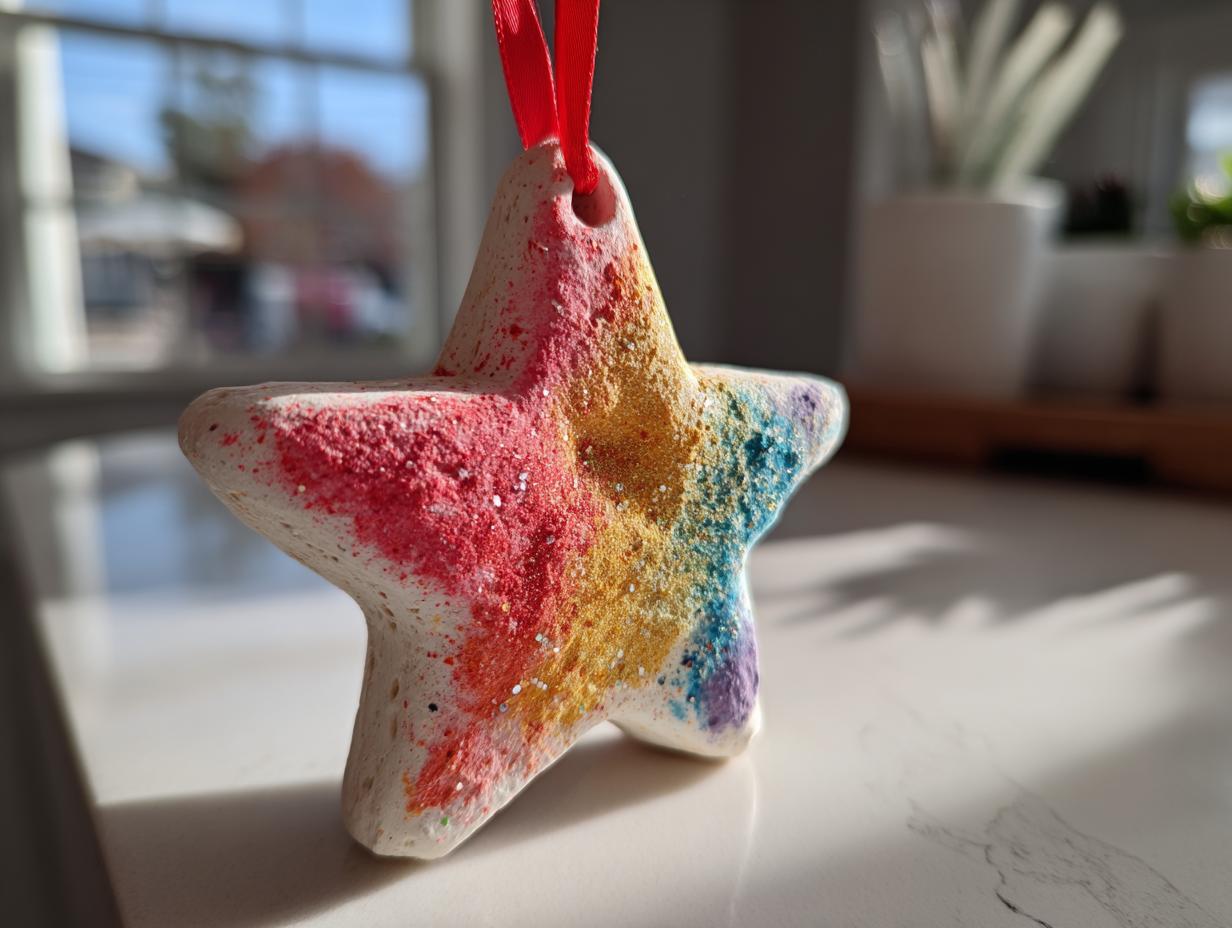
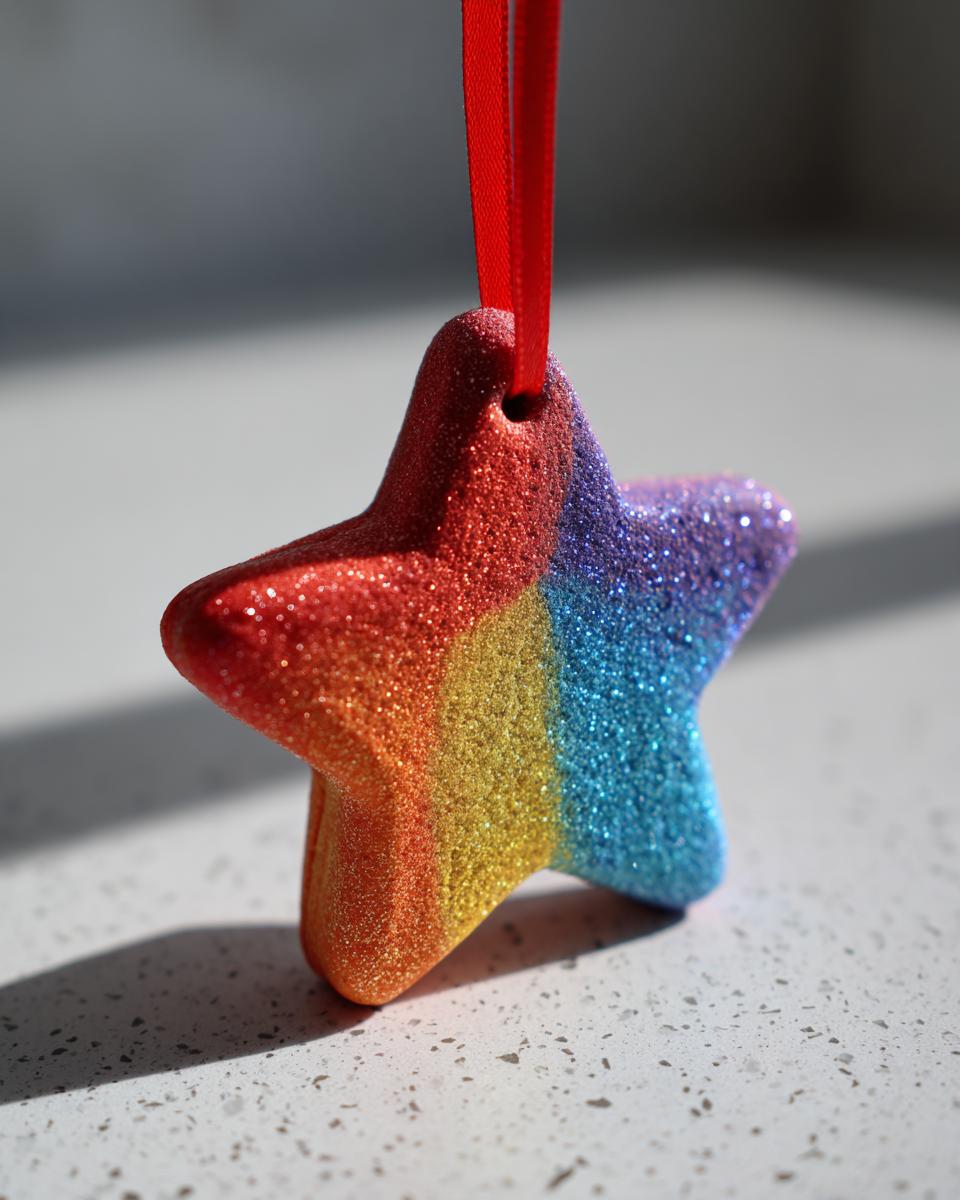
Okay, this is honestly my favorite part – making these DIY Salt Dough Ornaments come alive with color! Once they’re totally cooled and hard, it’s time for the real fun to begin. This is where your little artists get to shine! You can paint them, add glitter, write on them… whatever your heart desires. It’s such a great way to let their personalities pop right onto the ornament. We love going for bright, cheerful colors, but you can totally do themed ones too! It reminds me of all the yummy desserts we make during the holidays, just in a different form!

Creative Ideas for Ornament Decoration
The sky’s the limit here! We usually grab a bunch of acrylic paints – they’re washable and dry pretty quickly. My kids love making little faces, or just swirling wild colors together. You could also use markers for more intricate designs, or even stick on natural things like tiny dried leaves or twigs if you’re feeling adventurous! Think about your Christmas tree theme – do you want rustic, whimsical, or just plain sparkly? It’s almost as fun as planning out our holiday breakfast menus!
Tips for Applying Paint and Glitter
When it comes to paint, I always tell the kids to start with a base coat. Let that dry completely, especially if you’re using darker colors. Then, let them go wild with details! For glitter, here’s my trick: paint a section with a little bit of craft glue, and then sprinkle the glitter over that. It sticks way better and is way less messy than trying to get glitter everywhere at once. If you want them to last forever and ever, a coat of Mod Podge or a clear sealant sprayed on afterward is a great idea and makes them nice and shiny!

Tips for Success with Your Kids’ Salt Dough Ornaments
Making these DIY Salt Dough Ornaments for Kids is honestly such a joy, and I’ve picked up a few tricks along the way that I just have to share. These little tips really help make the whole process smoother and the results even better. They’re great if you want to make sure your ornaments turn out perfectly, from dough consistency to baking and even cleaning up afterwards, kind of like how we prep for a big meal of diner foods. Think of this as your cheat sheet to salt dough success!
Frequently Asked Questions About DIY Salt Dough Ornaments
Got questions about making these adorable DIY Salt Dough Ornaments for Kids? I totally get it! It’s a simple craft, but sometimes a little extra guidance helps. Here are a few things people often ask, and I’m happy to share my two cents! If you ever have more questions, feel free to reach out!
How to Store Unused Salt Dough
Oh, what if you have dough left over from your crafting session? No problem! Just pop that extra dough into an airtight container or wrap it really well in plastic wrap. You can tuck it into the fridge for a few days, and it’ll be good to go when you’re ready for more ornament-making fun. It’s just like saving leftover dough for cookies!
Ensuring Ornaments Dry Properly
This is a biggie! You *really* want your salt dough ornaments to be completely dry and hard before you start decorating. If they’re not, especially if you’ve used a lot of water or didn’t bake them long enough, they can get moldy over time. That low and slow bake is your best friend here. You want them feeling solid, not squishy at all. So, patience is key before you grab those paints!
Estimated Nutritional Information
So, what’s the nutritional breakdown of our cute little salt dough ornaments? Honestly, since they’re mostly flour, salt, and water, and definitely not meant for eating, the nutritional info is pretty much zero! We’re looking at approximately 0 calories, 0g fat, and 0g protein for one ornament. Keep in mind this is just an estimate, and of course, if you go wild with sugary paints and glazes, the “nutritional value” will change – but hey, they’re for looking, not for eating!
Print
DIY Salt Dough Ornaments for Kids
- Total Time: 200 min
- Yield: Varies based on cookie cutter size
- Diet: Vegetarian
Description
Create simple and fun salt dough ornaments with your children.
Ingredients
- 2 cups all-purpose flour
- 1 cup salt
- 3/4 cup water
- Cookie cutters
- Straw
- Paint
- Glitter
- Ribbon
Instructions
- Preheat your oven to 250°F (120°C).
- In a large bowl, mix together the flour and salt.
- Gradually add the water, mixing until a stiff dough forms.
- Knead the dough on a lightly floured surface for about 5-10 minutes until smooth.
- Roll out the dough to about 1/4 inch thickness.
- Use cookie cutters to create shapes.
- Make a hole at the top of each ornament with a straw for hanging.
- Place ornaments on a baking sheet lined with parchment paper.
- Bake for 2-3 hours, or until completely dry and hard.
- Let the ornaments cool completely.
- Decorate with paint, glitter, or other craft supplies.
- Thread ribbon through the hole for hanging.
Notes
- You can store excess dough in an airtight container in the refrigerator for a few days.
- Ensure ornaments are completely dry before decorating to prevent mold.
- Prep Time: 20 min
- Cook Time: 180 min
- Category: Crafts
- Method: Baking
- Cuisine: American
Nutrition
- Serving Size: 1 ornament
- Calories: 0
- Sugar: 0g
- Sodium: 0mg
- Fat: 0g
- Saturated Fat: 0g
- Unsaturated Fat: 0g
- Trans Fat: 0g
- Carbohydrates: 0g
- Fiber: 0g
- Protein: 0g
- Cholesterol: 0mg
Keywords: salt dough ornaments, kids crafts, DIY ornaments, holiday crafts, baking crafts, homemade decorations