

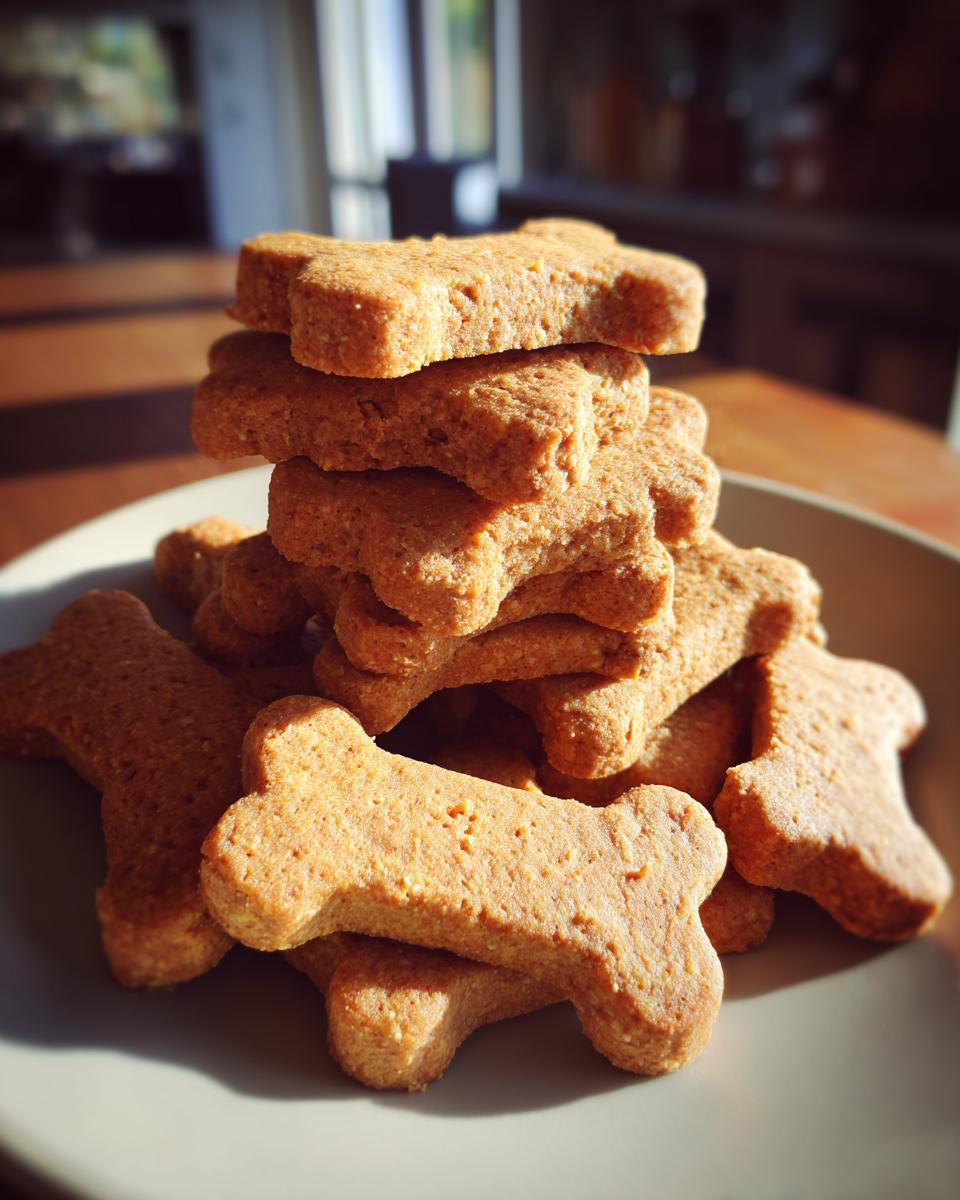
Oh, there’s just something so special about handing over a gift that you made with your own two hands, isn’t there? Especially when it’s for a fellow dog lover! Forget those generic store-bought trinkets; the real magic happens when you put a little bit of love and a whole lot of yummy goodness into something for their furry best friend. I still remember the look on my friend Sarah’s face when I gave her a bag of these ridiculously easy DIY peanut butter dog treats for her beagle, Max. Max went wild for them, and Sarah was just beaming, knowing they were made with ingredients I could trust. Seriously, when it comes to DIY Pet Treat Gifts for Dog Lovers, these peanut butter wonders are an absolute winner. They’re simple, packed with flavor, and you just *know* they’re made with care.
Why DIY Pet Treat Gifts for Dog Lovers are the Best
Okay, let’s be real for a sec. Giving a gift that you’ve actually *made* yourself? It’s just on another level, isn’t it? For dog lovers, a homemade treat for their pup is pure gold. It’s not just about saving a few bucks, though that’s a nice bonus! It’s about showing you truly care, both about your friend and their four-legged shadow. You get to control exactly what goes in – no weird fillers or mystery ingredients! Plus, you can whip these up pretty darn quickly, which is a lifesaver for last-minute gifts. Honestly, walking into a friend’s house with a bag of these, smelling that amazing peanut butter goodness, and seeing their dog go absolutely bonkers? Priceless!
The Personal Touch of Homemade Dog Lover Gifts
There’s a special kind of warmth that comes with a handmade gift, especially for someone who adores their dog. It screams, “I thought about you AND your furry best friend!” I remember making a batch for my neighbour’s golden retriever, Buddy, when he was feeling a bit under the weather. Just seeing him perk up and wag his tail – even with a sore paw – made all the effort totally worth it. It’s those little gestures, made with love and good ingredients, that really make a gift memorable. It feels so much more thoughtful than just grabbing something off a shelf, wouldn’t you agree?
Gathering Your Ingredients for DIY Peanut Butter Dog Treats
Alright, let’s get down to business and round up everything you need to whip up these amazing DIY Peanut Butter Dog Treats! It’s surprisingly simple, which is just the best part. You’ll need: 2 cups of good old whole wheat flour, a teaspoon of salt – just regular table salt is fine! Then, get yourself about half a cup of smooth peanut butter. My golden rule here is to check the ingredients on the peanut butter jar, which I’ll chat more about in a sec. Lastly, you’ll need 1 cup of water to bring it all together. I usually just use tap water, no need to get fancy! My little tip when choosing your peanut butter? Make sure it’s unsalted and unsweetened if you can find it; Max (my resident taste-tester!) seems to prefer it that way, and it’s just better for them, you know?
Ingredient Spotlight: Peanut Butter Safety
Now, this is super important, so listen up! When you’re grabbing that peanut butter, you absolutely, positively *must* check that it doesn’t contain xylitol. This stuff is super toxic to dogs and can cause serious, even life-threatening, health problems. Most smooth peanut butters are fine, but it’s just one quick look at the label that can make all the difference. Better safe than sorry, right?
Step-by-Step Guide: Baking Your DIY Peanut Butter Dog Treats
Alright, buckle up, because now comes the fun part – actually making these yummy treats! It’s seriously a cinch. First things first, let’s get that oven preheating to 350 degrees Fahrenheit (that’s 175 Celsius for my international baking pals!). So, grab a nice big bowl, and dump in your flour and salt. Give that a quick little whisk or stir just to mix them up a bit. Now, for the star of the show: the peanut butter! Scoop in your half cup of peanut butter and then pour in that cup of water. Start mixing it all together. It’s going to look a little shaggy at first, but just keep going until a nice, cohesive dough starts to form. Don’t overwork it, though – we want happy, tender treats, not tough ones!
Rolling and Cutting Your Dog Treat Shapes
Once your dough looks good and unified, it’s time to roll! Lightly flour up your clean counter or a big cutting board. Gently roll out the dough to about a quarter-inch thickness. You want them firm enough to hold their shape but not too thick that they take ages to bake. Now, grab your favorite cookie cutters – stars, bones, little doggy footprints, whatever tickles your fancy! Press them into the dough and carefully lift out your shapes. If the dough starts to get a little sticky, just a tiny bit more flour on your hands or the cutters can do the trick. Place these little beauties onto an ungreased baking sheet, giving them a little bit of space so they bake evenly. Just like you might do for chocolate chip cookies, make sure they aren’t touching!
Baking to Perfection: Ensuring Firmness
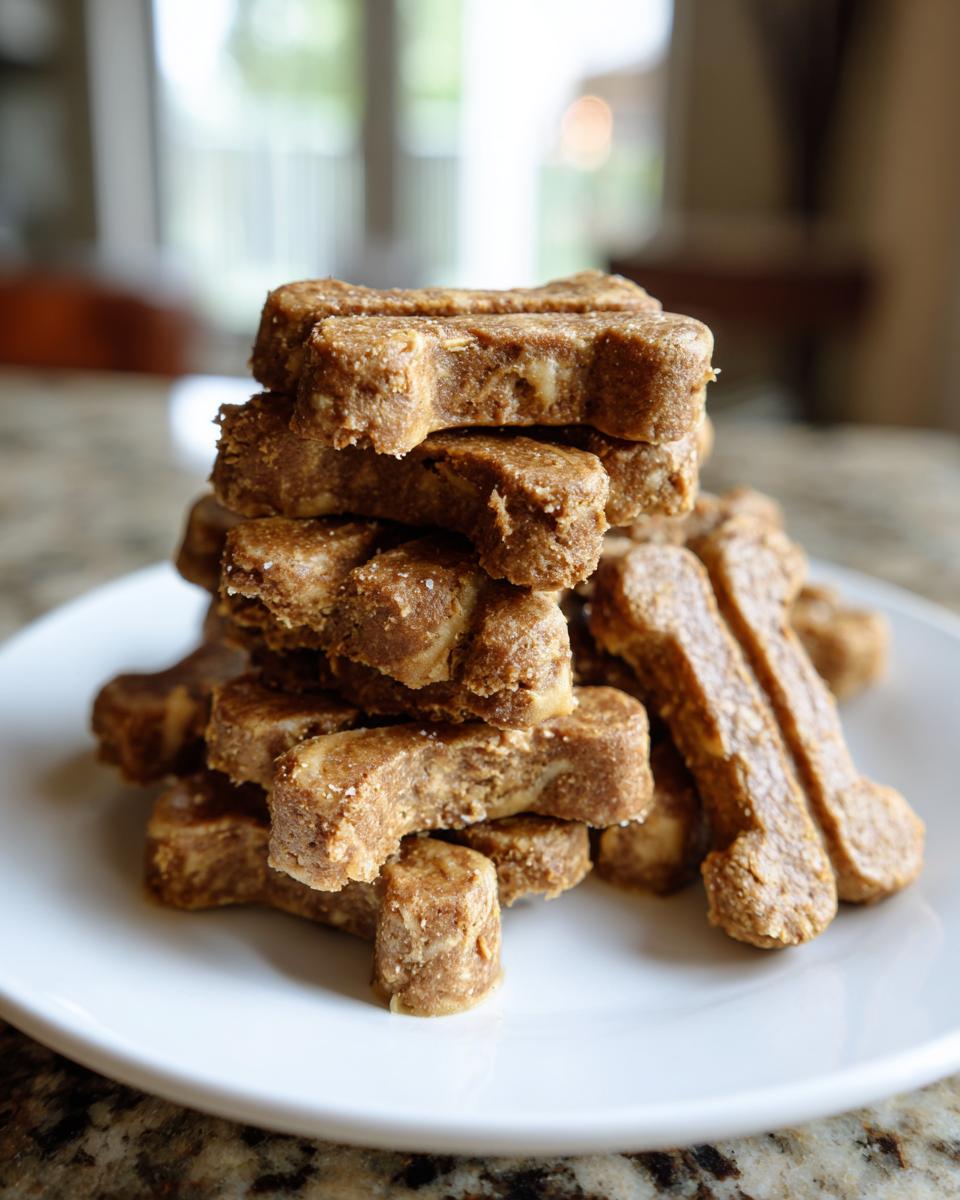
Into the hot oven they go! Pop that baking sheet in and let them bake for about 20 to 25 minutes. You’re looking for them to be firm to the touch and a nice golden-brown around the edges. Sometimes ovens can be a little quirky, so I always give mine a little poke. If they feel solid and don’t have any squishy spots, they’re likely done. Another trick I learned from my grandma, who used to bake all sorts of goodies like her homemade Krispy Kreme donuts, is to look for the edges to start pulling *just slightly* away from the baking sheet. Once they’re out, you HAVE to let them cool completely on a wire rack. Seriously, don’t even think about packaging them up while they’re still warm – they might get a bit soft then!
Tips for Presenting Your DIY Pet Treat Gifts
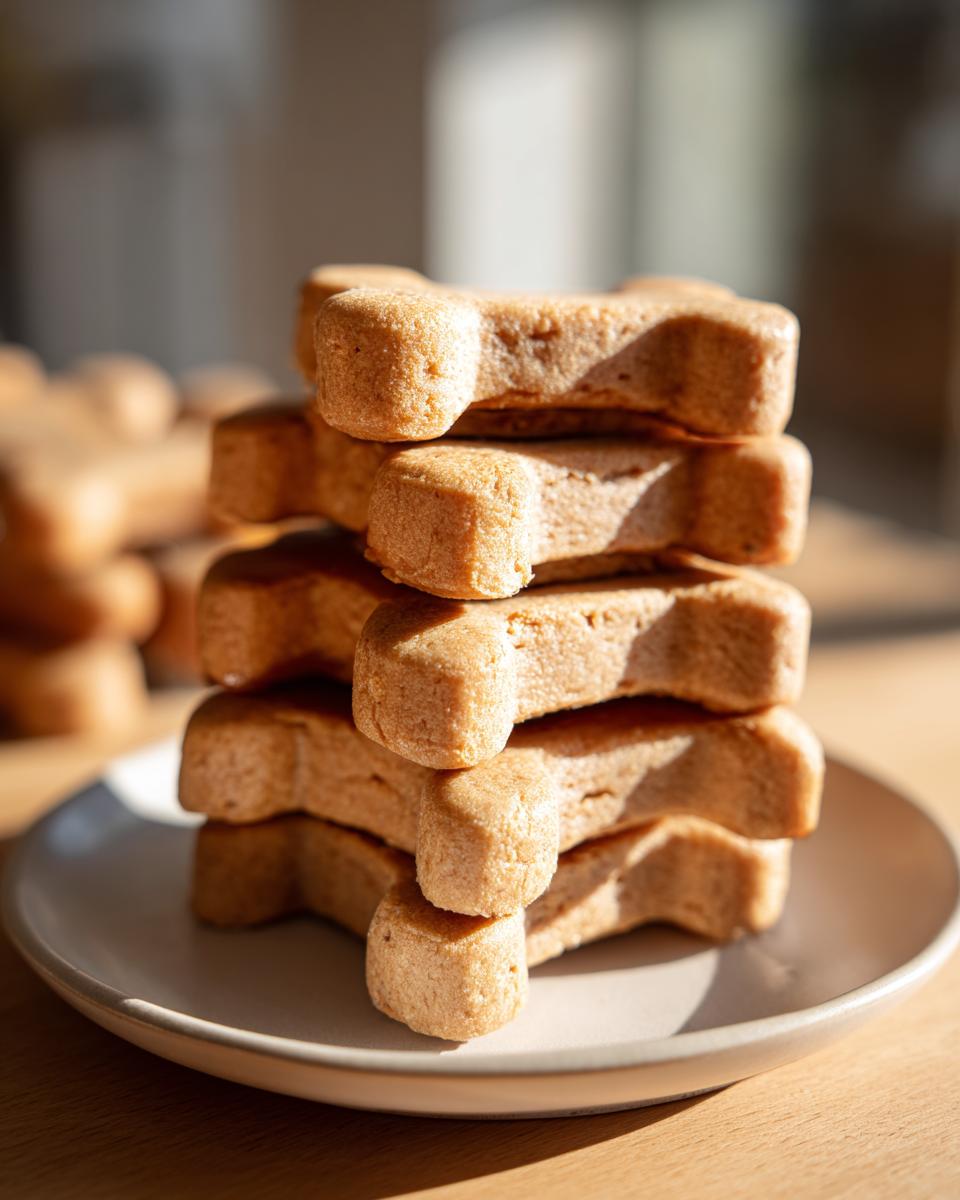
Okay, so you’ve got your delicious, homemade peanut butter dog treats all baked and cooled. Now comes the best part – turning them into *awesome gifts*! Trust me, presentation makes all the difference. When I give these as gifts, I usually stash them in cute little cellophane bags, tying them up with twine and adding a handmade tag that says something like “Pawsome Treats for a Pawsome Person!” Max, my dog, always looks so proud when I hand these over. It just adds that extra sparkle, you know? Don’t be afraid to get a little creative with it! These treats are almost as fun to look at as making chocolate chip cookies is!

Creative Packaging Ideas for Dog Lover Gifts
You can totally level up your gift packaging! Think about putting the treats in a small, decorated tin, or even a paper bag that you’ve stamped with little paw prints. A nice ribbon in a complementary color, or even a little doggy bandana tied around the bag, makes it feel super special. And don’t forget a tag! You can hand-write a little note about the treats, or even draw a quick doodle of a dog. Honestly, the simpler and sweeter, the better. It’s the thought that counts, and a little bit of effort goes a long, long way!
Storage and Shelf Life for Your Homemade Dog Treats
So, you’ve got these amazing DIY Peanut Butter Dog Treats, and you want them to stay scrumptiously fresh for your favorite dog lover, right? Easy peasy! The best way to keep them tasting great is to pop them into an airtight container. Think a good quality plastic container with a snap-on lid, or even a nice glass jar. This stops them from getting stale or absorbing any weird smells from your pantry. I usually pop mine in there as soon as they’ve totally cooled down. Honestly, they usually last for about two weeks that way, maybe even a little longer if your kitchen is on the cooler side. Just make sure they’re completely dry before sealing them up!
Frequently Asked Questions about DIY Peanut Butter Dog Treats
Got questions about whipping up these DIY Pet Treat Gifts? I’ve got answers! People often ask me about switching things up or making sure their pup is safe, and I’m happy to spill the beans.
Can I Substitute Ingredients in these DIY Pet Treat Gifts?
You bet! While whole wheat flour is my go-to, you can try using oat flour or even almond flour if your dog doesn’t have allergies. Just be aware that different flours might change the texture a bit. Always make sure any swaps are dog-safe, of course! And always, always double-check that peanut butter for xylitol, please!
How Long Do Homemade Dog Treats Last?
When stored properly in an airtight container, these homemade dog treats are usually good for about two weeks. If your kitchen tends to be a bit warmer, they might not last quite as long, so just give them a sniff test before serving. They’re best enjoyed fresh while they’re nice and firm!
Estimated Nutritional Information
Okay, so this is just an estimate, because, you know, different peanut butters and flours can change things up a little! But here’s a rough idea of what you’re looking at per treat (assuming you get about 30 treats out of the batch):
- Calories: Around 75
- Fat: About 3g
- Protein: Roughly 2g
- Carbohydrates: Close to 10g
- Sodium: Approximately 50mg
It’s good to know these things, right? Especially if you’re giving them as a gift, it’s nice to have a general idea! Just remember these numbers can wiggle around a bit depending on the exact brands you use.
Share Your DIY Dog Treat Creations!
Alright, bakers, I’ve shared my secrets, and now it’s your turn to shine! I would absolutely *love* to see your creations. Did your dog go crazy for these peanut butter delights? Did you try any fun cookie cutter shapes or packaging ideas? Drop a comment below or even rate the recipe – your feedback really helps other home bakers and gives me the best ideas! You can also reach out directly if you have any special stories or photos to share. Happy baking!
Print
DIY Peanut Butter Dog Treats
- Total Time: 40 min
- Yield: 30 treats 1x
- Diet: Vegetarian
Description
Simple homemade peanut butter dog treats perfect for gifting to dog lovers.
Ingredients
- 2 cups whole wheat flour
- 1 teaspoon salt
- 1/2 cup peanut butter
- 1 cup water
Instructions
- Preheat your oven to 350 degrees F (175 degrees C).
- In a large bowl, mix together the flour and salt.
- Add the peanut butter and water. Mix until a dough forms.
- On a lightly floured surface, roll out the dough to 1/4 inch thickness.
- Cut out shapes using cookie cutters.
- Place the treats on an ungreased baking sheet.
- Bake for 20-25 minutes, or until firm.
- Let cool completely before serving or packaging.
Notes
- Ensure the peanut butter you use does not contain xylitol, which is toxic to dogs.
- Store treats in an airtight container for up to two weeks.
- You can decorate the cooled treats with dog-safe icing for a special touch.
- Prep Time: 15 min
- Cook Time: 25 min
- Category: Desserts
- Method: Baking
- Cuisine: American
Nutrition
- Serving Size: 1 treat
- Calories: 75
- Sugar: 1g
- Sodium: 50mg
- Fat: 3g
- Saturated Fat: 1g
- Unsaturated Fat: 2g
- Trans Fat: 0g
- Carbohydrates: 10g
- Fiber: 1g
- Protein: 2g
- Cholesterol: 0mg
Keywords: DIY dog treats, homemade dog treats, peanut butter dog treats, dog lover gifts, pet treats, baking for dogs