
Okay, let’s talk about pure, unadulterated happiness in a mug! There’s just something magical about hot chocolate, isn’t there? And when you can make it totally YOU, well, that’s next-level cozy. I’ve found that setting up a DIY Hot Chocolate Bar Setup is the absolute best way to let everyone be their own dessert artist. It’s so much fun seeing what combinations people come up with! I remember a Christmas party last year, and my little niece basically built a marshmallow and sprinkle mountain on top of hers – it was hysterical and totally delicious. This isn’t just about drinks; it’s about making memories and letting your guests feel super special!
Why You’ll Love This DIY Hot Chocolate Bar Setup
Seriously, setting up a hot chocolate bar is a game-changer for entertaining. Here’s why you’ll totally want to do this:
- Super Customizable: Everyone gets to make their drink exactly how they love it. No more fighting over who gets the last scoop of sprinkles!
- Easy Peasy Setup: It looks fancy, but trust me, it’s mostly just putting stuff in bowls. You can get it ready super fast.
- Crowd Pleaser: Who doesn’t love hot chocolate? It’s a hit with kids and adults alike.
- Perfect for Any Occasion: Birthdays, holidays, movie nights, or just a chilly Tuesday – it fits everywhere!
- Interactive Fun: It gets people talking and laughing as they create their own unique concoctions.
- Budget-Friendly: You can scale it up or down depending on your guest list.
Essential Components for Your DIY Hot Chocolate Bar Setup
Okay, so you’re ready to make this happen! The magic of a truly awesome DIY Hot Chocolate Bar Setup really comes down to a few key players. It’s like setting the stage for a delicious performance, and these are your star actors. We want variety, we want warmth, and we definitely want options! It’s not just about the drink itself, but the whole experience of building that perfect cup.
The Perfect Hot Chocolate Base
First things first, you need the foundation: the hot chocolate itself! My go-to is usually a good quality mix – super easy and always a hit. But if you’re feeling fancy, you could totally make your own from scratch! The biggest trick is keeping it warm. I love using my slow cooker on the ‘warm’ setting; it keeps it perfectly toasty without scorching. Just stir it occasionally. You want it nice and smooth, not too thin and not too thick. Trust me, a perfectly warmed base makes all the difference!

A Delectable Array of Toppings
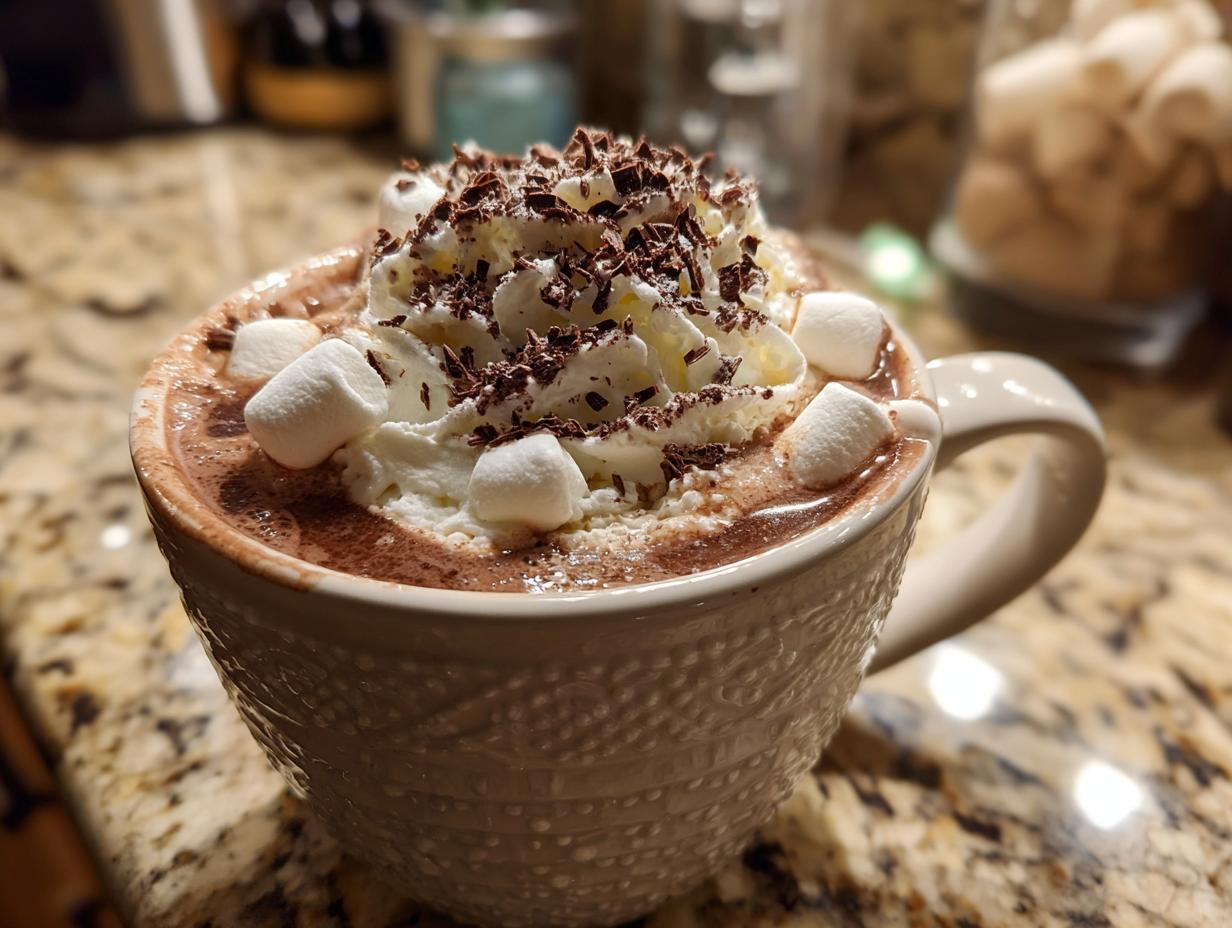
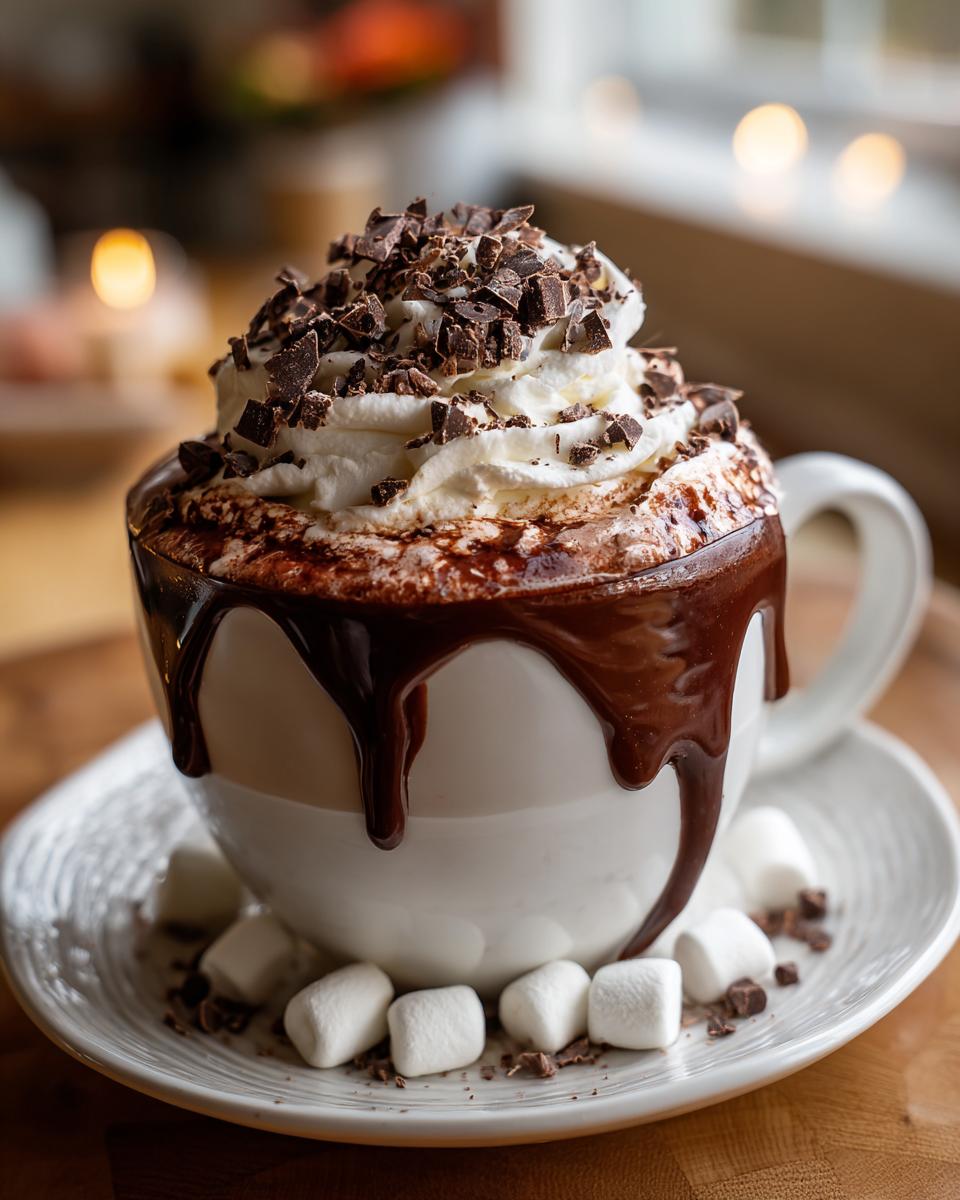
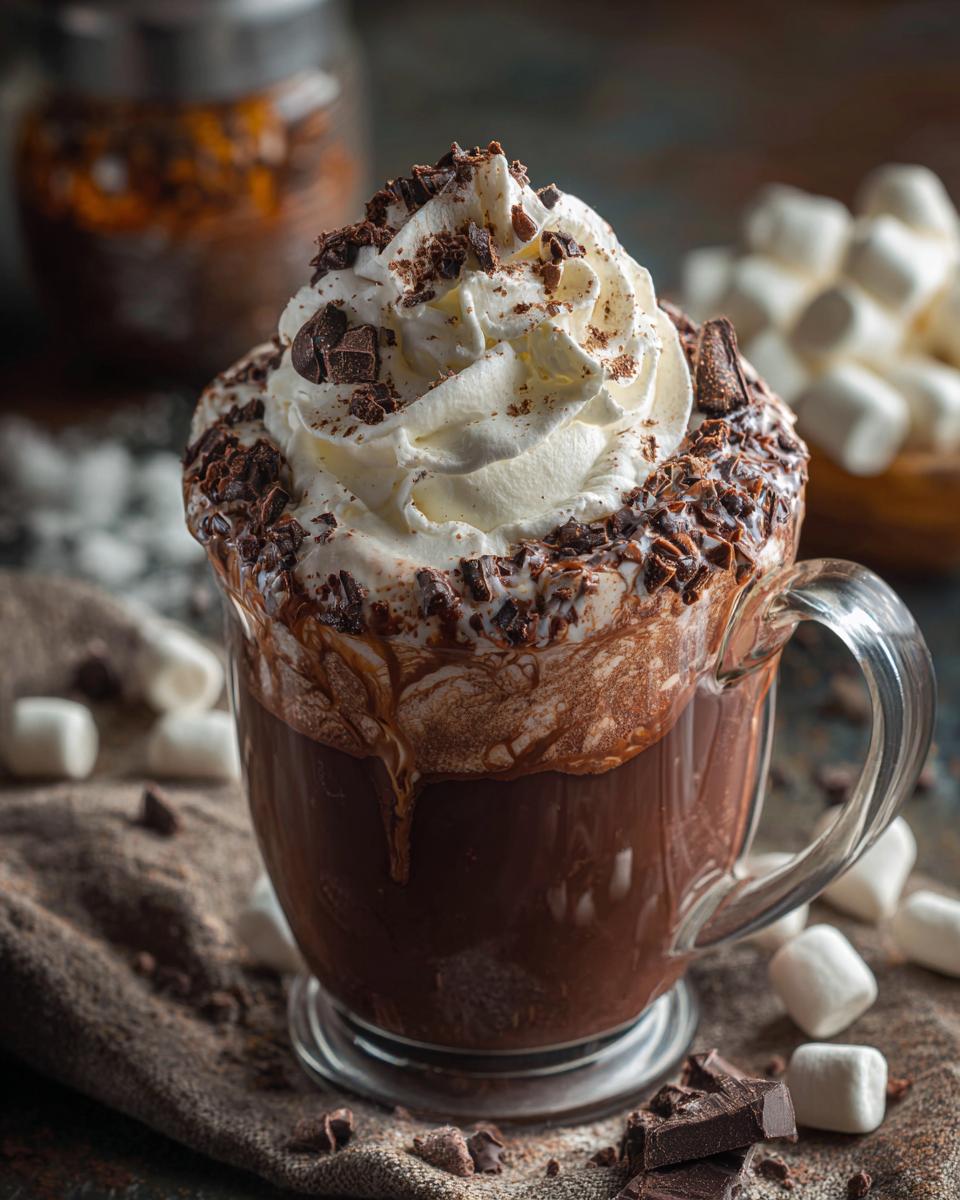
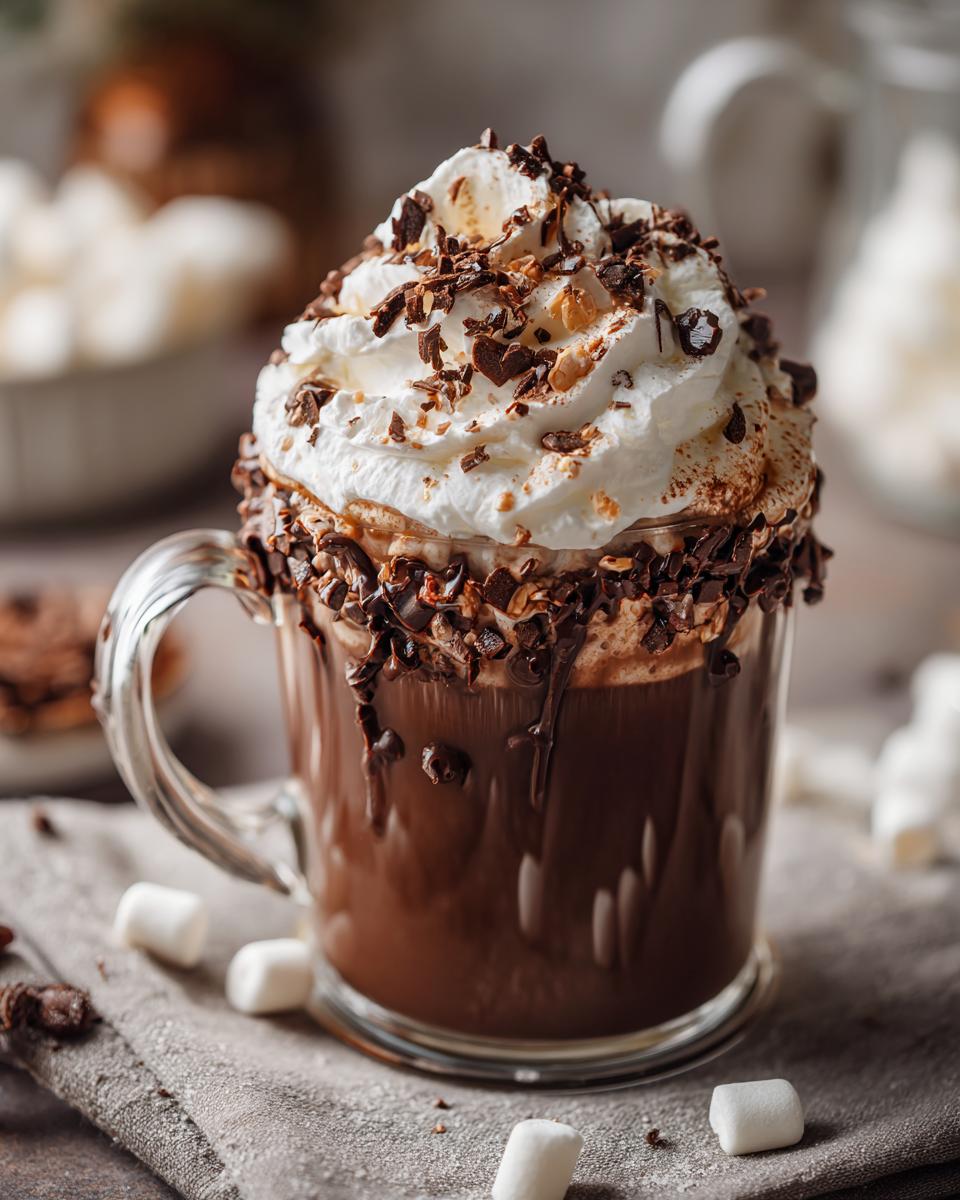
This is where the real fun begins! Think of this as your edible art palette. I always try to have a mix of textures and flavors. Of course, you absolutely need fluffy mini marshmallows – they’re non-negotiable! Then there are chocolate shavings or mini chocolate chips for that extra richness. Whipped cream is a must, obviously! Don’t forget things like crushed peppermint sticks for a festive kick, a drizzle of caramel sauce, maybe even some fun sprinkles or cinnamon sticks for stirring and flavor. Ooh, and for the adventurous, maybe some DIY Hot Chocolate Bombs which melt right into your mug!
Mugs, Spoons, and Serving Essentials
You can’t have hot chocolate without something to drink it out of, right? I love using mismatched mugs for a cozy, eclectic feel, but you can use whatever you have! Just make sure they’re sturdy. And don’t forget serving spoons for all those yummy toppings. Little ladles for the hot chocolate itself are also a nice touch. It just makes everything feel a bit more special and easier for your guests to serve themselves.
Step-by-Step Guide to Your DIY Hot Chocolate Bar Setup
Alright, let’s get this cozy corner set up! Putting together your DIY Hot Chocolate Bar Setup is actually pretty straightforward, and honestly, it’s the most fun part! You’re basically creating a little dessert haven for your guests. Here’s how I like to do it, step by step, to make sure it’s perfect!
Step 1: Prepare the Hot Chocolate Base
First up, get that glorious chocolatey goodness ready. Whether you’re using a mix or whipping up your own secret recipe, make sure you follow the directions and get it nice and smooth. My absolute favorite trick is to keep it warm in a slow cooker set to the lowest setting. It stays perfectly hot for hours without any fuss! If you don’t have a slow cooker, just keep it warm on the stovetop over very low heat, stirring often.
Step 2: Arrange Your Topping Stations
Now for the dazzling part – the toppings! I love using cute little bowls or jars for these to make them look extra inviting. Spread them out so guests can easily see all the yummy options. Think about placing them in an arc or a line that makes sense as people move along. It’s all about making it easy and fun for them to build their dream cup!
Step 3: Set Out Mugs and Utensils
Get your mugs ready and accessible! Stacking them near the hot chocolate base works best. Little spoons for stirring and scooping toppings are a must, too. You can even tie a cute ribbon around the handles of a few mugs just for a little extra charm. It’s the little details, you know?
Step 4: Add the Finishing Touches
Don’t forget to add a little sign! You can write out topping combo ideas or just list what everything is. It’s super helpful. Maybe add some pretty napkins nearby, and perhaps a sprig of mint or a cinnamon stick tucked into a vase for decoration. It really pulls the whole DIY Hot Chocolate Bar Setup together and makes it feel extra special!
Creative Twists for Your DIY Hot Chocolate Bar Setup
Okay, so you’ve got the basics down, but want to really wow your guests? Get ready to take your DIY Hot Chocolate Bar Setup to the next level! It’s all about adding those little touches that make it uniquely yours and super fun for everyone. Think beyond just plain old chocolate – we can get really creative here!
Beyond the Classic: Flavor Variations
Who says hot chocolate has to be just chocolate? You can totally switch things up! Try a white chocolate base that’s simply divine, or a mocha version with a shot of espresso – perfect for the grown-ups! Adding a pinch of chili powder gives it a fun little kick, and a cinnamon stick or star anise simmered in the base adds this amazing warmth. You guys know I love a good double chocolate anything, or how about a super gooey chocolate base? It’s all about playing with flavors!
Themed Topping Collections
Want to make it extra special for a holiday or just because? Create themed topping collections! For Christmas, think crushed candy canes, gingerbread cookie crumbles, and maybe even some festive sprinkles. A ‘Mint Lover’s Station’ could have mint chips, crushed mint candies, and mint extract. Or go all out with a ‘Caramel Dream’ with loads of caramel sauce, caramel bits, and maybe some salted caramel pretzels. It just adds another layer of fun and makes your bar feel so thoughtfully put together!
Frequently Asked Questions About DIY Hot Chocolate Bar Setup
Got questions about setting up your ultimate hot chocolate haven? I’ve got you covered! And for any other site-related questions, you can always check out our privacy policy.
What are the best toppings for a hot chocolate bar?
Oh, the possibilities! Classic mini marshmallows, whipped cream, chocolate shavings, caramel sauce, crushed peppermint sticks, cinnamon sticks, and fun sprinkles are always winners!
How do I keep the hot chocolate warm?
The easiest way is a slow cooker on its lowest setting! You can also use insulated beverage dispensers or keep a pot warm on the stovetop over very low heat, stirring often.
Can I offer dairy-free options for my DIY Hot Chocolate Bar Setup?
Absolutely! This is a fantastic idea! Just offer almond, oat, or soy milk alternatives for the base and make sure some toppings, like dark chocolate shavings or vegan marshmallows, are dairy-free too.
What is the best way to label toppings?
Cute little chalkboards, decorative kraft paper tags tied with twine, or even simple printed cards work wonderfully for labeling your delicious toppings. It makes it easy for everyone to know what’s what!
Nutritional Information (Estimated)
Just a heads-up, this nutritional info is for a standard serving of the hot chocolate base itself, before you go loading it up with all those amazing toppings! So, think of it as a baseline. The exact numbers can really change depending on whether you’re using milk or water, or your specific mix. But generally, you’re looking at around 150 calories, about 3g of fat, a bit of protein, and roughly 30g of carbohydrates per serving.
Share Your DIY Hot Chocolate Bar Creations!
Okay, now it’s YOUR turn! I’d absolutely LOVE to see how your hot chocolate bars turned out. Did you discover a new amazing topping combo? Share a picture on social media and tag me, or tell me all about your favorite creations in the comments below! And if you found this guide helpful, please leave a quick rating. You can also reach out via my contact page with any questions or just to share your happy hot chocolate moments!
Print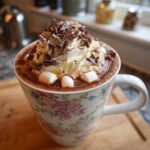
DIY Hot Chocolate Bar Setup
- Total Time: 20 min
- Yield: Variable
- Diet: Vegetarian
Description
A guide to setting up a customizable hot chocolate bar for any occasion.
Ingredients
- Hot chocolate mix
- Milk or water
- Whipped cream
- Marshmallows
- Chocolate shavings
- Peppermint sticks
- Caramel sauce
- Sprinkles
- Cinnamon sticks
- Cookie cutters
Instructions
- Prepare your hot chocolate base by mixing the powder with milk or water according to package directions. Keep it warm in a slow cooker or on a stovetop.
- Arrange your toppings in separate bowls or containers.
- Set out mugs for your guests.
- Provide spoons for serving and stirring.
- Include a sign with suggestions for topping combinations.
Notes
- Consider offering dairy-free milk options.
- Label each topping for easy identification.
- Have extra napkins available.
- Prep Time: 15 min
- Cook Time: 5 min
- Category: Dessert
- Method: Assembly
- Cuisine: American
Nutrition
- Serving Size: 1 serving (base)
- Calories: 150
- Sugar: 25g
- Sodium: 100mg
- Fat: 3g
- Saturated Fat: 2g
- Unsaturated Fat: 1g
- Trans Fat: 0g
- Carbohydrates: 30g
- Fiber: 1g
- Protein: 5g
- Cholesterol: 10mg
Keywords: hot chocolate bar, DIY, party setup, dessert bar, customizable drinks, holiday party, entertaining