
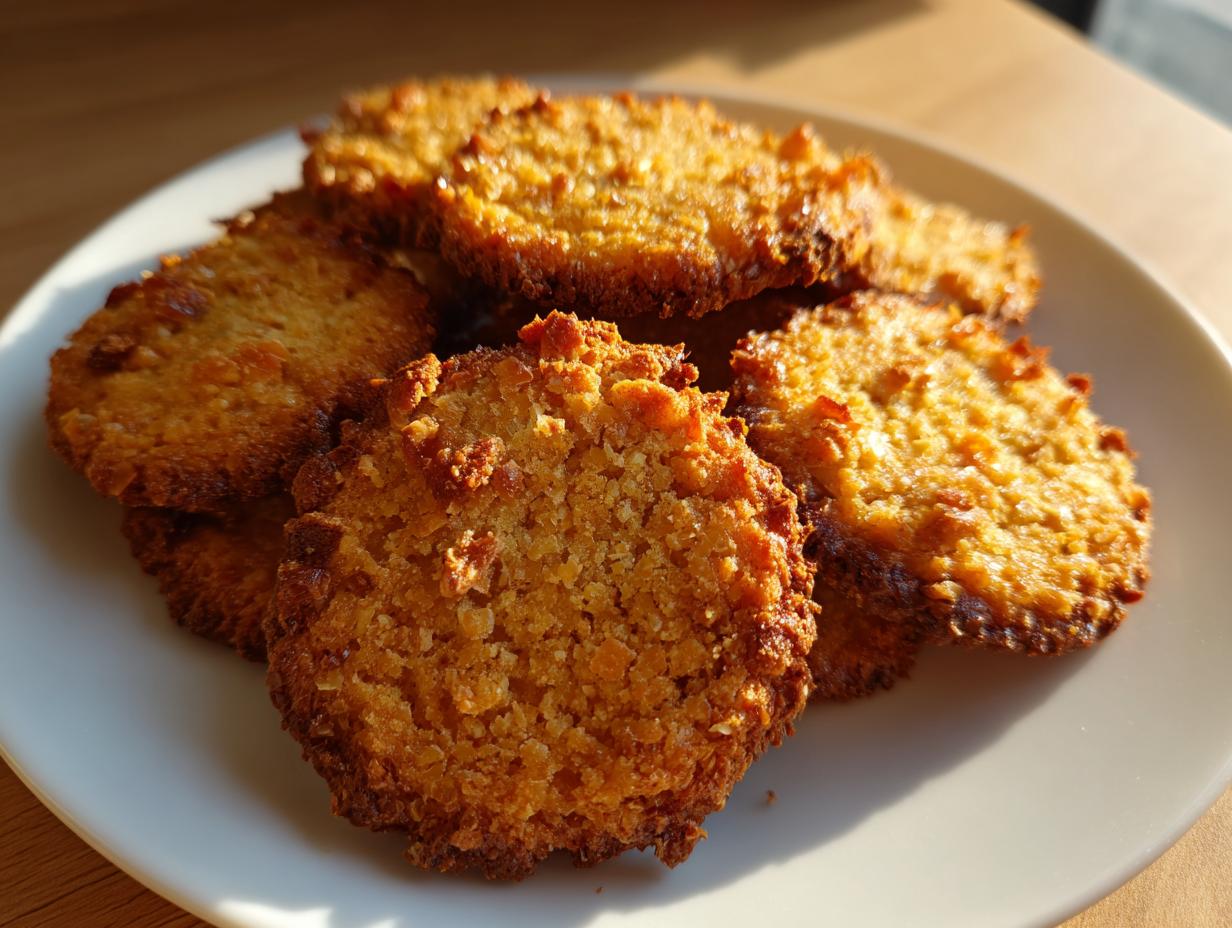
There’s just something SO special about spoiling our furry best friends, right? I get all sorts of giddy when I can whip up something homemade, especially when I know exactly what’s going into it. My cat, Bartholomew, is a super picky eater, and honestly, finding store-bought treats he actually enjoys is a mission. That’s why I was so thrilled when I finally perfected these Crunchy Oven-Baked Cat Treats! They’re ridiculously easy to make, use simple ingredients you probably already have, and Bartholomew goes absolutely bonkers for them. Seeing him happily munching away on these crunchy little gems makes my day!
Why Your Cat Will Love These Crunchy Oven-Baked Cat Treats
Seriously, why wouldn’t your kitty go wild for these? They’re a guaranteed hit because:
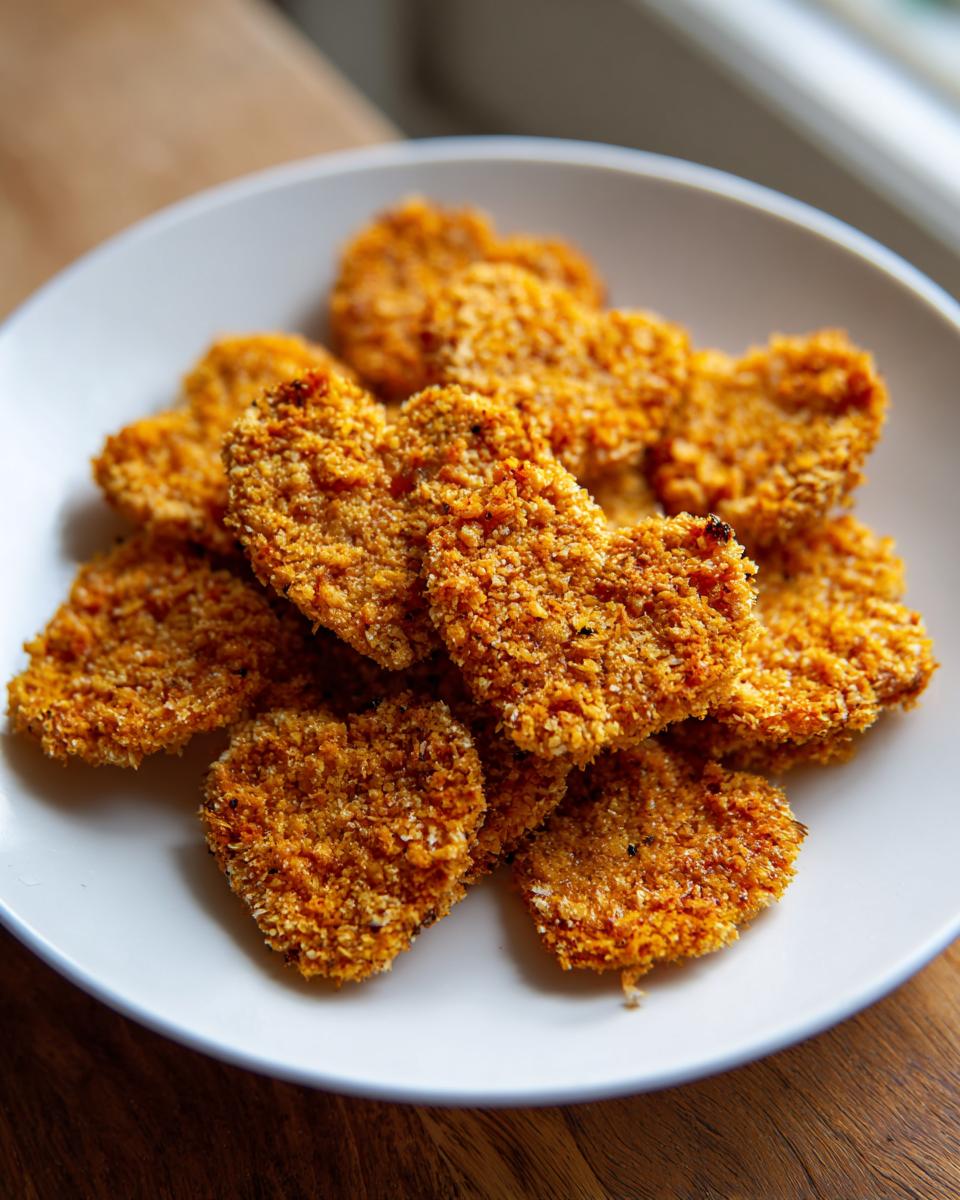
- That Irresistible Crunch: Cats love a good crunch, and these are baked to chewy perfection!
- Simple, Wholesome Goodness: We know exactly what’s going in – no weird fillers, just simple, good stuff.
- Totally Customizable: Feeling adventurous? You can sneak in other cat-safe flavors!
- Satisfies Natural Instincts: They’re perfect for a little nibble and help keep those tiny teeth happy.
Gathering Your Ingredients for Crunchy Oven-Baked Cat Treats
Getting started with these treats is a breeze because you likely have most of what you need right in your pantry! We’re aiming for super simple, super accessible ingredients here. You’ll need about 1 cup of whole wheat flour – it gives a nice structure and that satisfying crunch. Then comes the star, 1/2 cup of canned tuna, make sure it’s drained really well and maybe flaked a bit. Next up is 1 large egg to bind everything together, and just 1 tablespoon of olive oil for a little richness. Finally, we’ll add about 1/4 cup of water to get the dough just right. Remember to always double-check that nothing you’re using is toxic to cats, but these are all pretty standard and safe!
Step-by-Step Guide to Making Crunchy Oven-Baked Cat Treats
Alright, let’s get baking! Making these treats is super straightforward, and trust me, the whole process is pretty fun. Even Bartholomew gets excited when he smells what’s going on in the kitchen. We’re going to go through it step-by-step so you get those perfect, crunchy little morsels for your feline friend. Thinking about how we make other fun baked goods, like those amazing homemade Krispy Kreme donuts, always inspires me to keep experimenting in the kitchen!
Preheating and Dough Preparation
First things first, you wanna get that oven ready to go. Crank it up to 350°F (that’s 175°C for those using Celsius). While it’s heating, grab a medium-sized bowl. Dump in your whole wheat flour, the drained and flaked tuna, your egg, that little bit of olive oil, and the water. Now, get your hands in there or use a sturdy spoon – mix it all up until it forms a nice, cohesive dough. It should be solid enough to handle, not sticky like glue, but not crumbly either. If it feels a little too dry, just add another tiny splash of water; too wet? A sprinkle more flour. You want it just right for rolling!
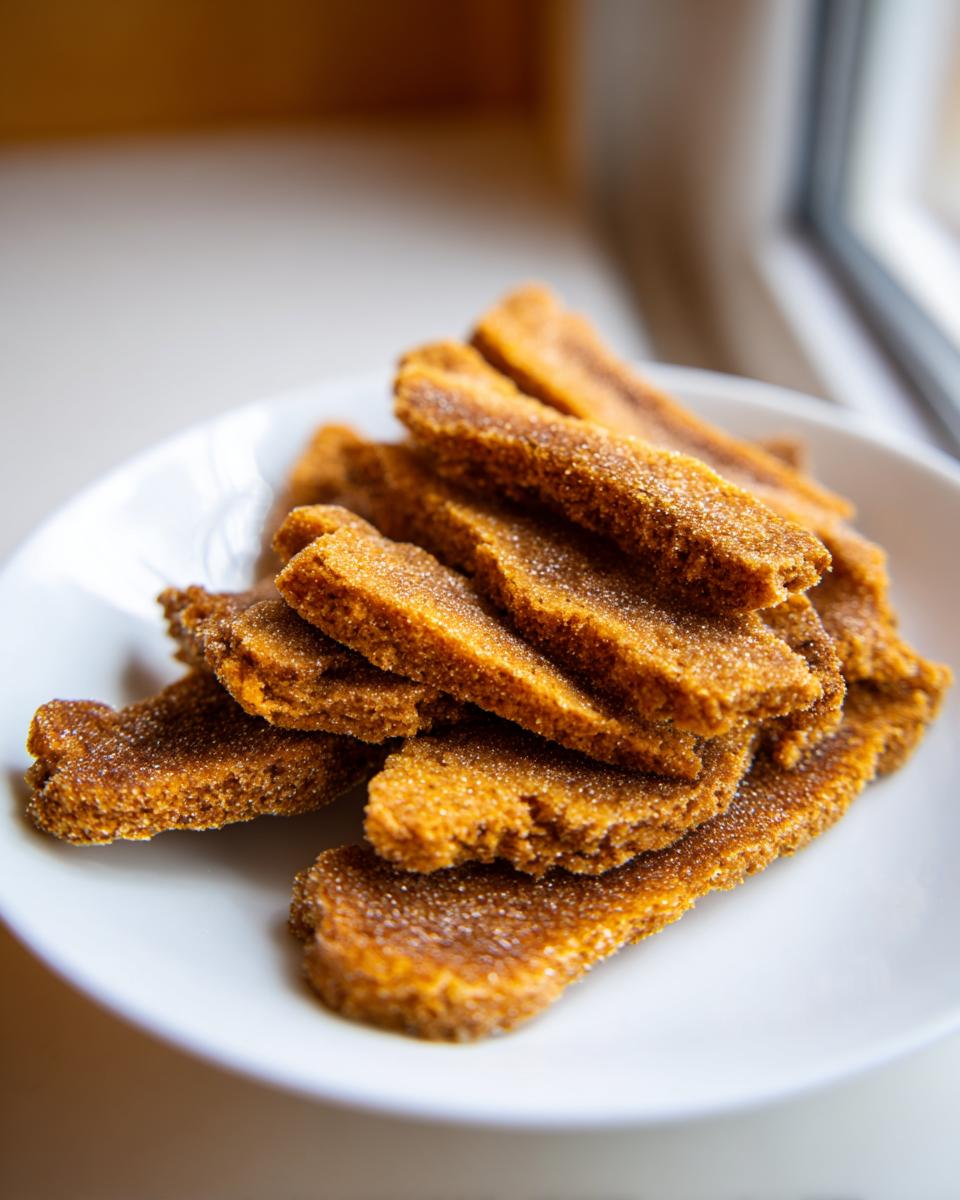
Shaping and Baking Your Crunchy Oven-Baked Cat Treats
Once your dough is perfect, lay out a sheet of parchment paper on your baking sheet. This makes cleanup a breeze, which is always a win in my book! Lightly flour your surface and roll that dough out to about a quarter-inch thickness. It’s not super thick, so don’t go crazy pressing down. Then, get creative with cutting! You can use a tiny cookie cutter if you have one, or just a knife to score small squares or little rectangles. Pop these guys onto the prepared baking sheet, making sure they aren’t all squished together. Now, into that preheated oven they go for about 20 minutes. You’re looking for them to be golden brown and, most importantly, crispy! My little trick is to flip them halfway through baking to make sure both sides get perfectly toasted.

Tips for Perfect Crunchy Oven-Baked Cat Treats
Okay, so getting these treats just right is all about a few little secrets I’ve picked up. For that amazing crunch that Bartholomew goes wild for, don’t roll the dough too thick – about a quarter-inch is perfect. If it’s too thick, they’ll be chewy instead of crispy, and that’s just not the same! I also learned that cutting them small and somewhat uniform helps them bake evenly. For some extra fun inspiration on achieving that perfect texture in baking, check out my doughnut baking tips! Once they’re out of the oven, resist the urge to serve them right away! They need to cool completely on a wire rack. This is super important because it lets them firm up and get that satisfying crunch. Honestly, the hardest part is waiting for them to cool down before you give them to your eager kitty!
Ingredient Notes and Substitutions for Your Cat Treats
So, let’s chat about these ingredients for a sec, because sometimes life happens and you need a little wiggle room! Whole wheat flour is great for these treats, but if you’re worried about it, you *could* try oat flour. Just remember that cats are carnivores, so we want to keep the carbs pretty low. Always chat with your vet before making big diet changes, though! Now, if your furball isn’t a tuna fan (Bartholomew used to be *so* iffy on it!), you can try other cooked fish or even plain cooked chicken, but again, run it by your vet first. The tablespoon of olive oil is just there to add a bit of healthy fat and help make the dough a little more pliable, so don’t skip that unless you absolutely have to!
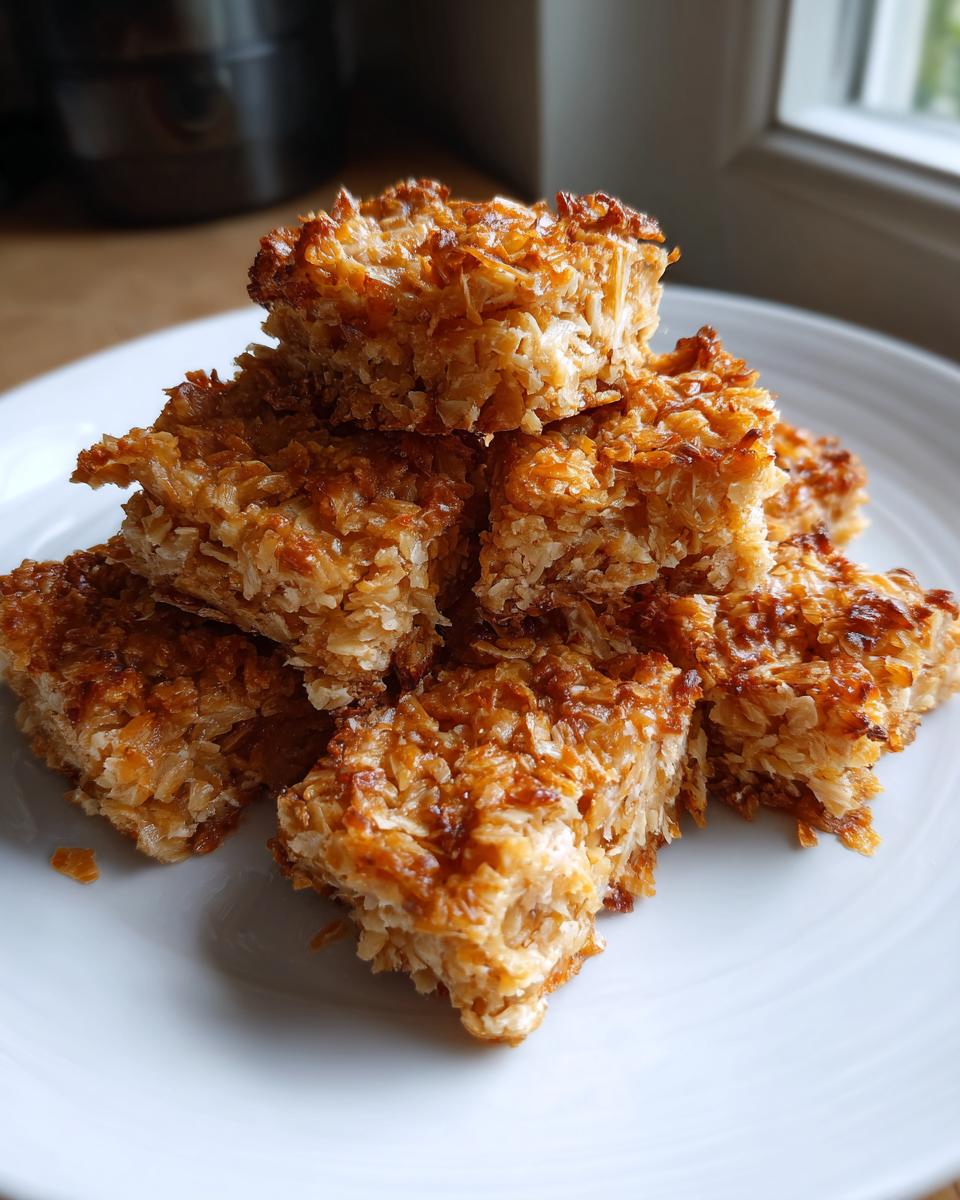
Serving and Storing Your Homemade Cat Treats
Okay, so you’ve got these delicious, crunchy little morsels! When you’re ready to serve them, just offer one or two to your kitty – they’re treats, so moderation is key! After they’ve all been gobbled up (or stashed away for later by your cat, ha!), store any leftovers in an airtight container right on the counter. They should stay nice and fresh for about a week at room temperature. It’s always good to have a batch ready to go for when your furball earns some extra love, kind of like how having a quick tuna melt recipe on hand is a lifesaver for lunch!
Frequently Asked Questions About Crunchy Oven-Baked Cat Treats
Got questions about these purrfectly crunchy treats? I’ve got answers!
Can I use different types of flour for these treats?
You can definitely experiment! While whole wheat flour gives a great texture and is generally well-tolerated, you could try oat flour. Make sure it’s plain, unsweetened oat flour. Just be a little cautious, as cats are primarily carnivores, so we want to keep the carb content low. Always consult your vet if you’re unsure about introducing new ingredients!
How often can I give these homemade treats to my cat?
These are treats, so they should be given in moderation! Think of them as a special reward, not a meal replacement. One or two treats a day is usually a good guideline, depending on your cat’s size and overall diet. It’s always best to balance treats with their regular, nutritious cat food.
Are these crunchy treats suitable for kittens?
Generally, yes! Kittens can enjoy these treats, but it’s always a good idea to check with your vet first, especially if they are very young or have any specific dietary needs. Make sure the treats are cut into small, manageable pieces for tiny mouths.
What if my cat isn’t a fan of tuna flavor?
No worries! Bartholomew can be a bit fussy too. You can try swapping the tuna for a small amount of plain, cooked, unseasoned chicken or even a little bit of cooked salmon. Just make sure whatever protein you use is fully cooked and has no added spices or oils. Again, a quick vet check before changing their main protein source is always wise!
Nutritional Information (Estimated)
Just so you know what you’re feeding your little buddy, here’s an estimate of the goodies in each crunchy treat. Keep in mind these numbers are approximate and can change a bit depending on the exact brands you use and how precise you are with your measurements! A single treat has about 15 calories, 0.5g of fat, 1g of protein, and 2g of carbohydrates.
Print
Crunchy Oven-Baked Cat Treats
- Total Time: 30 min
- Yield: 20 treats 1x
- Diet: Low Lactose
Description
Simple homemade treats for your cat, baked to a perfect crunch.
Ingredients
- 1 cup whole wheat flour
- 1/2 cup canned tuna, drained
- 1 egg
- 1 tablespoon olive oil
- 1/4 cup water
Instructions
- Preheat your oven to 350°F (175°C).
- In a bowl, mix the whole wheat flour, tuna, egg, olive oil, and water until a dough forms.
- Roll the dough out to about 1/4 inch thickness and cut into small pieces.
- Place the pieces on a baking sheet lined with parchment paper.
- Bake for 20 minutes or until golden and crispy.
- Let cool completely before serving to your cat.
Notes
- Store in an airtight container for up to a week.
- Ensure your cat has no allergies to the ingredients before serving.
- Prep Time: 10 min
- Cook Time: 20 min
- Category: Pet Food
- Method: Baking
- Cuisine: Pet
Nutrition
- Serving Size: 1 treat
- Calories: 15
- Sugar: 0 g
- Sodium: 5 mg
- Fat: 0.5 g
- Saturated Fat: 0.1 g
- Unsaturated Fat: 0.3 g
- Trans Fat: 0 g
- Carbohydrates: 2 g
- Fiber: 0.2 g
- Protein: 1 g
- Cholesterol: 5 mg
Keywords: cat treats, homemade cat food, oven-baked cat snacks