

Okay, confession time: there are days when the cookie craving hits HARD, but the thought of gathering every single ingredient feels like a marathon. That’s where my absolute favorite shortcut comes in: the Cookie Mix in a Jar! Seriously, these jars are pure magic. You layer all the dry stuff, tie a bow on it, and boom – you’ve got a thoughtful gift ready to go, or a secret weapon for those sudden baking emergencies. I remember making one for my neighbor when she was feeling under the weather, and her face just lit up. It’s such a sweet gesture, and the best part? When she’s ready to bake, she just needs to add a couple of wet ingredients and magic happens!
Why You’ll Love This Cookie Mix in a Jar
Seriously, this Cookie Mix in a Jar is a lifesaver! Here’s why it’s become a staple around here:
- Super Easy Prep: Layering everything in the jar takes minutes!
- Totally Customizable: You can swap out mix-ins to make it YOU.
- Perfect Gift: It’s handmade, thoughtful, and oh-so-delicious.
- Instant Gratification: Forget scrambling for ingredients when a craving strikes.
- Always Delicious: You end up with fantastic homemade cookies every single time.
- Kid-Friendly Fun: Kids absolutely love helping to layer the jars!
Gather Your Ingredients for Cookie Mix in a Jar
Alright, let’s get our hands on the goodies you’ll need for this fantastic Cookie Mix in a Jar. The beauty here is that everything going into the jar is nice and dry, so it stays fresh for ages! You’ll need:
- 1 ½ cups all-purpose flour – Just your regular flour is perfect.
- 1 teaspoon baking soda – This helps your cookies get nice and fluffy.
- ½ teaspoon salt – A little salt makes all the sweet flavors pop!
- ¾ cup granulated sugar – For that classic cookie sweetness.
- ¾ cup packed brown sugar – Get it all cozy and firm in the measuring cup. This is where a lot of that yummy caramel flavor comes from!
- ½ cup rolled oats (optional) – If you love a little chewy texture, toss these in! Make sure they’re rolled oats, not instant.
- ½ cup chocolate chips, nuts, or dried fruit (optional) – This is where you get to play! We’ll talk more about ideas later, but have your favorite mix-ins ready.
Assembling Your Cookie Mix in a Jar: Step-by-Step
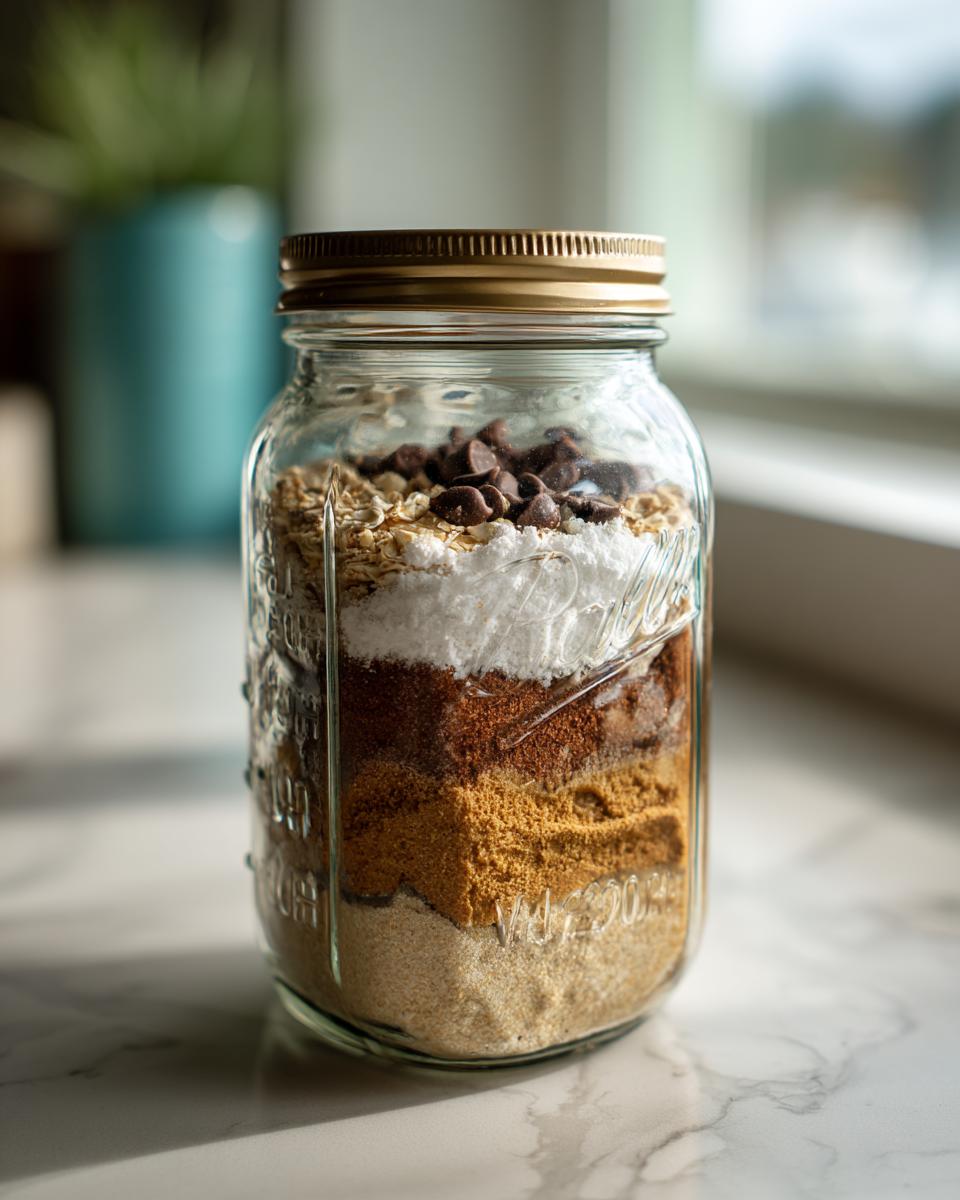
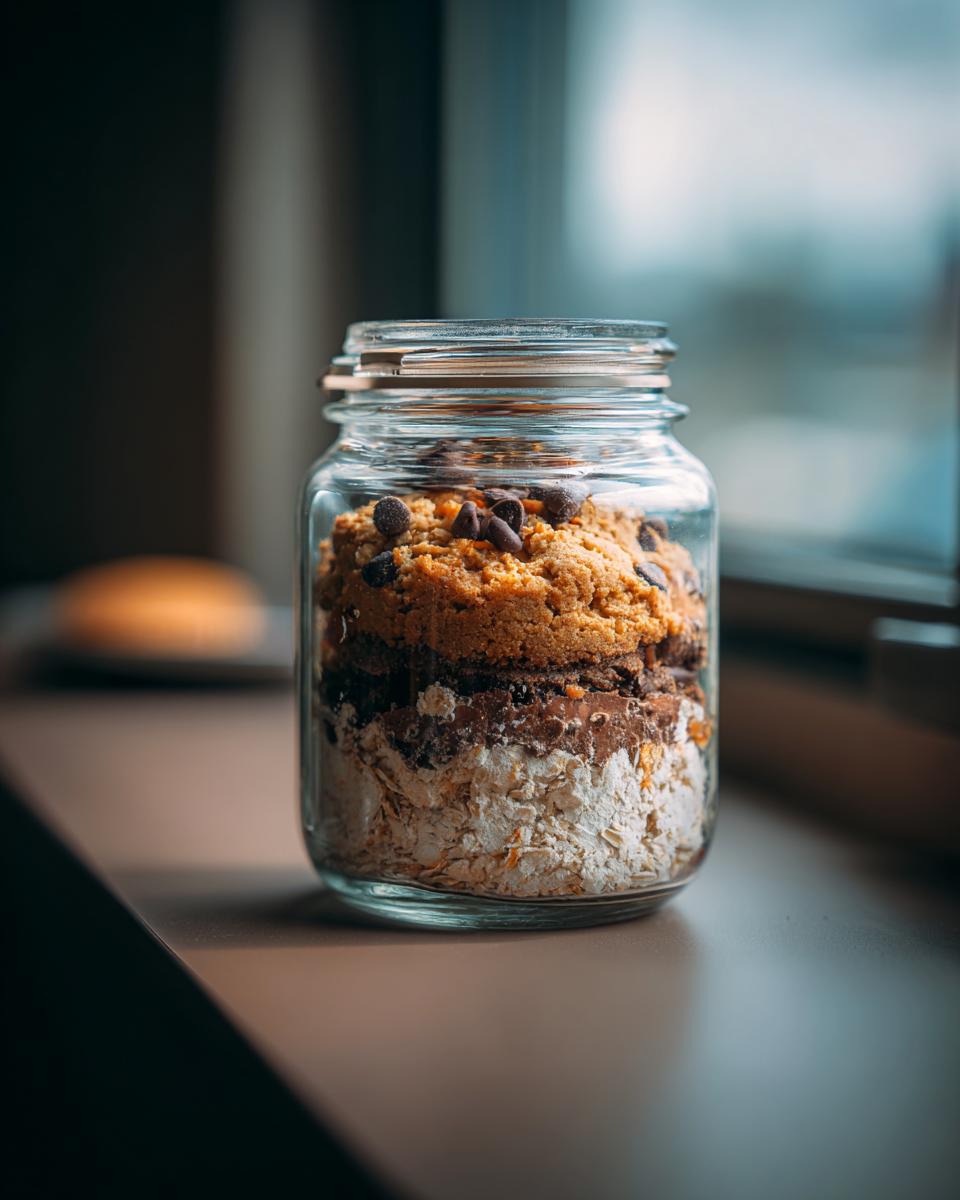
Alright, this is the fun part where your Cookie Mix in a Jar starts looking like a real gift or a handy pantry stash! It’s super easy, and honestly, building those layers looks so pretty. You want to make sure you layer them right so everything stays nice and separated until it’s time to bake. Grab your favorite clean jar – a quart-sized mason jar works like a charm! And for a little extra flair, you can even tie a ribbon around it and attach a cute DIY tag with the baking instructions. Just make sure the lid is on good and tight when you’re done!
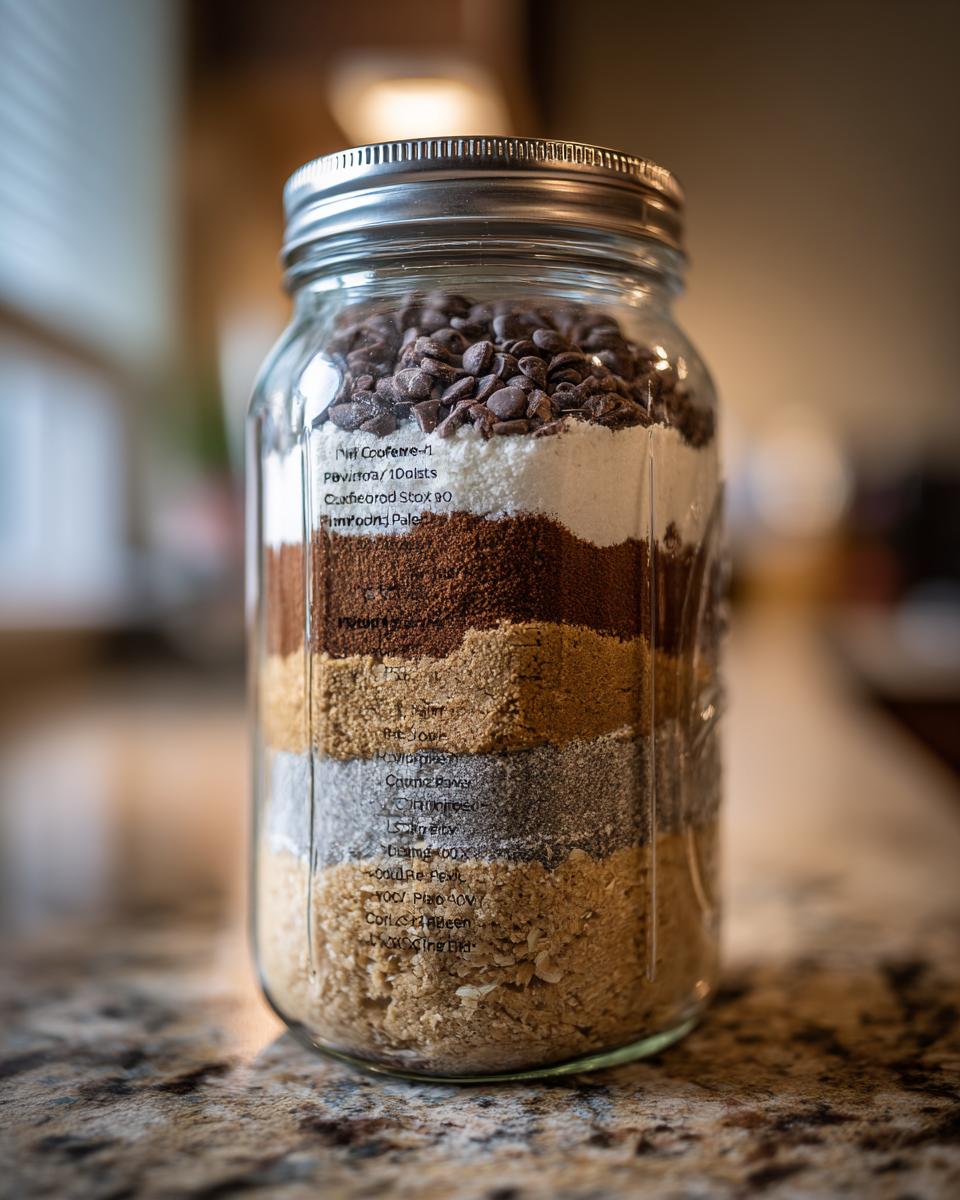
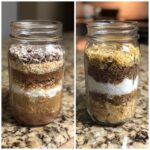
Layering the Dry Ingredients
First things first, we need to get our dry ingredients into that jar. Start with the flour mixture (that’s your flour, baking soda, and salt, all whisked together really well). Spoon that in first. Then, carefully add your sugar mixture – the granulated and packed brown sugar, also ideally whisked together. If you’re adding rolled oats for that extra chew and texture, spoon them in right on top of the sugar layer. The key is to tap the jar gently as you add each layer to help them settle and create those nice, distinct lines.
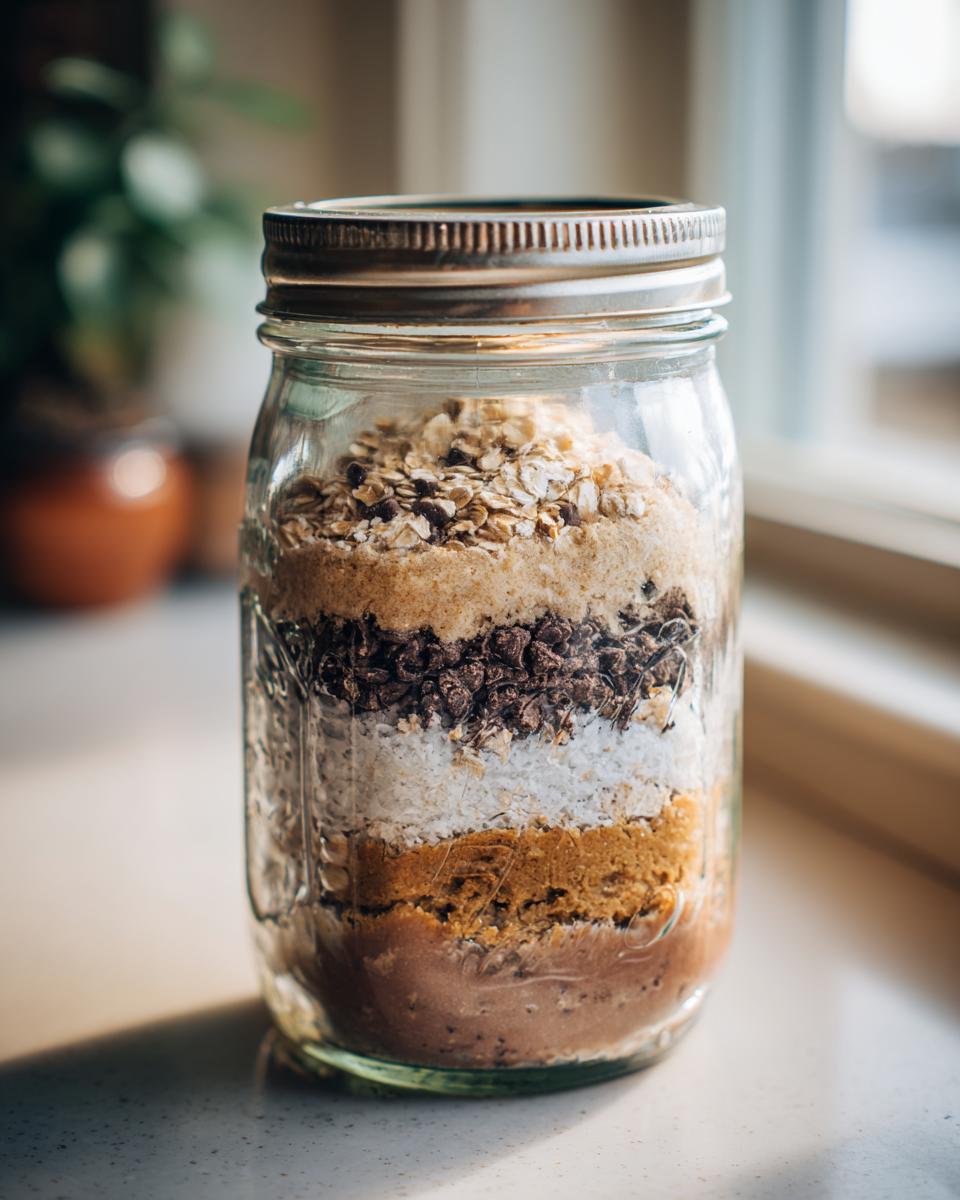
Adding the Mix-Ins
Now for the really exciting part – the goodies! If you’re adding chocolate chips, chopped nuts, or yummy dried fruit, this is when they go in. Gently pour these right on top of the last dry layer. Putting them on top helps keep them from getting lost in the shuffle and ensures they stay nice and fresh. Plus, you get to see all those delicious little bits peeking out from the top of the jar!
Baking Your Homemade Cookies from the Cookie Mix in a Jar
So you’ve got your beautiful Cookie Mix in a Jar all ready to go, and that cookie craving is *real*, right? Don’t worry, we’re about to turn this jar of goodness into delicious, warm cookies! First things first, you’ll need to add the wet ingredients. Grab a big ol’ mixing bowl and pour out the entire contents of your jar. Then, you’ll need 1 cup (that’s two sticks!) of softened butter and two large eggs. Gently mix it all together until it’s just combined. Seriously, don’t go crazy mixing here; we don’t want tough cookies! For more deliciousness, check out my classic chocolate chip cookie recipe or these amazing chocolate chip cookies!
Mixing the Dough
Okay, time for the magic! Dump everything from your jar into a big mixing bowl. Now, add in that 1 cup of softened butter and your two large eggs. Get in there with a spoon or a spatula and mix it all up until *just* combined. You’ll see the dry ingredients start to soak up the wet ones and form this lovely, shaggy dough. Resist the urge to overmix; we’re going for tender cookies here!
Shaping and Baking
Now that you have your dough, it’s time to make some cookie magic happen! I like to use a cookie scoop, or just a couple of spoons, to drop rounded tablespoons of dough onto a baking sheet. Leave a little space between them, because they will spread out a bit. Pop that baking sheet into a preheated oven at 350°F (that’s 175°C). You’ll want to bake them for about 10 to 12 minutes. Keep an eye on them – you’re looking for those perfect edges to turn a lovely golden brown. Once they look just right, pull them out and let them cool on the sheet for a few minutes before transferring them to a wire rack to cool completely. Trust me, the smell will be divine!
Tips for the Perfect Cookie Mix in a Jar
Making a Cookie Mix in a Jar is pretty foolproof, but a few little tricks can take yours from good to absolutely amazing! I’ve learned a thing or two over the years, and I want to share them with you so your jars are always picture-perfect and bake up like a dream.
First off, jar choice matters! A wide-mouth quart-sized mason jar is usually your best bet. It makes layering easy and also makes it simple to get the dough out later. For ingredients, always use good quality stuff – it really does make a difference in the final cookie. And make sure your sugars are packed in nice and snug; that helps keep everything from shifting around too much. If you’re gifting these, definitely plan ahead for the decorations! Think cute ribbons or tags, maybe even tie on a special spatula or cookie cutter like you would with personalized mug gifts! And remember, the jar mix itself is good for a few months if stored in a cool, dry place, so don’t stress if you can’t bake it right away.
Customization Ideas for Your Cookie Mix
The best part about this Cookie Mix in a Jar? You can totally make it your own! Think of the jar as a blank canvas for cookie deliciousness. Want something extra decadent? Toss in some double chocolate chips or even some white chocolate chunks. For a bit of crunch, pecans or walnuts are always a fantastic choice. And don’t forget the spices! A little pinch of cinnamon or even some nutmeg can add a warm, cozy flavor that’s just perfect, especially during the holidays. You can also mix and match – maybe some dried cranberries and slivered almonds? Or how about some gooey chocolate for extra indulgence? Go wild!
Frequently Asked Questions about Cookie Mix in a Jar
Got questions about making your awesome Cookie Mix in a Jar? I’ve got answers! It’s pretty straightforward, but here are a few things folks often wonder about:
How long does the cookie mix last in the jar?
This is a great question! Since everything in the jar is dry, it stays good for a good while. I usually say up to about 3 months if you keep it in a cool, dry pantry. Just make sure that lid is sealed nice and tight to keep out any moisture!
Can I use different types of flour?
For this specific recipe, sticking with all-purpose flour is best. It’s the tried-and-true base for these cookies! While you *could* experiment with things like whole wheat or gluten-free blends, they can change the texture and how the dough absorbs moisture, so the results might be a little different than what you expect. Stick with all-purpose for the best reliable outcome!
What size jar do I need for the cookie mix?
My go-to is a quart-sized (32 oz) wide-mouth mason jar. It holds all the dry ingredients perfectly and is super easy to get the dough out of when you’re ready to bake. If you have a slightly larger or smaller jar, you might need to adjust ingredient amounts slightly, but the quart size is generally spot-on for this recipe!
Can I add other things to the dry mix, besides what’s listed?
Oh, absolutely! That’s the beauty of this Cookie Mix in a Jar! You can easily stir in things like a tablespoon of cinnamon for spiced cookies, or even a bit of instant espresso powder if you’re feeling adventurous with chocolate! Just make sure whatever you add is also dry so it layers well in the jar.
Nutritional Information (Estimate)
Just a little heads-up, the nutrition info here is an estimate for one cookie made from our Cookie Mix in a Jar. Things can change a bit depending on the brands you use and any extra goodies you toss in, like nuts or different chips!
- Serving Size: 1 cookie
- Calories: 150
- Fat: 7g
- Saturated Fat: 4g
- Cholesterol: 20mg
- Sodium: 80mg
- Carbohydrates: 20g
- Sugar: 15g
- Fiber: 1g
- Protein: 2g
Cookie Mix in a Jar
- Total Time: 22 minutes
- Yield: Approximately 24 cookies 1x
- Diet: Vegetarian
Description
A simple and customizable cookie mix stored in a jar, perfect for gifting or quick baking.
Ingredients
- 1 ½ cups all-purpose flour
- 1 teaspoon baking soda
- ½ teaspoon salt
- ¾ cup granulated sugar
- ¾ cup packed brown sugar
- ½ cup rolled oats (optional)
- ½ cup chocolate chips, nuts, or dried fruit (optional)
Instructions
- In a bowl, whisk together flour, baking soda, and salt.
- In a separate bowl, combine granulated sugar and brown sugar.
- In a large jar, layer the dry ingredients: start with the flour mixture, then add the sugar mixture. If using oats, add them on top of the sugar.
- If adding chocolate chips, nuts, or dried fruit, place them on the very top.
- Seal the jar tightly.
- To bake, empty the jar contents into a bowl. Add 1 cup (2 sticks) softened butter and 2 large eggs. Mix until just combined.
- Drop rounded tablespoons of dough onto a baking sheet.
- Bake at 350°F (175°C) for 10-12 minutes, or until golden brown.
Notes
- For a decorative touch, tie a ribbon around the jar and attach a tag with the baking instructions.
- You can customize the mix-ins to your preference.
- Prep Time: 10 minutes
- Cook Time: 12 minutes
- Category: Dessert
- Method: Baking
- Cuisine: American
Nutrition
- Serving Size: 1 cookie
- Calories: 150
- Sugar: 15g
- Sodium: 80mg
- Fat: 7g
- Saturated Fat: 4g
- Unsaturated Fat: 3g
- Trans Fat: 0g
- Carbohydrates: 20g
- Fiber: 1g
- Protein: 2g
- Cholesterol: 20mg
Keywords: cookie mix, jar gift, baking mix, homemade cookies, chocolate chip cookies, easy recipe