
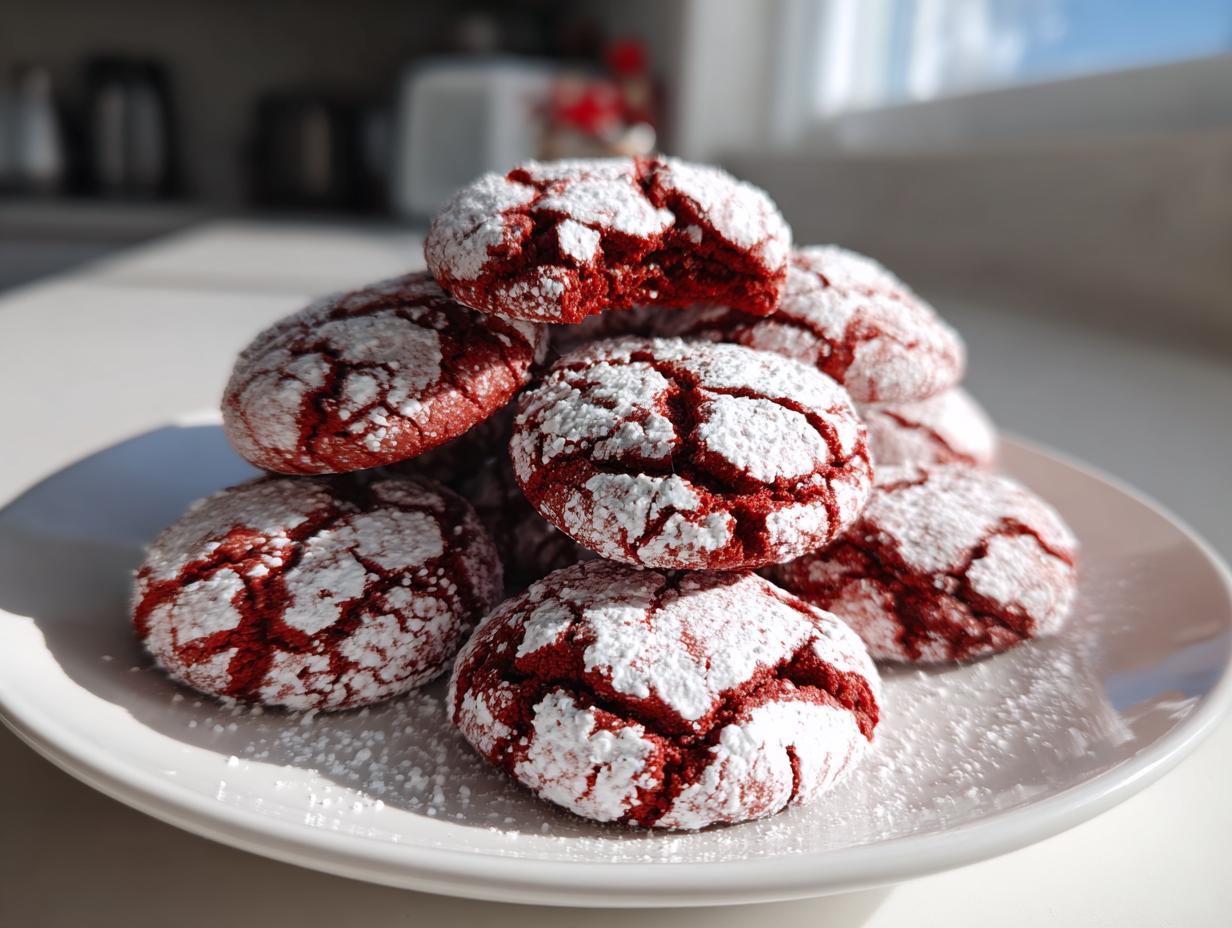
Oh, the holidays! There’s just nothing quite like that feeling when the first official Christmas carols start playing and you just *have* to get baking, right? For me, it’s really all about the treats that make your kitchen smell amazing and look absolutely festive. And that’s exactly why I am so, so excited to share my recipe for Christmas Red Velvet Crinkle Cookies with you. I mean, who can resist a soft, chewy cookie that’s practically bursting with that signature red velvet flavor and dusted in powdered sugar like it just snowed? These little beauties have been a twinkle in my holiday baking plans for years, and I just know they’ll become a favorite at your place too.
Why You’ll Love These Christmas Red Velvet Crinkle Cookies
These cookies are basically a holiday dream come true! Here’s why you’ll absolutely adore making them:
- Irresistible Flavor: That classic red velvet taste with a hint of chocolate is just divine.
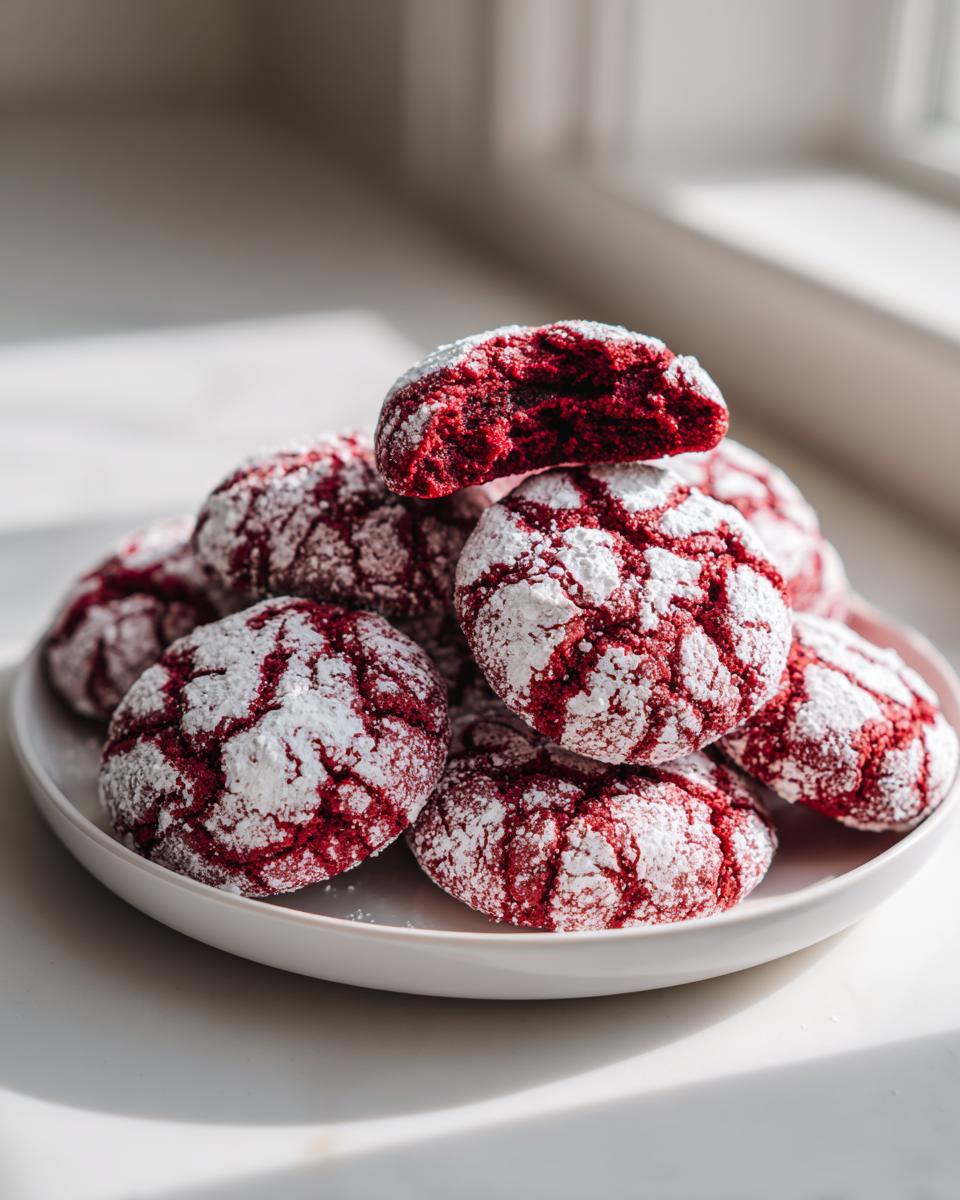
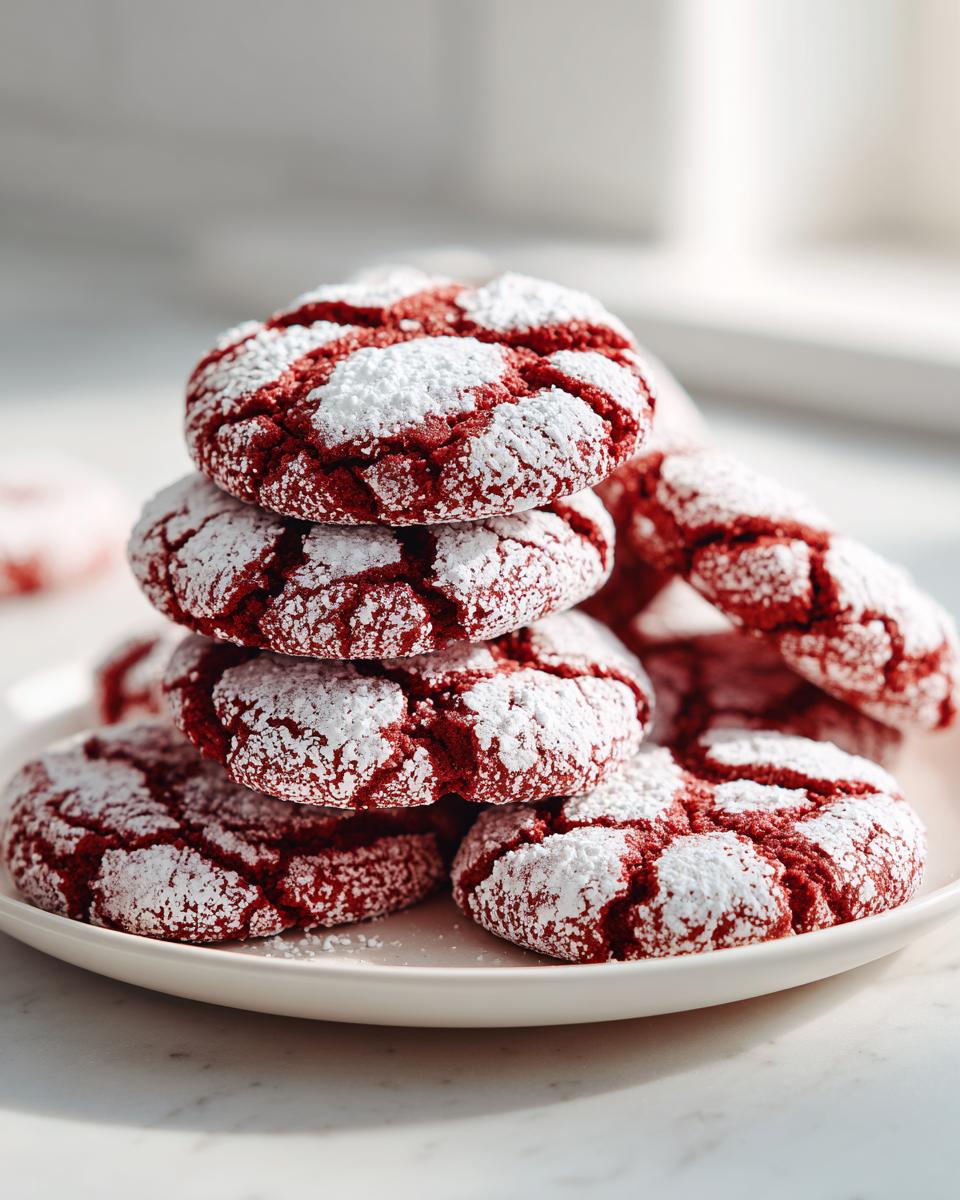
- Perfect Texture: They’re wonderfully soft and chewy on the inside with that adorable, snowy crinkle on the outside.
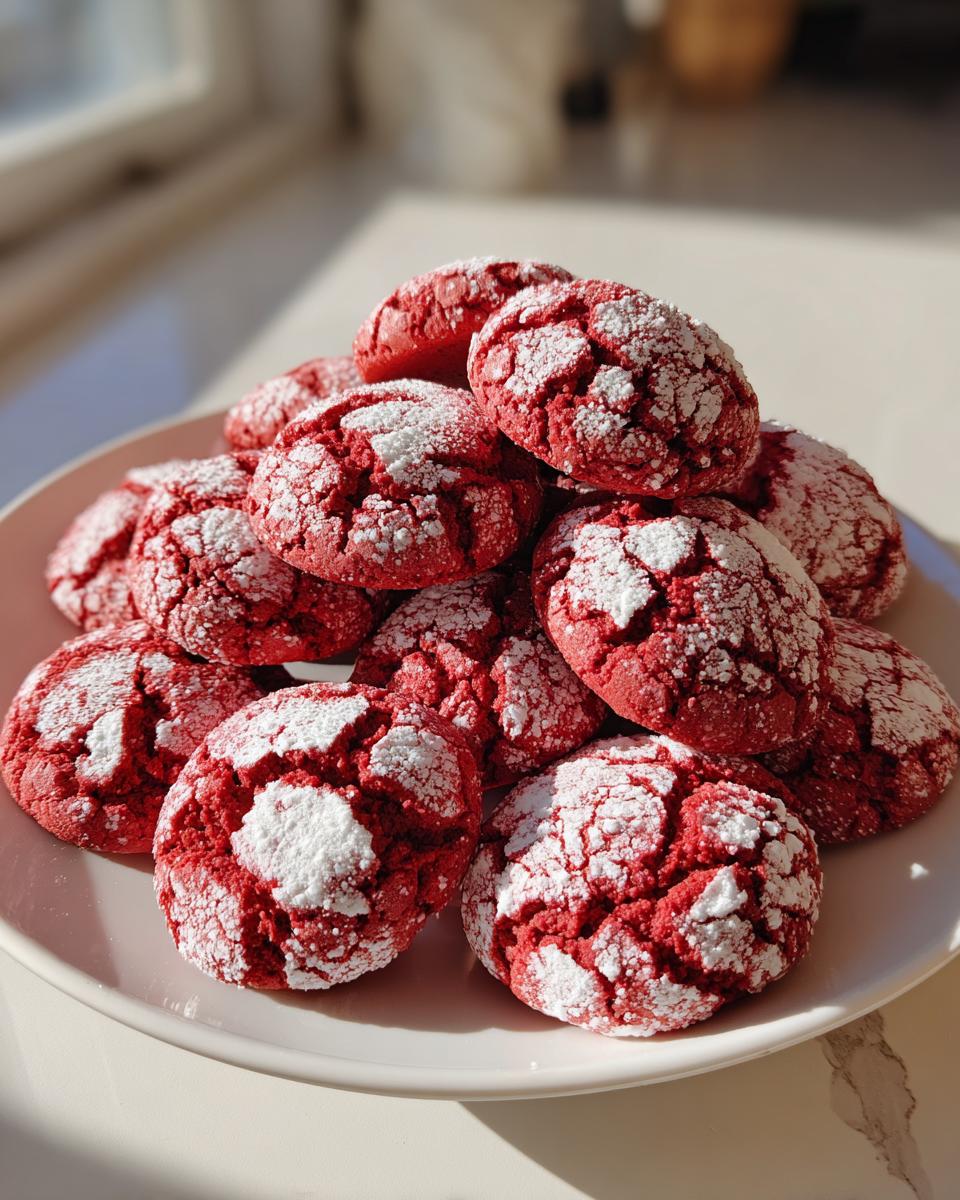
- Festive Look: The vibrant red and snowy white topping screams Christmas!
- Super Easy: Honestly, they come together pretty quickly, which is a lifesaver during the busy season.
- Crowd-Pleaser: Everyone loves them, making them perfect for parties, cookie exchanges, or just cozying up with a mug of cocoa.
Gather Your Ingredients for Christmas Red Velvet Crinkle Cookies
Alright, let’s get down to business and gather everything you need for these festive little gems! Trust me, having all your ingredients prepped makes the whole baking process so much smoother, especially when the holiday season is in full swing. I always try to use good quality ingredients; it really does make a difference in the final cookie! So, make sure you have:
- 1/2 cup unsalted butter, softened: Make sure it’s softened, not melted! This is key for creaming.
- 1 cup granulated sugar: For that lovely sweetness.
- 2 large eggs: Room temperature is best if you can remember!
- 1 teaspoon vanilla extract: The classic flavor enhancer.
- 1/2 cup buttermilk: This adds such a nice tang and moisture.
- 1 teaspoon red food coloring: Use a good quality one, or even a little gel coloring if you have it for a richer hue!
- 2 1/4 cups all-purpose flour: Your standard baking flour works perfectly here.
- 1/4 cup unsweetened cocoa powder: Just enough to give that red velvet depth without making them fully chocolate cookies.
- 1 teaspoon baking soda: Our leavening agent!
- 1/2 teaspoon salt: To balance out the sweetness.
- 1 cup powdered sugar: For rolling the cookies – don’t skimp here, it makes those gorgeous crinkles!
Essential Equipment for Baking Christmas Red Velvet Crinkle Cookies
Okay, before we dive into making these gorgeous cookies, let’s make sure you’ve got your toolkit ready! Having the right stuff on hand just makes the whole process flow so much better. You’ll want a good electric mixer (handheld or stand mixer works great!), a couple of decent mixing bowls – one for wet ingredients, one for dry – and a couple of sturdy baking sheets. Oh, and definitely grab some parchment paper; it’s a lifesaver for easy cleanup and stopping any sticking! Finally, a wire rack is your best friend for letting these beauties cool down perfectly.
Step-by-Step Guide to Making Christmas Red Velvet Crinkle Cookies
Okay, let’s dive into making these beauties! It’s really not complicated at all once you have everything mixed together. You can find more amazing holiday cookie ideas over at our favorite sugar cookie recipes, but these red velvet ones are truly special. Just follow along, and soon you’ll have a whole batch of gorgeous, festive cookies ready to impress!
Creaming the Butter and Sugar
First things first, grab your softened butter and granulated sugar and get them into your mixing bowl. You want to beat these together until they’re nice and fluffy and look lighter in color, kind of like whipped honey. This step is super important because it whips air into the dough, giving our cookies that perfect tender texture. Don’t rush it – give it a good 2-3 minutes with your mixer!
Incorporating Wet Ingredients
Now, let’s add in those eggs, one at a time, making sure each one is nicely mixed in before you add the next. After that, stir in your vanilla extract, that lovely tangy buttermilk, and of course, the star of the show – the red food coloring! Just give it a good mix until everything is wonderfully blended and you have a beautiful, vibrant red batter. If you want an even richer red, you can totally use gel food coloring, just start with a teaspoon and add more if you like.
Combining Dry Ingredients
In a separate bowl, whisk together your flour, unsweetened cocoa powder, baking soda, and salt. Whisking them well ensures everything is evenly distributed, so you don’t end up with pockets of baking soda or cocoa. It’s a little step, but it makes a big difference for consistent cookies. These cookies are so similar in technique to our basic red velvet cookie recipe, but with that fun crinkle finish!
Mixing Dough and Chilling
Now for the magic combo! Gradually add the dry ingredients into your wet mixture, mixing on low speed until it’s just combined. Be careful not to overmix here! Overmixing can make your cookies tough, and believe me, nobody wants a tough cookie. Once it’s just combined, cover the bowl tightly and pop it into the fridge for at least an hour. Chilling is crucial! It makes the dough firm and much easier to handle, and it helps create those amazing crinkles we love so much. This step is a game-changer, trust me.
Preparing for Baking
While your dough is chilling, go ahead and preheat your oven to 350°F (175°C). Then, line a couple of baking sheets with parchment paper. Using parchment paper makes cleanup a breeze and stops your cookies from sticking. I usually have my sheets all ready to go so I can get the cookies into the oven right after they’re rolled.
Shaping and Rolling the Cookies
Once that dough is nicely chilled and firm, it’s time to roll! Scoop out about 1-inch balls. I like to use a small cookie scoop for this so they’re all roughly the same size. Then, and this is the fun part, roll each ball generously into that powdered sugar. Don’t be shy! You want a really good, thick coating of powdered sugar all over. This is what creates those beautiful, cracked ‘crinkle’ designs as the cookies bake. Place the sugar-covered balls onto your prepared baking sheets, leaving about 2 inches between them so they have room to spread a little.
Baking and Cooling
Pop those beauts into your preheated oven and bake for about 10 to 12 minutes. You’re looking for the edges to be set, but the centers should still look a little soft and slightly underdone. They’ll continue to bake and firm up as they cool on the baking sheet. Let them hang out on the hot baking sheets for a few minutes – this is important for them to hold their shape. Then, carefully transfer them to a wire rack to cool completely. This prevents them from getting soggy bottoms! And there you have it – perfect Christmas Red Velvet Crinkle Cookies!

Tips for Perfect Christmas Red Velvet Crinkle Cookies
You know, cookie baking is a bit of an art, and sometimes even the simplest recipes have little tricks up their sleeves for that truly *wow* factor. For these Christmas Red Velvet Crinkle Cookies, here are a few things I’ve learned over the years that really help achieve that perfect soft, chewy center and that gorgeous crinkled look. If they’re not crinkling quite right, or if they’re a little too cakey, it’s usually down to one or two small things!
First, don’t skip the chill time! Seriously, that hour (or even longer!) in the fridge makes all the difference. Cold dough is easier to roll, and it gives you those beautifully defined crinkles. Also, be careful not to over-bake them. I know it’s tempting to bake them until they look totally done so you don’t have to worry, but red velvet crinkles should be a bit soft in the middle when you take them out. They’ll firm up as they cool, but overbaking leads to a dry, cakey cookie instead of the chewy delight we’re going for. And make sure you roll them *really* well in powdered sugar – don’t be stingy! A generous coating is what gives you that snowy, cracked effect. Speaking of other holiday goodies, if you’re looking for more easy ideas, check out our easy 3-ingredient Christmas cookies or perhaps some classic gingerbread!
Ingredient Notes and Substitutions
Sometimes life throws you a curveball, and you might be missing a specific ingredient, or maybe you have dietary needs! For these Christmas Red Velvet Crinkle Cookies, the buttermilk and the red food coloring are the stars. If you’re out of buttermilk, no worries! Just mix up a tablespoon of lemon juice or white vinegar with enough milk (cow’s milk, soy, or almond milk work) to make a cup, and let it sit for about five minutes. It’ll thicken up and work just like the real thing! As for the red food coloring, gel works wonders for a super vibrant color, but a regular liquid one works too. Just know that sometimes the color can fade a bit in the oven, so don’t be afraid to add a touch more if you want that intense red hue.
Storing and Reheating Your Christmas Red Velvet Crinkle Cookies
Once these little beauties have cooled completely, storing them is a breeze! I like to keep them in an airtight container right on the counter. They’ll stay wonderfully soft and chewy for about 3 to 4 days. If you *somehow* have any left after that (which I highly doubt!), you can pop them in the fridge for a bit longer, maybe another 2 days. And if they happen to get a little firm, just a quick 10-15 seconds in the microwave on low power brings them right back to that soft perfection.
Frequently Asked Questions About Red Velvet Crinkle Cookies
Why are my red velvet cookies not crinkling?
Oh, crinkles are the best part, right? If yours aren’t showing up, it’s usually one of two things. First, make sure that dough was **really well chilled**! Cold dough rolling into a hot oven creates that crackle. If the dough is too warm, it spreads too much and you don’t get that nice cracked effect. Second, be generous with the powdered sugar coating! A thick, even layer is what creates the snowy look and the cracks. Sometimes, just rolling them twice in powdered sugar really does the trick.
Can I make red velvet crinkle cookies without buttermilk?
Absolutely! Don’t have buttermilk on hand? Here at our site we love solutions! Just whip up a quick substitute. For every cup of buttermilk the recipe calls for, use one cup of regular milk (like whole, 2%, or even a non-dairy kind like almond or soy milk) and stir in about a tablespoon of either lemon juice or white vinegar. Give it a little stir and let it sit on the counter for about five to ten minutes. It’ll curdle a bit, and voilà – you have a perfect buttermilk substitute! It works like a charm for these cookies.
How do I get that vibrant red color?
The color is such a fun part of these cookies! While a teaspoon of liquid red food coloring usually does the job, sometimes it can fade a bit during baking. For a really intense, truly festive red, I absolutely love using gel food coloring. You only need a little bit – maybe half a teaspoon to start – and it gives such a gorgeous, deep color without making the batter too thin. Just be sure to mix it in really well to get that color distributed evenly!
Can I freeze the red velvet crinkle cookie dough?
Yes, you totally can! Freezing the dough is actually a great idea if you want to prep ahead for the holidays. Just make sure you chill the dough for at least an hour first, as instructed. Then, scoop out your 1-inch balls and roll them *generously* in powdered sugar. Place the rolled balls on a baking sheet and freeze them until they’re solid (about an hour). Once frozen, you can transfer them to a freezer bag or airtight container. When you’re ready to bake, just pop them straight from the freezer into a preheated oven (you might need to add a minute or two to the baking time). Easy peasy!
Estimated Nutritional Information
Just so you know, the numbers I’ve got here are approximate estimates, because, well, baking is a bit of an art, and everyone’s ingredients can vary a little! These figures are generally per cookie, assuming you get about 24 cookies out of the batch. You’re looking at around 180 calories, 8g of fat (about 5g of that is saturated), 25g of carbs, and a couple of grams of protein. So, enjoy them guilt-free as part of your holiday indulgence!
Print
Christmas Red Velvet Crinkle Cookies
- Total Time: 1 hr 32 min
- Yield: 24 cookies 1x
- Diet: Vegetarian
Description
Soft and chewy red velvet cookies rolled in powdered sugar for a festive crinkle effect.
Ingredients
- 1/2 cup unsalted butter, softened
- 1 cup granulated sugar
- 2 large eggs
- 1 teaspoon vanilla extract
- 1/2 cup buttermilk
- 1 teaspoon red food coloring
- 2 1/4 cups all-purpose flour
- 1/4 cup unsweetened cocoa powder
- 1 teaspoon baking soda
- 1/2 teaspoon salt
- 1 cup powdered sugar, for rolling
Instructions
- Cream together butter and granulated sugar until light and fluffy.
- Beat in eggs one at a time, then stir in vanilla extract, buttermilk, and red food coloring.
- In a separate bowl, whisk together flour, cocoa powder, baking soda, and salt.
- Gradually add the dry ingredients to the wet ingredients, mixing until just combined.
- Chill the dough for at least 1 hour.
- Preheat your oven to 350°F (175°C). Line baking sheets with parchment paper.
- Roll the chilled dough into 1-inch balls.
- Roll each ball generously in powdered sugar.
- Place the coated balls onto the prepared baking sheets, about 2 inches apart.
- Bake for 10-12 minutes, or until the edges are set but the centers are still slightly soft.
- Let the cookies cool on the baking sheets for a few minutes before transferring them to a wire rack to cool completely.
Notes
- For a deeper red color, you can use gel food coloring.
- Ensure the dough is well chilled for easier handling and better crinkles.
- Do not overbake; the cookies will continue to set as they cool.
- Prep Time: 20 min
- Cook Time: 12 min
- Category: Dessert
- Method: Baking
- Cuisine: American
Nutrition
- Serving Size: 1 cookie
- Calories: 180
- Sugar: 20g
- Sodium: 100mg
- Fat: 8g
- Saturated Fat: 5g
- Unsaturated Fat: 3g
- Trans Fat: 0g
- Carbohydrates: 25g
- Fiber: 1g
- Protein: 2g
- Cholesterol: 30mg
Keywords: red velvet cookies, christmas cookies, crinkle cookies, holiday baking, festive cookies, chocolate cookies