
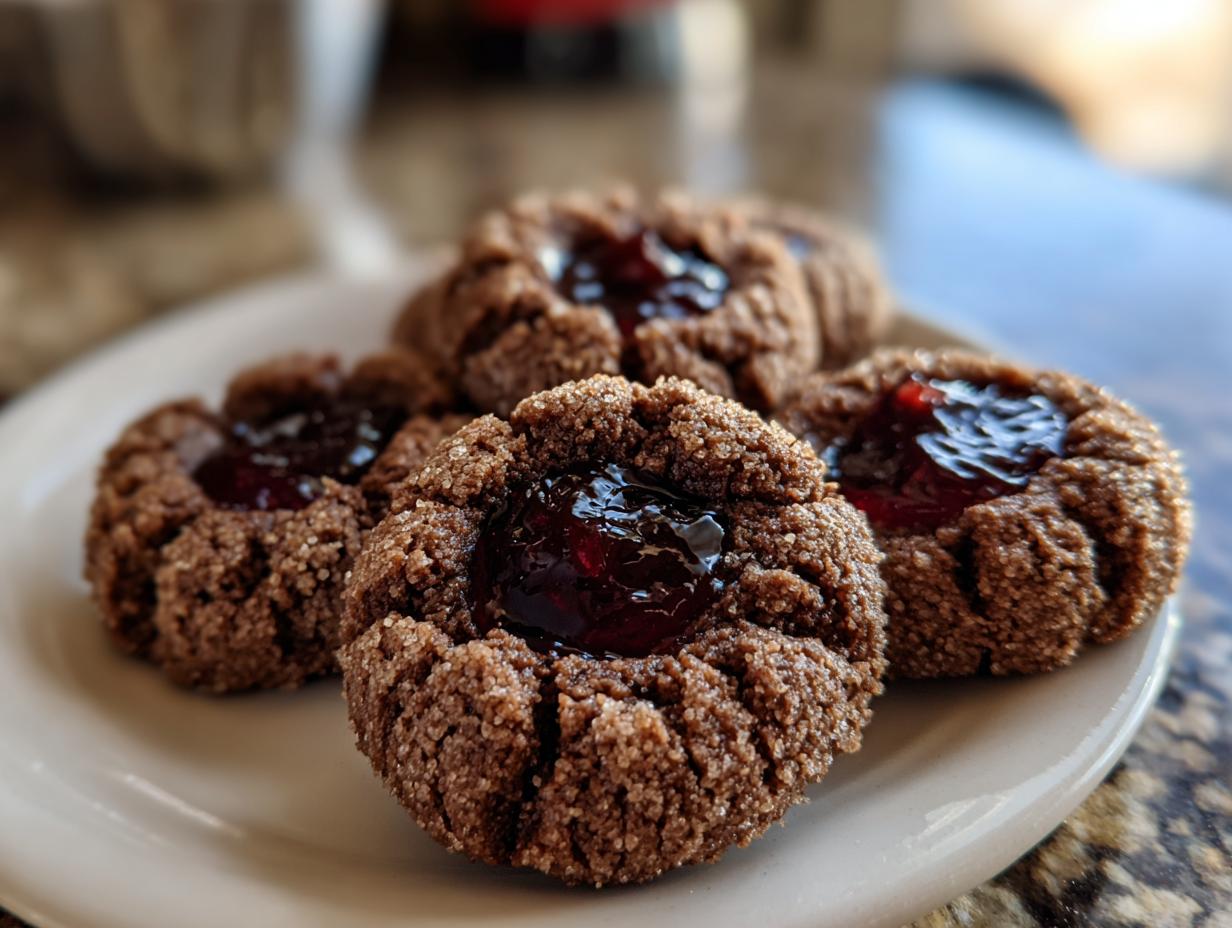
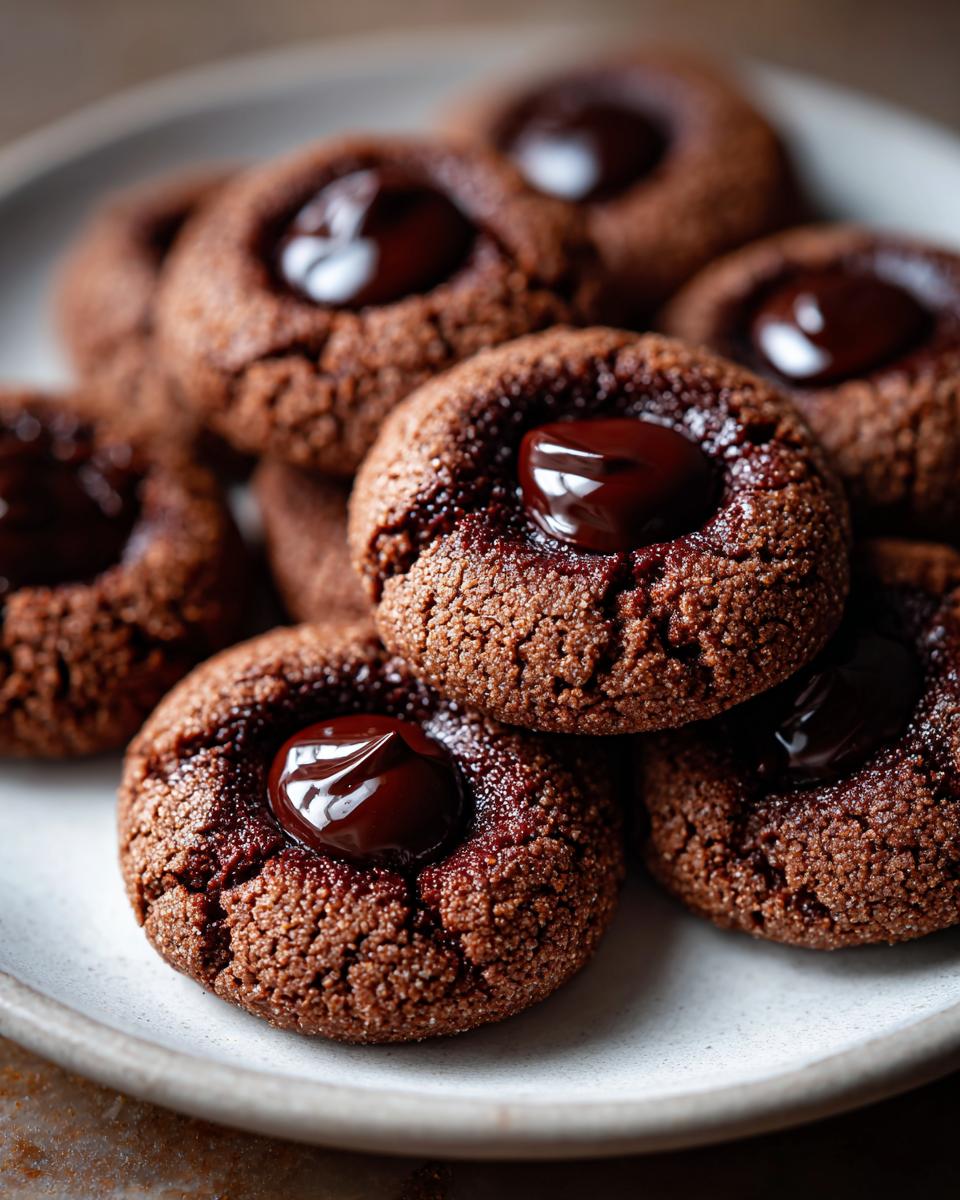
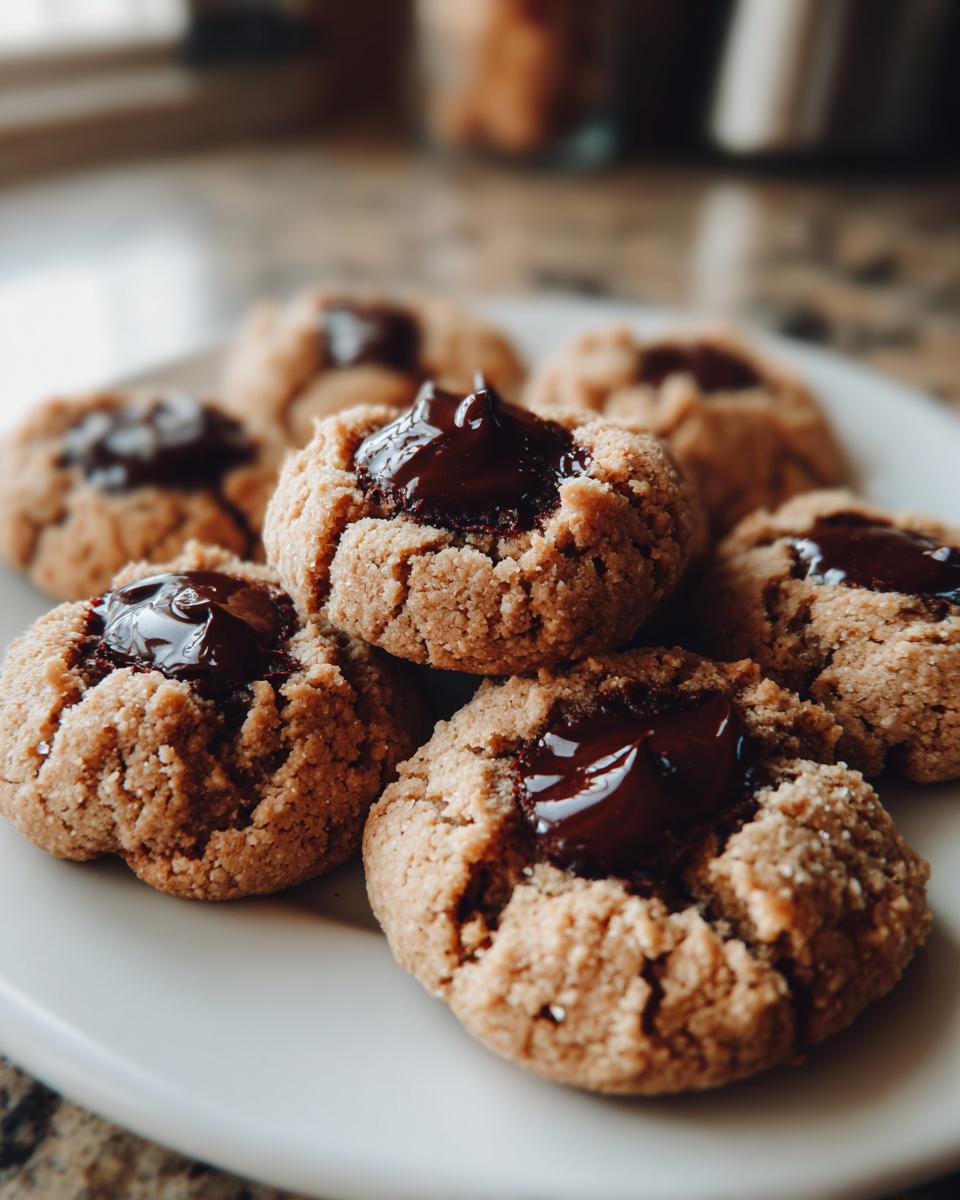
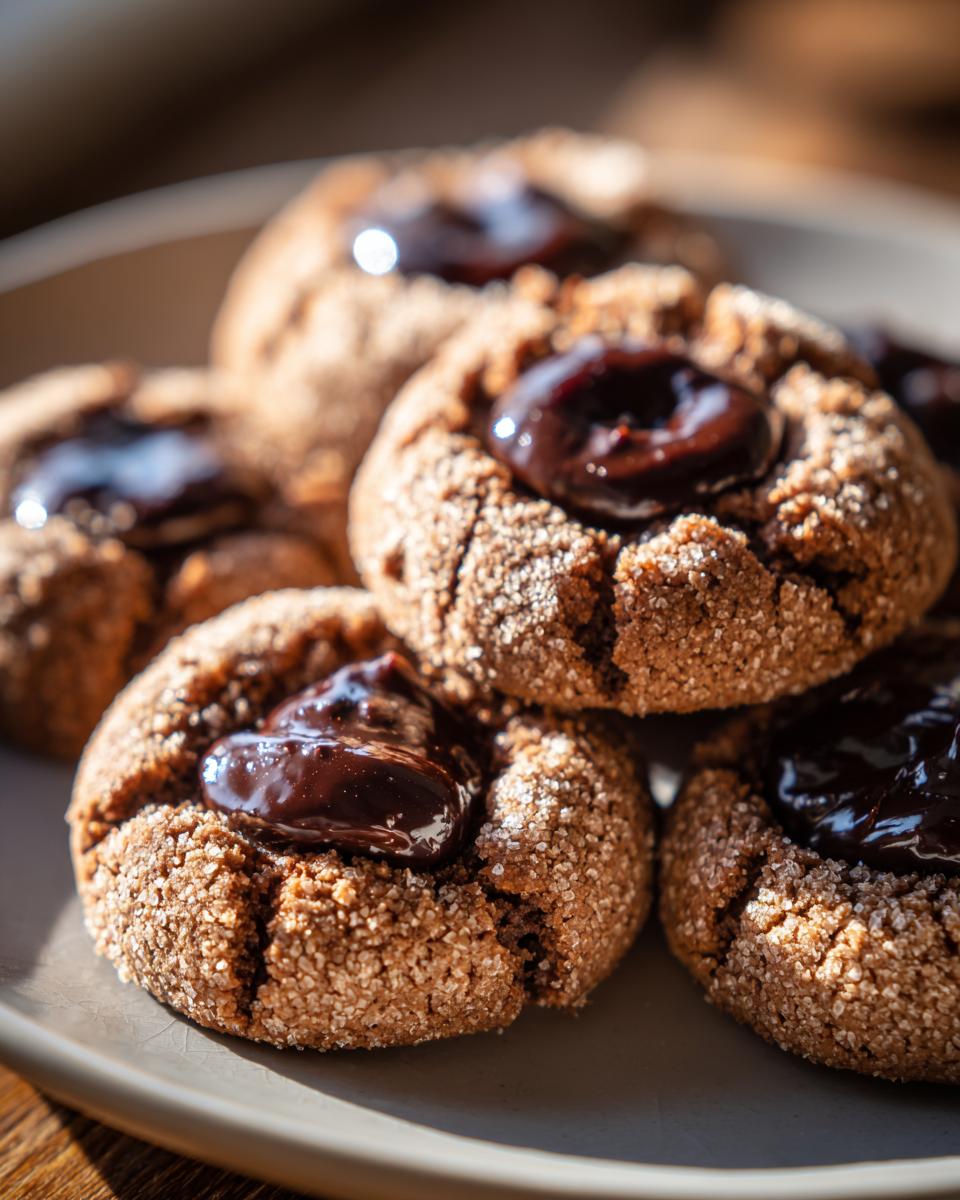
There’s just something about baking that feels like coming home, isn’t there? Especially when it involves a classic treat that tastes like pure comfort. These Chocolate Thumbprint Cookies are one of those recipes that just make you smile. They’re ridiculously simple to whip up, but that little dip in the middle filled with gooey, rich chocolate? Oh, it’s pure magic! Honestly, I remember making batches of these with my cousins during our annual holiday cookie-making marathon. The whole house would smell amazing, and we’d race to see who could get the most perfect little dimple for the chocolate. They always disappear first, too. These Chocolate Thumbprint Cookies are truly melt-in-your-mouth delicious and perfect for absolutely any occasion, from a festive gathering to just a Tuesday afternoon pick-me-up.
Why You’ll Love These Chocolate Thumbprint Cookies
Honestly, there are so many reasons to adore this recipe! They’re just so easy to make, even if you’re a beginner baker. Plus, the flavor is just outta this world – that buttery cookie with the burst of smooth chocolate? Yum! What I love most is how versatile they are. Serve them at a holiday party, pack them in a lunchbox, or just have them with a cup of coffee. They’re always a hit!
- Super simple to whip up – perfect for when you need a quick fix!
- That irresistible combo of crumbly cookie and rich chocolate center.
- Great for holidays, potlucks, or just because you deserve a treat.
- They look fancy, but nobody needs to know how easy they were!
Gather Your Ingredients for Chocolate Thumbprint Cookies
Okay, let’s get our ingredients ready for these amazing Chocolate Thumbprint Cookies! You probably have most of this stuff in your kitchen right now. The key to these is really good quality butter – it makes such a difference in the crumb. You’ll need 1 cup of unsalted butter, make sure it’s softened up so it creams nicely. Then, we’ll add 1/2 cup of granulated sugar to make them sweet and tender. For that lovely hint of flavor, grab 1 teaspoon of vanilla extract and just a pinch, 1/4 teaspoon of salt, to balance everything out. For the cookie base itself, we’ll use 2 cups of all-purpose flour. And for the star of the show, that delicious chocolatey center, you’ll need 1/2 cup of chocolate chips – use your favorite kind! Oh, and a tiny bit of 1 tablespoon of vegetable oil to make the chocolate filling extra smooth.
Essential Equipment for Perfect Chocolate Thumbprint Cookies
To make these delicious cookies, you’ll want to have a few things on hand. Grab a couple of mixing bowls, one for the dough ingredients and maybe a smaller one for melting the chocolate. A good electric mixer (handheld or stand mixer) will make creaming the butter and sugar a breeze, but honestly, a sturdy whisk and some arm power work too! You’ll need some baking sheets, and it’s super helpful to have parchment paper to line them so nothing sticks. A wire rack is essential for letting your cookies cool down properly. And don’t forget something to make those cute little thumbprint dents – your clean thumb works best, but the end of a wooden spoon can work in a pinch!
Step-by-Step Guide to Making Chocolate Thumbprint Cookies
Alright, let’s get to the fun part – making these amazing Chocolate Thumbprint Cookies! It’s a really straightforward process, so don’t stress at all. Just follow along, and you’ll have a beautiful batch in no time. Trust me, the result is totally worth it! If you love chocolate cookie goodness, you might also want to check out these classic chocolate chip cookies or even dive into some decadent double chocolate delights.
Preparing the Cookie Dough
First things first, grab your softened butter and sugar. Cream them together in a big bowl until they’re nice and fluffy – think pale and airy, like whipped clouds. Then, mix in your vanilla extract and salt. Now, gradually add your flour, just mixing until it all comes together. Don’t overdo it, or your cookies might get tough! Once it’s just combined, wrap that dough up and pop it in the fridge for at least 30 minutes. This chilling step is super important; it helps the cookies hold their shape beautifully when they bake.
Shaping and Baking Your Chocolate Thumbprint Cookies
Once the dough is nice and chilled, get your oven preheated to 350°F (175°C). Line your baking sheets with parchment paper. It’s my secret to super easy cleanup! Roll your dough into little balls, about an inch big, and place them on the prepared sheets. Now for the classic thumbprint part! Gently press your thumb into the center of each cookie to make a nice little well. Be careful not to go all the way through. Pop them into the oven and bake for about 10 to 12 minutes, just until those edges start getting a little golden brown.
Creating the Rich Chocolate Filling
While your cookies are baking, let’s whip up that luscious chocolate filling. Just toss your chocolate chips and that tablespoon of vegetable oil into a microwave-safe bowl. Heat it in 30-second bursts, stirring in between each burst, until it’s all smooth and melty. That little bit of oil makes sure it’s super silky and perfect for spooning! For an extra gooey center, give this gooey chocolate recipe a look!
Assembling and Finishing Your Chocolate Thumbprint Cookies
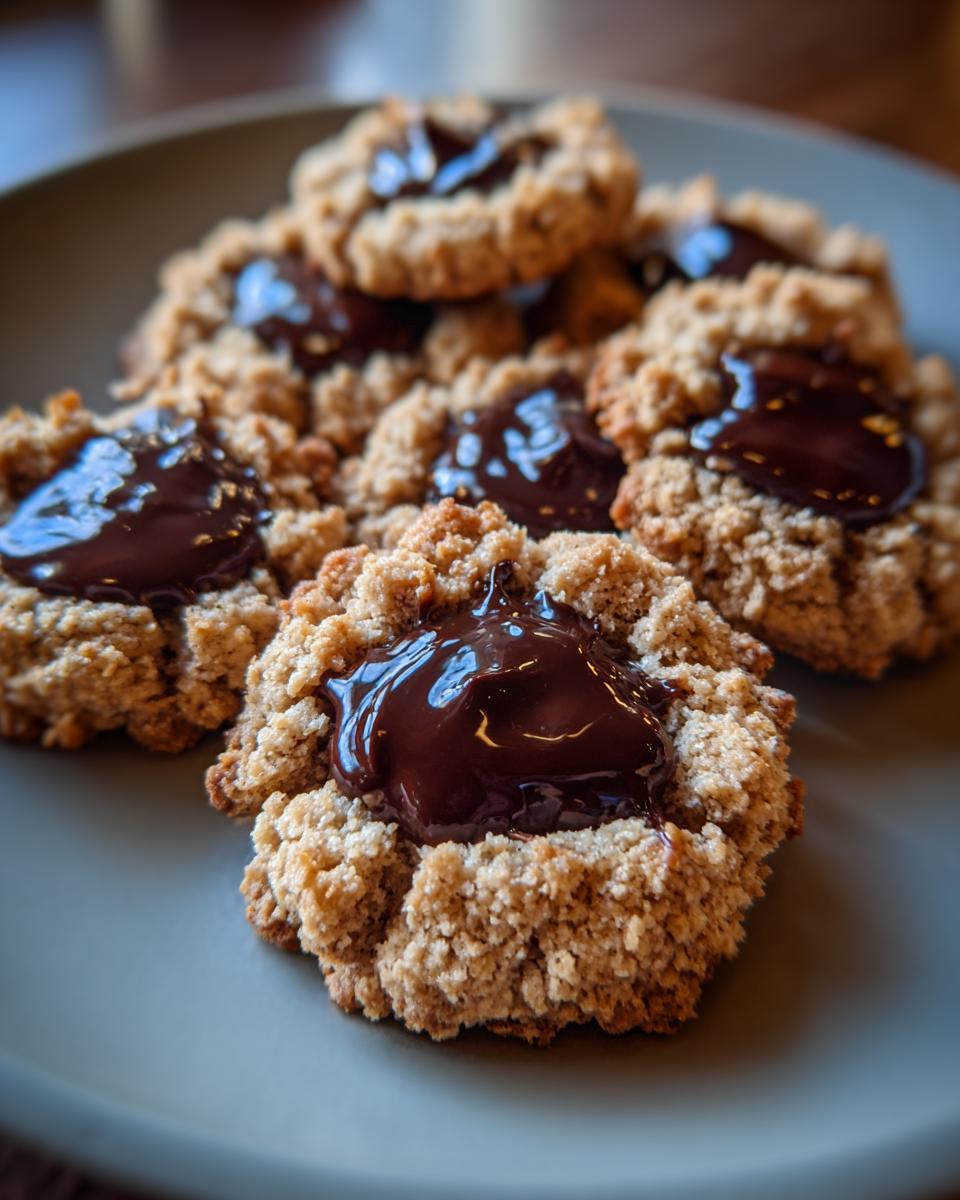
Once the cookies are out of the oven, let them cool on the baking sheet for a few minutes before carefully moving them to a wire rack to cool completely. This is important – you don’t want that chocolate filling melting everywhere! Once they’re totally cool, just spoon that gorgeous, melted chocolate right into the little indentations you made earlier. Let them sit for a bit so the chocolate can firm up, and then, ta-da!
Tips for Baking the Best Chocolate Thumbprint Cookies
Want to make your Chocolate Thumbprint Cookies absolutely perfect every single time? I’ve got a few tricks up my sleeve! First off, don’t rush that chilling step for the dough. It really does make a world of difference in preventing them from spreading too much and keeps that cute thumbprint shape intact. Also, make sure your cookies are completely cool before adding the chocolate filling – nobody wants melty chocolate goo everywhere before it’s supposed to be! If you’re feeling adventurous, try swapping out the chocolate chips for some dark chocolate or even white chocolate for a different vibe. For more chocolatey inspiration, you could try out some classic chocolate chip cookies or even a decadent triple chocolate mousse cake!
Ingredient Substitutions and Variations
You know, one of the best things about baking is making a recipe your own! If you’re looking to switch things up with these cookies, I’ve got some fun ideas. Instead of plain chocolate chips for the filling, try using dark chocolate for a richer taste, or even white chocolate for a sweet contrast. You could also fold in some chopped nuts, like walnuts or pecans, into the cookie dough before chilling for a nice crunch. And if you’re feeling extra creative, why not stir a little espresso powder into the melted chocolate filling? It gives it a lovely mocha kick! If you love swapping ingredients, you might enjoy my easy banana bread recipe, which is so adaptable!
Serving and Storing Your Chocolate Thumbprint Cookies
These cookies are just divine served slightly warm with a glass of cold milk, or at room temperature with a hot cup of coffee. They really shine when the chocolate filling is just set. For storing, keep them in an airtight container at room temperature. They tend to stay wonderfully fresh for about 3 days, though honestly, they rarely last that long in my house!
Frequently Asked Questions about Chocolate Thumbprint Cookies
Got questions about making these lovely Chocolate Thumbprint Cookies? I’ve got answers! So many people ask me about how to jazz them up or make sure they turn out just right. These little cookies are pretty forgiving, but a few pointers can make all the difference for your batch. If you’re curious about other cookie favorites, you might like my chocolate chip cookie recipe!
Can I use different types of chocolate for the filling?
Absolutely! While milk chocolate is classic, feel free to use dark chocolate for a richer flavor, or even sweet white chocolate. Peanut butter chips are another fantastic option for a different twist!
How do I get perfect indentations for the filling?
The trick is to make sure the cookie dough is well-chilled so it doesn’t spread too much. Gently press your thumb into the center while the dough is still cool, and try not to press all the way through. If a little crack appears, just gently pat the edges back together.
Can these cookies be made gluten-free?
You bet! To make gluten-free Chocolate Thumbprint Cookies, you can usually substitute a good quality gluten-free all-purpose flour blend for the regular flour, cup for cup. Some folks even like to experiment with almond flour for a nuttier flavor in their cookies. You might need to add a tiny bit less liquid or a bit more flour if the dough seems too sticky, but it’s totally doable!
Nutritional Information for Chocolate Thumbprint Cookies
Just a heads-up, the nutritional info here is an estimate, okay? It can totally change depending on the brands you use and exactly how big you make your cookies. But generally, for one of these yummy Chocolate Thumbprint Cookies, you’re looking at around 150 calories. That breaks down to about 9 grams of fat, 2 grams of protein, and 15 grams of carbohydrates, with roughly 10 grams of sugar in there. It’s always good to keep in mind that these are estimates!
Print
Chocolate Thumbprint Cookies
- Total Time: 32 min
- Yield: 24 cookies 1x
- Diet: Vegetarian
Description
Classic thumbprint cookies with a rich chocolate filling.
Ingredients
- 1 cup unsalted butter, softened
- 1/2 cup granulated sugar
- 1 teaspoon vanilla extract
- 1/4 teaspoon salt
- 2 cups all-purpose flour
- 1/2 cup chocolate chips
- 1 tablespoon vegetable oil
Instructions
- Cream together the butter and sugar until light and fluffy.
- Beat in the vanilla extract and salt.
- Gradually add the flour, mixing until just combined.
- Chill the dough for 30 minutes.
- Preheat your oven to 350°F (175°C).
- Roll the dough into 1-inch balls and place them on a baking sheet.
- Press your thumb into the center of each cookie to create an indentation.
- Bake for 10-12 minutes, or until the edges are lightly golden.
- While the cookies are baking, melt the chocolate chips with the vegetable oil in a microwave-safe bowl in 30-second intervals, stirring between each, until smooth.
- Let the cookies cool slightly on the baking sheet before transferring them to a wire rack to cool completely.
- Spoon the melted chocolate into the indentations of the cooled cookies.
- Allow the chocolate to set before serving.
Notes
- For a different flavor, you can use white chocolate or peanut butter chips for the filling.
- Store cookies in an airtight container at room temperature for up to 3 days.
- Prep Time: 20 min
- Cook Time: 12 min
- Category: Dessert
- Method: Baking
- Cuisine: American
Nutrition
- Serving Size: 1 cookie
- Calories: 150
- Sugar: 10g
- Sodium: 30mg
- Fat: 9g
- Saturated Fat: 5g
- Unsaturated Fat: 4g
- Trans Fat: 0g
- Carbohydrates: 15g
- Fiber: 1g
- Protein: 2g
- Cholesterol: 25mg
Keywords: chocolate thumbprint cookies, chocolate cookies, thumbprint cookies, holiday cookies, easy cookies, chocolate filling