

Oh, you know how much I love spoiling my furball, Whiskers! Watching him go absolutely bonkers for homemade goodies is just the best. That’s why I’m SO excited to share my foolproof recipe for Catnip-Infused Cat Treats with you. Seriously, they’re ridiculously easy to whip up, packed with good-for-them natural stuff, and the smell of catnip when they’re baking? Pure magic! The first time I made these, Whiskers did this hilarious little sideways skitter across the floor before diving into the kitchen. I knew right then I’d found a winner!
Why Your Cat Will Love These Catnip-Infused Cat Treats
Honestly, why wouldn’t they? These little guys are a total win-win for both you and your feline friend. Here’s why I think they’re purr-fect:
- Super Speedy to Make: Seriously, you’ll be done in under 30 minutes, which means more playtime and less kitchen time!
- All-Natural Goodness: No weird fillers or artificial stuff here, just wholesome ingredients you can actually pronounce.
- Irresistible Catnip Flavor: Let’s be real, the catnip is the star of the show. It’s like a little party in their mouths!
- A Special Bonding Moment: Making these treats yourself is such a lovely way to show your kitty how much you care. Plus, their happy dance when they get one is priceless!
Gather Your Ingredients for Catnip-Infused Cat Treats
Alright, let’s get down to business! Gathering your ingredients is the first super important step. For these fantastic Catnip-Infused Cat Treats, you’ll need just a few pantry staples and of course, some good quality catnip. Here’s the rundown:
- 1 cup whole wheat flour: This makes a nice sturdy base for our treats.
- 1/4 cup dried catnip, finely ground: Make sure it’s nice and fine so it mixes in well and your kitty gets all the goodness!
- 1 large egg, lightly beaten: This helps bind everything together.
- 1/4 cup water: Just enough to get our dough to the perfect consistency.
- 1 tablespoon olive oil: Adds a little richness and helps with texture.
That’s it! See? Simple ingredients for a happy cat!
Step-by-Step Guide to Making Catnip-Infused Cat Treats
Alright, buckle up, buttercups! Making these treats is seriously a blast. It’s one of those kitchen adventures that feels extra rewarding because you know your furry best friend is going to go nuts for them. Grab your apron, maybe a silly cat-themed one if you have it, and let’s get baking! It’s way simpler than you might think, and honestly, the hardest part is waiting for them to cool down! Think of it like waiting for homemade Krispy Kreme donuts – so worth it!
Preheating and Dough Preparation
First things first, get that oven preheating to 350°F (175°C). While it’s warming up, grab a medium-sized bowl. Dump in your whole wheat flour and your finely ground dried catnip. Give that a good stir to make sure the catnip is evenly distributed – we want every bite to be a hit! Now, in another little bowl, whisk up your egg, add the water and that splash of olive oil. Pour this wet mixture into the dry ingredients and stir it all together. You’ll want to keep stirring until it forms a nice, cohesive dough. It should be firm enough to handle but not sticky or crumbly. If it feels a bit too dry, add a tiny splash more water. If it’s too wet, a little more flour can work wonders! It’s like getting the perfect texture for our cheesy garlic bread sloppy joe melts – you just gotta feel it out!
Shaping and Baking Your Cat Treats
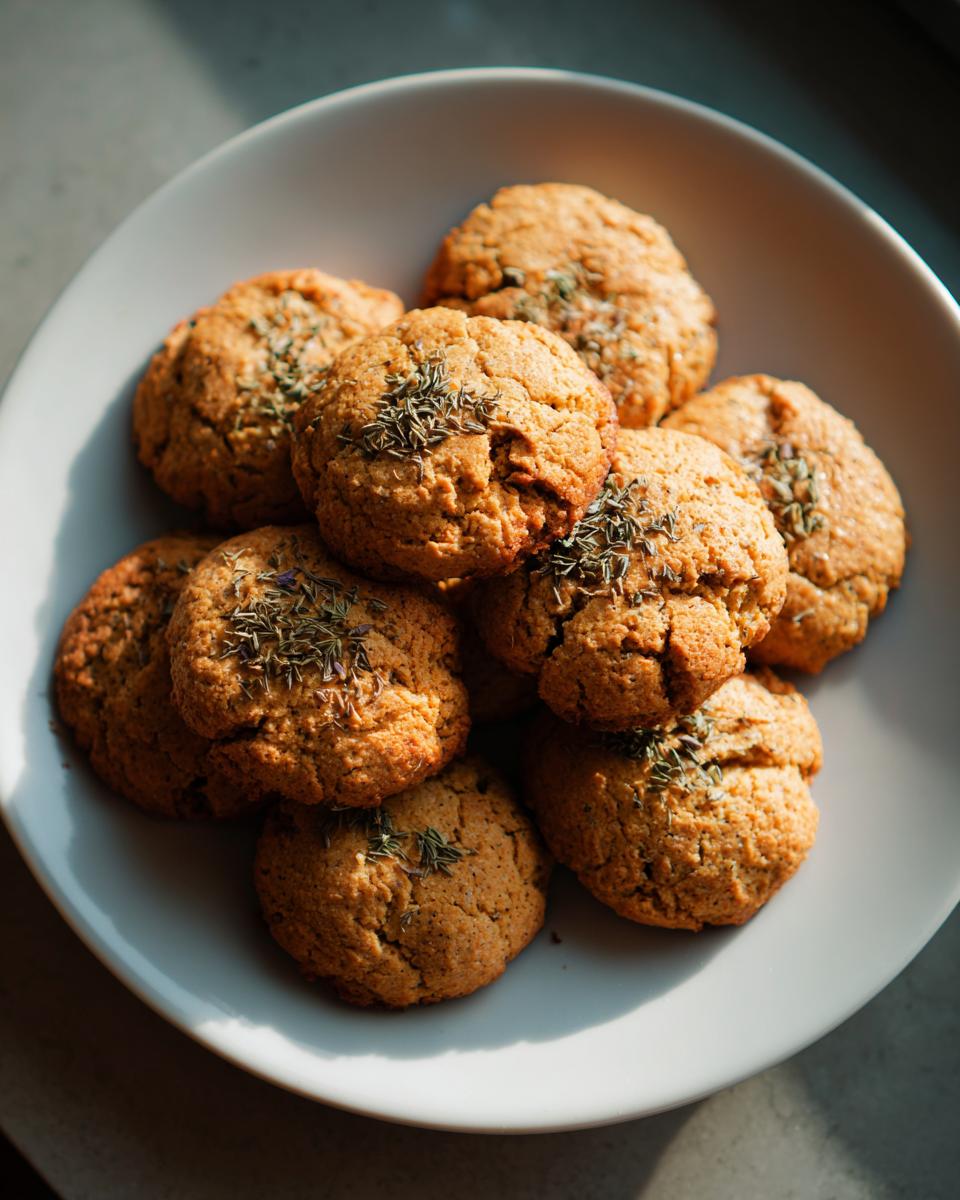
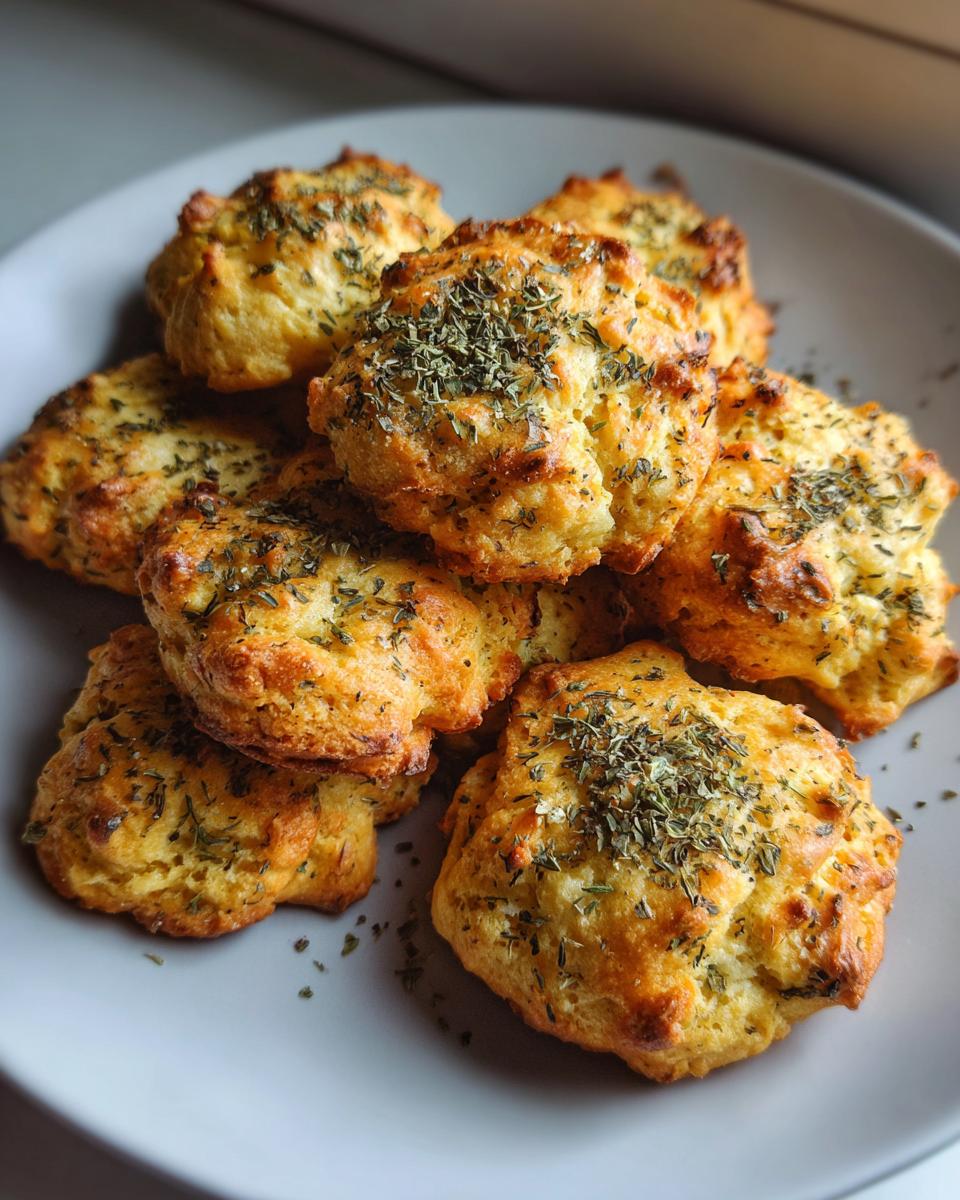
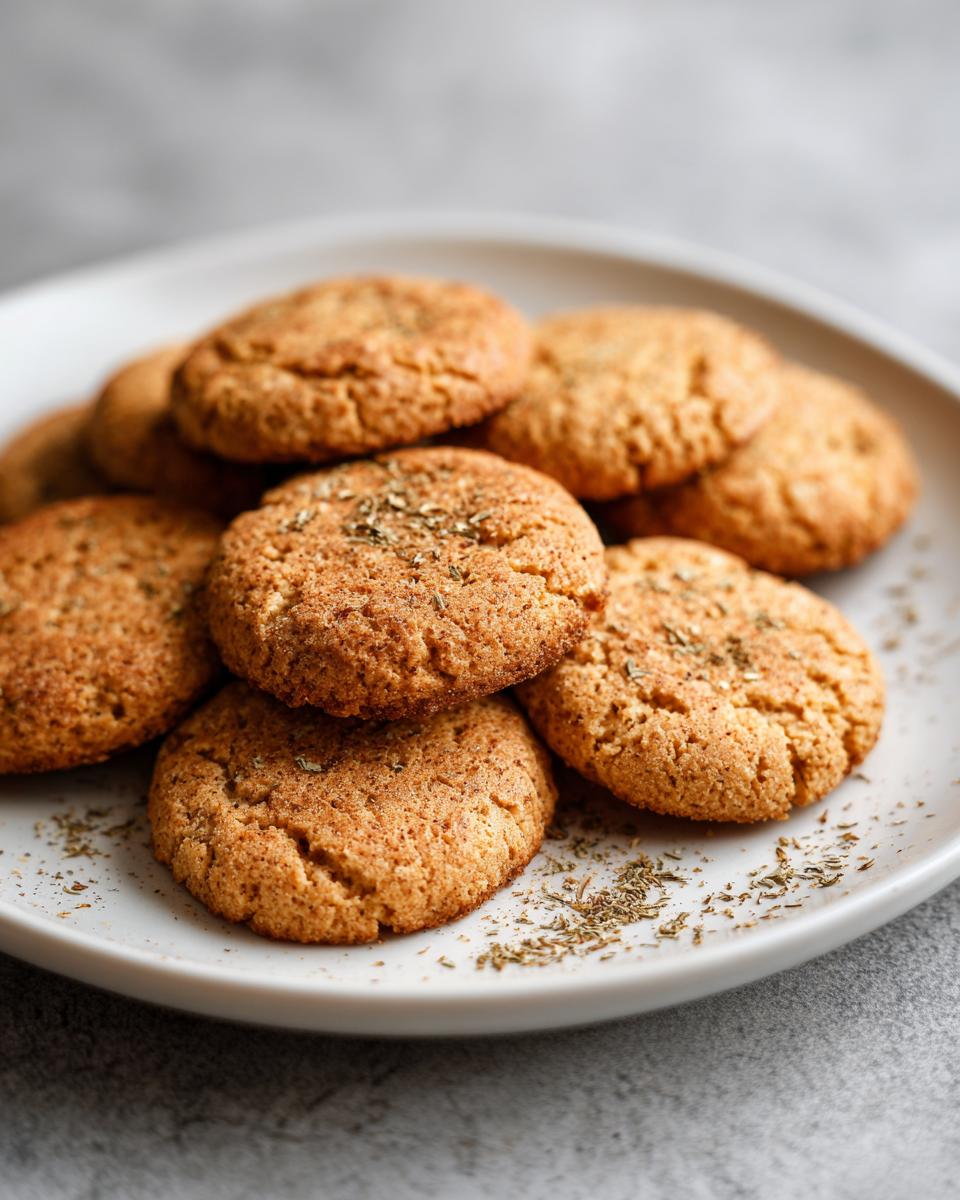
Once you’ve got that lovely dough, it’s time for some fun shaping! I like to scoop out about a teaspoonful of dough and roll it into a little ball between my palms. Then, I just gently flatten it a bit with my finger. You can make them as big or as small as you like, but I find these little bite-sized ones are perfect for Whiskers. Line a baking sheet with some parchment paper (trust me, it makes cleanup a breeze!) and place your little flattened treats on there, leaving a bit of space between them. Pop them into that preheated oven and bake for about 10-12 minutes. You’ll know they’re done when they’re lightly golden and feel firm to the touch. Oh, and this is important: let them cool COMPLETELY on the baking sheet before you even *think* about serving them. Trust me on this one; nobody likes a burnt tongue, especially our kitties!
Tips for Perfect Catnip-Infused Cat Treats
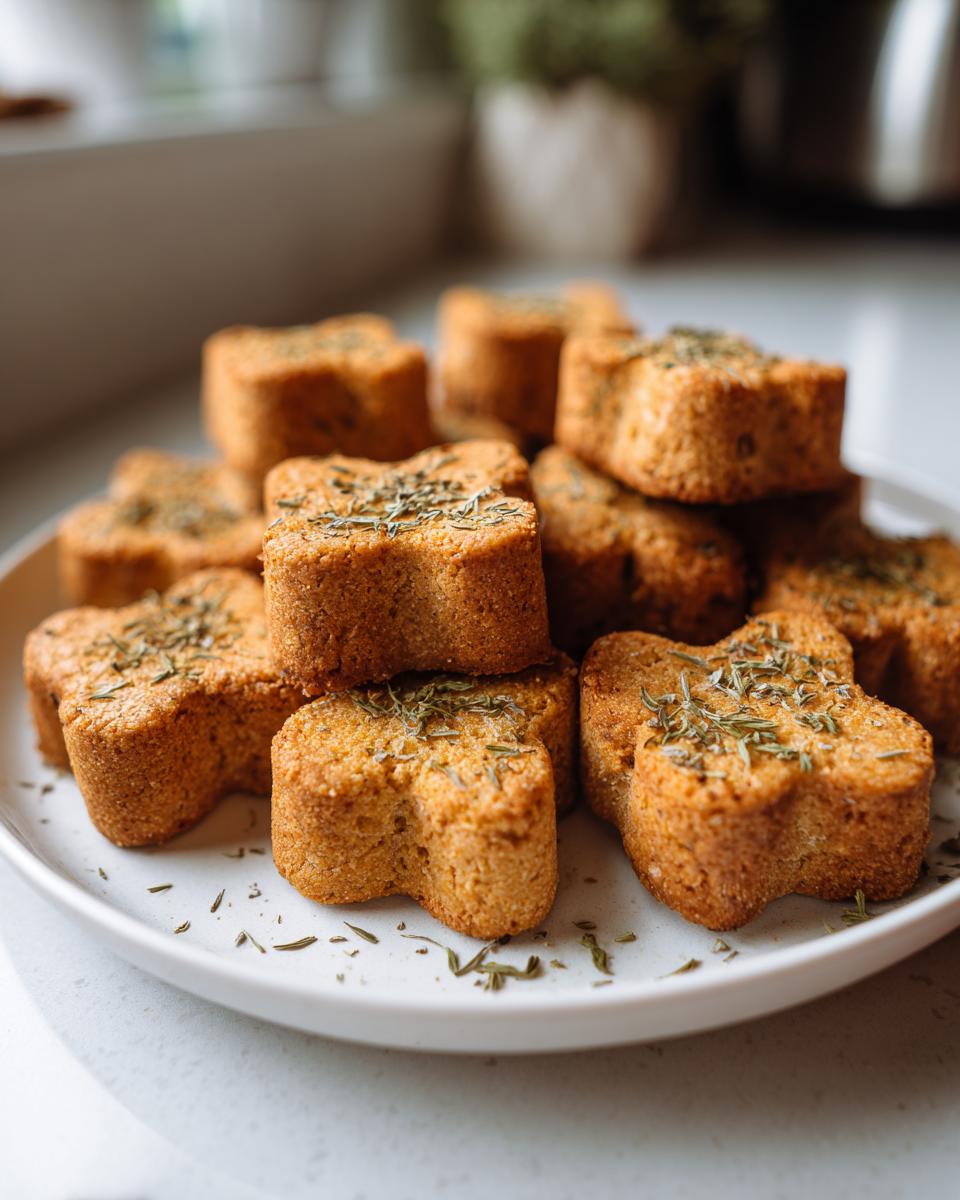
Okay, so you’ve got the basic recipe down, but let’s talk about making these treats truly spectacular and ensuring they’re a smash hit with your furry overlords. A little tweaking here and there can make all the difference! For instance, if your cat is a total catnip fanatic, don’t be shy! You can totally bump up that catnip amount to half a cup. Just make sure to add a touch more water or egg if the dough seems too dry. My Whiskers goes absolutely wild, and it makes him the happiest little guy. If you find your dough is a bit too sticky, a sprinkle more of flour or even a little cornstarch can help. And for those super picky eaters? Sometimes just rolling them into fun shapes, like tiny hearts or fish, does the trick! It’s like how I prep my crispy parmesan brussels sprouts – presentation matters, even for kitties!
Ingredient Notes and Substitutions
So, let’s chat about what makes these treats tick and if you can swap things out. I use whole wheat flour because it’s generally easier for little feline tummies to digest compared to some other flours. Plus, it gives a nice, sturdy structure to the treats. Now, about substitutions… I’m a bit of a purist when it comes to pet treats since their tummies can be sensitive, so I try to stick pretty close to this recipe! While you *could* technically use all-purpose flour, I’d stick with whole wheat to be safe. And for the catnip, make sure it’s good quality; the fresher and more potent, the happier your cat will be!
Storing Your Homemade Cat Treats
Now that you’ve baked up a storm of these amazing Catnip-Infused Cat Treats, you’ll want to keep them fresh for your kitty! Pop any leftover treats into an airtight container. I usually use a good old Tupperware or a cute little cookie jar. Stored this way, they should stay nice and yummy for about a week. If you notice they start to get a bit soft or lose that delightful crispness, it’s probably time to whip up another batch! Fresh is best, after all!
Frequently Asked Questions About Catnip-Infused Cat Treats
Got questions? I’ve got answers! Making treats for your furry friends should be fun and easy, so let’s clear up any lingering doubts.
Can I use fresh catnip instead of dried?
You know, fresh catnip is super potent, but baking it can sometimes make it lose some of its magic smell. Dried catnip is definitely my go-to for these treats because it bakes up wonderfully and keeps that awesome aroma. If you *really* want to try fresh, I’d suggest using a lot more, maybe double or triple the amount, and making sure it’s chopped super fine.
How often can I give these treats to my cat?
These are special treats, so I like to give them as an occasional delight! Think of them like a fun extra, not a meal replacement. Maybe a couple of times a week, or as a special reward when they’ve been extra good (like not knocking anything off the counter!). They’re packed with goodness, but too much of a good thing isn’t always best. Remember, they’re a supplement to their regular balanced cat food, which you can find lots of great info on in dinner recipes!
Are these treats safe for kittens?
For little kittens, their tummies are still developing, so I’d suggest holding off on these until they’re a bit older, maybe around 6 months to a year. Kittens have different dietary needs, and while the ingredients here are natural, their systems are more sensitive. It’s always best to stick to kitten-specific food and treats for your wee ones. You can explore some great desserts for humans while you wait, though!
My cat doesn’t seem interested in the treats. What can I do?
Oh no! Don’t worry, some cats are just pickier than others. First, double-check that your catnip is fresh and aromatic – that’s usually the biggest draw. You can also try warming the treat *slightly* (just a few seconds in the microwave, NOT hot!) to bring out the scent. If they’re still not keen, maybe your cat just isn’t a big catnip fan, which is totally okay! You could try a recipe with a different flavor profile next time, maybe something with a tiny bit of tuna or salmon mixed in, but always ensure any added ingredients are safe for cats.
Nutritional Information for Catnip-Infused Cat Treats
You’re probably wondering what exactly your little buddy is munching on, right? It’s good to know! Here’s a peek at the estimated nutritional info for one of these tasty treats. Keep in mind, these numbers are just a cozy estimate and can wiggle around a bit depending on the brands of ingredients you use, but it gives you a general idea!
Per treat (approximate):
- Calories: 15
- Fat: 0.5g
- Protein: 0.5g
- Carbohydrates: 2g

Catnip-Infused Cat Treats
- Total Time: 22 min
- Yield: 20 treats 1x
- Diet: Vegetarian
Description
Simple homemade treats for cats infused with catnip.
Ingredients
- 1 cup whole wheat flour
- 1/4 cup catnip
- 1/4 cup water
- 1 egg
- 1 tbsp olive oil
Instructions
- Preheat your oven to 350°F (175°C).
- Mix the flour and catnip in a bowl.
- Add the water, egg, and olive oil. Stir until a dough forms.
- Roll the dough into small balls and flatten them slightly.
- Place the treats on a baking sheet and bake for 10-12 minutes.
- Let them cool before serving.
Notes
- Store in an airtight container for up to a week.
- Adjust the amount of catnip based on your cat’s preference.
- Prep Time: 10 min
- Cook Time: 12 min
- Category: Pet Food
- Method: Baking
- Cuisine: N/A
Nutrition
- Serving Size: 1 treat
- Calories: 15
- Sugar: 0
- Sodium: 1
- Fat: 0.5
- Saturated Fat: 0.1
- Unsaturated Fat: 0.3
- Trans Fat: 0
- Carbohydrates: 2
- Fiber: 0.2
- Protein: 0.5
- Cholesterol: 5
Keywords: cat treats, homemade cat food, catnip, pet snacks