
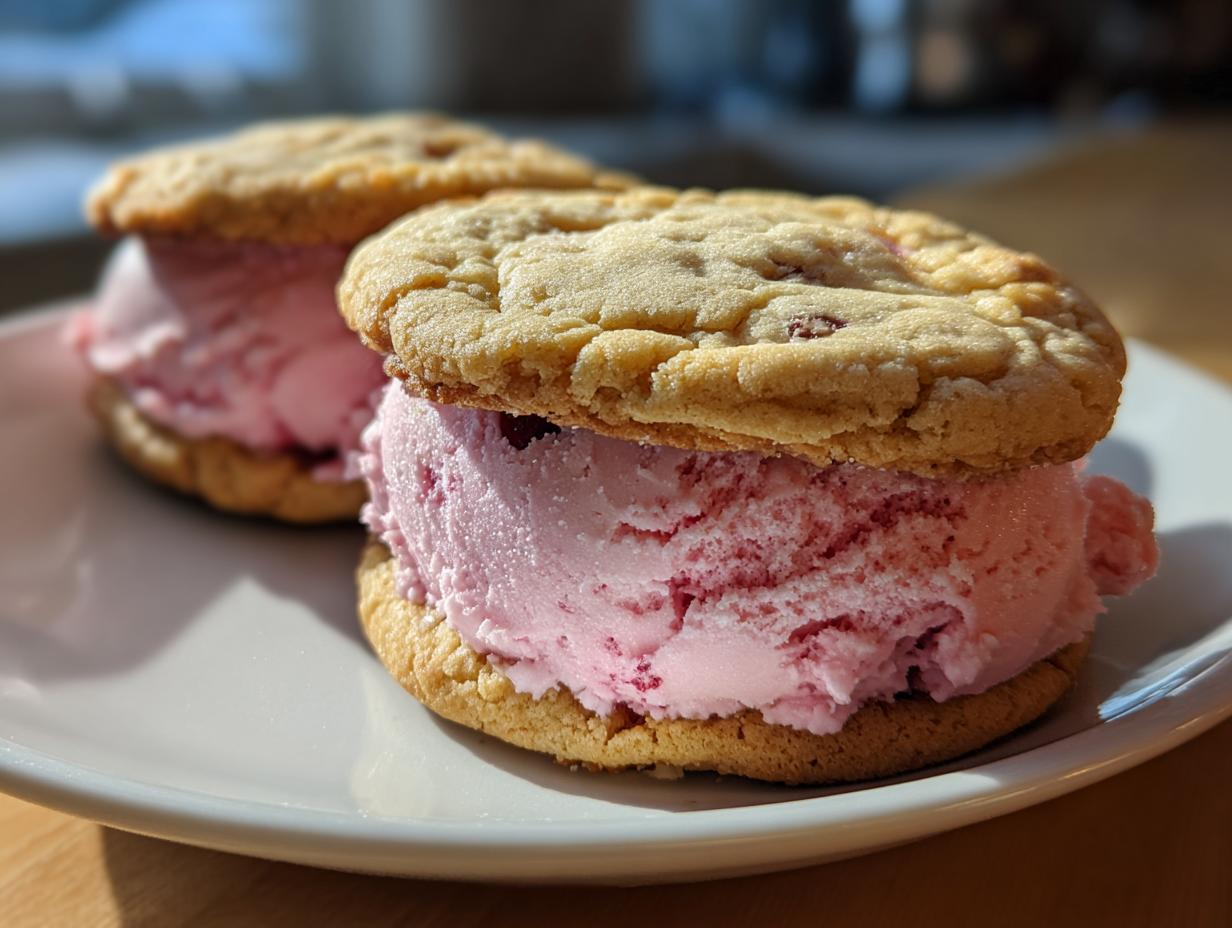
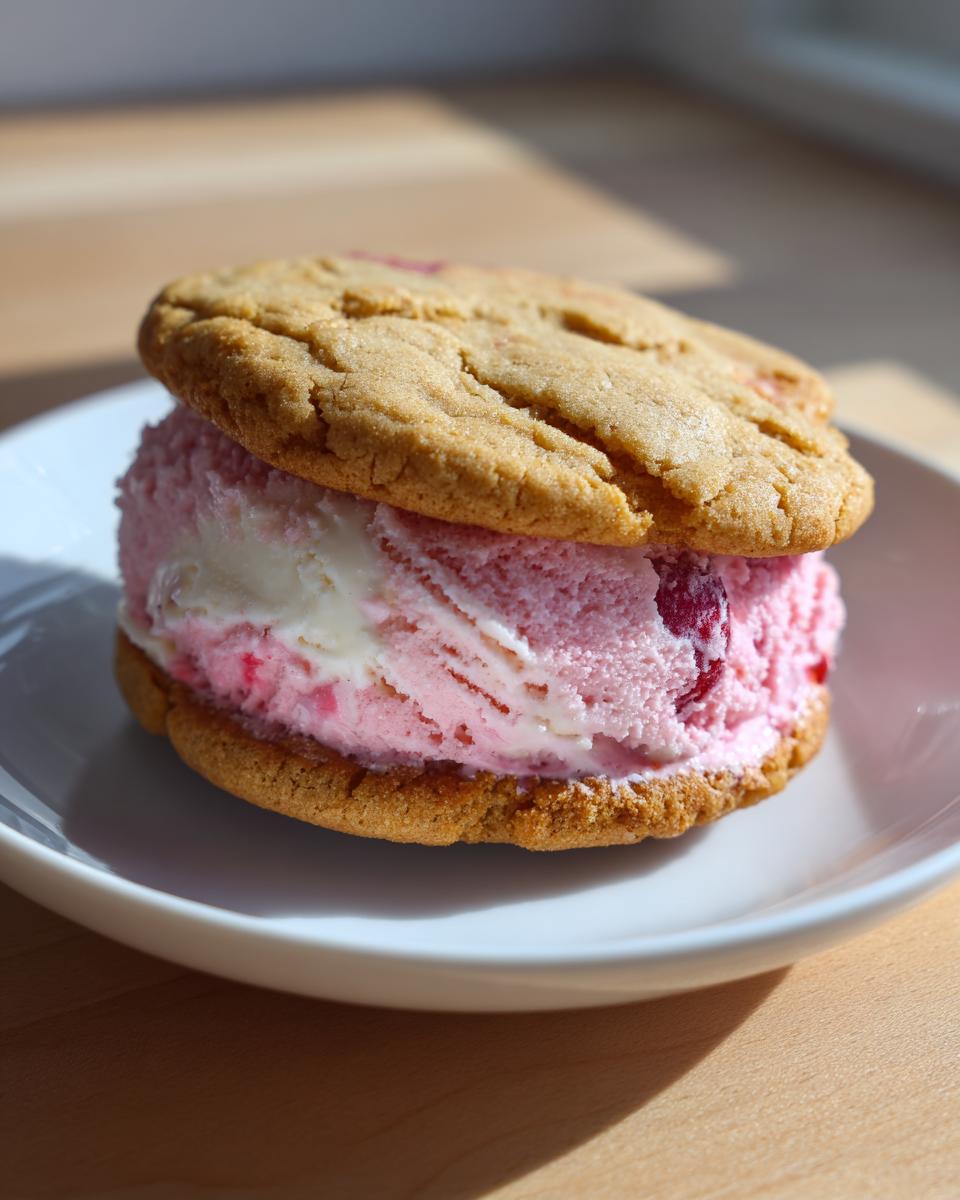
Oh, the simple joy of a homemade treat, right? There’s just something about making something special from scratch that makes it taste a million times better. And when you’re craving something cool, sweet, and totally nostalgic, you absolutely have to try these Cherry Vanilla Ice Cream Sandwiches. Seriously, they bring back all those happy summer days! They’re so easy to whip up, and the combination of that creamy cherry vanilla ice cream snuggled between two soft, chewy cookies? Pure bliss. I remember making these with my mom when I was a kid, and honestly, the smell alone still makes me feel all warm and fuzzy inside, even though we’re making ice cream sandwiches!
Why You’ll Love These Cherry Vanilla Ice Cream Sandwiches
You’re going to be obsessed with these for a bunch of reasons! They’re:
- Super Easy to Make: Honestly, the cookie dough comes together so fast, and then it’s just assembly. No fancy techniques needed!
- Totally Delicious: That classic cherry vanilla flavor is just *chef’s kiss* with the soft cookies.
- A Crowd-Pleaser: Kids and adults alike go nuts for these. Perfect for parties or just a Tuesday night treat.
- So Versatile: While cherry vanilla is amazing, you can totally swap out the ice cream for your favorite flavor!
Gather Your Ingredients for Cherry Vanilla Ice Cream Sandwiches
Okay, let’s get our game plan ready and grab everything we need! You’ll be surprised how simple this is. First up, we need that all-important butter, make sure it’s softened but not melted – about 1 cup will do. Then, we’ll grab 1 cup of granulated sugar. For our wet ingredients, we’ll need 2 large eggs and 1 teaspoon of vanilla extract. Now for the dry stuff: 2 1/4 cups of all-purpose flour, 1 teaspoon of baking soda to give our cookies a little lift, and just a pinch of salt, like 1/2 teaspoon, to balance everything out. And of course, the star of the show: 1 pint of cherry vanilla ice cream, softened. Make sure it’s soft enough to spread easily, but not a puddle!
Crafting the Perfect Cookies for Your Cherry Vanilla Ice Cream Sandwiches
Alright, let’s get down to business making these cookies! This is where the magic really starts for our Cherry Vanilla Ice Cream Sandwiches. Don’t worry, it’s super straightforward. We’re talking about that classic cookie dough process that’s just so satisfying to do. Trust me, the smell of these baking is going to fill your kitchen with happy vibes!
Mixing the Dough: Tips for Success
So, first things first: we’re going to cream together that softened butter and sugar until they look nice and fluffy. This is key, you want it light and airy! Then, we’ll beat in the eggs, one by one, just to make sure they get fully incorporated, followed by our vanilla. In another bowl, give your flour, baking soda, and salt a quick whisk together. Now, the trick is to add the dry stuff to the wet stuff *gradually*. Don’t dump it all in at once – that’s how you get tough cookies! Mix until it’s *just* combined. Overmixing is the enemy here!
Shaping and Baking Your Cherry Vanilla Ice Cream Sandwich Cookies
Once your dough is ready, it’s time to get those cookies shaped! I like to use a rounded tablespoon to drop dollops of dough onto a baking sheet lined with parchment paper. You want to leave about 2 inches between them because they will spread a bit. Now, get that oven preheated to 375°F (190°C). We’re going to bake these for about 8 to 10 minutes. You’re looking for the edges to be just lightly golden. They might look a little soft in the middle, but don’t worry, they’ll firm up as they cool. Let them hang out on the baking sheet for a few minutes before carefully moving them to a wire rack to cool completely. Patience here is super important – we need them totally cool before we add the ice cream!
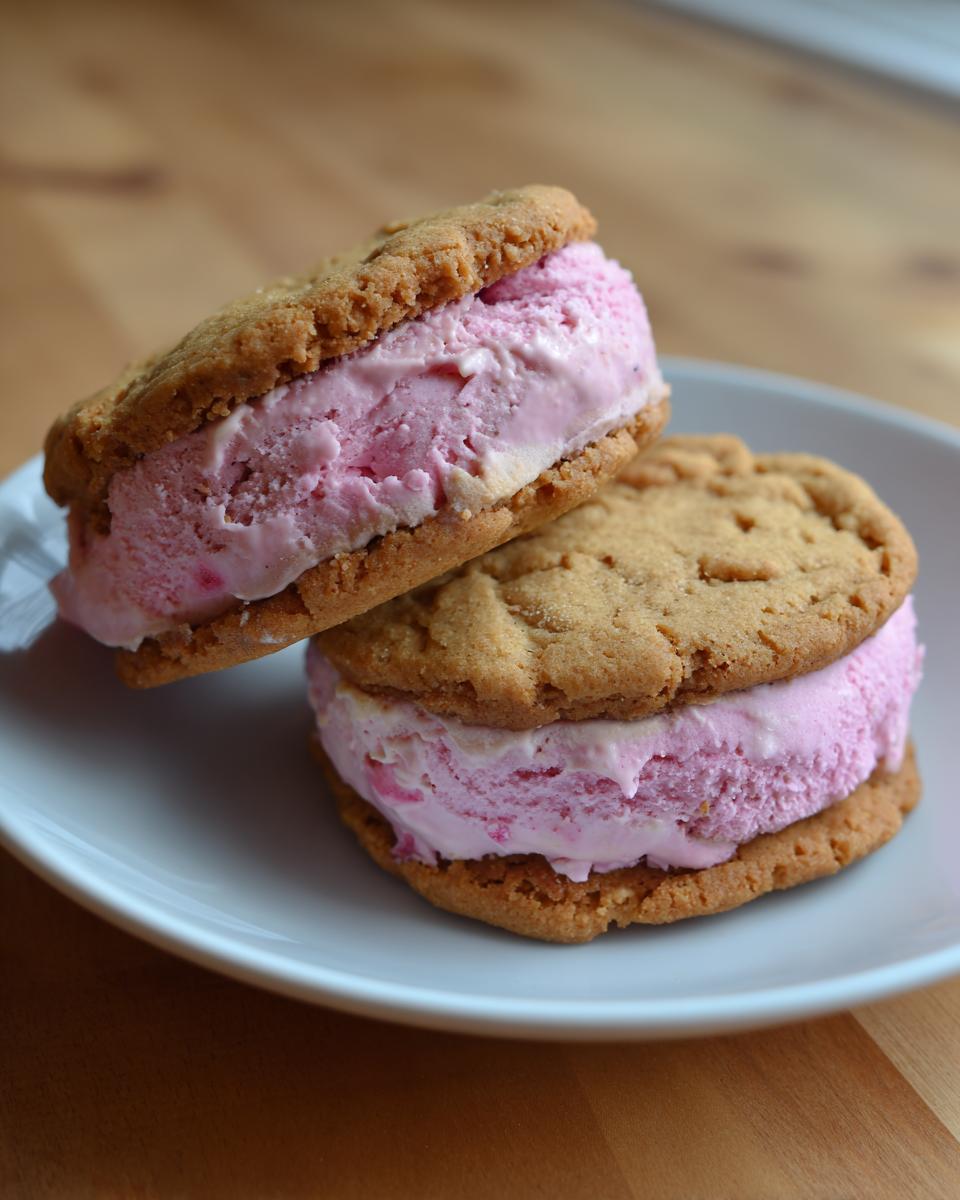
Assembling Your Cherry Vanilla Ice Cream Sandwiches
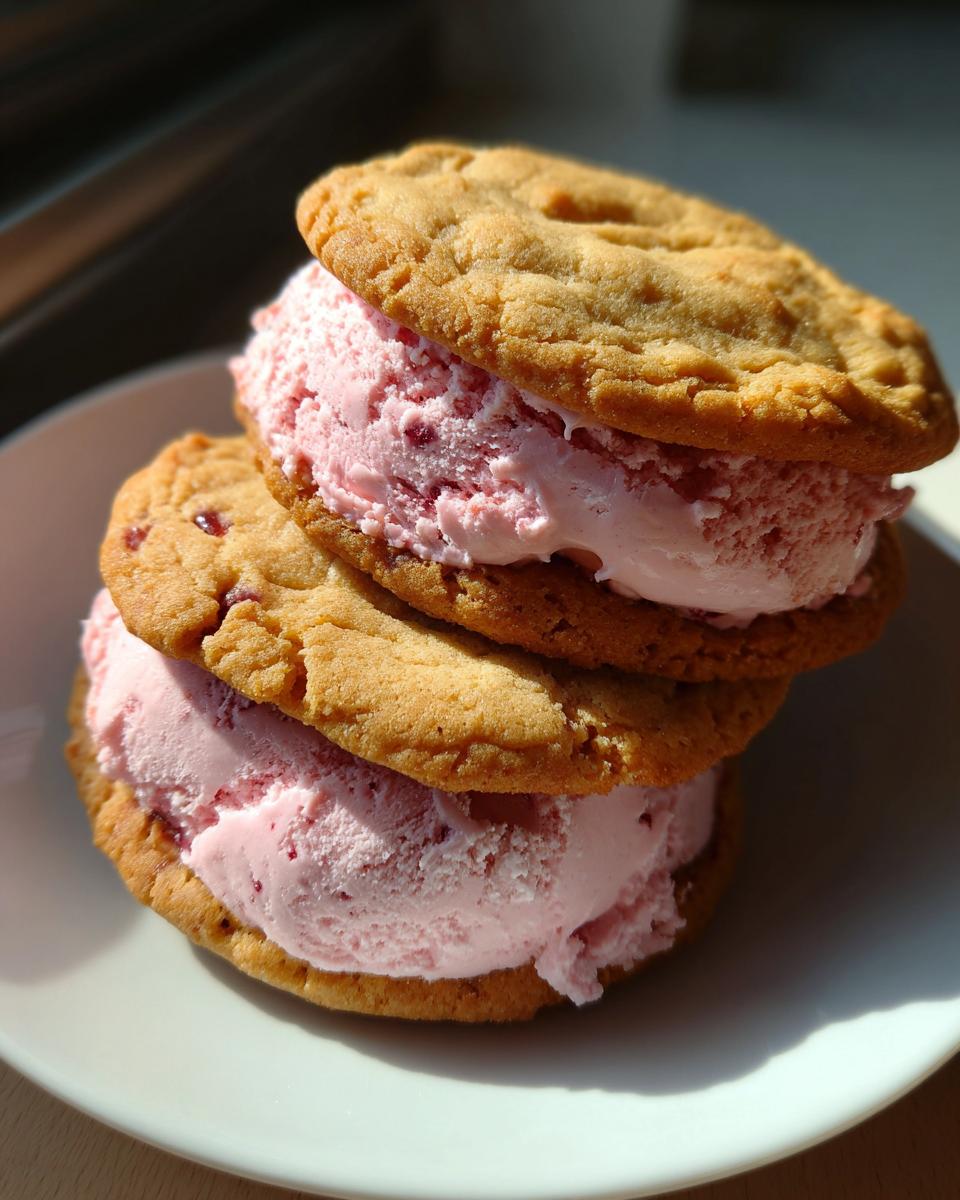
Okay, this is the fun part! It’s time to bring our beautiful cookies and that dreamy cherry vanilla ice cream together. Seriously, the satisfaction of building these from scratch is just the best. I always remember how proud I felt stacking them up, knowing exactly what deliciousness was inside. For this step, make SURE your cookies are completely cool – like, totally, totally cool. Trying to assemble them when they’re warm means melty ice cream everywhere, and trust me, that’s a mess nobody wants! And that ice cream? We want it softened, not completely melted. It should be spreadable, like soft serve, but still holding its shape. If you have trouble with stickiness, or just want to explore other gooey goodness, check out my Tips for Gooey Chocolate!
The Art of Softening Ice Cream
So, about that ice cream softening bit. It’s really important! If it’s rock hard, you’ll struggle to spread it, and your cookies might even break when you press. But if it’s melted and drippy? Well, that’s just going to ooze out everywhere and make a sticky situation. What I usually do is take it out of the freezer about 10-15 minutes before I’m ready to assemble. Give it a stir, and it should have that perfect, creamy consistency – easy to scoop and spread, but still delightfully cold and firm enough not to dissolve instantly.
Freezing and Storing Your Homemade Ice Cream Sandwiches
Now for the final, crucial step: freezing! This is what turns our assembled treats into those perfectly firm, delightful Cherry Vanilla Ice Cream Sandwiches we crave. Take each sandwich and wrap it up snugly in plastic wrap. This is your shield against the dreaded freezer burn – nobody wants icy bits in their ice cream sandwich! Then, pop them into your freezer until they’re nice and firm. They’re usually ready to go after a couple of hours, but I like to let mine at least 4 hours to get really solid. They’ll keep like this for a couple of weeks, though honestly, they never last that long in my house!
Ingredient Notes and Substitution Ideas
Let’s chat a bit about the ingredients, shall we? For the vanilla, I always go for a good quality pure vanilla extract – it just makes such a difference, believe me! If you can find vanilla bean paste, that’s even better for little specks of vanilla bean, but extract is totally fine. Now, if you needed to swap out the butter, you could use a good quality vegan butter stick, but make sure it’s firm, not soft or whipped. The real magic, though, is the ice cream! Cherry vanilla is fantastic, but feel free to go wild! Strawberry, chocolate chip cookie dough, mint chocolate chip – whatever makes you happy is fair game here!
Frequently Asked Questions about Cherry Vanilla Ice Cream Sandwiches
Got questions? I’ve got answers! Making these Cherry Vanilla Ice Cream Sandwiches is pretty foolproof, but it’s always good to clear things up!
Can I use a different type of flour?
While all-purpose flour gives you that perfect chewy texture, you could experiment with a good quality gluten-free blend if you need to. Make sure it’s a 1-to-1 baking flour, though, and the cookies might turn out a *little* different, maybe a bit more crumbly, but still delicious!
How do I prevent my cookies from spreading too much?
Ooh, good question! A few things can help. First, make sure your butter isn’t too soft – it should be softened, but still have a little firmness. Also, chilling the dough for about 30 minutes before baking can really help keep them from spreading too much. And don’t make your cookie balls too big.
Can I make these dairy-free?
You absolutely can! For the cookies, use a good quality vegan butter stick (like Miyoko’s or Melt) and ensure your ice cream is dairy-free. There are some amazing dairy-free cherry vanilla ice creams out there now that work like a charm!
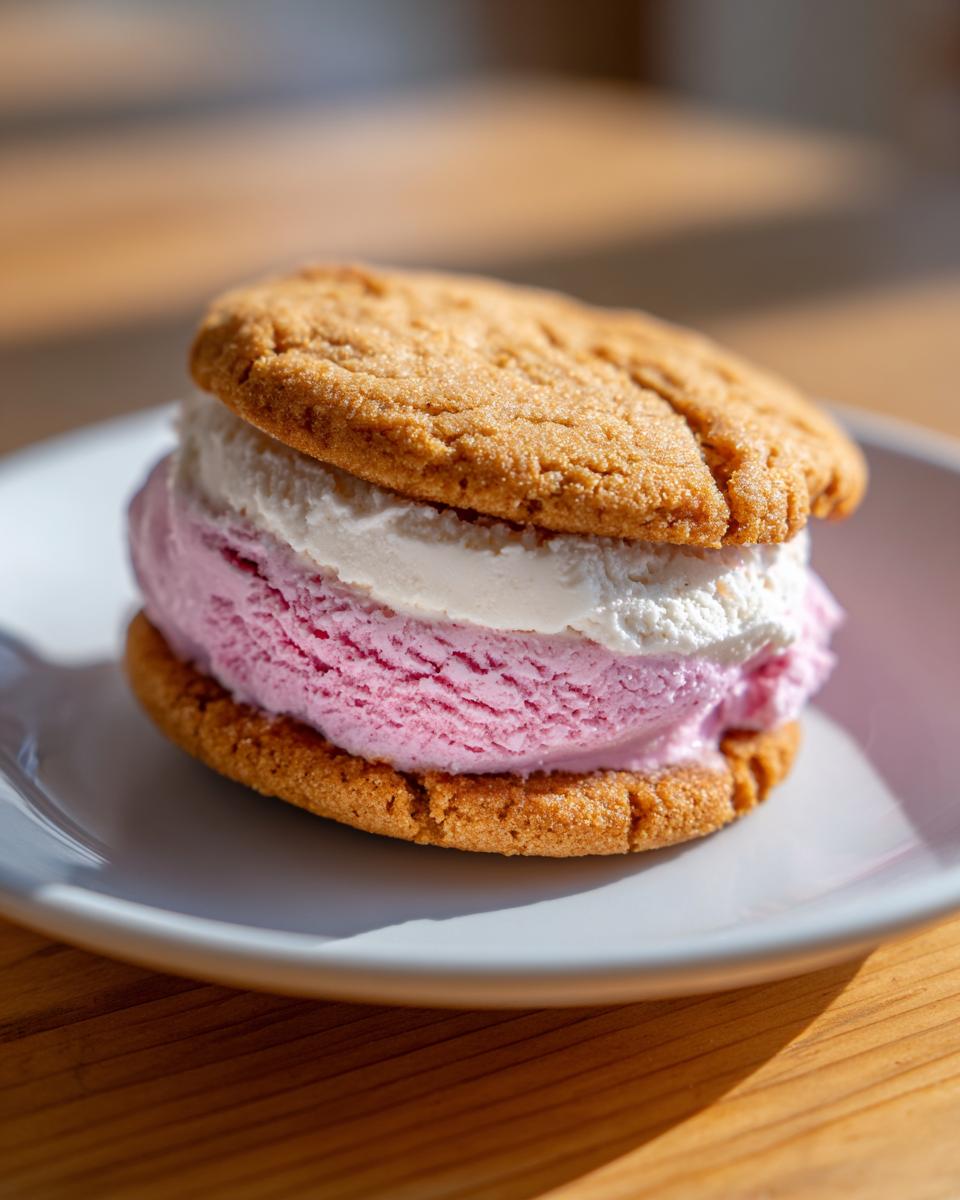
Enjoying Your Delicious Cherry Vanilla Ice Cream Sandwiches
Alright, time for the nitty-gritty! Here’s a little peek at the estimated nutritional info for one of these glorious Cherry Vanilla Ice Cream Sandwiches. Keep in mind these are just ballpark figures, since ice cream brands can vary and we all like a generous scoop, right?
- Serving Size: 1 sandwich
- Calories: About 350
- Fat: Around 20g (with about 12g being saturated, that yummy butter and cream!)
- Carbohydrates: Roughly 40g
- Sugar: About 30g (yep, it’s a dessert!)
- Protein: Around 4g
- Sodium: About 150mg
Enjoy every bite, you’ve earned it!