
Oh, you know that pure joy when your furry little buddy’s eyes light up for a special treat? Making them myself is honestly one of my favorite ways to show my kitties some extra love. And let me tell you, whipping up these 3-Ingredient Tuna Cat Treats is *so* easy, it’s almost ridiculous! Forget those fancy, expensive bags from the pet store; you’ve likely got everything you need right in your pantry. My own cat, a notoriously picky eater named Captain Meow, goes absolutely bonkers for these. I was inspired to create them because I wanted something super healthy for him, with no weird fillers, and I was so happy to find out how simple they could be. Seriously, just three things!
Why Your Cat Will Love These 3-Ingredient Tuna Cat Treats
Okay, so you’re probably wondering what makes these humble little tuna bites so special for your feline friend. Trust me, it’s more than just tuna! Here’s the scoop on why your cat will be doing happy little zoomies for these:
- Super Simple & Natural: Seriously, only three ingredients! That means no mystery fillers, artificial colors, or preservatives you can’t pronounce. Just good, wholesome goodness that you can feel great about giving your kitty.
- Irresistible Tuna Flavor: Cats are practically hardwired to love tuna, right? The natural fishy aroma and taste are a guaranteed hit. It’s like a tiny seafood feast in every bite!
- Healthier Alternative: Most store-bought treats can be loaded with stuff your cat doesn’t really need. These homemade gems are a much healthier choice, perfect for treating your companion without the guilt.
- **Easy to Digest:** With just a few simple ingredients, these treats are generally easy on a cat’s tummy, making them a great option even for sensitive kitties.
Gather Your Simple Ingredients for 3-Ingredient Tuna Cat Treats
Honestly, the best part about these treats is how ridiculously simple the ingredient list is. You probably have everything you need stashed away in your kitchen right now! We’re talking just three main players that come together like magic:
- 1 can (about 5 ounces) tuna packed in water, drained: Make sure to get all that water out! I usually just press down on the lid to drain it well. Tuna in oil works too, but water is often a bit lighter.
- 1 large egg: This acts as our binder, holding all those yummy tuna bits together. Just give it a quick whisk before you add it.
- 1 cup whole wheat flour: This helps create that perfect dough consistency. Whole wheat flour is great because it’s just an extra boost of healthy stuff for your cat.
That’s it! See? Three simple things, and you’re well on your way to making your kitty’s day.
Step-by-Step Guide to Making 3-Ingredient Tuna Cat Treats
Alright, let’s get down to business and make some magic happen for your kitty! This part is super straightforward. You’ll be amazed at how quickly these come together. Ready?
Preheating and Mixing the Base
First things first, let’s get that oven nice and toasty. Turn your oven to 350°F (that’s about 175°C for you metric folks!). While it’s heating up, grab a medium-sized bowl. Dump in your drained tuna and crack in that egg. Give it a good stir with a fork until it’s all mixed up and looks like a slightly chunky tuna-egg paste. This is the yummy foundation of our treats!
Forming the Dough for Your 3-Ingredient Tuna Cat Treats
Now comes the flour. You want to add it gradually, about a quarter cup at a time, mixing after each addition. It’s like coaxing the dough into forming. You might not need all the flour, or you might need a tiny bit more, depending on how wet your tuna was. The goal is a dough that’s not too sticky but holds together when you roll it. If it feels super sticky, add a teaspoon more flour. If it seems too dry and crumbly, a tiny splash of water can help. My trick is to use my hands for the last bit of mixing – you get a real feel for it that way! It’s kind of like when I’m mixing up dough for other recipes, you just have to get your hands in there!
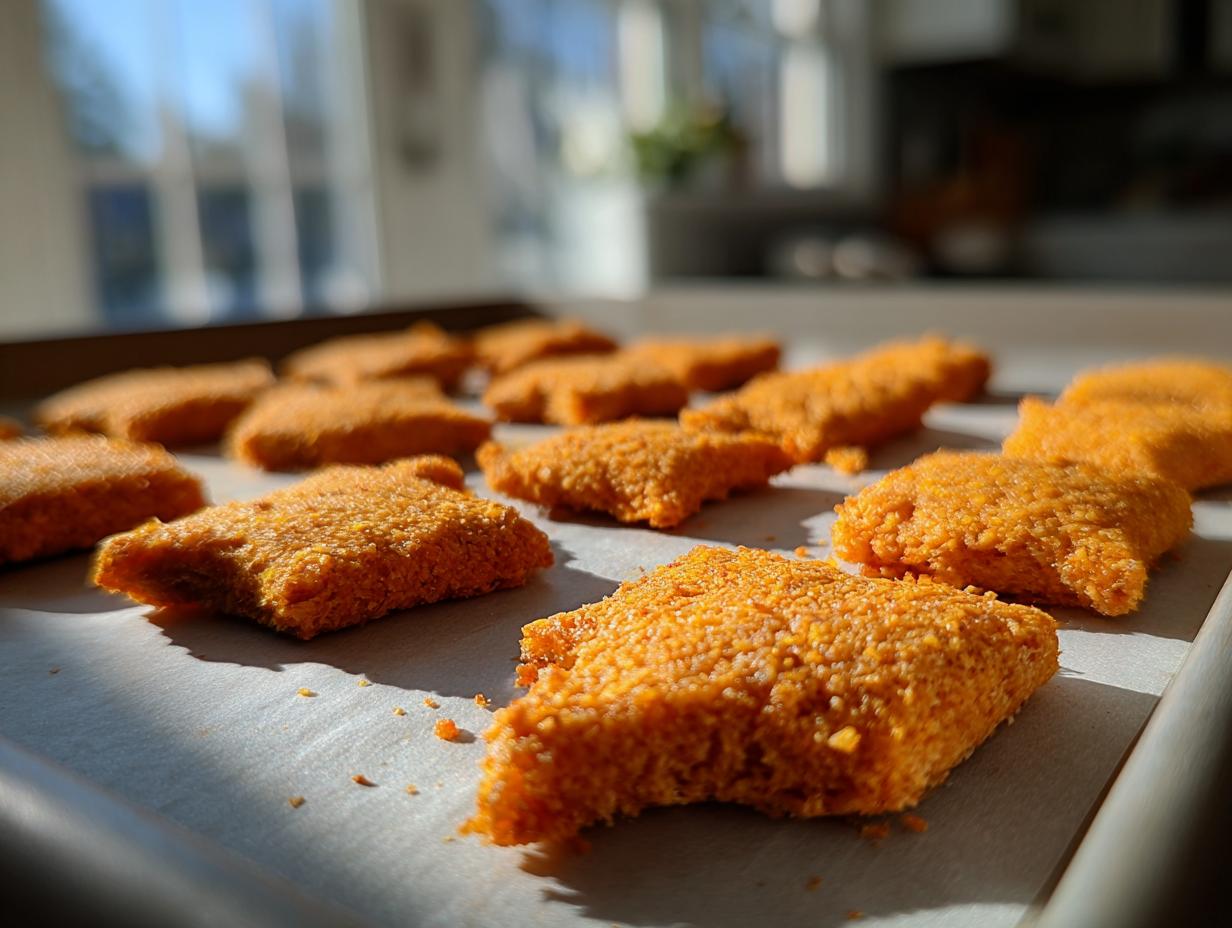
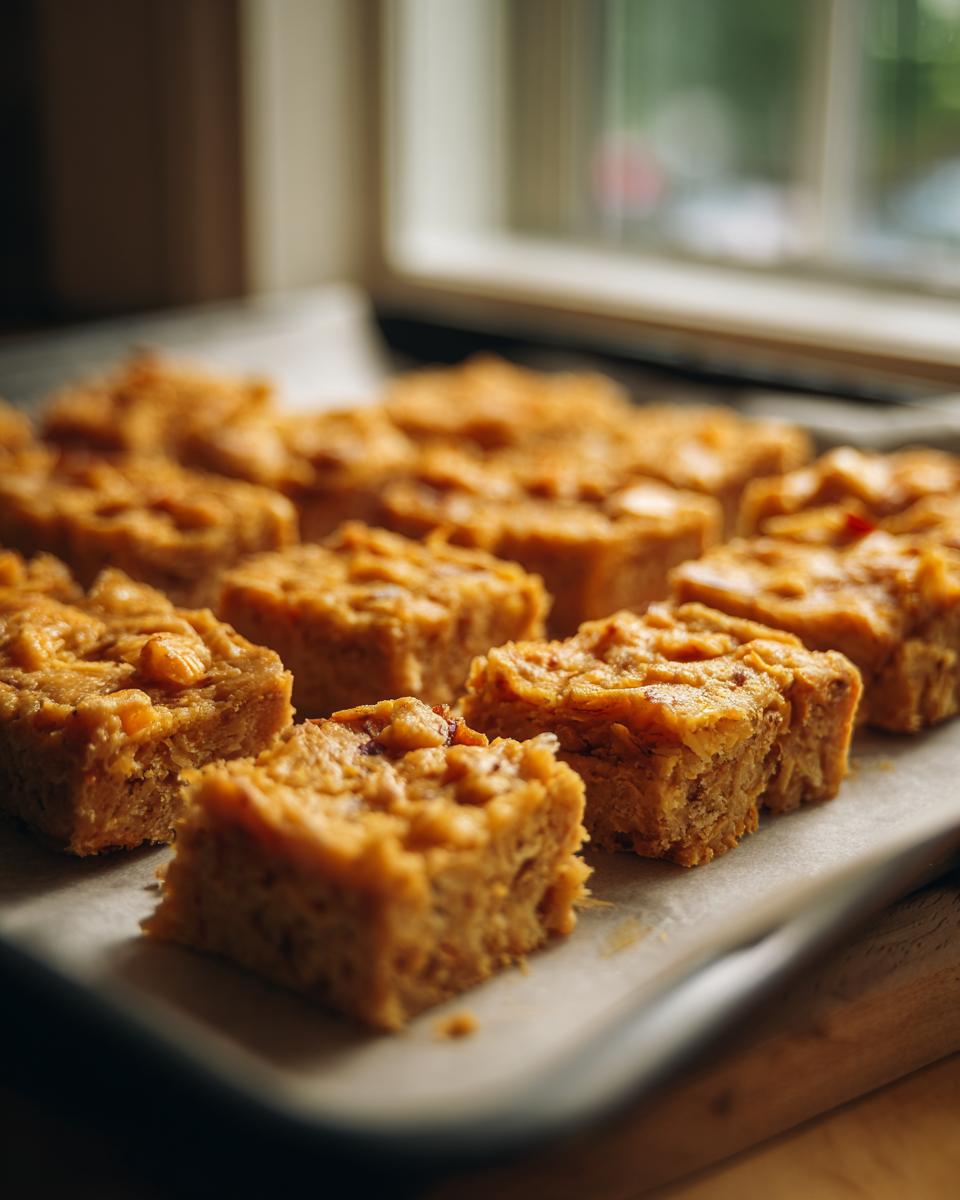
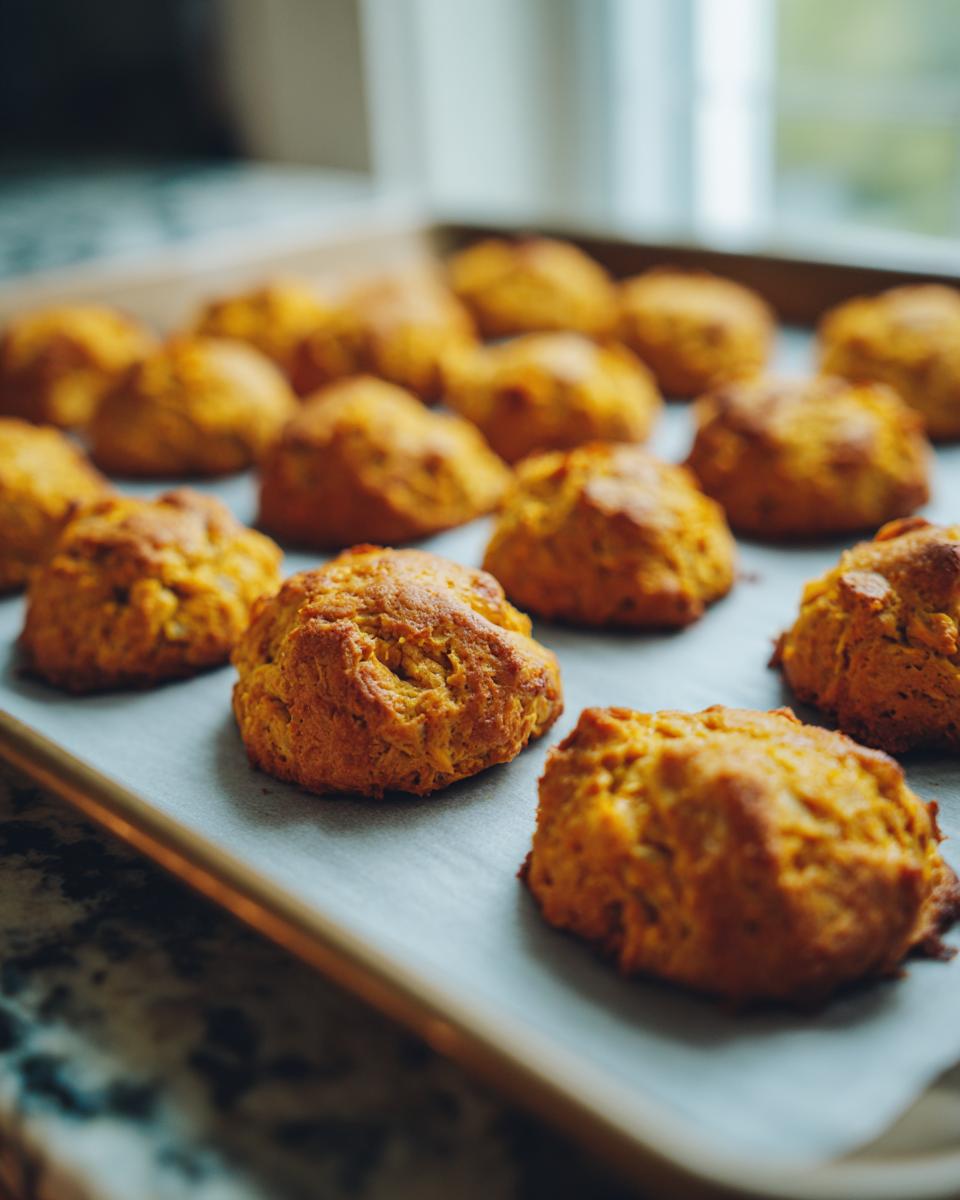
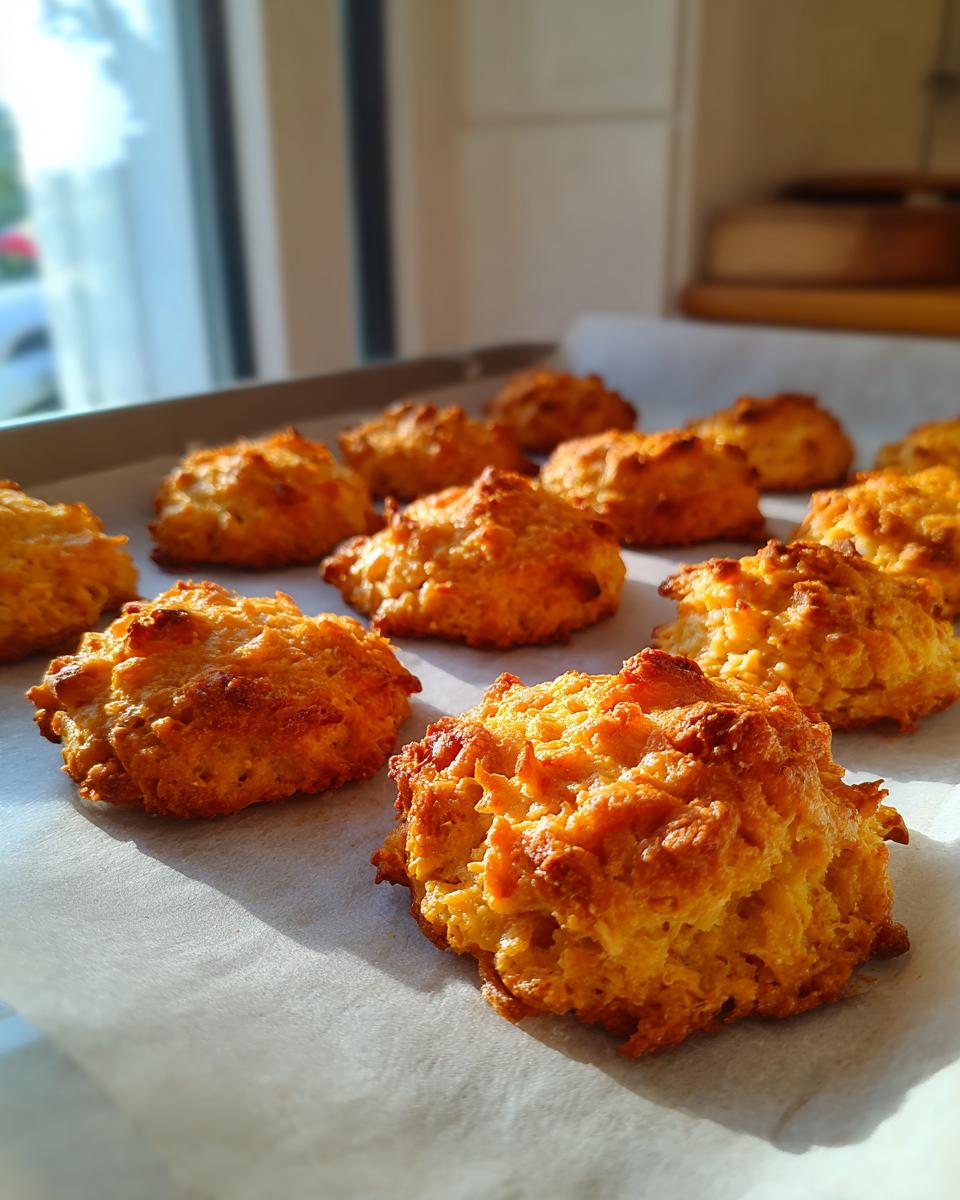
Shaping and Baking the Treats
Once you’ve got that perfect dough, grab a baking sheet and line it with parchment paper – this makes cleanup a breeze, trust me! Now, roll the dough into little balls, about the size of a marble or a small cherry. Don’t worry if they aren’t perfectly round; cats aren’t usually ones to judge a perfectly shaped treat! Place them about an inch apart on the baking sheet. Pop them into that preheated oven for about 10 minutes. You’re looking for them to be lightly golden brown. Oh, and this is important: let them cool completely on the baking sheet before you give them to your furry friend. They’ll firm up a bit more as they cool.

Tips for Perfect 3-Ingredient Tuna Cat Treats
Okay, so you’ve got the basic idea, but let me share a few little secrets I’ve picked up to make sure your 3-Ingredient Tuna Cat Treats turn out absolutely purr-fect every time! It’s all about those tiny tweaks that make a big difference. I learned a lot of these through trial and error with my own super fussy felines, so trust me, these are tried and true!
First off, tuna choice. I always go for tuna packed *in water* and drain it really, really well. Tuna in oil can make the treats a bit too greasy, and honestly, who needs the extra mess? If you can’t find whole wheat, all-purpose flour works too, but I like the little extra fiber from the whole wheat. And for flavor? Cats are usually pretty happy with plain tuna, but if yours is a super picky eater, you could experiment with a *tiny* drop of salmon oil mixed in before the flour – just a whisper! It’s kind of like when I’m developing a new recipe, you start with the basics and then add just a touch of something special.
My biggest tip, though? Don’t overbake them! You want them golden brown, not hard as rocks. A slightly chewy center is actually ideal for cats. And once they’re completely cool, give them a little test squish. They should be firm but not brittle. Oh, and make sure they’re fully cooled before you store them, or you’ll get condensation, which is a one-way ticket to stale treats!
Serving and Storing Your Homemade Cat Treats
Alright, you’ve made these amazing 3-Ingredient Tuna Cat Treats, and your cat is giving you those pleading eyes! Serve them as a special reward or a fun little surprise, but remember, these are treats, not a meal. One or two a day is usually plenty!
Now, for keeping them fresh. Pop any leftovers into an airtight container – a good old Tupperware or a cute jar works perfectly. Keep them in the fridge, and they should stay yummy for up to a week. If they start to smell a bit “off” or look weird, it’s time to toss them. It’s kind of like making my other homemade goodies, fresh is always best!
Frequently Asked Questions About 3-Ingredient Tuna Cat Treats
Got questions? I’ve got answers! Making these treats is so simple, but it’s good to cover all the bases. Here are a few things people often ask me about these little tuna delights:
Can I use tuna in oil instead of water?
You totally can! If you only have tuna in oil, go for it. Just be sure to drain it really, really well. You might need to add a *tiny* bit more flour because the oil can make the mixture a little wetter than tuna in water. It’s a small change, but it makes a difference for that perfect dough consistency.
What if my cat is super picky?
Oh, I know picky cats! My Captain Meow is the king of pickiness. If your kitty turns their nose up easily, try making them a little smaller, like tiny little balls. Sometimes a smaller, more manageable bite can make them more curious. Also, ensure the tuna is *really* well drained so the fishy smell is strong and appealing, not diluted.
Can I make these treats grain-free?
You sure can! You can swap out the whole wheat flour for a grain-free option like coconut flour or almond flour. Just a heads-up, these flours can behave a bit differently. You might need to adjust the amount – start with less and add more until you get that non-sticky dough. Always best to test a small batch first!
How long do these treats usually last?
Honestly, because they’re so simple and don’t have preservatives, they’re best kept fresh. I pop mine in an airtight container in the fridge, and they’re usually good for about a week. If they start to feel a little soft or smell weird, it’s time to say goodbye!
Nutritional Information for 3-Ingredient Tuna Cat Treats
Now, let’s talk about what’s actually *in* these yummy little treats for your kitty! Keep in mind these numbers are just estimates, okay? They can wiggle around a bit depending on the exact size of your egg or how much flour you end up using. But this gives you a good general idea of the goodness packed into each one:
- Serving Size: About 1 small treat
- Calories: Roughly 25
- Protein: Around 2g
- Fat: About 1g
- Carbohydrates: Approximately 3g
- Sodium: Around 10mg (this comes mostly from the tuna!)
See? Pretty simple and healthy for your furry best friend!
Print
3-Ingredient Tuna Cat Treats
- Total Time: 20 min
- Yield: 12 treats 1x
- Diet: Low Lactose
Description
Simple homemade tuna treats for your cat.
Ingredients
- 1 can tuna in water
- 1 egg
- 1 cup whole wheat flour
Instructions
- Preheat your oven to 350°F (175°C).
- Drain the tuna and mix it with the egg in a bowl.
- Add the flour gradually and mix until a dough forms.
- Roll the dough into small balls and place them on a baking sheet.
- Bake for 10 minutes or until golden brown.
- Let cool before serving to your cat.
Notes
- Store treats in an airtight container for up to a week.
- Prep Time: 10 min
- Cook Time: 10 min
- Category: Pet Food
- Method: Baking
- Cuisine: Pet
Nutrition
- Serving Size: 1 treat
- Calories: 25
- Sugar: 0g
- Sodium: 10mg
- Fat: 1g
- Saturated Fat: 0g
- Unsaturated Fat: 0g
- Trans Fat: 0g
- Carbohydrates: 3g
- Fiber: 0g
- Protein: 2g
- Cholesterol: 5mg
Keywords: cat treats, tuna treats, homemade pet food